

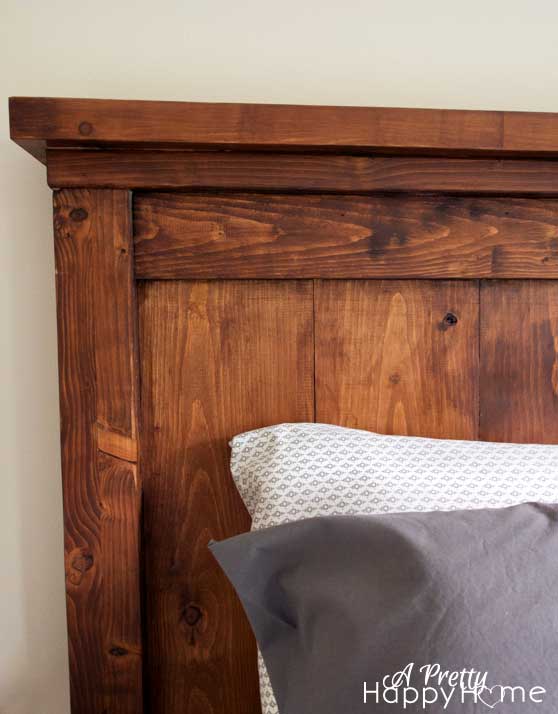
Last year we made a Pottery Barn Knock-Off Farmhouse Bed.
It still makes my heart go pitter-patter.

Now that we’ve moved (more on that when I can find my camera cord), I thought it would be a good time to update you on the “state of the bed” and what we’ve learned. It’s actually a couple of months shy of being a full year since we made this bed.
I mentioned at the time of my original post that this bed is made of all wood and is heavy. I cannot emphasize the word HEAVY enough here.
If you EVER plan on moving again, please take this into account before you build the bed.
The headboard and footboard are manageable with a two-person team and you can detach them from the bed frame. (My husband and I have man-handled those pieces. It wasn’t pretty, but we got the job done.)
The heaviest part is the horizontal frame where the mattress lies. This picture below shows the pretty part of the frame before we attached some thin plywood on top of those horizontal slats. The instructions call for this layer in order to support the mattress and that makes sense.
Keep in mind that we assembled the frame in the bedroom where the bed was going to be. It’s a good thing we did! Otherwise, our guests might have been sleeping in the garage.

I’m sure someone out there is wondering why we didn’t just dismantle the frame? We did put it together, can’t we just take it apart?
Good question.
#1. That sucker is heavy. We hired a moving company to move our piano and asked them to take this bed as well. It’s clearly not as heavy as a piano, so while awkward because of its size, their team of pros could handle it. So, that’s a nice way of saying it became someone else’s problem!
#2. The real reason we did not dismantle it is because it is screwed AND glued together. If it was just screwed, you’d be good. Because of the glue you are…out of luck. You thought I was going to say something else, huh? I totally was. 🙂

Now, the other SUPER important thing we learned, aside from being careful where you use glue, is that you should use lag bolts and not screws to attached the headboard and footboard to the mattress frame.
The Ana White directions called for screws. Again, this is fine if you are never ever ever ever ever going to take apart the bed and move it.
When we went to take apart the bed, several of the screws were stripped. We barely got the headboard and footboard detached from the frame. We didn’t have one of those magic devices to get out stripped screws. So we were definitely Googling the best way to handle the situation.
Let me just say, it’s best not to whip out the saw to try and cut the screws in half after you put your kids to bed. Trust me.

Honestly, I would make this bed again in a heartbeat. We love it. It’s the real deal and will last a lifetime and beyond.
Next time though, we would only make the headboard and footboard and attach them to a regular metal bed frame. It would make the moving process much happier! And with us, there is definitely going to be a next move!
If you are considering making this bed, I hope learning from our experiences helps you! Let me know how it goes! I’d love to see pictures.
We’ve Had Fun Making Things! Read on…
How That Pottery Barn Farmhouse Bed Looks in a Boy’s Room
Pottery Barn Inspired Trundle Bed
Bench from a Bedframe (yes, from the farmhouse bed)