


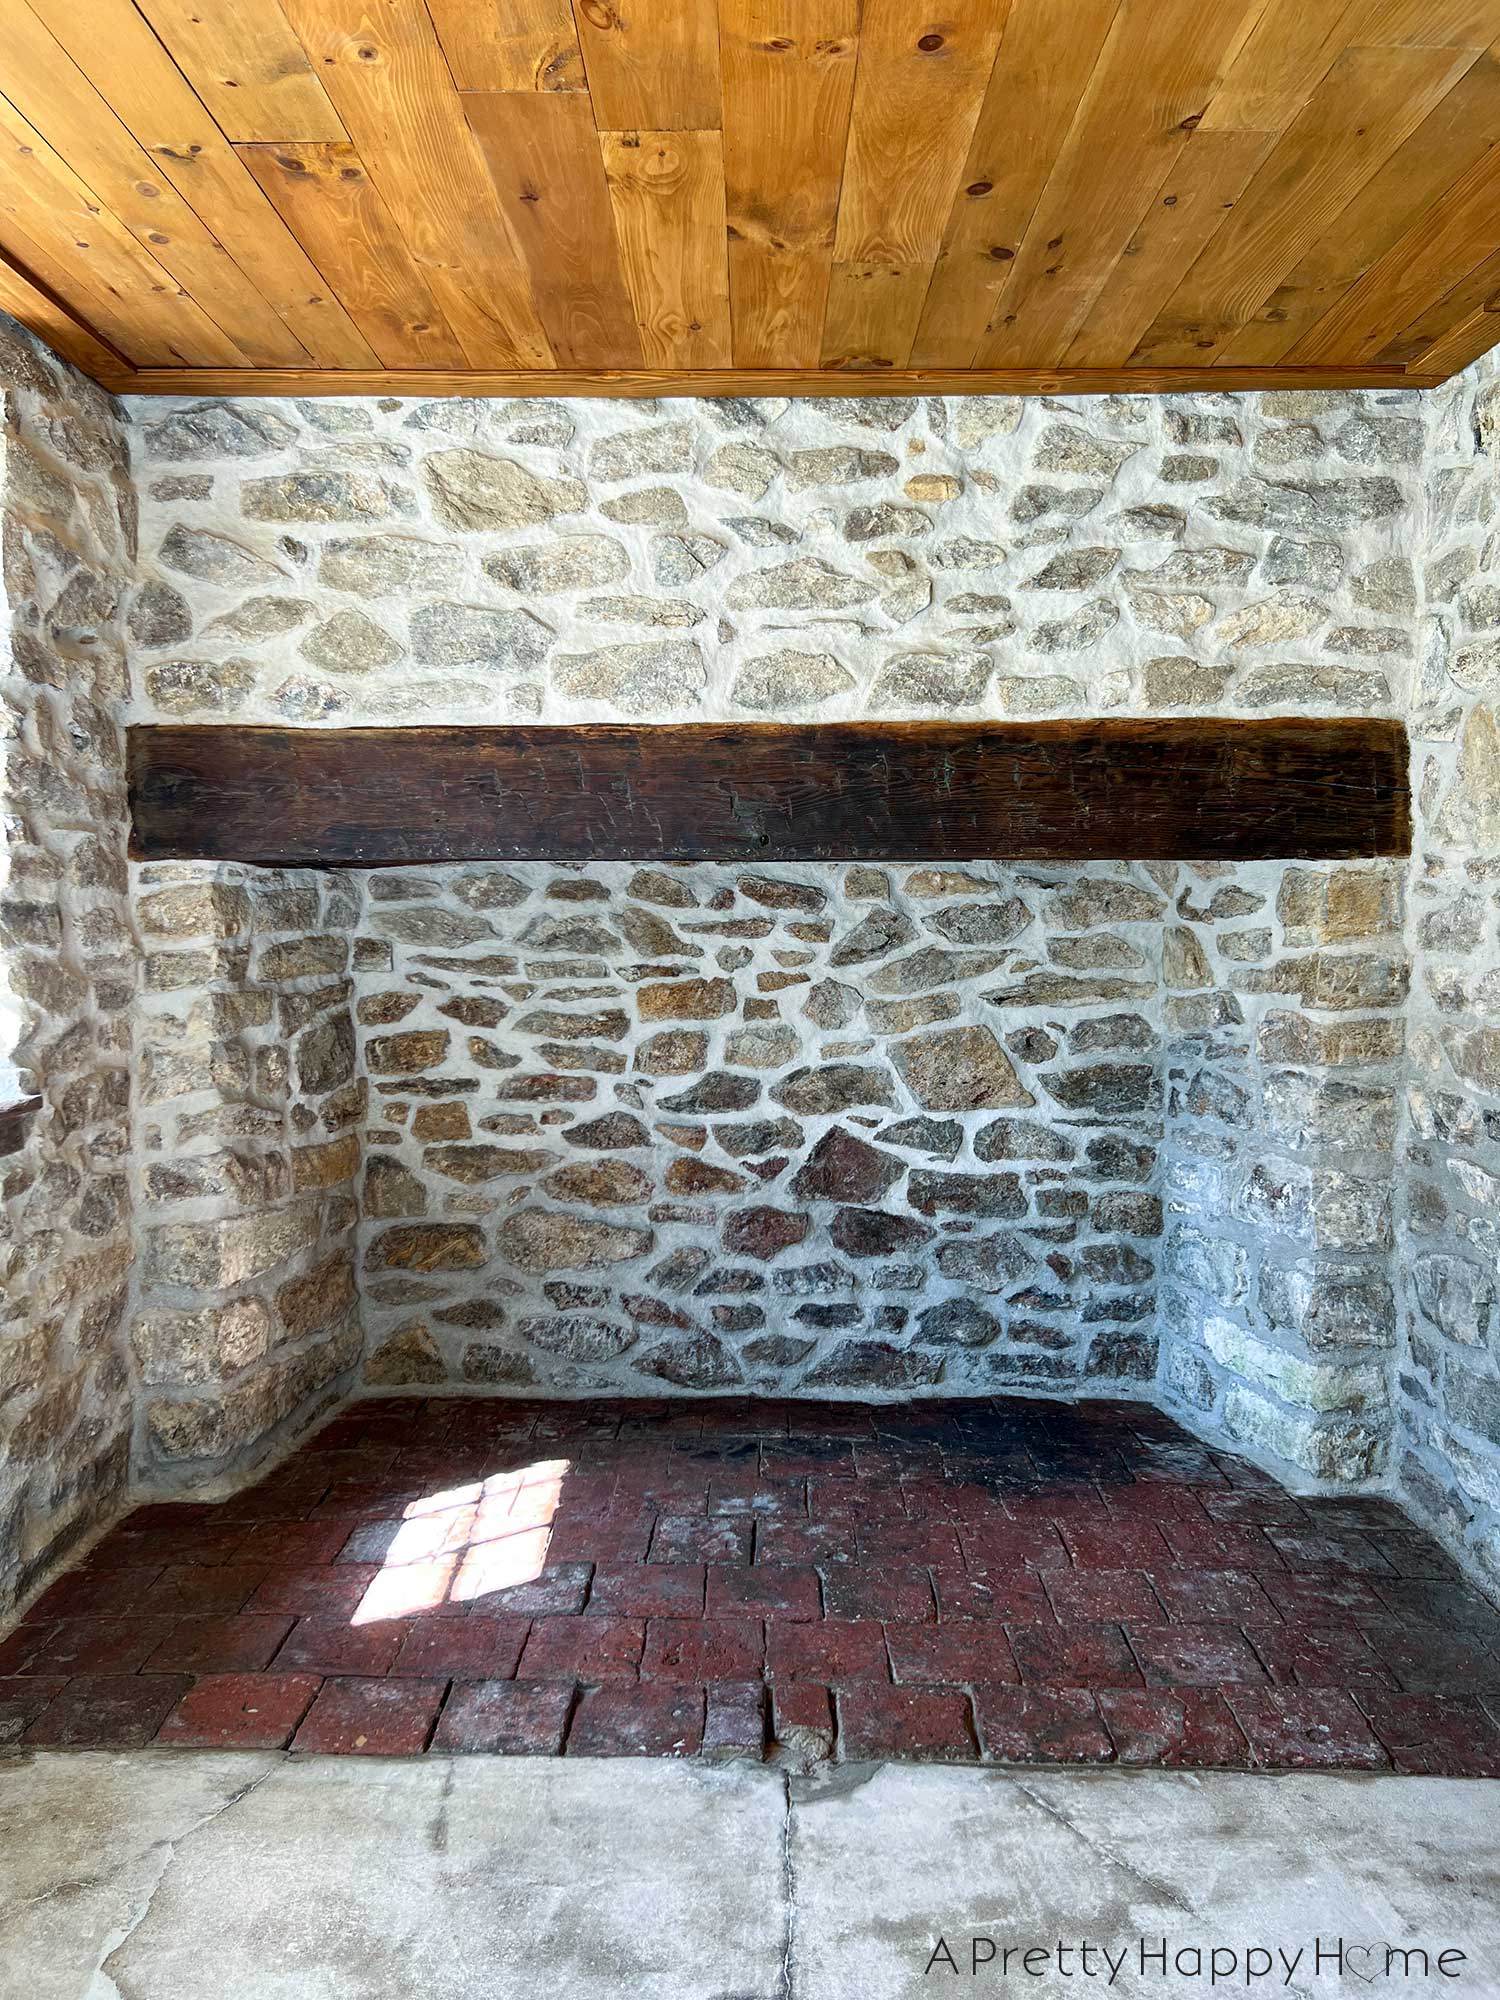
You’re a homeowner with an old house and a stone foundation, and you realize that the stone foundation needs to be repointed. Now what?
We’ve been in your shoes. We are DIYers who were skeptical of the ‘advice’ we were getting and went on a mission to figure out the best way to repoint and repair our stone foundation.
Whether you are hiring a mason or planning to DIY it, here’s what we learned that will help you get started on your repointing project.
Table of Contents
- What is lime mortar and why is it important?
- What’s the problem with Portland cement?
- Hydrated vs. Natural Hydraulic Lime (NHL)
- Why We Chose NHL for Our Foundation
- Why “Type S” Lime is Often the Wrong Choice
- Where do you buy your NHL?
- What type of sand should I use?
- What ratio do you use to mix?
- How much do you mix up at one time?
- Is it hard to apply?
- Does your wall have to be wet?
- How do you get the old mortar out?
- How much do you have to remove?
- How do you clean up mortar dust?
- Can you reuse the old lime mortar?
- Cleaning mortar off the face of stones
- What tools do I need?
- Why are the “experts” always arguing?
- Where can I get more information?
What is lime mortar, and why is it important for stone foundations?
Lime mortar is a traditional building material made from lime, sand, and water. It has been used for at least 10,000 years. Ancient buildings around the world that are now tourist attractions were built with lime mortar.
Unlike modern cement-based mortars, historic lime mortar is “breathable” and flexible. Breathable just means that it can take on and release moisture. This is crucial for old stone and brick buildings because it allows moisture to evaporate from the walls, preventing damp issues and damage to the masonry. Lime mortar also accommodates the natural movement of older structures with less risk of cracking. If it does develop microcracks, lime mortar can heal itself through a process called autogenous healing.
What’s the problem with Portland cement?
Whatever you do, don’t use Portland cement on your stone foundation. Portland cement is an ingredient in modern mortar, grout, and concrete. (source)
Using Portland cement on an old house, even if well-intentioned, can actually cause more harm than good. Your mortar shouldn’t be harder than your stones. Portland cement is too hard for your fieldstone foundation. This can cause spalling, where the stone breaks. It also doesn’t breathe, trapping moisture and leading to deterioration of your foundation over time.
The kicker is that it can be hard to tell that damage is occurring. I think that’s why many people say, “It’s been this way for decades. Still looks fine.” Just because you can’t see the damage from Portland cement YET doesn’t mean it’s not happening.
Done right, your new pointing has the potential to last 100 years or more. If you live in the United States and your house needs repointing, this is likely the first or second time your foundation will be repointed. That speaks to the longevity of using the right materials for the job.

Different Types of Lime for Mortar: Hydrated vs. Natural Hydraulic Lime (NHL)
When you start looking into lime mortar, you’ll quickly discover there are different types of lime. The two main categories you’ll encounter for mortar are:
-
Hydrated Lime (or Non-Hydraulic Lime): This type of lime hardens very slowly by reacting with carbon dioxide in the air. This is called carbonization. It’s very breathable and flexible, which is great for historic buildings. However, it requires specific conditions to cure properly – it needs to be kept damp for an extended period and protected from frost. It’s often used for internal plasterwork or in sheltered locations where it’s not exposed to harsh elements.
-
Natural Hydraulic Lime (NHL): NHL is made from limestone containing natural impurities (like clay) that give it “hydraulic” properties. This means it can set with air and water, similar to cement, but it still retains the breathability and flexibility that make lime mortar so desirable. NHLs are graded by their compressive strength (e.g., NHL 2, NHL 3.5, NHL 5). The higher the number, the stronger and faster-setting the lime.
-
NHL 2 (Feebly Hydraulic): Slower setting, very flexible, good for softer stone or sheltered use.
-
NHL 3.5 (Moderately Hydraulic): A good all-rounder, suitable for most general repointing work and moderately exposed areas. This is likely what your house needs.
-
NHL 5 (Eminently Hydraulic): Strongest and fastest setting, best for very exposed areas or hard stone. Most residential foundations won’t need NHL5 unless you’re in an extreme environment, but always double-check with where you buy your lime to be sure.
-
Why We Chose Natural Hydraulic Lime (NHL) for Our Stone Foundation
I like to think of natural hydraulic lime (NHL) as the modern standardization of ancient lime. It uses the same ‘breathable’ chemistry that has worked for thousands of years, but it’s engineered to be predictable and reliable for real-world projects today. In other words, we don’t have to spend months tending to a lime pit or scouring the countryside for clayer limestone like an 18th-century mason. NHL gives us that historically close, hard set right out of the bag. NHL offers:
-
-
Durability and Weather Resistance: Stone foundations are constantly exposed to moisture, frost, and general weathering. NHL’s ability to set with water gives it a much faster initial set and greater resistance to these environmental factors compared to hydrated lime. This means your repointing work will stand up better to the test of time. We’re aiming for 100 plus years.
-
Faster Curing: While still breathable, NHL cures more quickly than hydrated lime, reducing the time your fresh mortar is vulnerable to wash-out or frost damage. This is a practical advantage, especially for exterior work.
-
Good Balance of Flexibility and Strength: NHL 3.5 is usually best for residential work. It’s strong but not too hard for your foundation while remaining breathable.
- Self-Healing: One of the coolest properties of lime mortar is autogenous healing. If micro-cracks form due to building settlement, the lime can actually dissolve when the foundation takes on moisture and re-deposit into the crack when the moisture is released or evaporates, effectively sealing itself. A concrete foundation is not going to heal itself.
-
Why “Type S” Lime is Often the Wrong Choice
If you’ve talked to a modern mason or spent time in the hardware store aisle, you’ve likely seen bags of Type S Hydrated Lime. While it is a lime product, it is fundamentally different from the Natural Hydraulic Lime (NHL) used in historic restoration.
-
The Portland Problem: Type S lime is technically “special” hydrated lime (standardized under ASTM C207), designed primarily to be an additive for Portland cement to improve its plasticity, and is not manufactured to stand on its own.
-
Lack of “Set”: Unlike NHL, Type S lime has no natural hydraulic properties. It cures only through carbonation—absorbing carbon dioxide from the air. Without cement to help it “set,” a pure Type S lime and sand mix can remain soft or “mushy” for an incredibly long time, especially in deep joints, if you’re filling large voids, or rebuilding sections of your stone foundation entirely.
-
The Incompatibility Trap: If you mix Type S with Portland cement (as many suggest), you create a mortar that is often harder and less permeable than the historic stone itself. This traps moisture inside the stone, leading to “spalling” (the face of the stone popping off) during freeze-thaw cycles.

Where do you buy your natural hydraulic lime (NHL)?
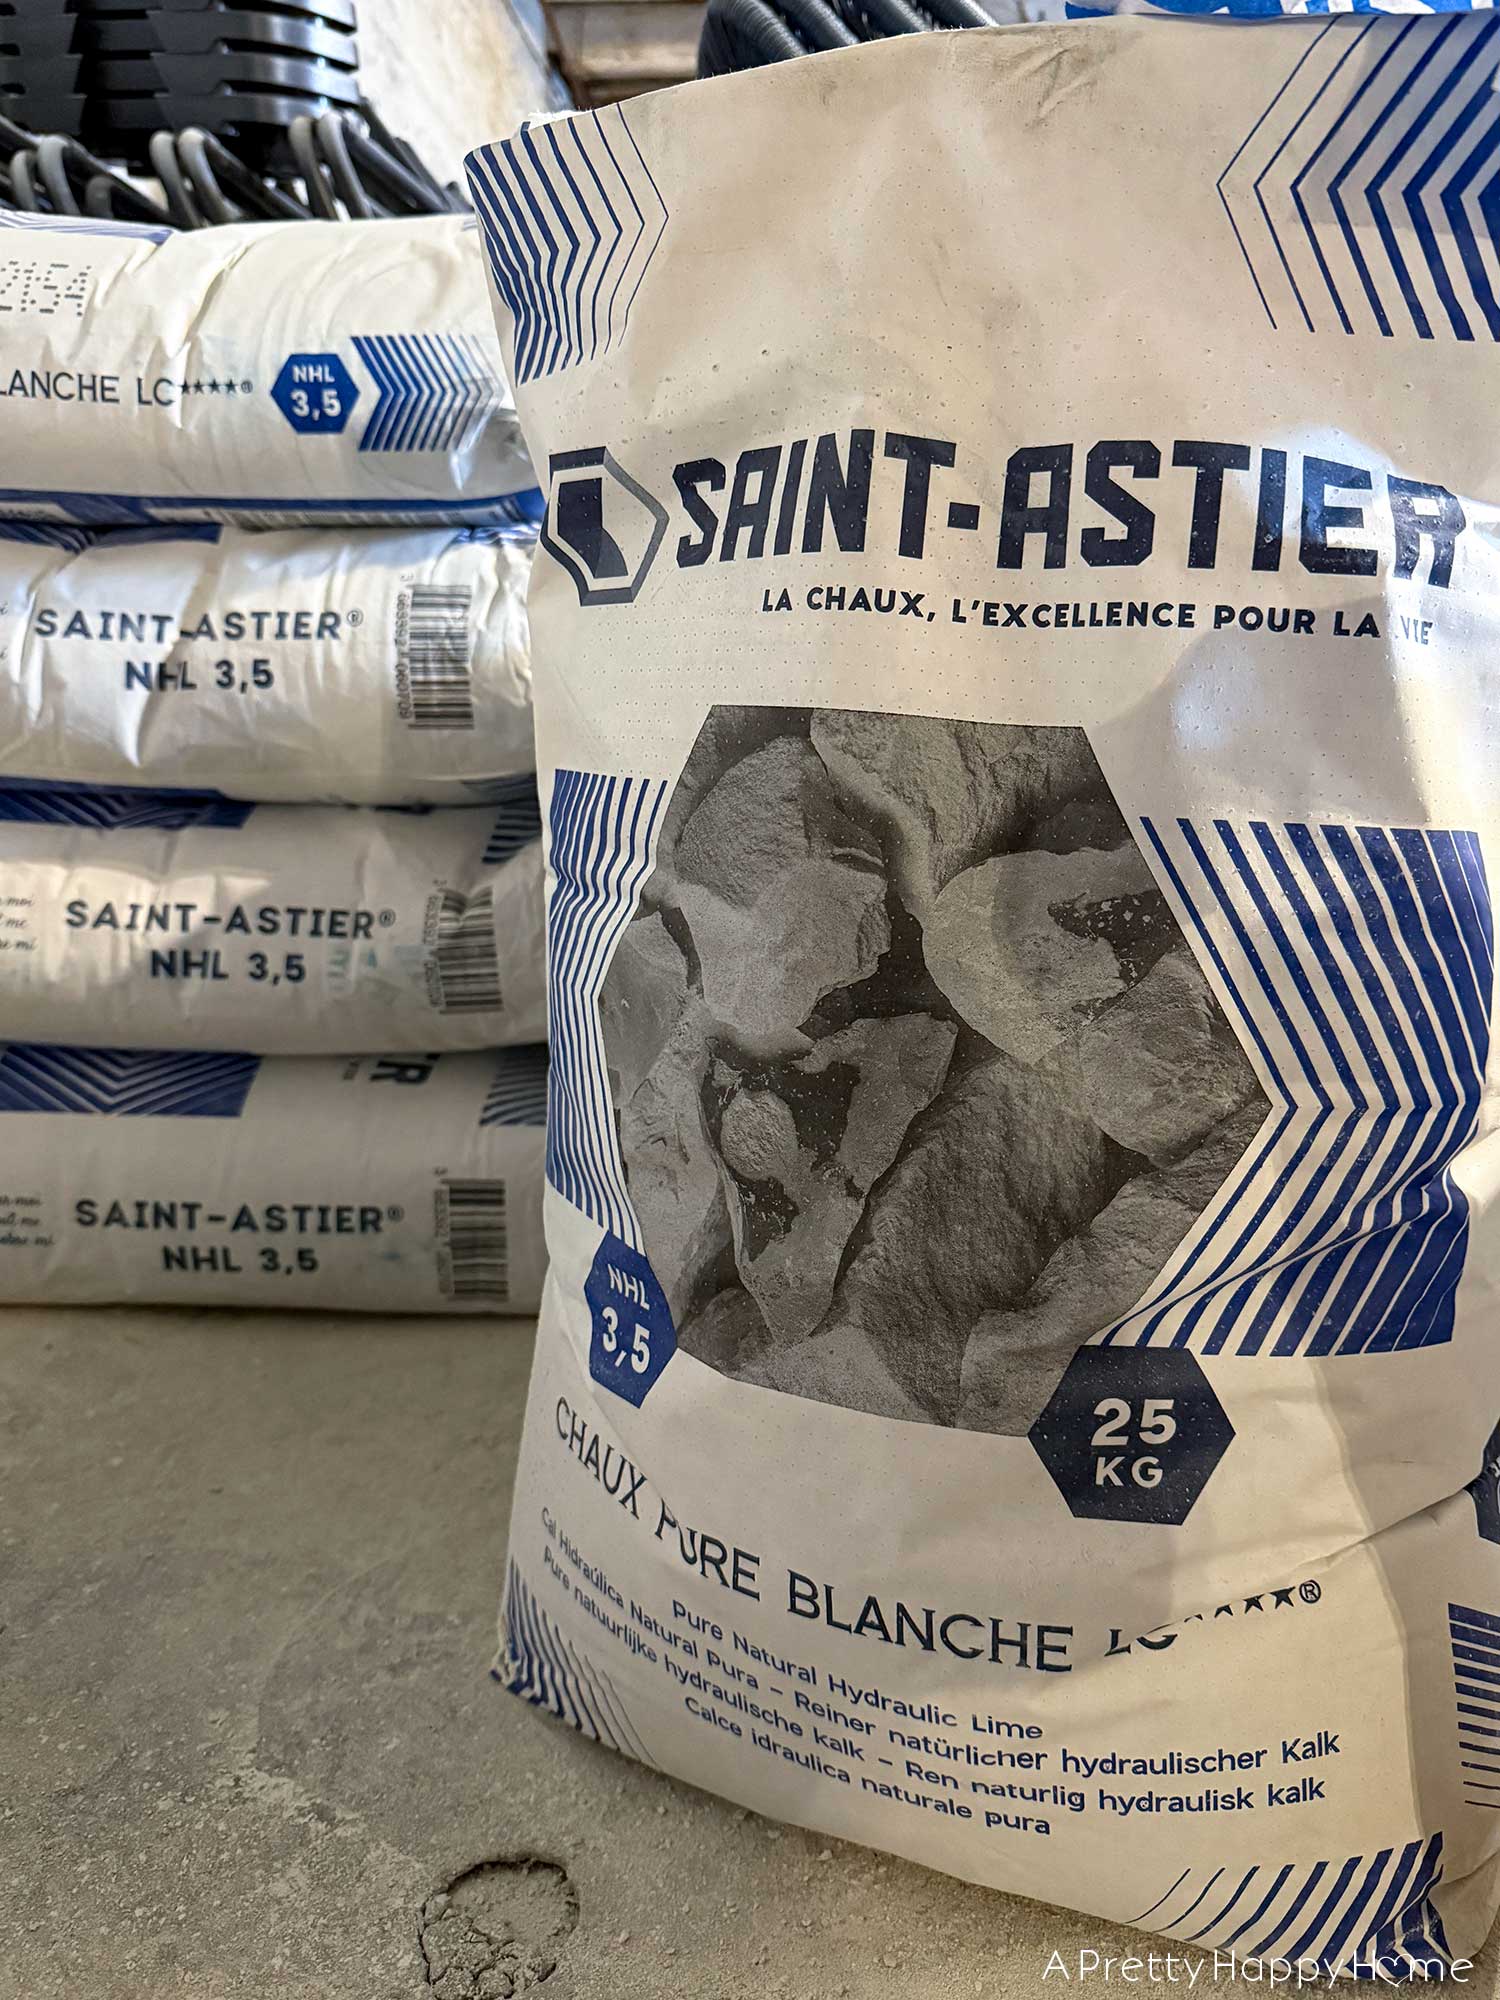
There are a variety of places to get NHL, so feel free to shop around. We use the Saint Astier brand, which comes from France.
We buy it from Limeworks.us in Pennsylvania. That’s not sponsored, but I’d love it if you told them we sent you there. Maybe they’ll give us all a discount if enough people mention it. Hope springs eternal.
In the United States, Saint Astier NHL has been used on the Provo Tabernacle, the Parliament Buildings in Ottawa, Canada, St. Patrick’s Cathedral in New York City, Carmel Mission in California, and the Rotunda at the University of Virginia, among other places. (source)
In Europe, Saint Astier NHL has been used at Notre Dame de Chartres, Pont du Gard in Provence, and the Arc de Triomphe in Paris, among others. (source)
What type of sand should I use when mixing lime mortar using NHL?
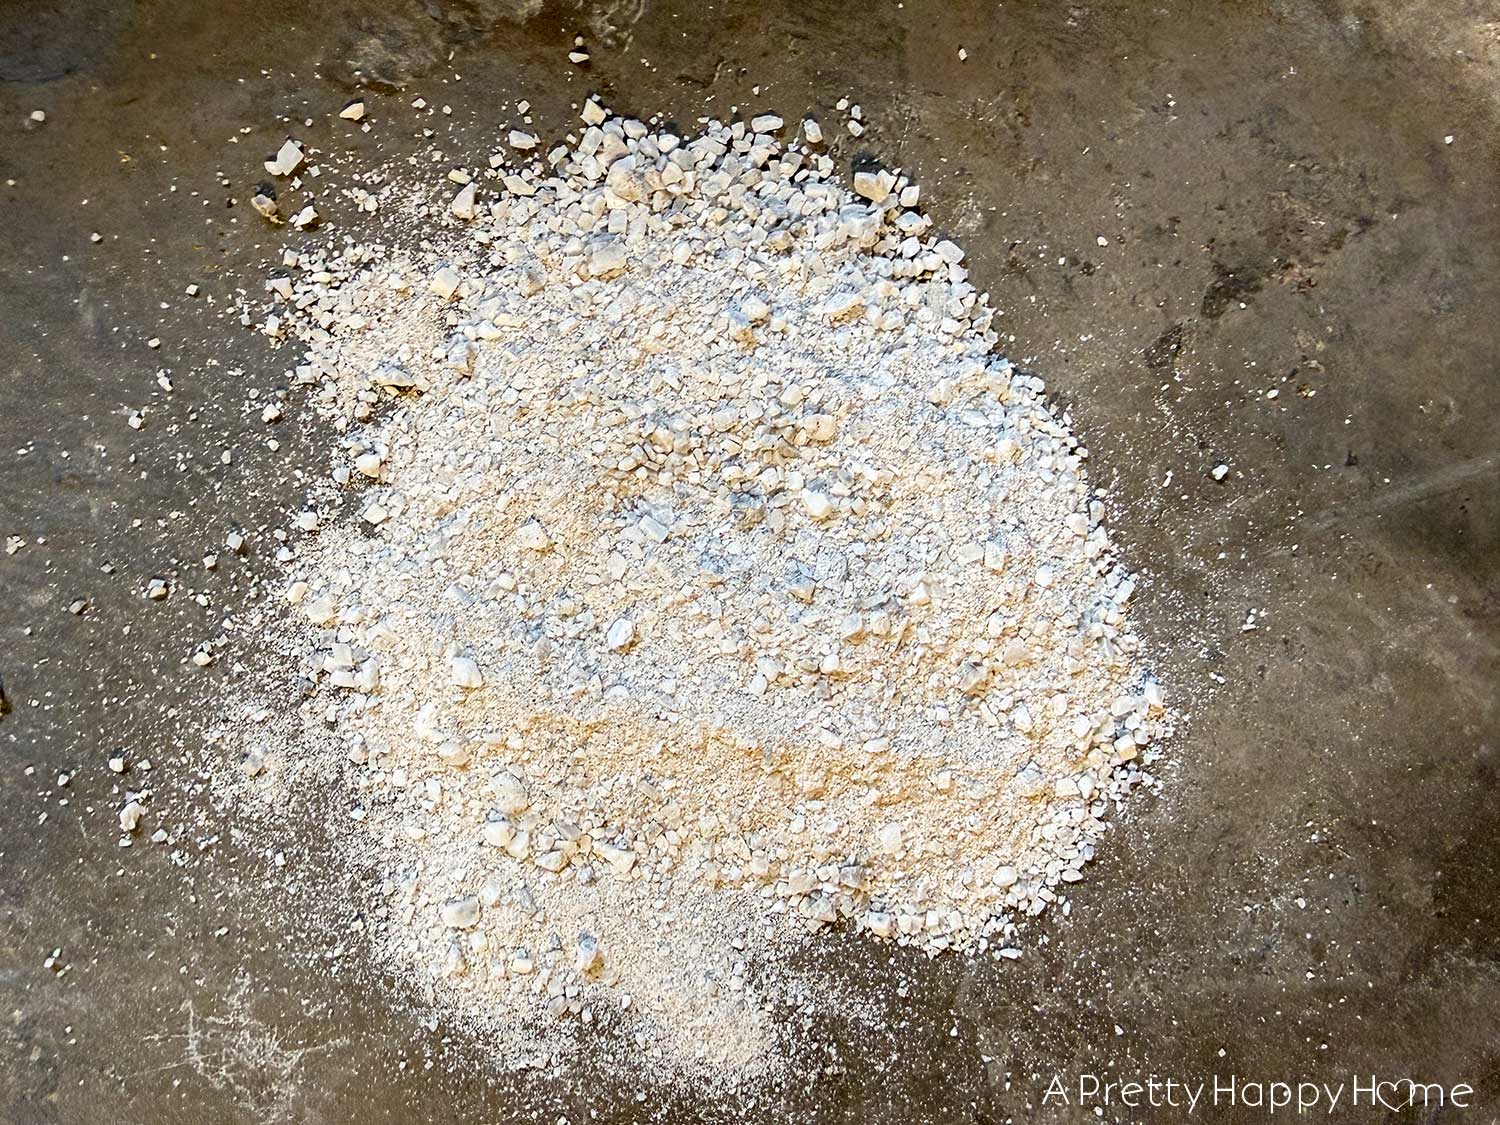
The sand you use is just as important as the lime, as it contributes to the structural nature of your mortar. You’re looking for ‘sharp sand’ that has irregular-sized, angular parts. These jagged pieces lock together when the lime mortar cures, making a strong, durable mortar.
Whatever you do, don’t use a fine, soft sand like play sand or masonry sand. Imagine a bag filled with marbles and how those marbles can slip and slide around if the bag moves. That’s what your mortar can do if you use fine sand with rounded edges to mix your lime mortar.
Keep in mind, the color of your sand will determine the color of your mortar. Grey sand equals light grey mortar when cured. Brown sand equals light brown mortar when cured. The quarry the sand comes from is often the determining factor whether the sand is grey or brown. Color additives do exist, but we don’t have experience with those.
If you can get your sand locally, that’s the best scenario.
It’s hard to find in our area, but we use sand from Quikrete called ‘all-purpose sand.’ You have to watch for bags that are too chunky, which makes it hard to smooth unless you want to sift or screen it, but generally speaking, it has the right mix of particles. You can also try ‘concrete sand’ or ‘washed sharp sand.’
Keep in mind that Quikrete uses a variety of quarries in the U.S., so their sand can be grey or brown. It’s usually grey in our area, despite what the online listing shows. You can always return bags of sand that don’t suit your needs to the store.
If you’re buying your lime from a company that specializes in historic restoration, they might sell sand or even offer pre-mixed products so that you don’t have to worry about tracking down sand.

What ratio do you use to mix your lime mortar?
Most advice online is for a 1:3 ratio of lime to sand.
For the particular Saint Astier NHL3.5 we are using, the spec sheet advises a ratio of 1 part lime to 2.5 parts sand. (source) Then add water a little bit at a time, mixing as you go.
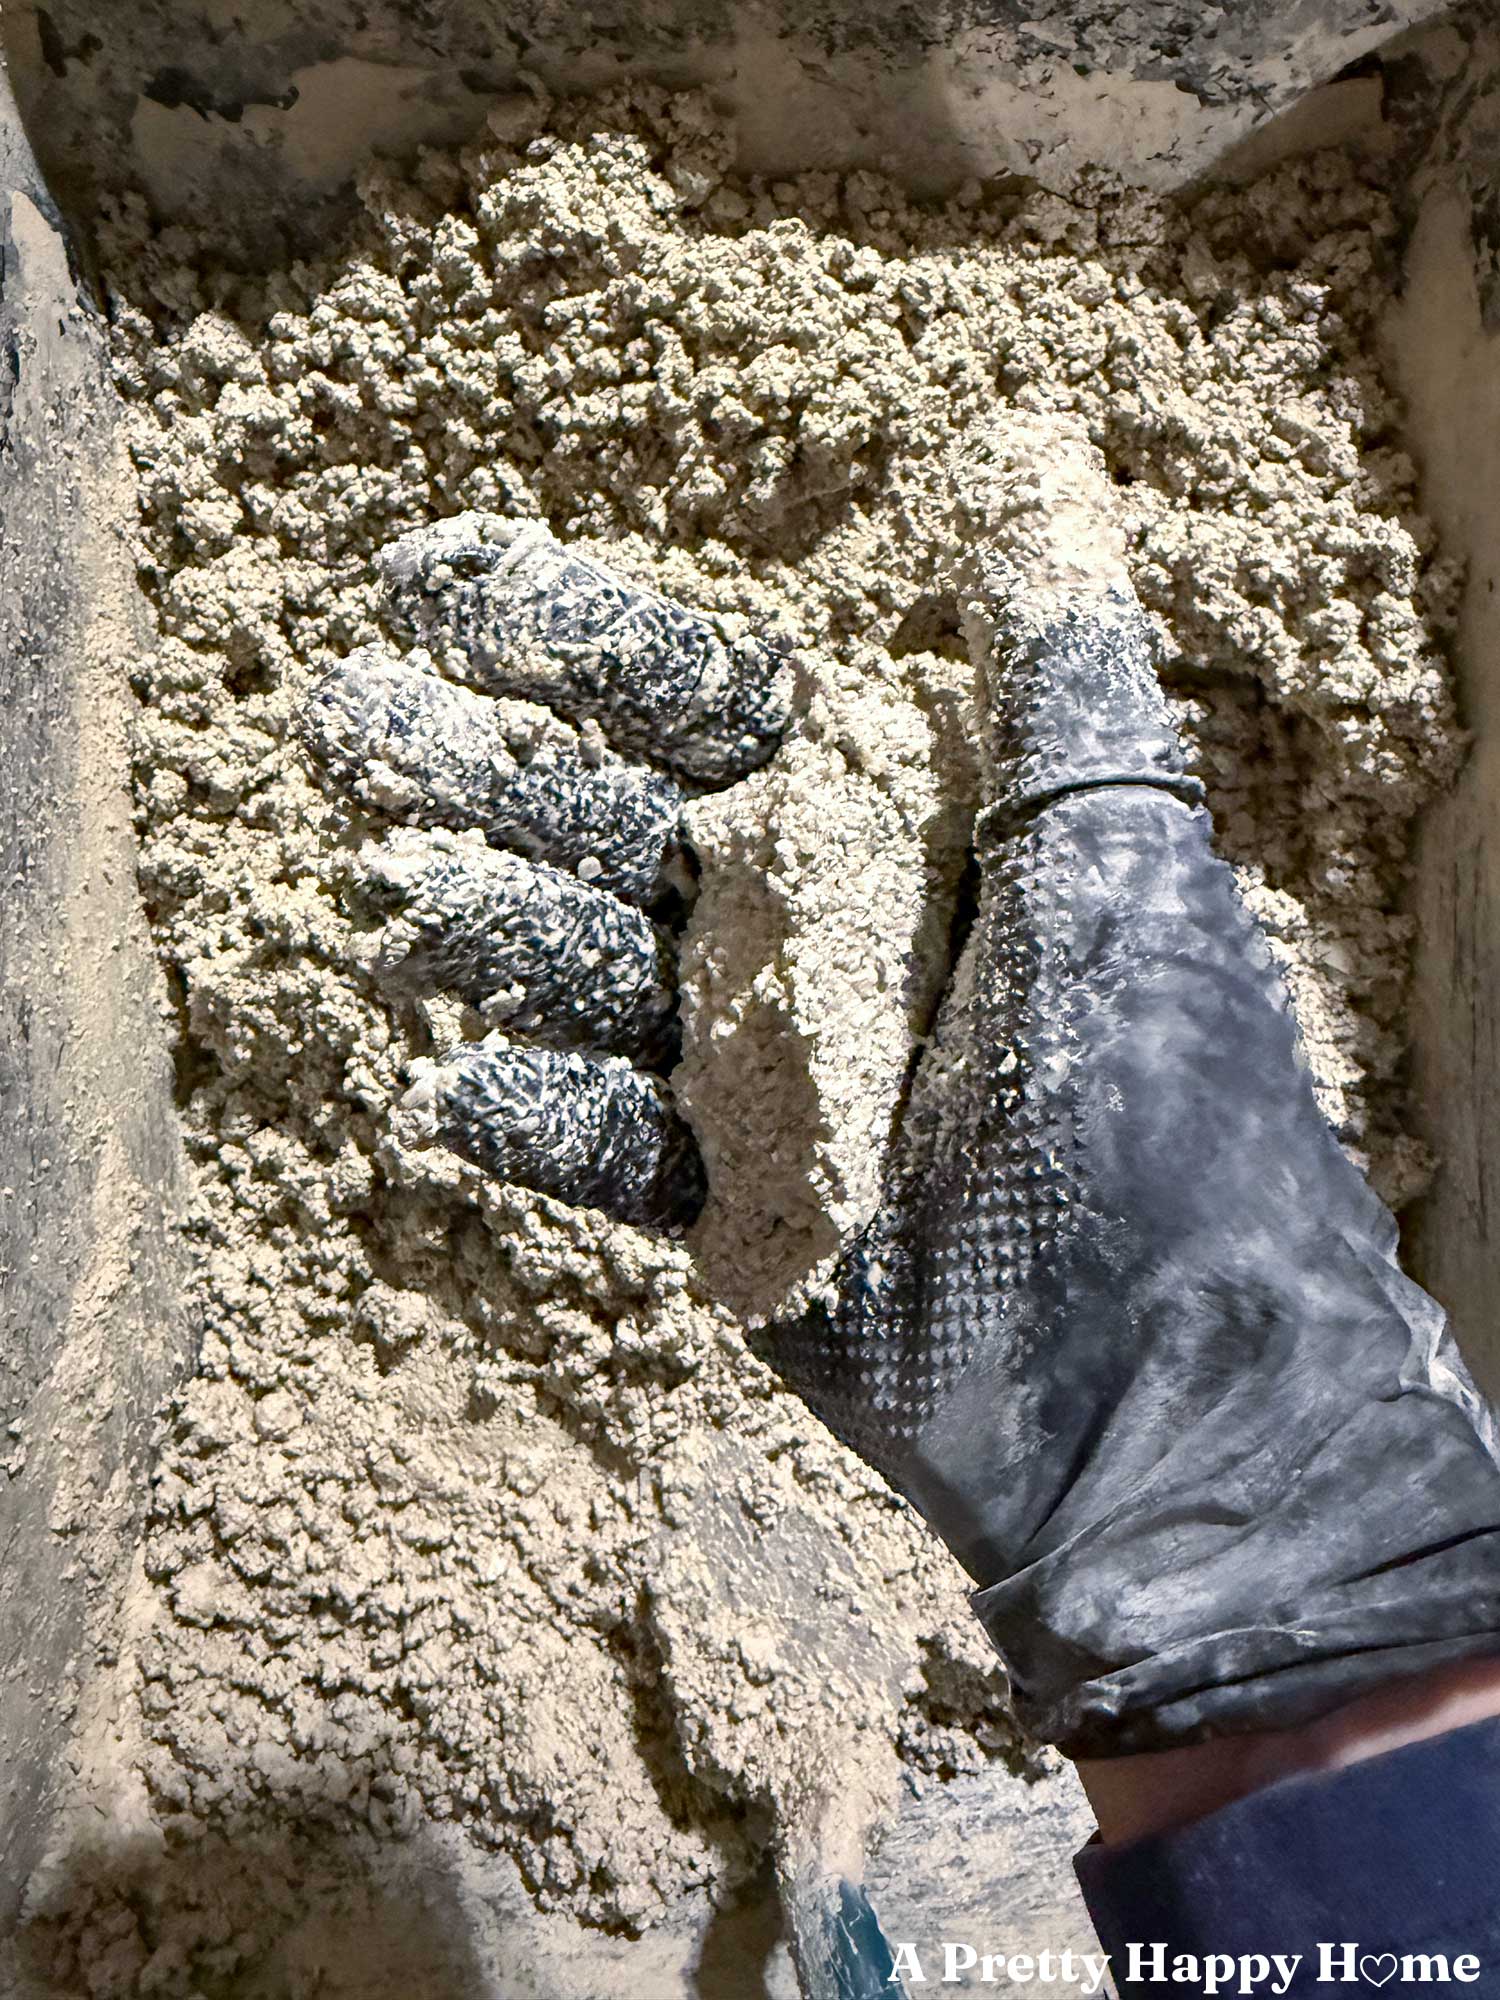
You want to add just enough water so that if you grab a fistful of the mortar, it will hold together when you squeeze it. Too little water and it won’t stick together. Too much water and it won’t stay on the wall. It will just run everywhere, making a mess, taking forever to dry, and it won’t be as strong.
According to the spec sheet for this Saint Astier NHL, you’re supposed to mix for ten minutes, rest for five minutes, and mix for five more minutes. (source)
Generally speaking, the stiffer your mix is (less water), the stronger and less prone to cracking and chipping it will be, especially during freeze-thaw cycles.
We use an old mixing bowl for our measuring device and mix the mortar with a trowel in a mortar tub.
If the mortar is too wet, just add a little more lime and sand until it gets back to the right consistency. It won’t take you long to get the hang of what works for you.
How much mortar do you mix up at one time?
I only mix up however much mortar I can apply in about an hour.
If it starts to dry out because you’re working in the hot sun, you can mist the mortar with water.
From experience, I can tell you that 50 pounds of sand and the corresponding amount of lime is the maximum that will fit in a mortar tub and still be able to mix by hand. I only ever mix this large amount of mortar if I’m building a stone wall from scratch or repairing a huge hole in a foundation.
Is it hard to apply the lime mortar?
No. It’s not hard, and I find it rather satisfying, but it does take some practice to learn how to use the tools. I started by watching repointing videos from the U.K. You can also take classes at Lancaster Limeworks or Limeworks.us.
The general technique is to scoop your mortar onto a mason’s hawk (a board that holds mortar) with a trowel. If you kind of mush or push the mortar together into a pile on your hawk, it can make it easier to work with. Then use a slicker to push the mortar off the hawk and into the joint, smoothing as you go. I actually like to use a utility patcher instead of a slicker, and I do find it easier to push the mortar off my trowel than my hawk. This is probably because I need a smaller hawk.
When the mortar dries just enough, brush it to remove excess sand. Don’t skip this step. It will also help give your mortar that historic look you’re probably going for.
Frankly, I still use my hands for repointing way more than I should because it’s still more efficient for me to fill tricky, odd-shaped joints and reach into large voids with my hands than with my tools. I’m working on it! It’s a learning process, and most of us only ever have to repoint one foundation, so give yourself a little grace with your technique. At least you’re getting the job done!
Unfortunately, bagging this lime mortar in a grout bag and piping it into the joints doesn’t really work if you’re using sharp sand that gets caught in the bag. You would also have to make the mortar really wet, and that’s not ideal either. If you see someone bagging their lime mortar, I’m guessing they are probably using Type S lime and round sand.
As a side note, if you brush your mortar enough, it shouldn’t drop dust too much after it has fully cured. It takes 28 days for a full cure. For my final clean of an interior space, I will also vacuum the wall with the brush attachment on our shopvac to get off any remaining dust.


Does your wall have to be wet?
Yes. You don’t want your foundation to be sopping wet, but you do need to mist or wet the stones and mortar to help the new lime mortar adhere. You can use a water spray can or carefully use a hose.
You’ll know if you got your wall too wet because your perfectly mixed lime mortar will suddenly be too wet and goopy when you try to apply it. If that happens, wait for the wall to dry a little before proceeding.
If you’re adding new rocks to the wall, you need to get those wet before placing them.
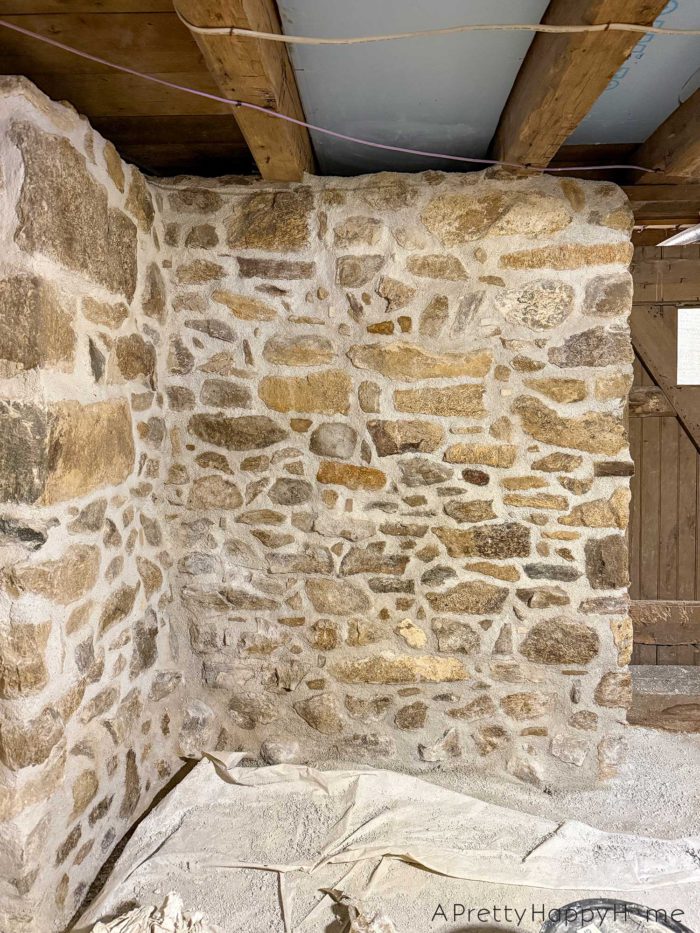
How do you get the old lime mortar out of the wall?
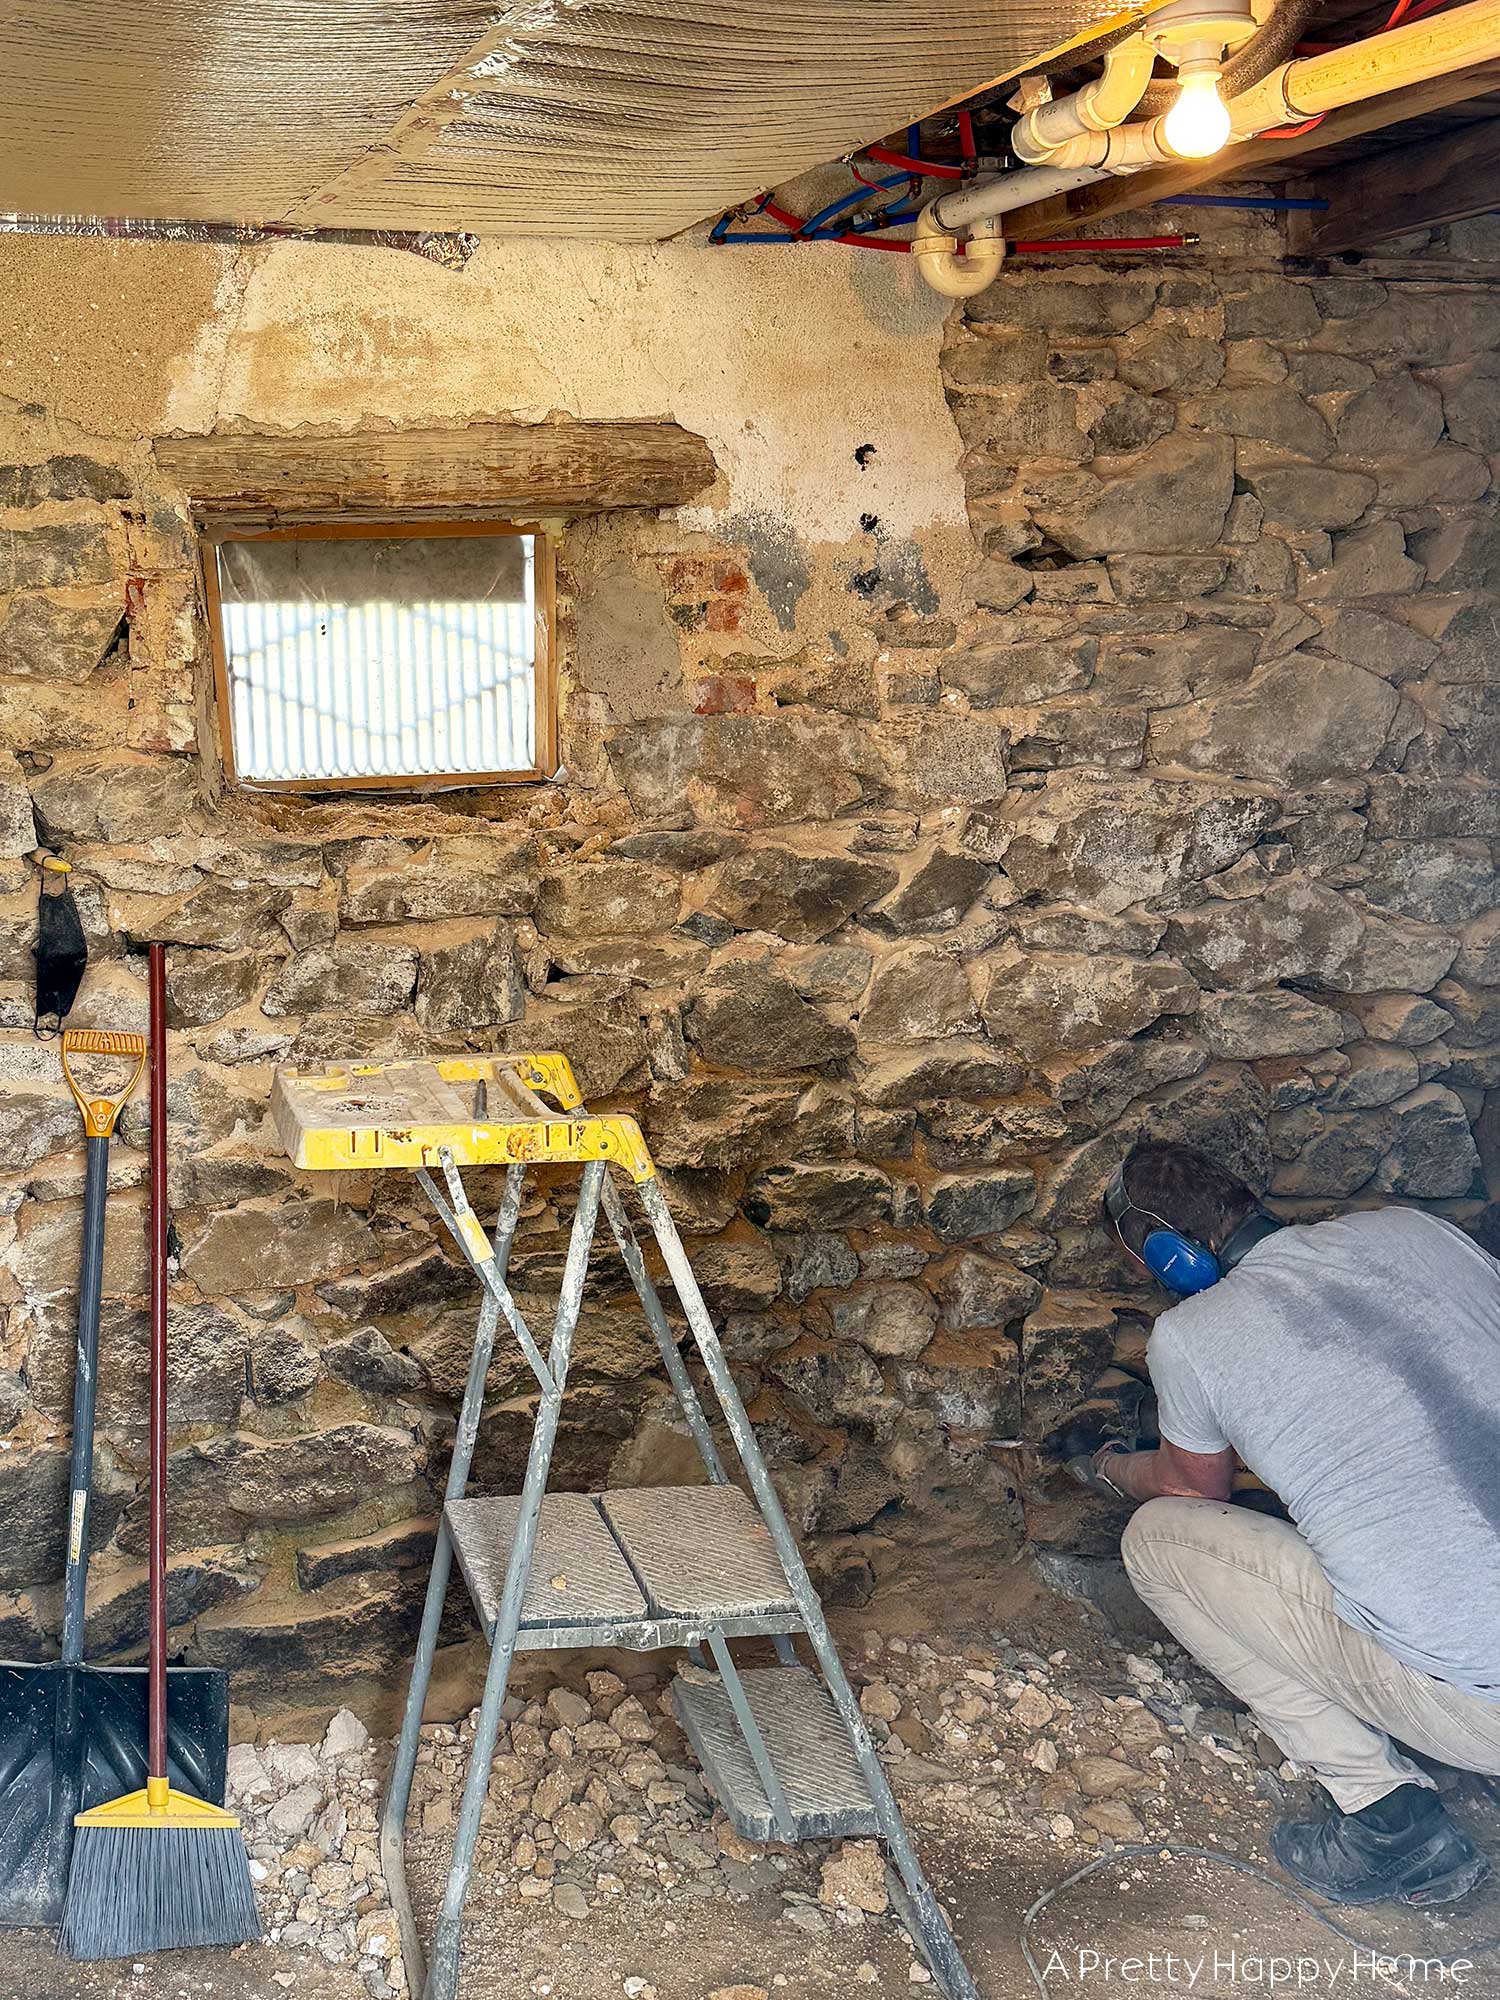
You have to ‘chip’ out the old mortar. The easiest way to get it out is to use a pneumatic chisel. We use a chisel bit on our hammer drill because that’s the tool we own.
I’m not going to lie, it is a little unnerving to chisel on your foundation at first.
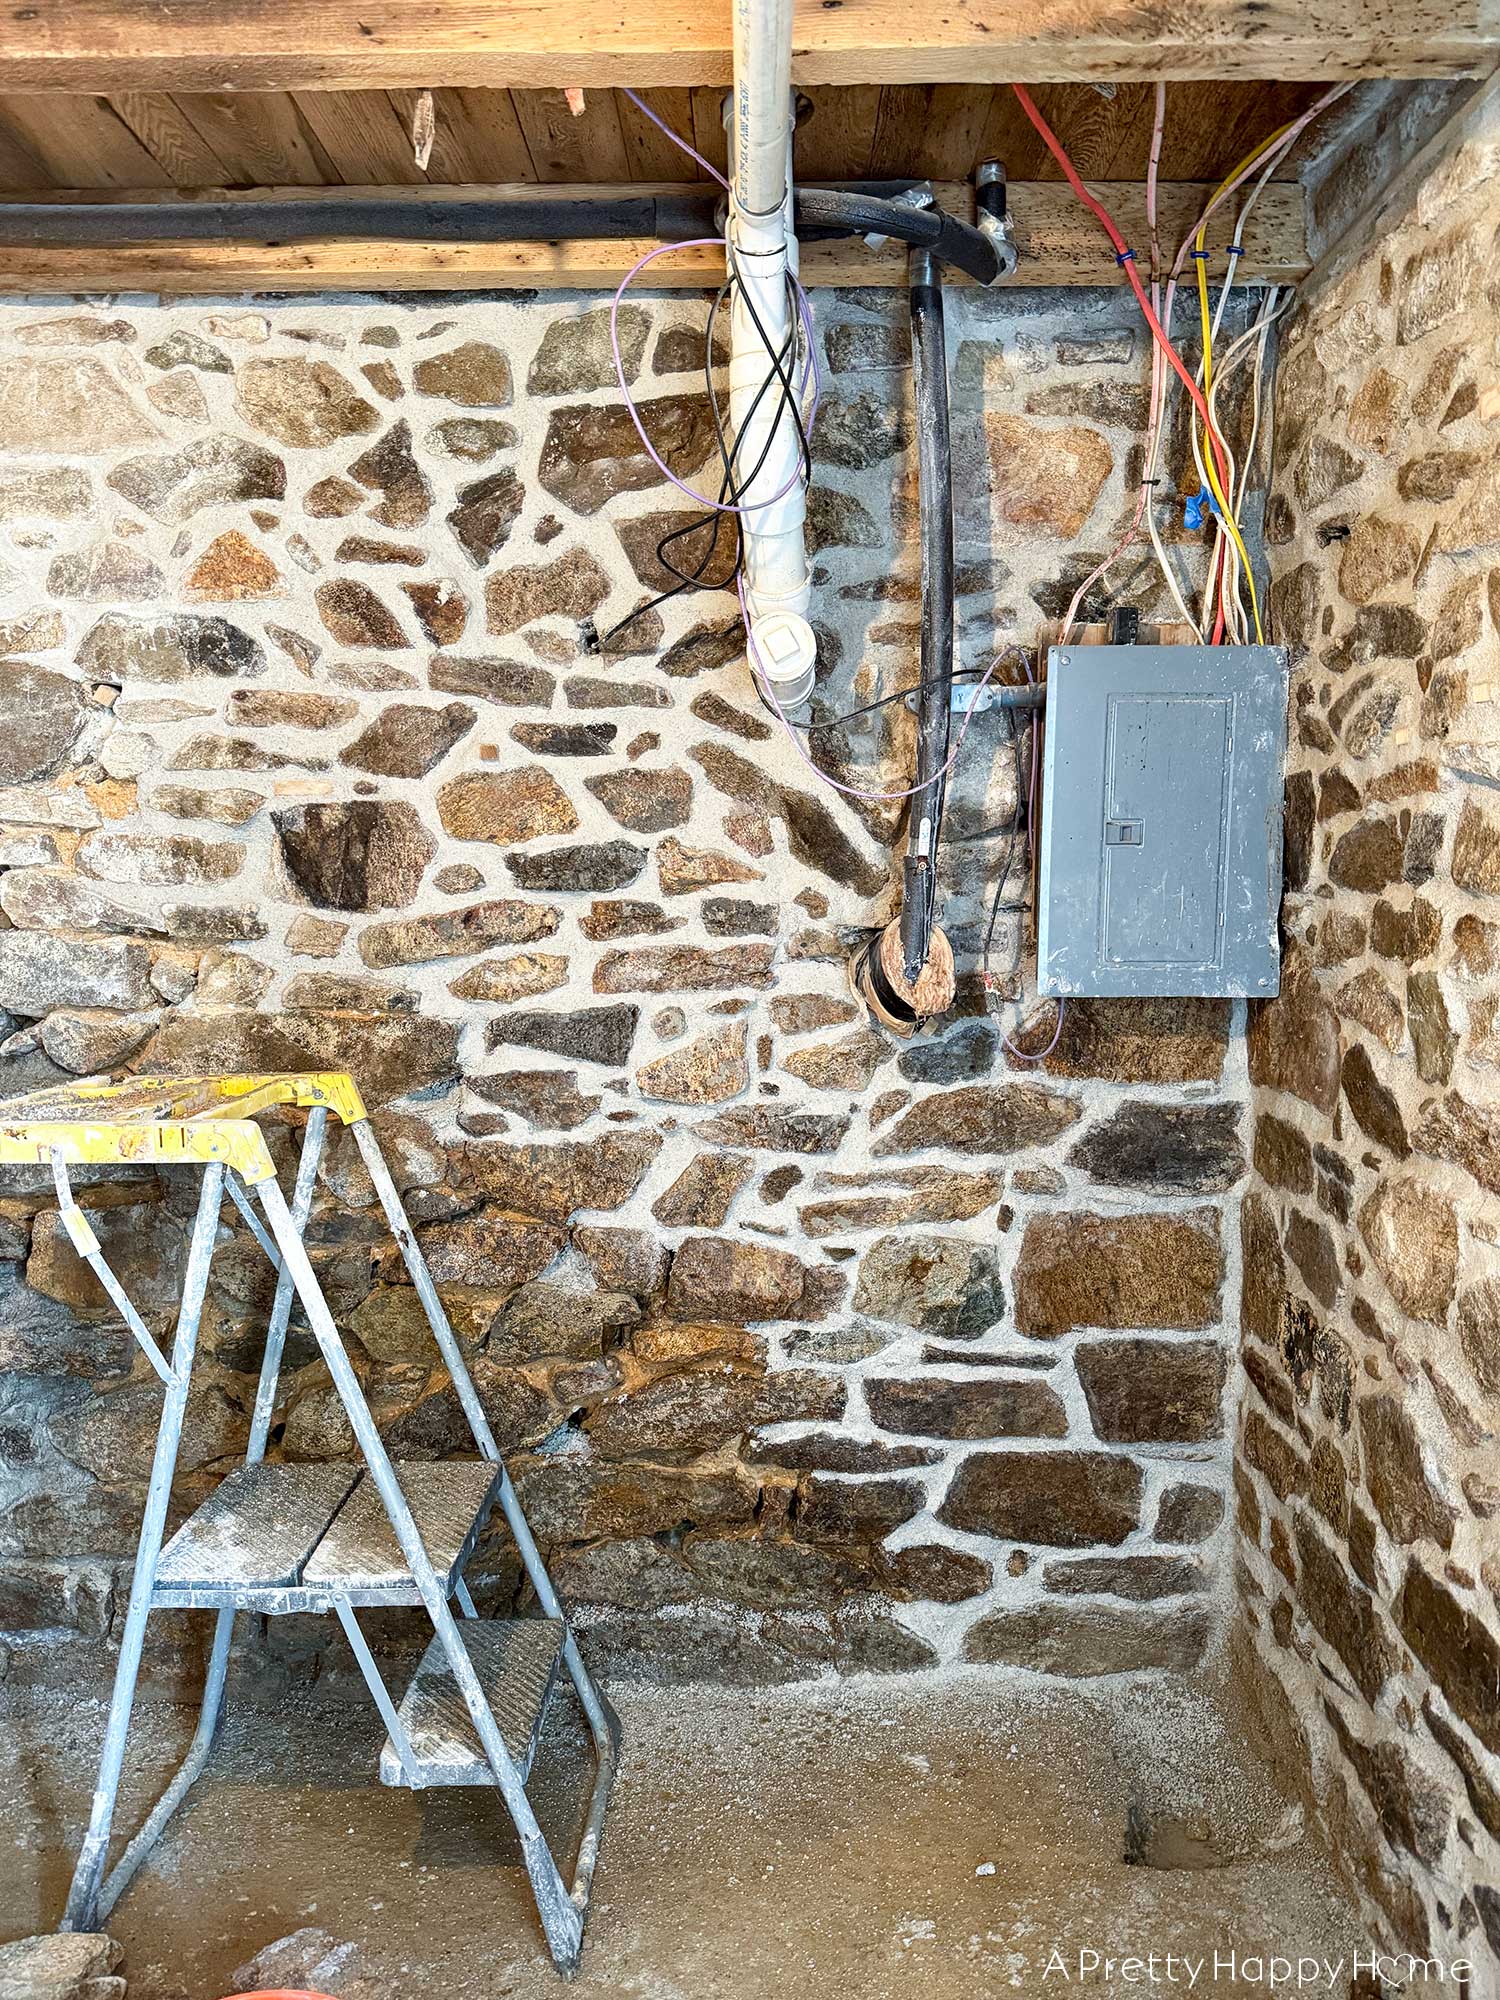
You will also likely need to use a small hand chisel at times to get into tight joints or when working around pipes and wires. I’ve heard of people using an oscillating multi-tool to get into tight joints. If you have the space to maneuver the tool, this should also work.
If you have concrete on your foundation, as we have had in places, it’s a lot harder to chip out than the lime mortar. Cursing at it does not help it come out any faster, but we tried it…for science.

How much of the old lime mortar do you have to remove?
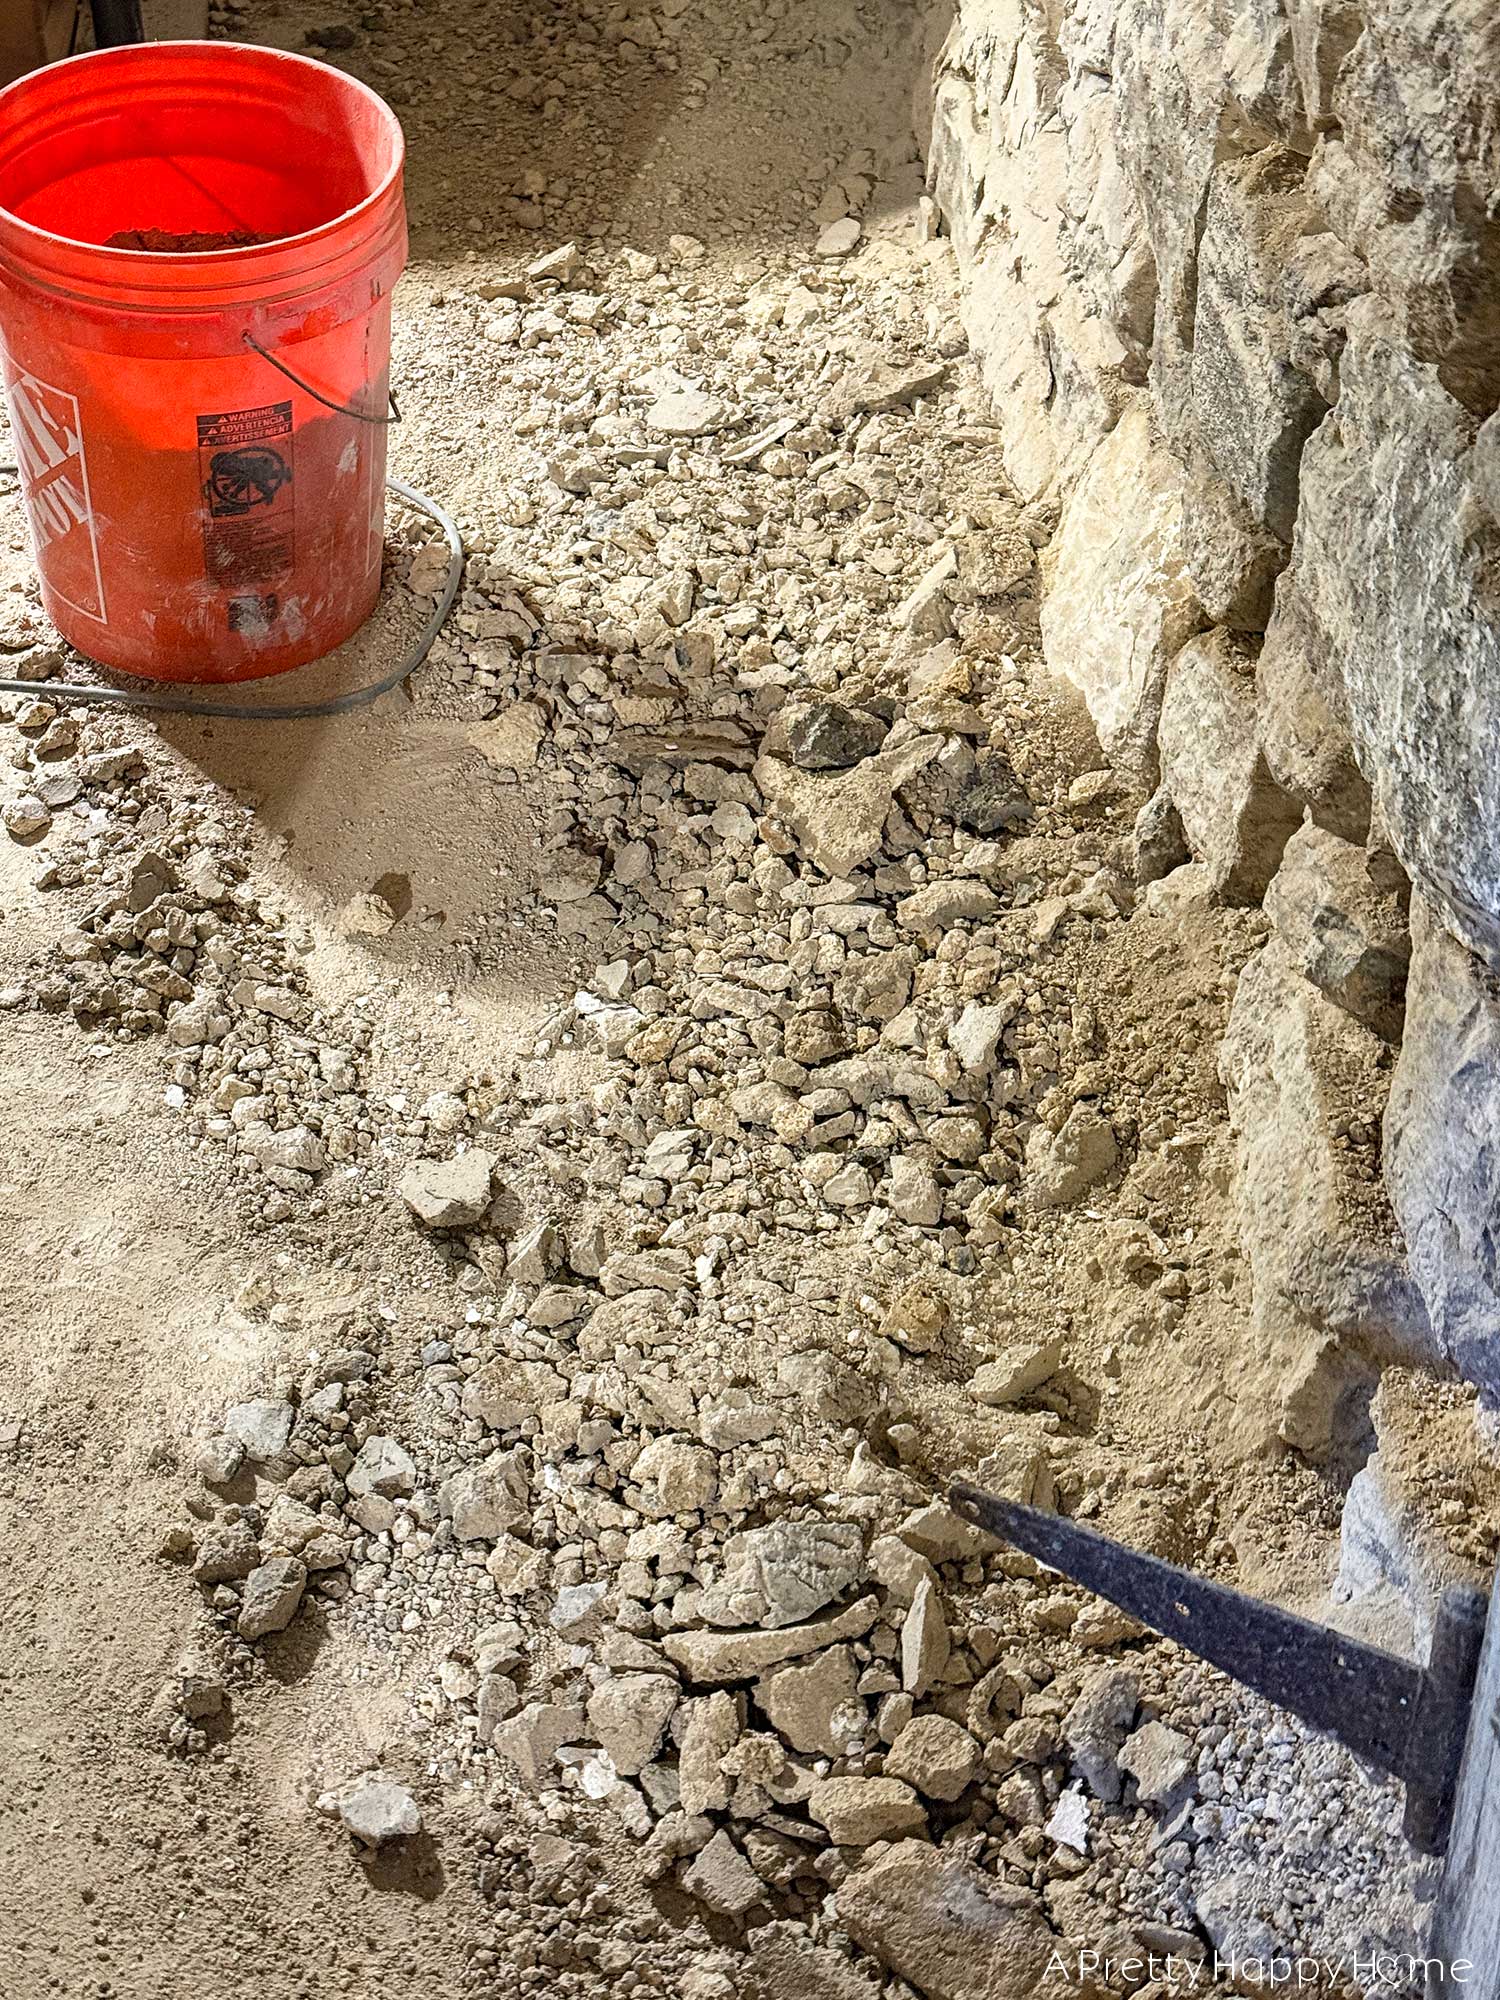
You need to chip out 1 inch to 1.25 inches of mortar around every stone.
Sometimes, the mortar just crumbles when you start chipping, and you’ll end up with deeper voids to fill. This is fine. Remove all the loose stuff you can reach.
In addition, save all the small rocks that come out of the wall when you chip. Even if they won’t be face rocks, you’ll use them to help fill large voids in between rocks so that it’s not all mortar. That’s why they were in the wall in the first place. These smaller rocks give the mortar something to grab onto and make your wall stronger.
How do you clean up mortar dust?
Clean up isn’t as much fun as chipping, but it is so critical. It is important to clean up as much of the mortar dust and debris as possible before you start repointing because you want the new mortar to stick to the actual stones, not the dust.
You’ll generally find a combination of brushing the wall and vacuuming the wall to work best. We try to do as little brushing as possible because it kicks up a lot of dust, and chipping is already a dusty project.
Make sure you have a good mask or respirator to wear!
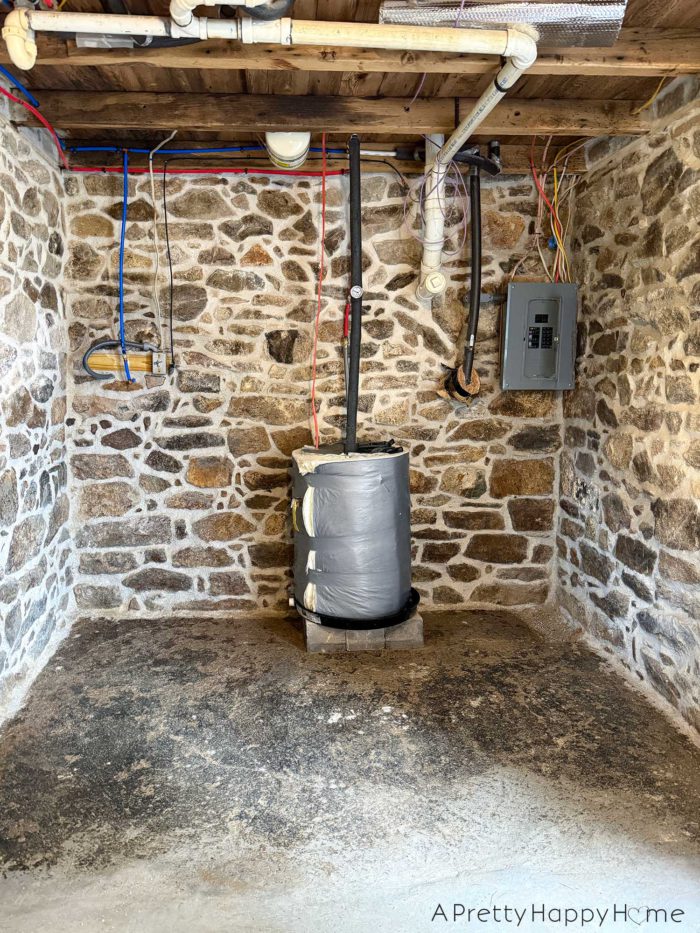
When we work in our basement, we turn off the boiler so it isn’t sucking in dust. We also cover the smoke detector JUST while we are working because dust can make the smoke detector malfunction, and we all know smoke detectors like to malfunction in the middle of the night just to mess with us.
Can you reuse the old lime mortar?
Technically, yes. The Victorians did this because sand was heavy to transport and added to the cost of repointing. You would have to grind up the old lime mortar to turn it back into sand, and then add more lime to turn it into new lime mortar.
This is already a labor-intensive job without adding this to the project scope.
I got a lot of lime mortar on the face of my stones. How do I get it off?
This is where it gets tricky, and I’m trying not to deviate from what you’re supposed to, as opposed to what I actually do.
Technically, when the mortar is thumbprint hard, you may be able to brush some excess off. If you wait longer than a few hours, it’s really hard to get it off.
This never gets the stones clean enough for me, and some of them are just dirty in general, so this is where I deviate from expert advice. (Don’t be like me.) I will dip a hard toothbrush in water and brush the stone faces, being careful not to disturb the new mortar joints, and then wipe the stone faces off with a towel. I don’t use a sponge for this because it shreds so quickly on our stone foundation.
If the fieldstone dries and two days later there’s a lime haze on the stone that drives you nuts, you can use diluted vinegar to clean the stone faces. Again, you have to be careful not to get it on the mortar, so I use a rag for this, not a brush so that it’s not dripping down the wall. You can also wet the stones first to try and prevent the vinegar from penetrating too far into the stones. Don’t use this technique with limestone.
If your stones have some sort of lime plaster on them that you want to remove, and the vinegar isn’t working, a “risky for a variety of reasons” option, and you shouldn’t do it, even though we have, is to use a wire brush attachment on a drill. It’s risky because it can throw sparks, damage your stones, and/or damage your mortar. Also, the internet will yell at you, so don’t do it.
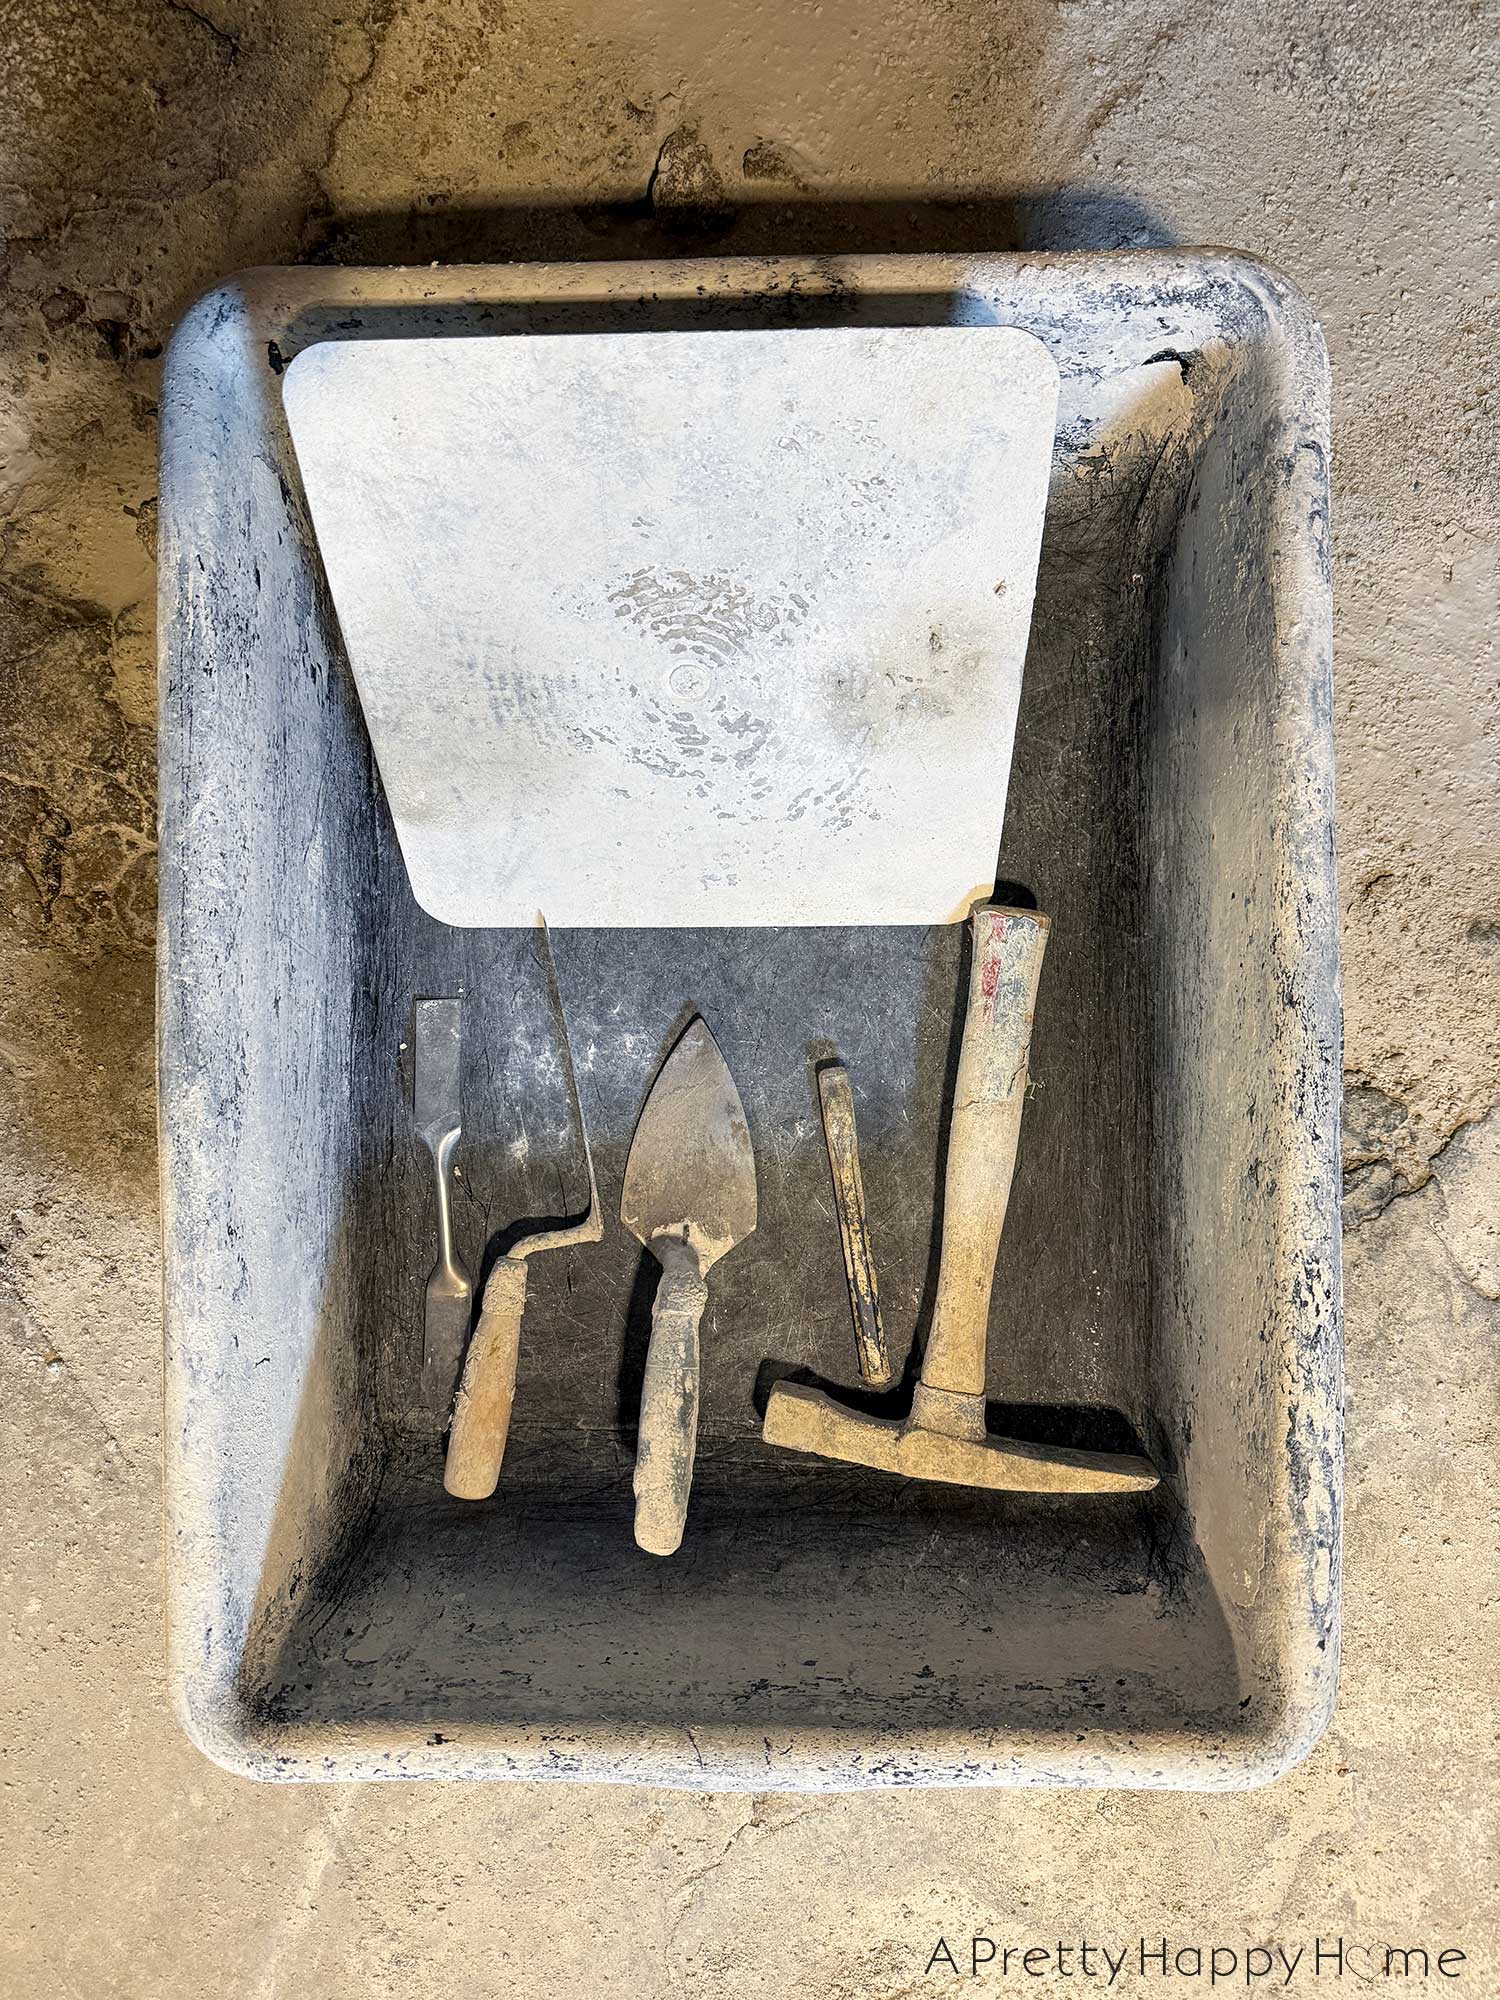
What tools do I need to repoint my stone foundation?
There are more masonry tools, and maybe you’ll prefer those, but these are the ones that we use the most. If you don’t already have one, a pneumatic chisel will be the most expensive tool.
If it’s easier, almost everything here can be found in one spot on our Amazon Storefront.
mason’s hawk (Comes in different sizes.)
mortar tub
trowel
slicker like this or this set (They come in different sizes.)
utility patcher (This is easier for me to use than the slicker for the fieldstone.)
(not pictured) churn brush
masonry hammer
chisels
pneumatic chisel (We use this hammer drill with a chisel bit.)
shop vac
respirator
safety glasses
ear protection
gloves (comes in different sizes)
Lime mortar is caustic, so definitely wear gloves.
Why are the “experts” always arguing about what type of mortar to use?
If you start searching for lime mortar advice online, you will quickly realize that the preservation world is full of debate. You’ll find purists who only use lime putty, old-school contractors and modern masons who want to add cement, and scientists arguing over chemical ratios. Everyone thinks they are right and their way is the best. It’s so confusing.
Don’t let the noise stop you. Most of these arguments are about high-level restoration for monuments or cathedrals. A lot of them are specific to brick.
For a homeowner wanting to save their stone foundation, the debate usually boils down to a few things everyone CAN agree on.
-
The Mortar Must be “Sacrificial”: The mortar should always be slightly softer and more porous than the stone itself. If the house settles or the water freezes, you want the mortar to crack, not your 200-year-old stones. It’s taking the brunt of the effects of time and weather.
-
The Wall Must “Breathe”: Moisture will get into your foundation. It needs to evaporate through the mortar joints. If you “seal” the wall with modern cement, that water gets trapped, freezes, and eventually explodes the face of your stone (a process called spalling).
-
Sand is the Skeleton: You cannot use fine, round “play sand.” For the wide gaps in a stone foundation, you need sharp, well-graded sand. Well-graded means it has a variety of particle sizes. The jagged edges of the sand grains interlock like a jigsaw puzzle, providing structural strength.
Where can I get more information?
In this post, I reference LimeWorks.us and their Saint-Astier NHL products frequently. That’s not sponsored. I do this because they provide something many academic sources don’t: clear, modern instructions with their technical data sheets. I have pored over so many academic papers, and they are confusing, contradictory, and often talk about brick instead of fieldstone, or large buildings.
Saint Astier NHL3.5 Cut Sheet (General Overview and Instructions)
Saint Astier NHL3.5 Technical Data Sheet
Photos of NHL Breathability Compared to Lime Putty and Cement
If you’re here, I know you want to be the best steward of your home as you can be, given your available time, resources, and the needs of your old house. The good news is you have choices. I encourage you to take this information and do your own research. Call Limeworks.us. Call Lancaster Limeworks. Go to their websites, which are filled with information. Take a class.
If nothing else, it will give you more information to ask better questions if you decide to hire a mason to do the repointing of your stone foundation. No shame in that game!
Thank you for letting me distill some of this information for you. If you have other questions or comments, please drop them in the comments. You can also email us here, or reach out via direct message on Instagram or Facebook.
Happy Repointing!
Stone Carriage House Gym: Expansion Part 1
Curved Fieldstone Wall: Part 4: Reveal Section 1
Basement Workshop Stone Repointing: The Concrete Problem
*affiliate links in this blog post*