

Welcome back to our Basement Workshop Stone Repointing series. This is part 4, where I tell you how our floor joists have taken a starring role in this melodrama.
Anatomy of an Old House
Way back in the 1780s, when this house was built. It was a humble one-room structure with a sleeping loft. If you’ve been reading this blog for a while, you know this room as our dining room with the big fireplace. The sleeping loft is now our office.
This humble house, of course, had a stone foundation, which is the basement workshop that we are repointing now. We don’t know where this basement area was accessed, but we can tell you where it wasn’t accessed.
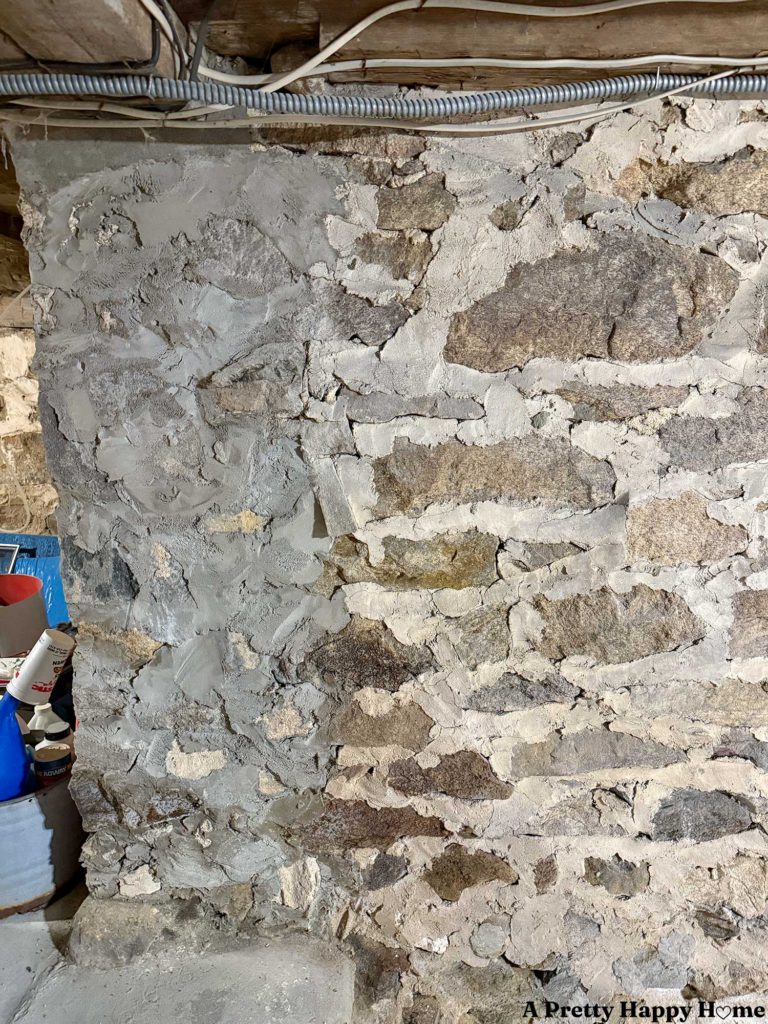
It wasn’t accessed from the doorway opening where there is concrete smeared all over the foundation, as seen below.


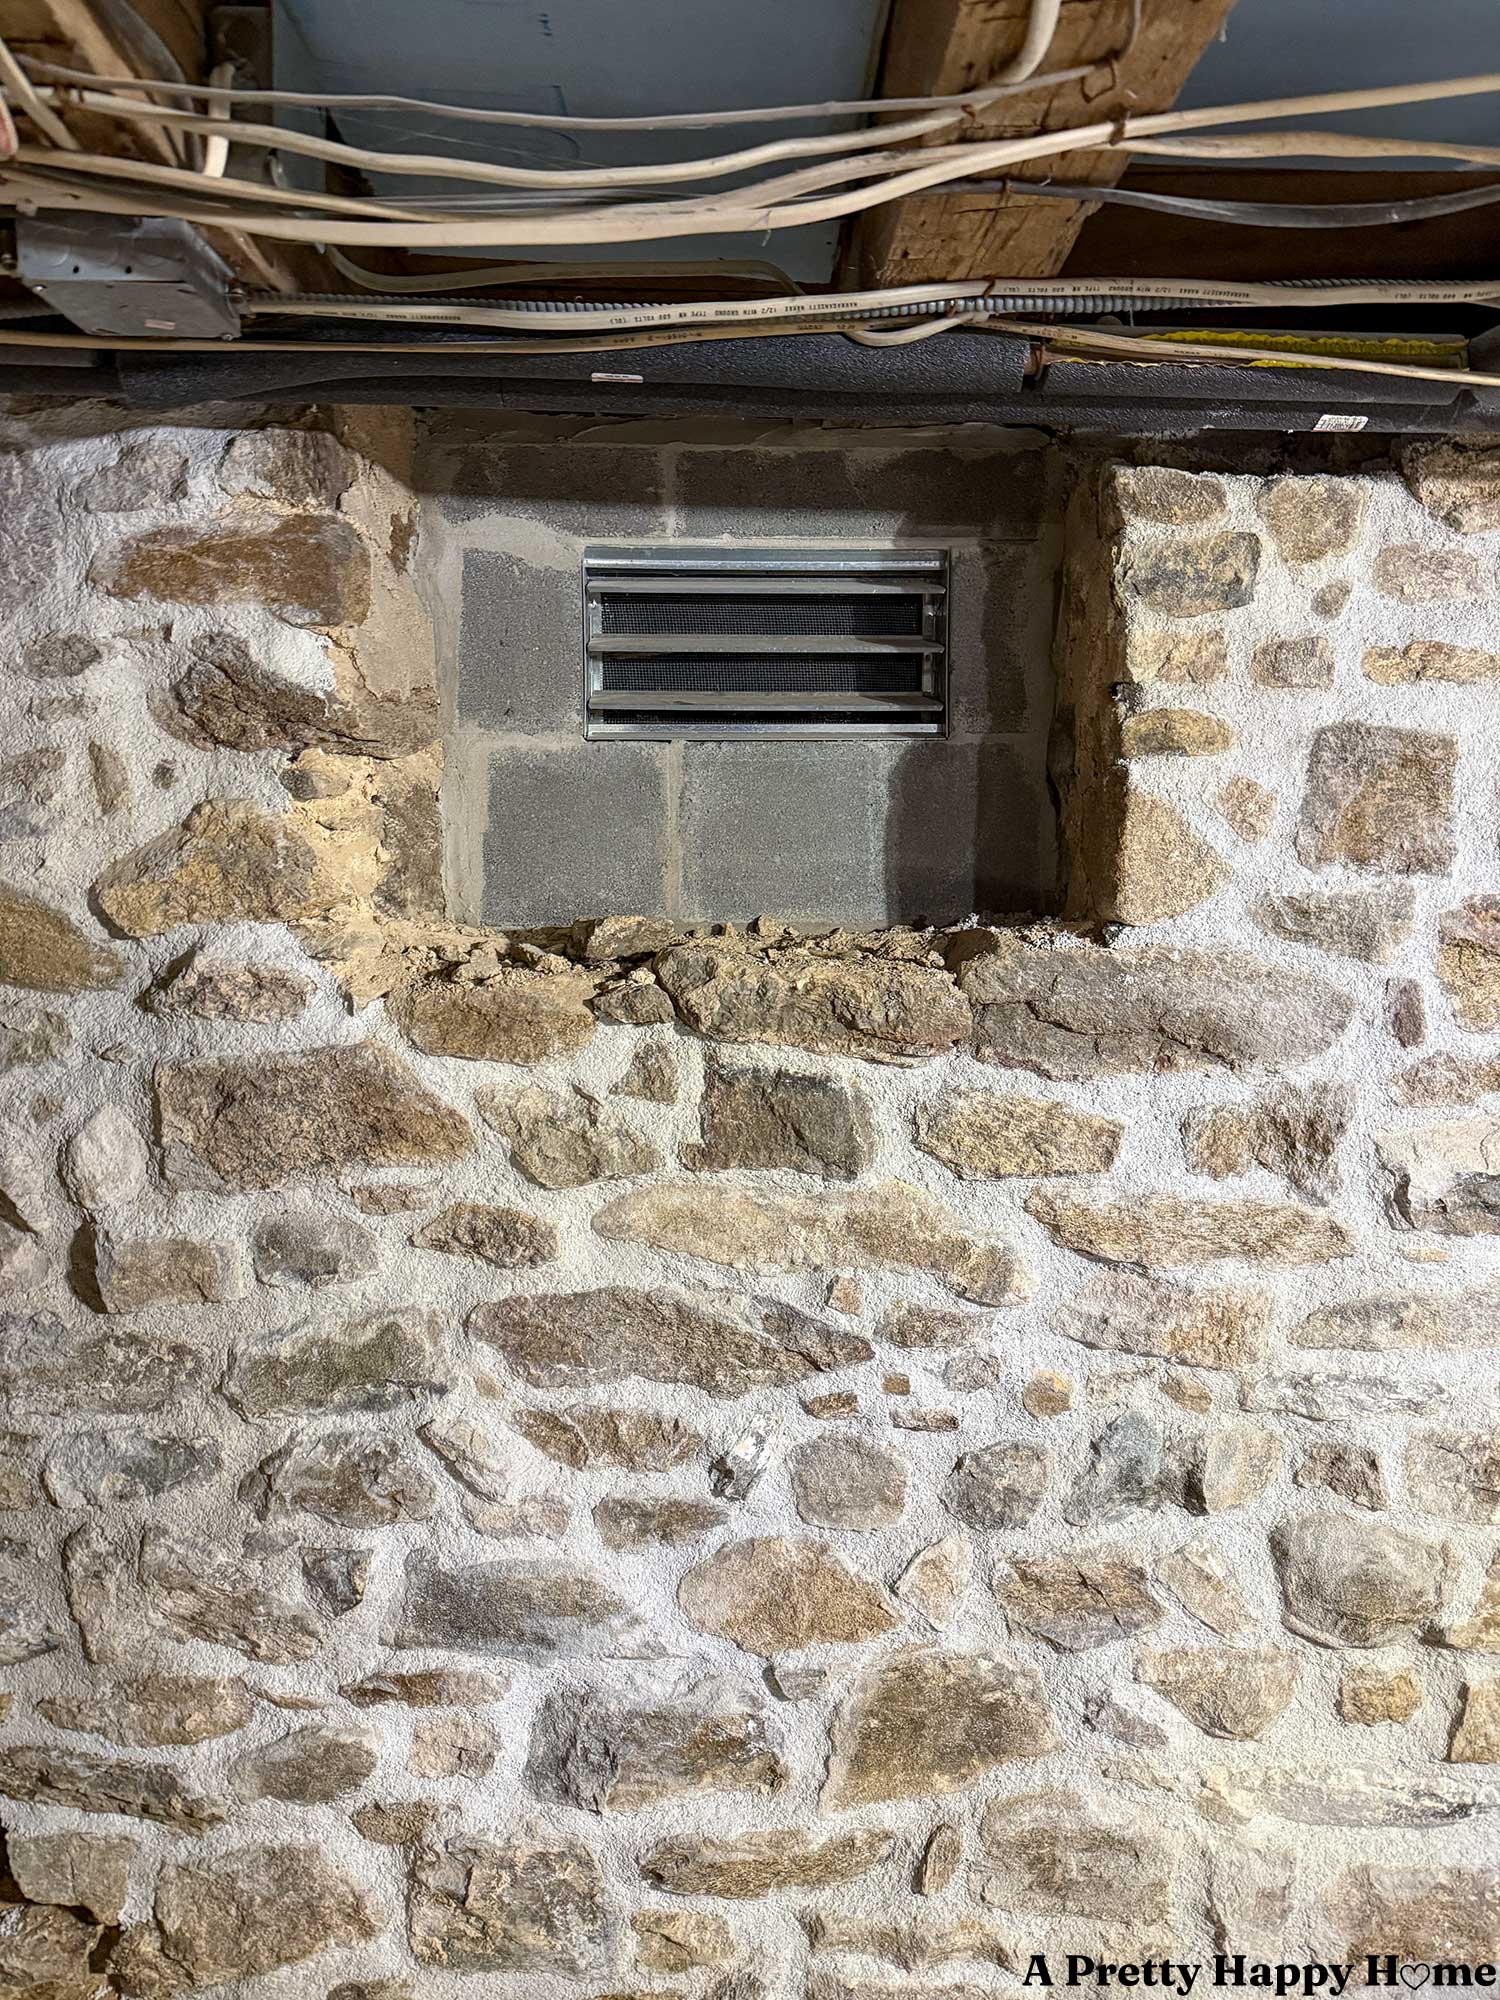
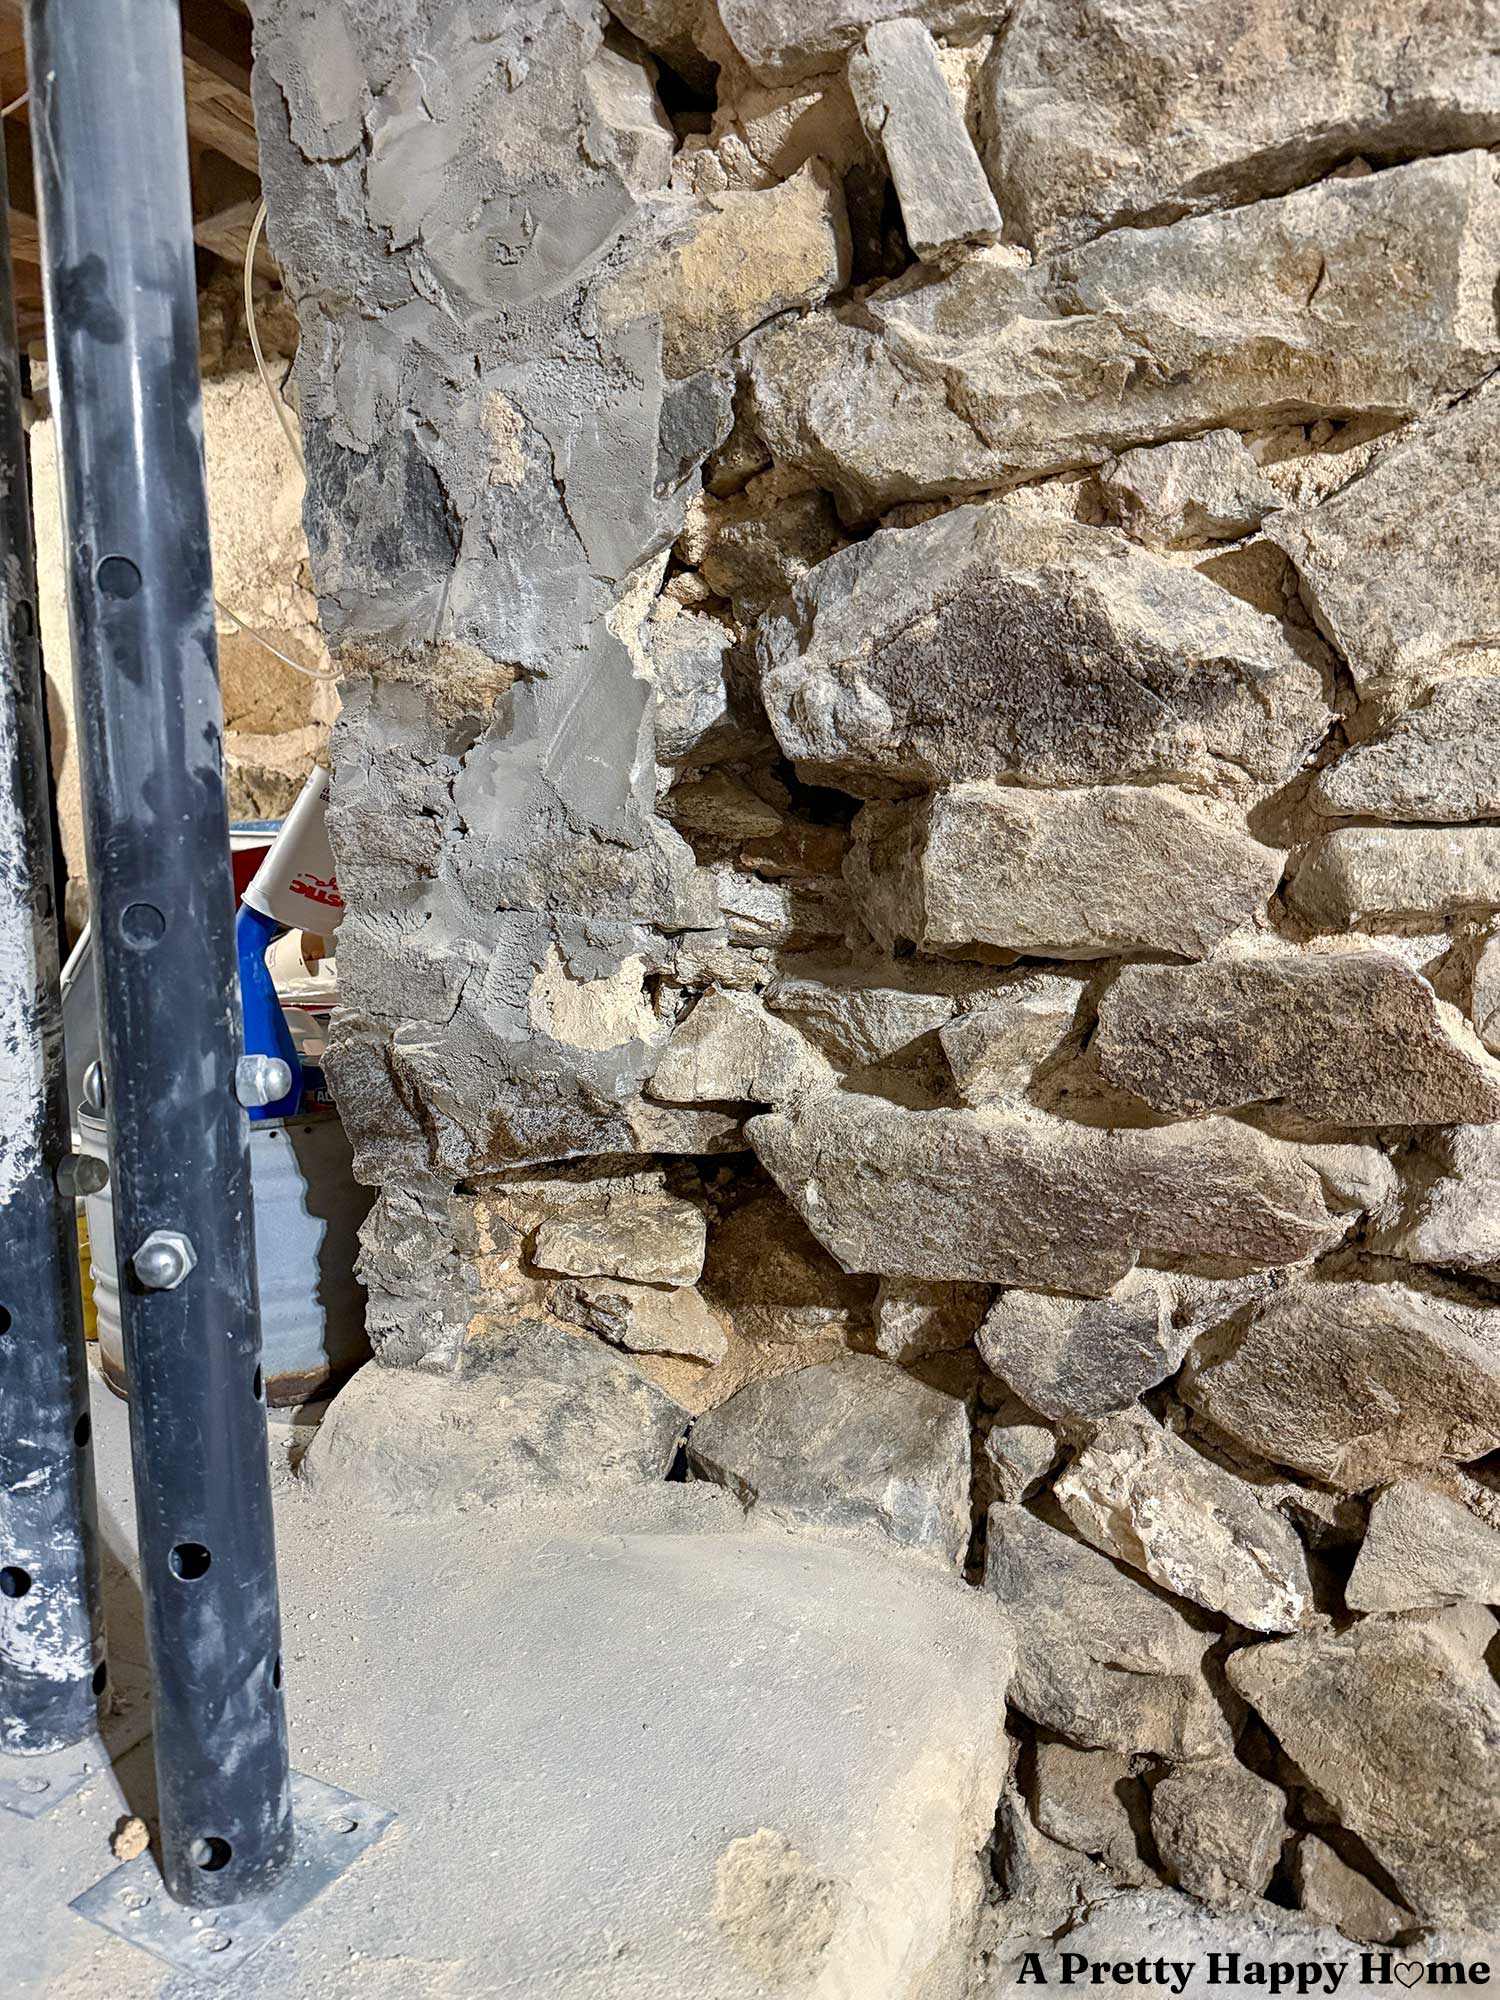
It also wasn’t accessed from where these cement blocks are inserted into the wall.
That one’s a no-brainer.
As a side note, I’m not sure if these are technically cement blocks, cinderblocks, or concrete blocks. They are all different, but should be concrete blocks if used on a foundation.
Openings Made in a Stone Foundation
We’re guessing the doorway opening was made about 100 – 125 years ago when the kitchen was added to the house. The cement block window well was added more recently, say, in the last 25 years or so.
As our dumb luck would have it, both of those ‘new’ openings in the foundation are directly under the same floor joist, and those openings don’t support the floor joist or the one next to it all that well.
To be fair, nothing catastrophic has happened. Yet.
By some measures, something that lasts 100 years is a good enough situation. Perhaps more than good enough.
So, why are we worked up?
Handy Husband doesn’t do ‘good enough,’ especially not after the decent-sized earthquake we experienced a couple of years ago, and I’m right there with him. We do not need to tempt fate in this situation.
These barely supported floor joists are something we can’t unsee after we’ve seen them, and we have the skills to fix them.
The Problem With Creating Openings in a Stone Foundation
I can’t speak for all really old houses with stone foundations, but ours is built in such a way that the beam that functions as the sill plate and the joists for the first floor all sit, unsecured, on the stone foundation wall.
By unsecured, I mean there are no pegs, brackets, bolts, screws, or joist hangers securing these beams to the foundation or to each other, as there would be with a modern concrete foundation. Other architectural elements (wall studs and floorboards) are secured to these beams, but it’s really gravity and the weight of the house that hold our sill plate and floor joists in place.

If you create an opening in a stone foundation for a door or window, then you need to make sure the floor joists in that area are properly supported above that opening.
The way we’ve seen that done is with wood beams or planks that span the width of the opening and sit on top of the foundation on either side of the opening.
How are these beams or planks secured?
In our house, there are two ways, which may or may not be used together. The beams or planks can be mortared into the wall, and/or they can be supported from below by a wood doorframe, as the photo below demonstrates.


Why Are We Worried About Our Floor Joists?
In short, they aren’t well supported. There’s little margin for error.
When we started to chip out the concrete on the doorway corner to repoint it, we realized that the only thing supporting the header over the doorway, which holds up two floor joists, was 2 inches of concrete. If we chip out the concrete, the header will fall if not supported.
If we support the header while we repoint the wall, it still won’t fix the problem. The header isn’t long enough to reach the foundation wall.
The concrete was built out away from the stone wall to accommodate this not-long-enough header.
We’re guessing the header is the length it is because it was hard to get anything any longer into that space without taking down more of the wall. We don’t know when this concrete was added. It looks newer, so it could be a second or third fix to the situation.
However, to muddy the timeline, concrete was gaining widespread adoption between 1900 and 1930, when our kitchen addition was built.
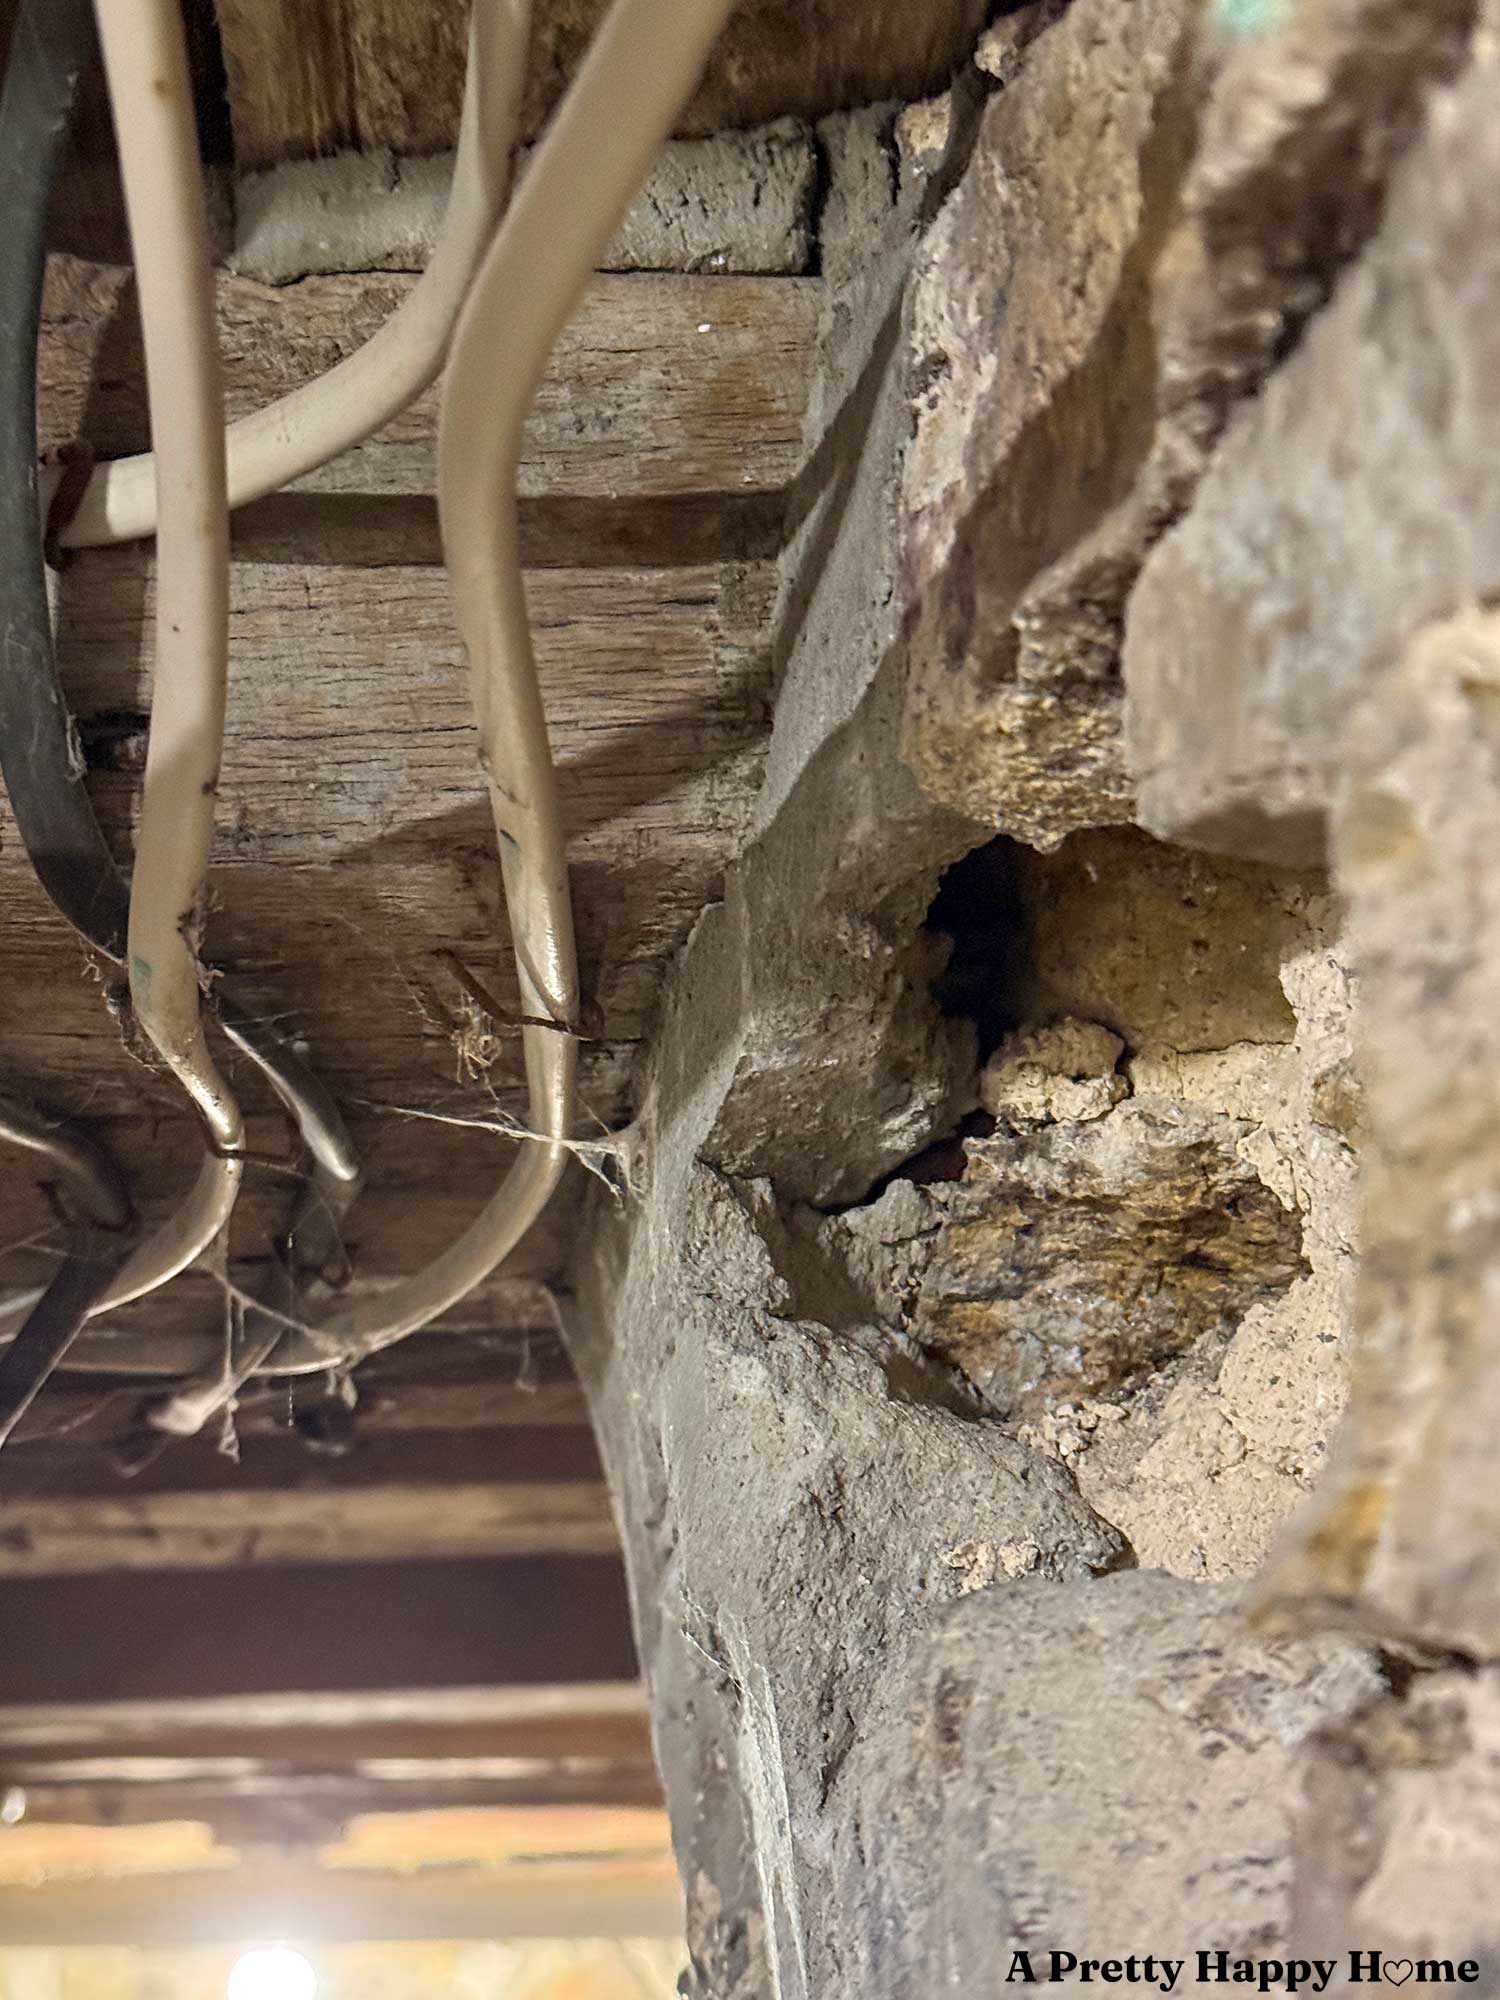
The floor joist sitting dead center in the middle of this doorway opening is also sitting on top of another opening in the foundation (the cement blocks) on the opposite side of the house. When we closely examined it, we were disturbed to find that it’s sitting on about 1/4-inch of concrete above the cement blocks. That doesn’t leave a lot of wiggle room for failure.
In comparison, all the other floor joists sit on the entire depth of the foundation wall, which is around 18 inches deep. There’s a big difference in the margin of error between 1/4 inch and 18 inches.

We also know this particular joist no longer fully touches the flooring above it. Whether that’s because it has slipped or because it wasn’t secured tightly in the first place, we don’t know. You can see the shadow from the air gap in the above photo.
What’s the Plan for Fixing This?
First, we have jacks supporting the door header and the joists. That gives us some peace of mind that they won’t fall on us while working.
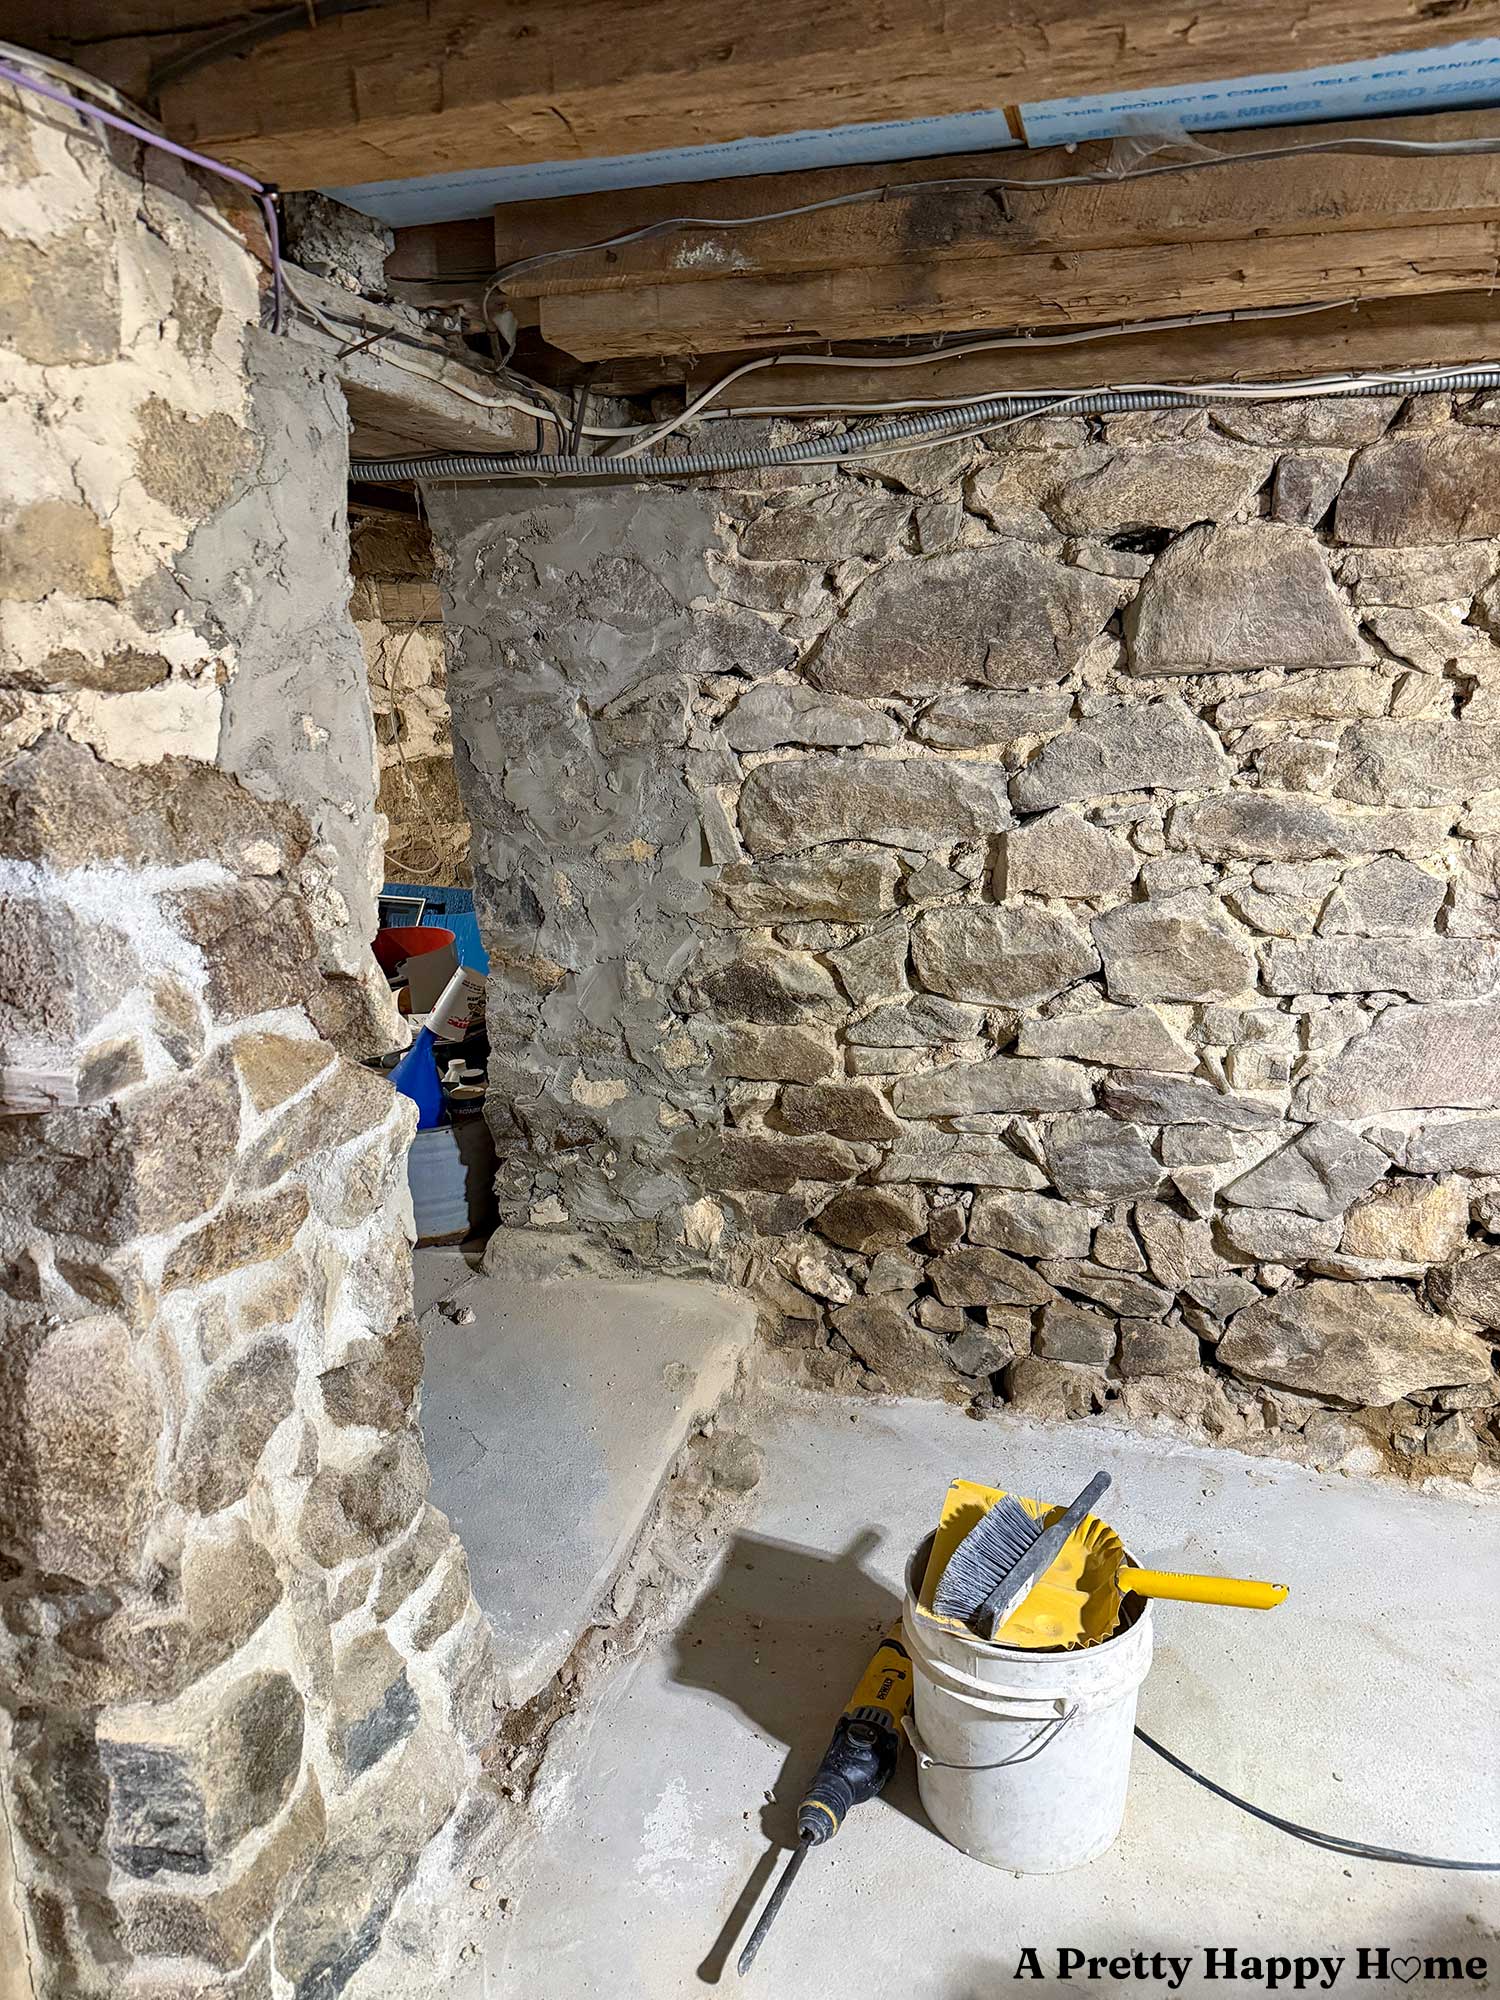
Second, we’re going to chip out the remaining concrete on the corner on the left in the photo below. Then we will narrow the door opening by rebuilding the wall farther out. It’s a big enough opening that we should be able to decrease it by 8 – 12 inches and still be able to get in and out of that area.
Third, after we fix the left side, we plan to take out the cement blocks on the right side and rebuild that opening. We do have to keep the vent for the time being, as it provides airflow to the space under the front porch that is enclosed. However, we can tweak its positioning.
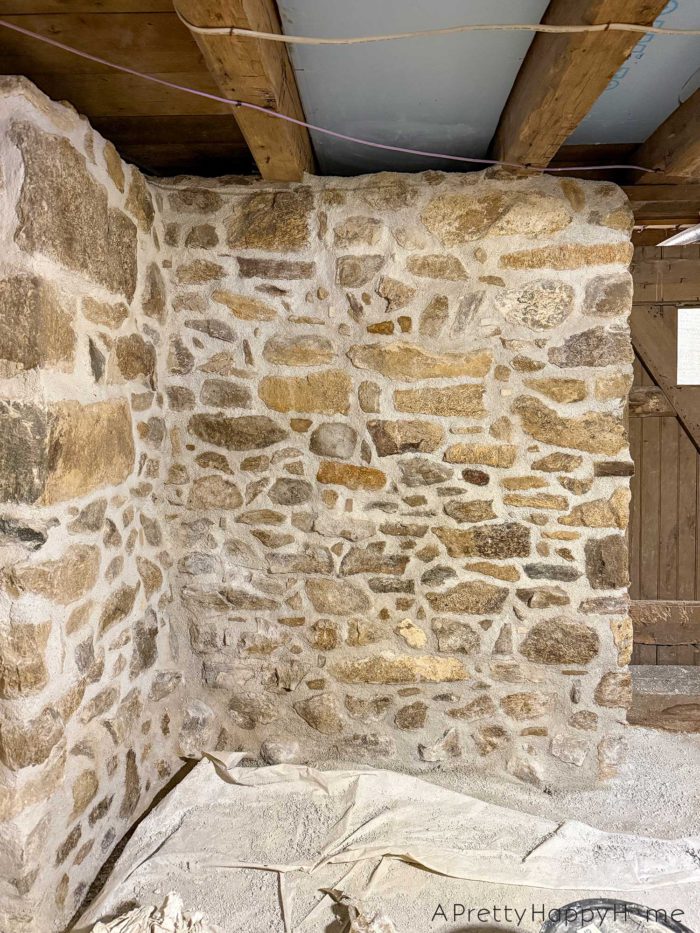
We are so close to being done repointing this part of our foundation. I sure will be happy when this is all fixed.
Have you encountered any sketchy architectural situations at your house? I’d love to know. Comments are like post jacks. They are really supportive. You can comment on this blog post, email me here, or reach out via direct message on Instagram or Facebook.
For questions about where we buy our lime, what type of lime, etc., please reference our Lime Mortar FAQs.
If you need supplies for your repointing project and want to know what tools we use, please check out our Amazon Store.
Thank you for following along with our DIY adventures. If you’d like another blog post to read, try one of these.
Basement Workshop Stone Repointing: Part 1, Why Now
Basement Workshop Stone Repointing: Part 2, The Concrete Problem