

Our Basement Workshop Repointing Series continues today with a drastic before and after. We took a poorly constructed doorway that had been heavily patched with concrete and turned it into a stone doorway that steals the show.
Here’s how the doorway looked before we got our hands on it, and before we realized just how bad a shape it was in.
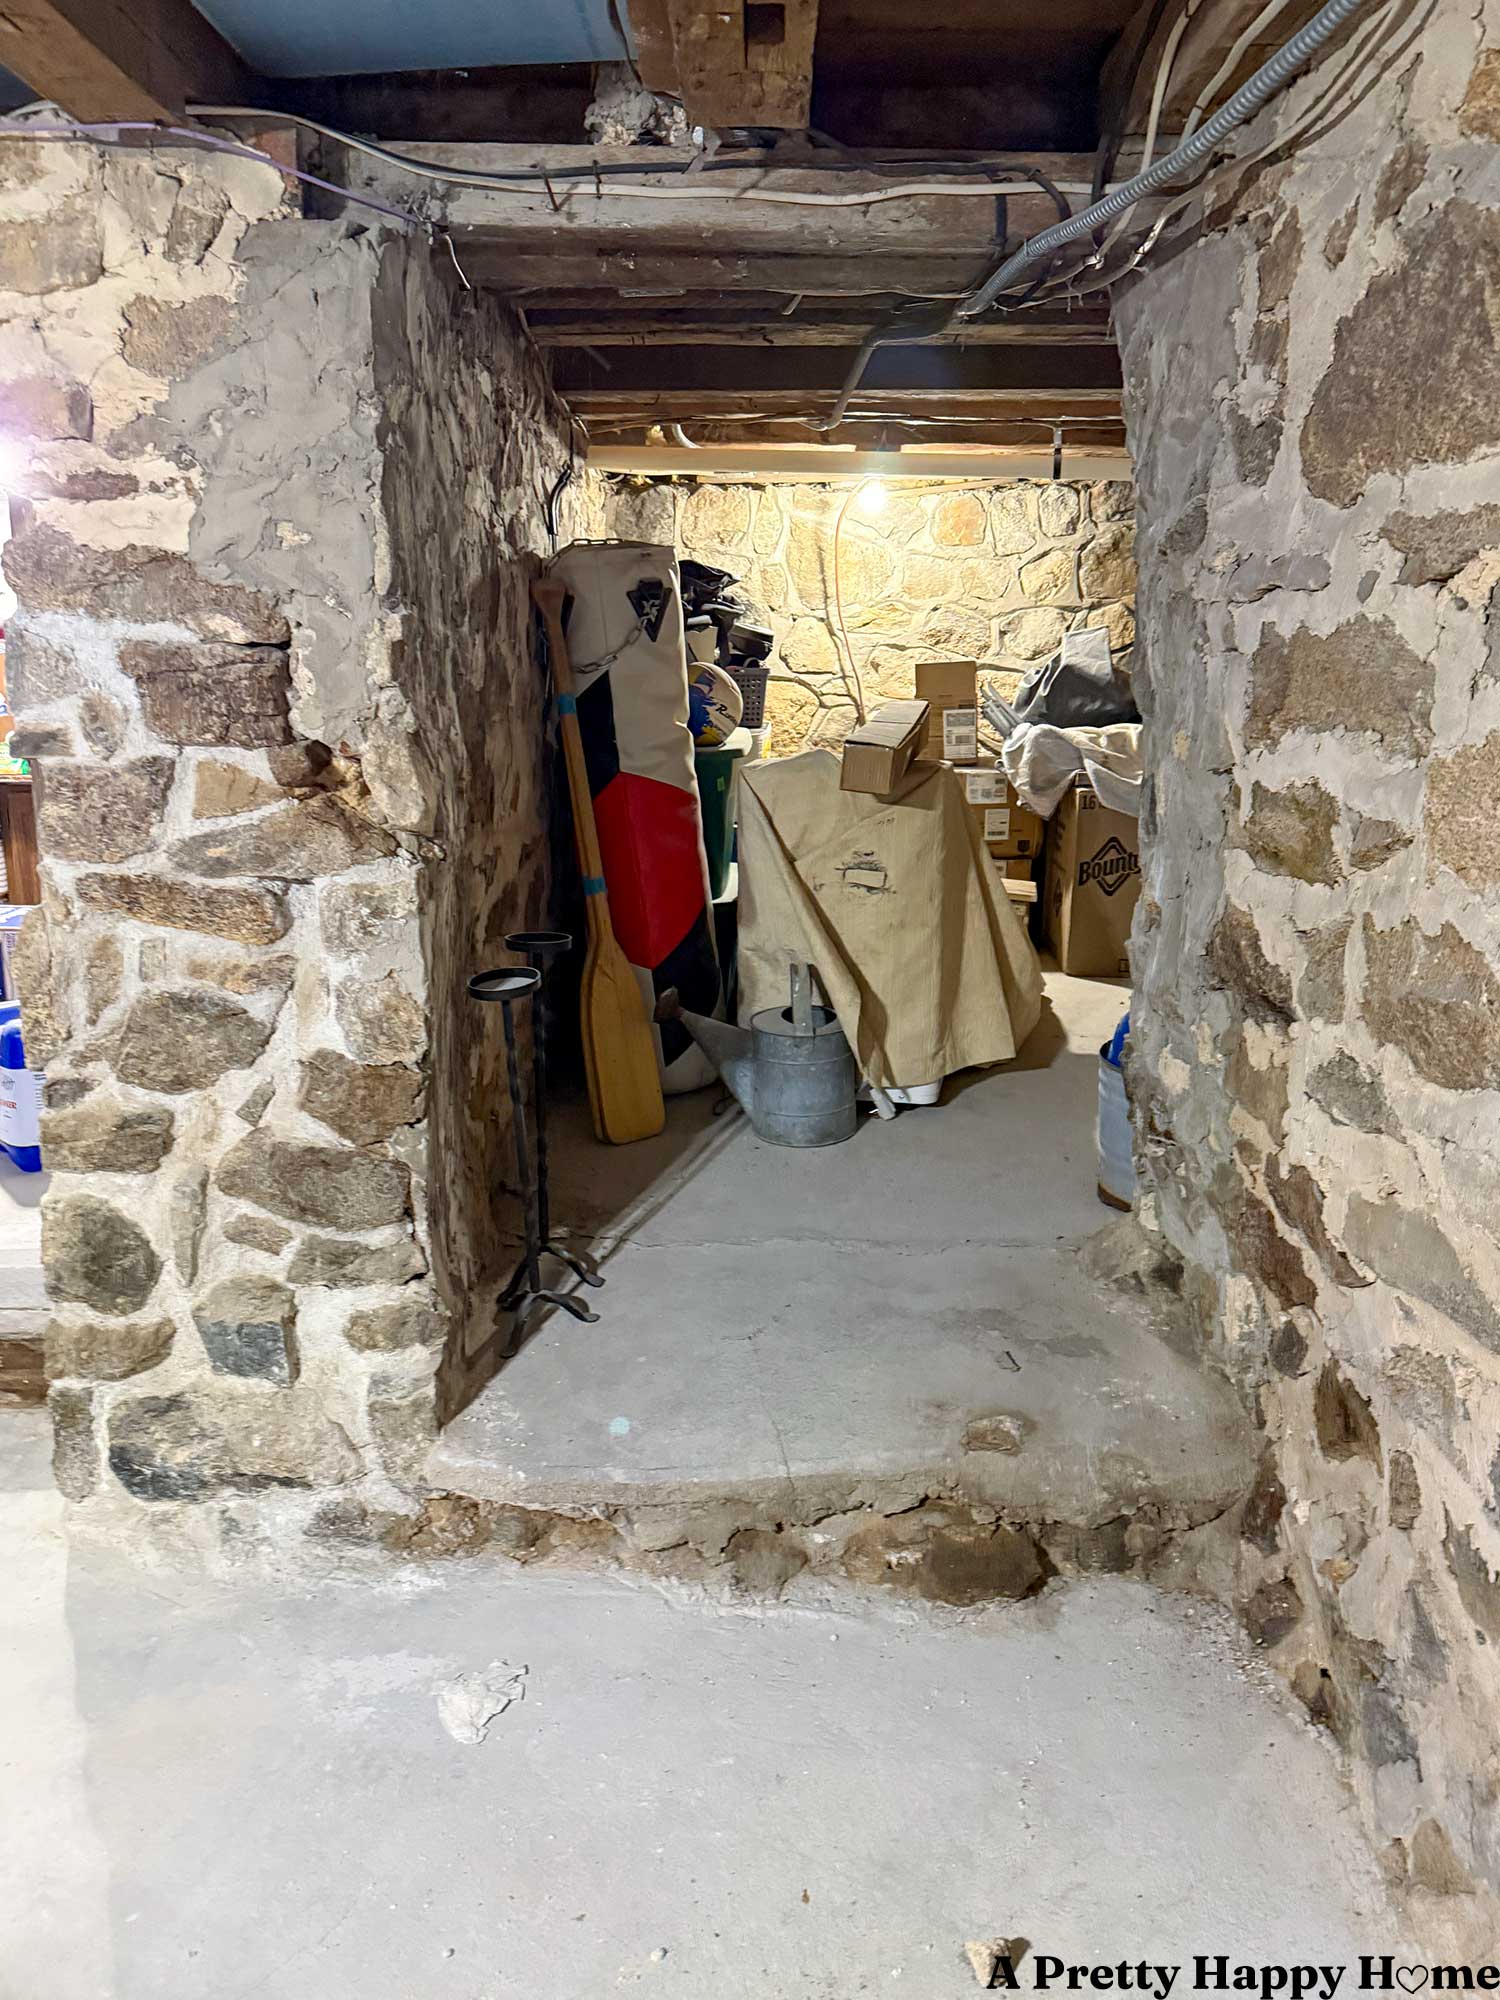

That’s not so bad, you say.
You’re right.
It was worse.
And not just because it looked like a toddler had fingerpainted mortar on the wall.
That concrete, which was used to secure the opening in the wall when a new addition was added, was hiding missing rocks and a poorly supported door header.
Although, to be fair, that concrete “fix” had lasted a long time.
But we know that concrete, because it’s made with Portland cement, is bad for historic stone foundations, and eventually it will cause problems.
The problems usually manifest themselves in trapped moisture, stones that break, and a drain on your bank account. I’d prefer those problems not happen on my watch.
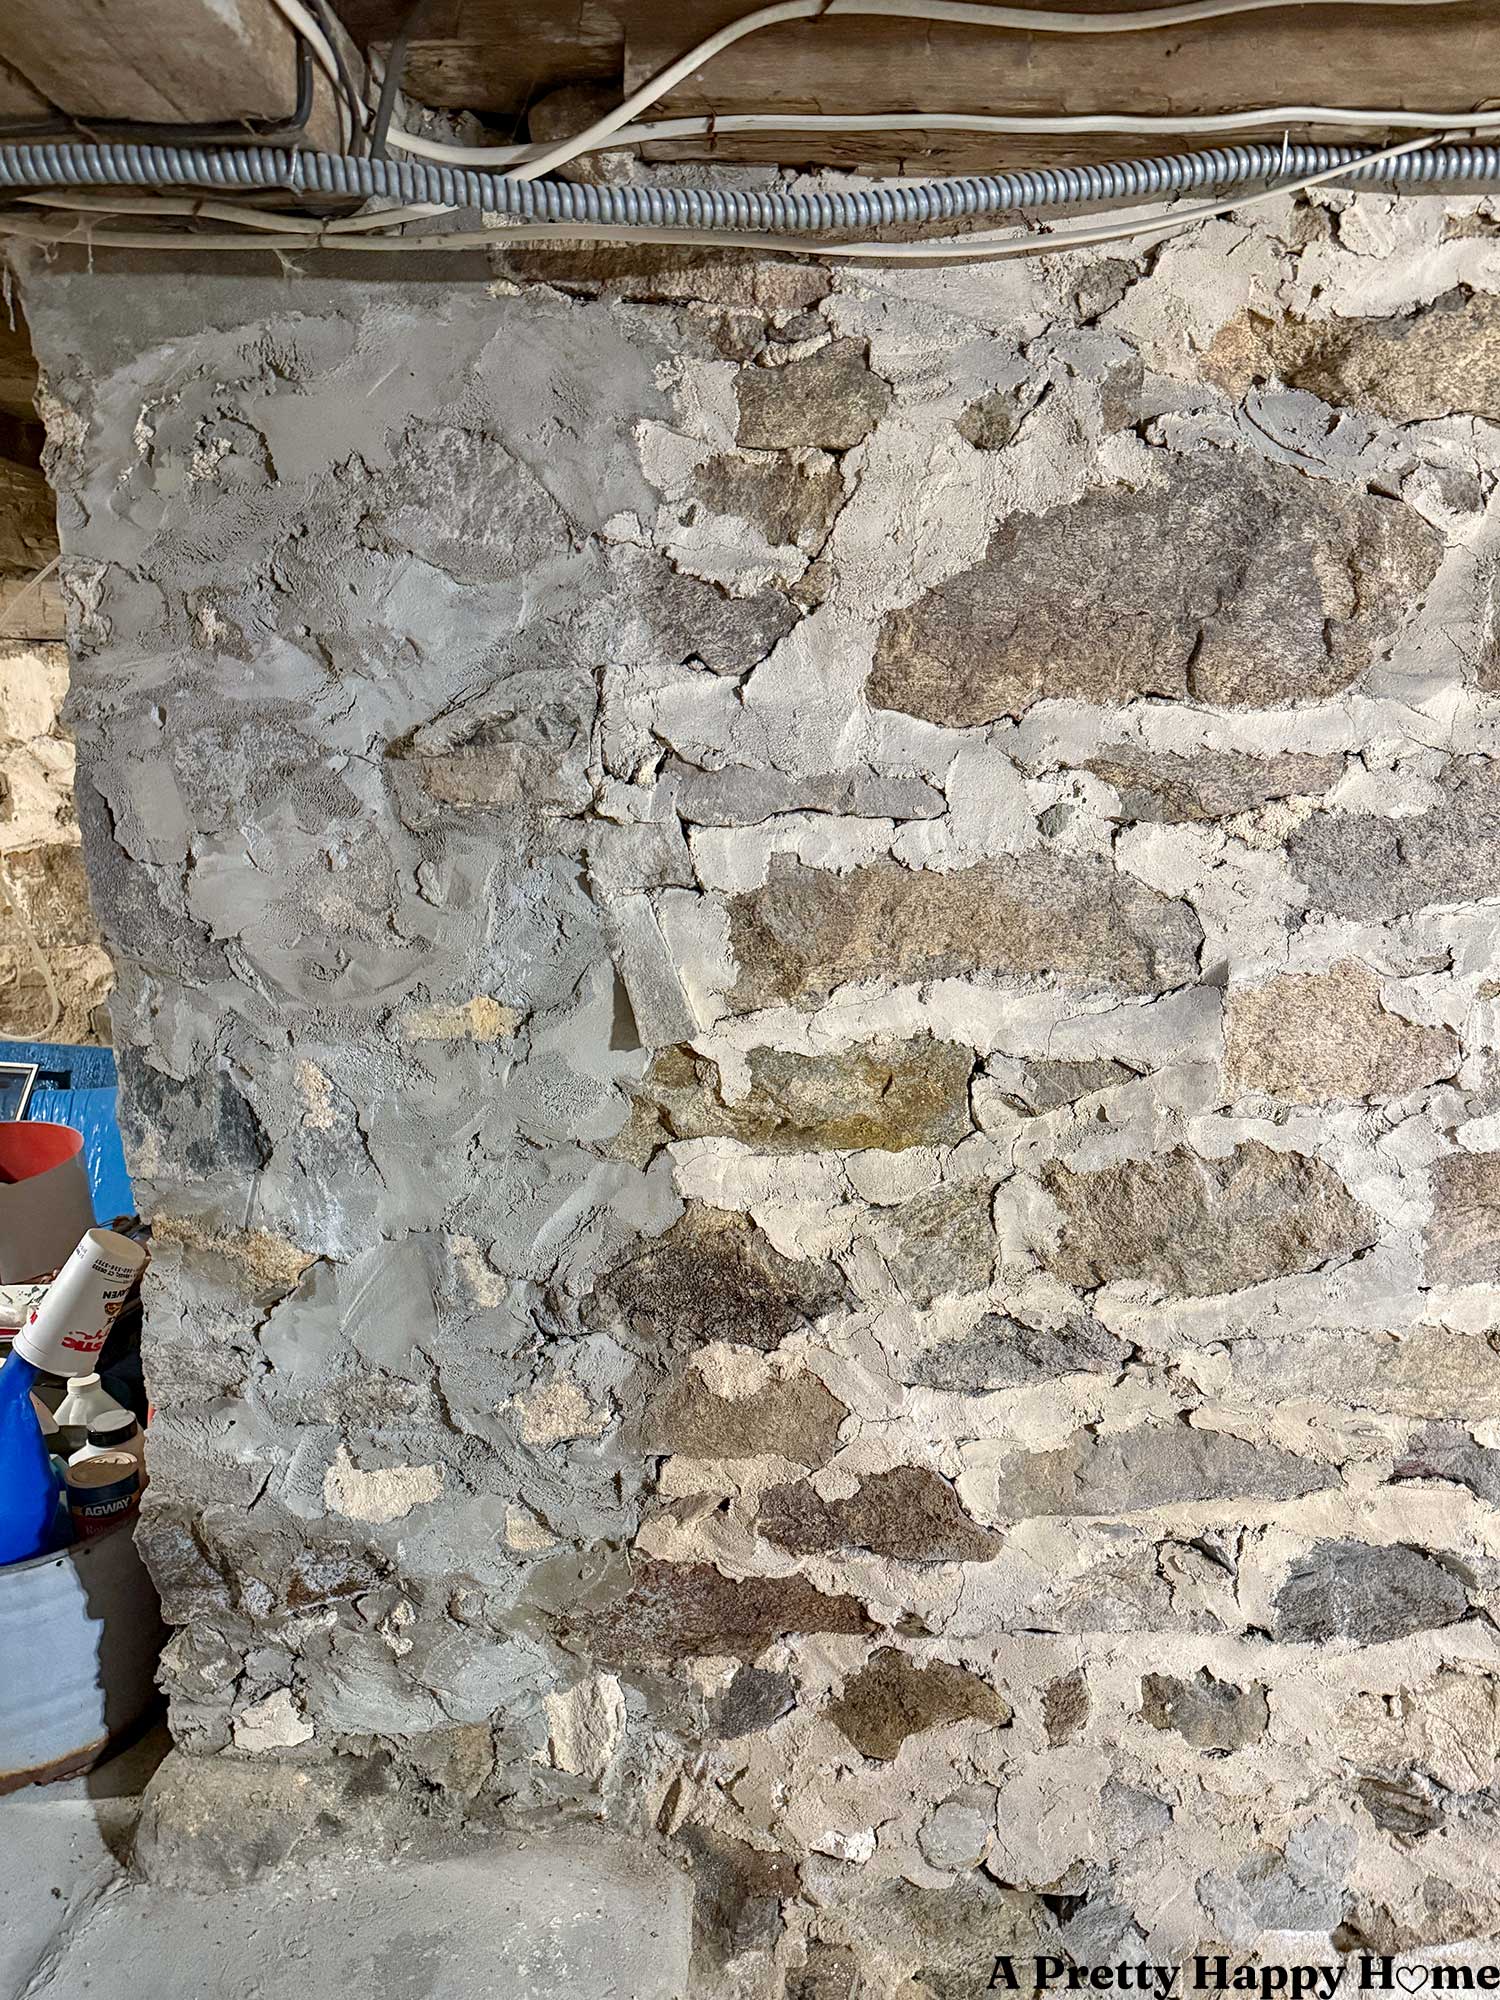
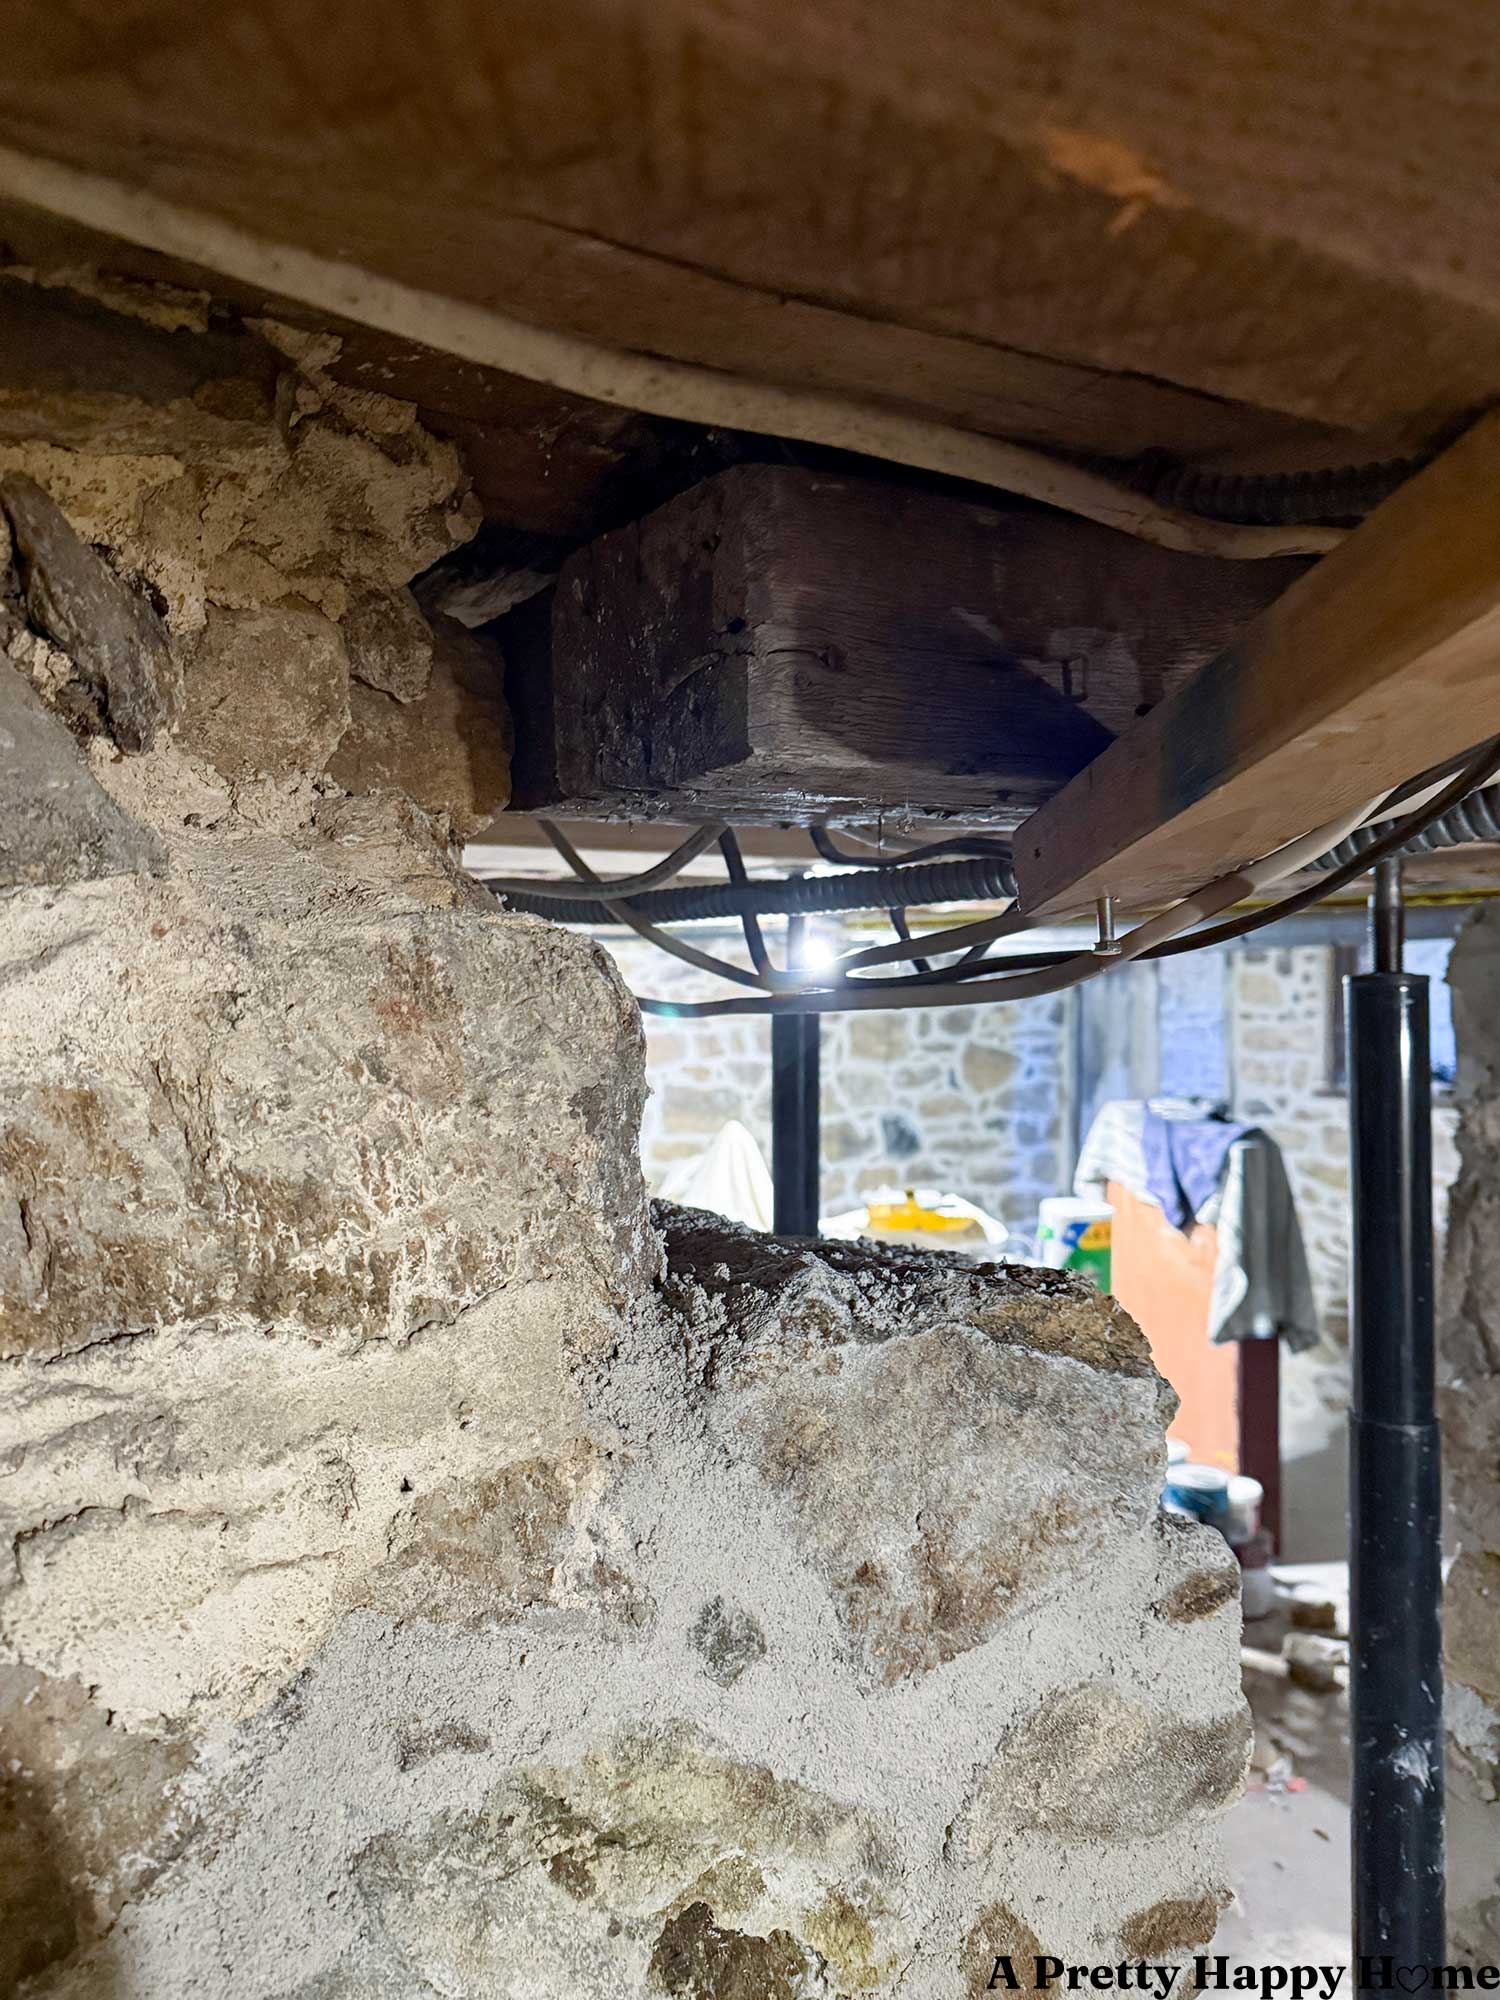
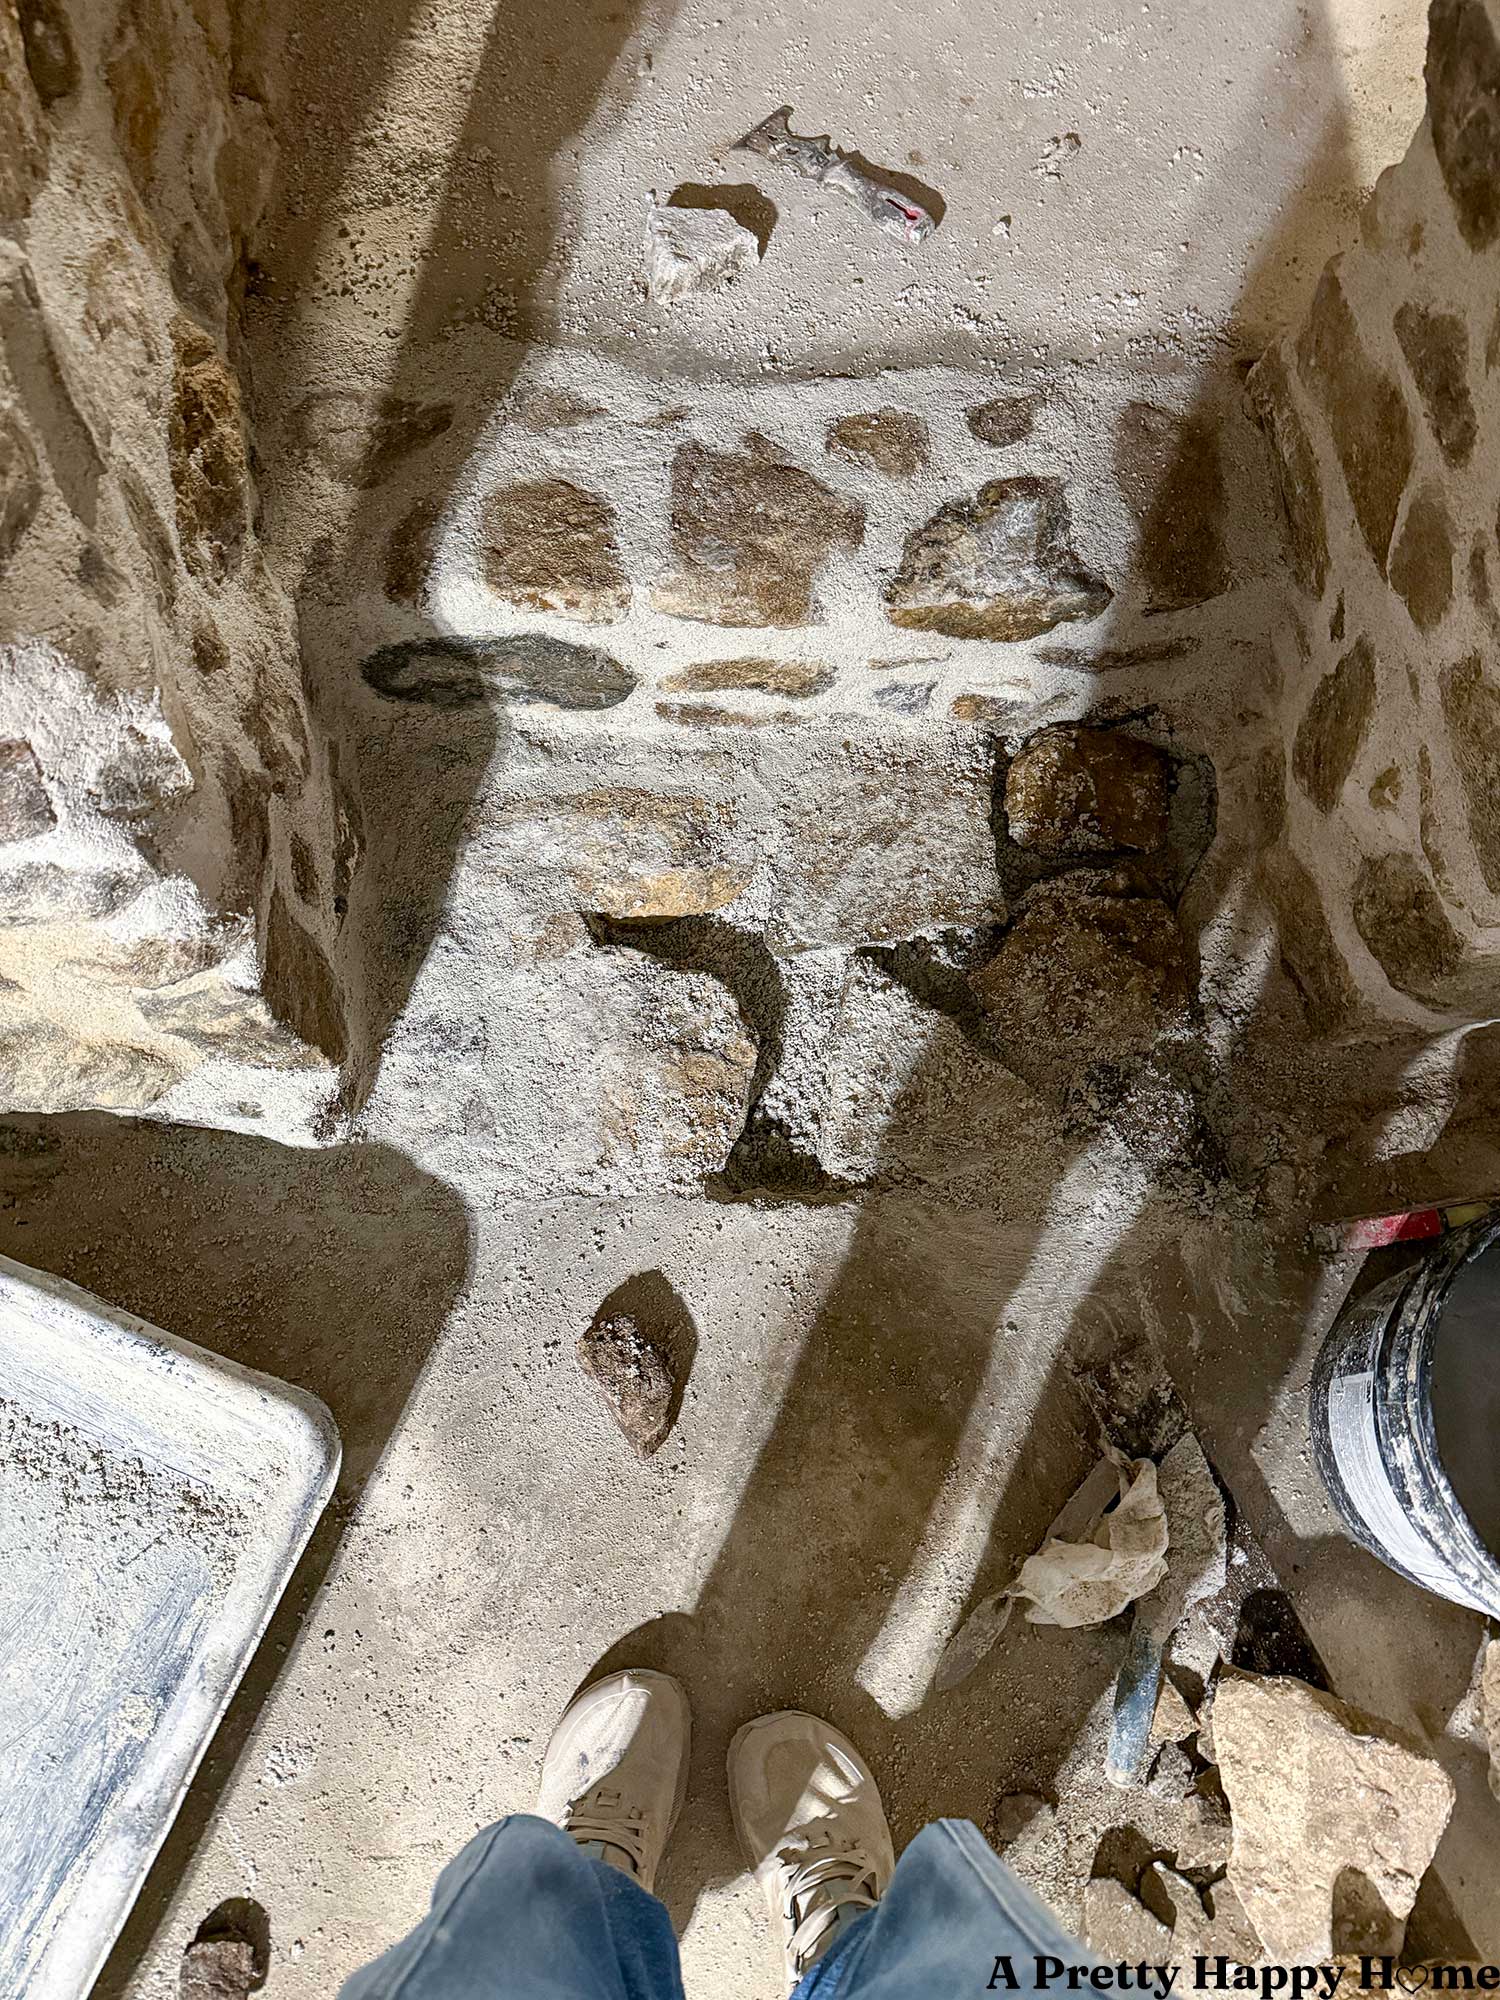
When we chipped off the concrete, this is the situation on the left side of the doorway, and we hadn’t even removed the concrete at the base of the wall when I snapped this photo.
The right side of the doorway was probably worse, given that the concrete removal left one side of the door header hanging loose.
I must admit, it is hard to hang loose with a ‘no worries’ attitude when you think you’re starting a standard foundation repointing job, and it ends up being a foundation rebuilding job.
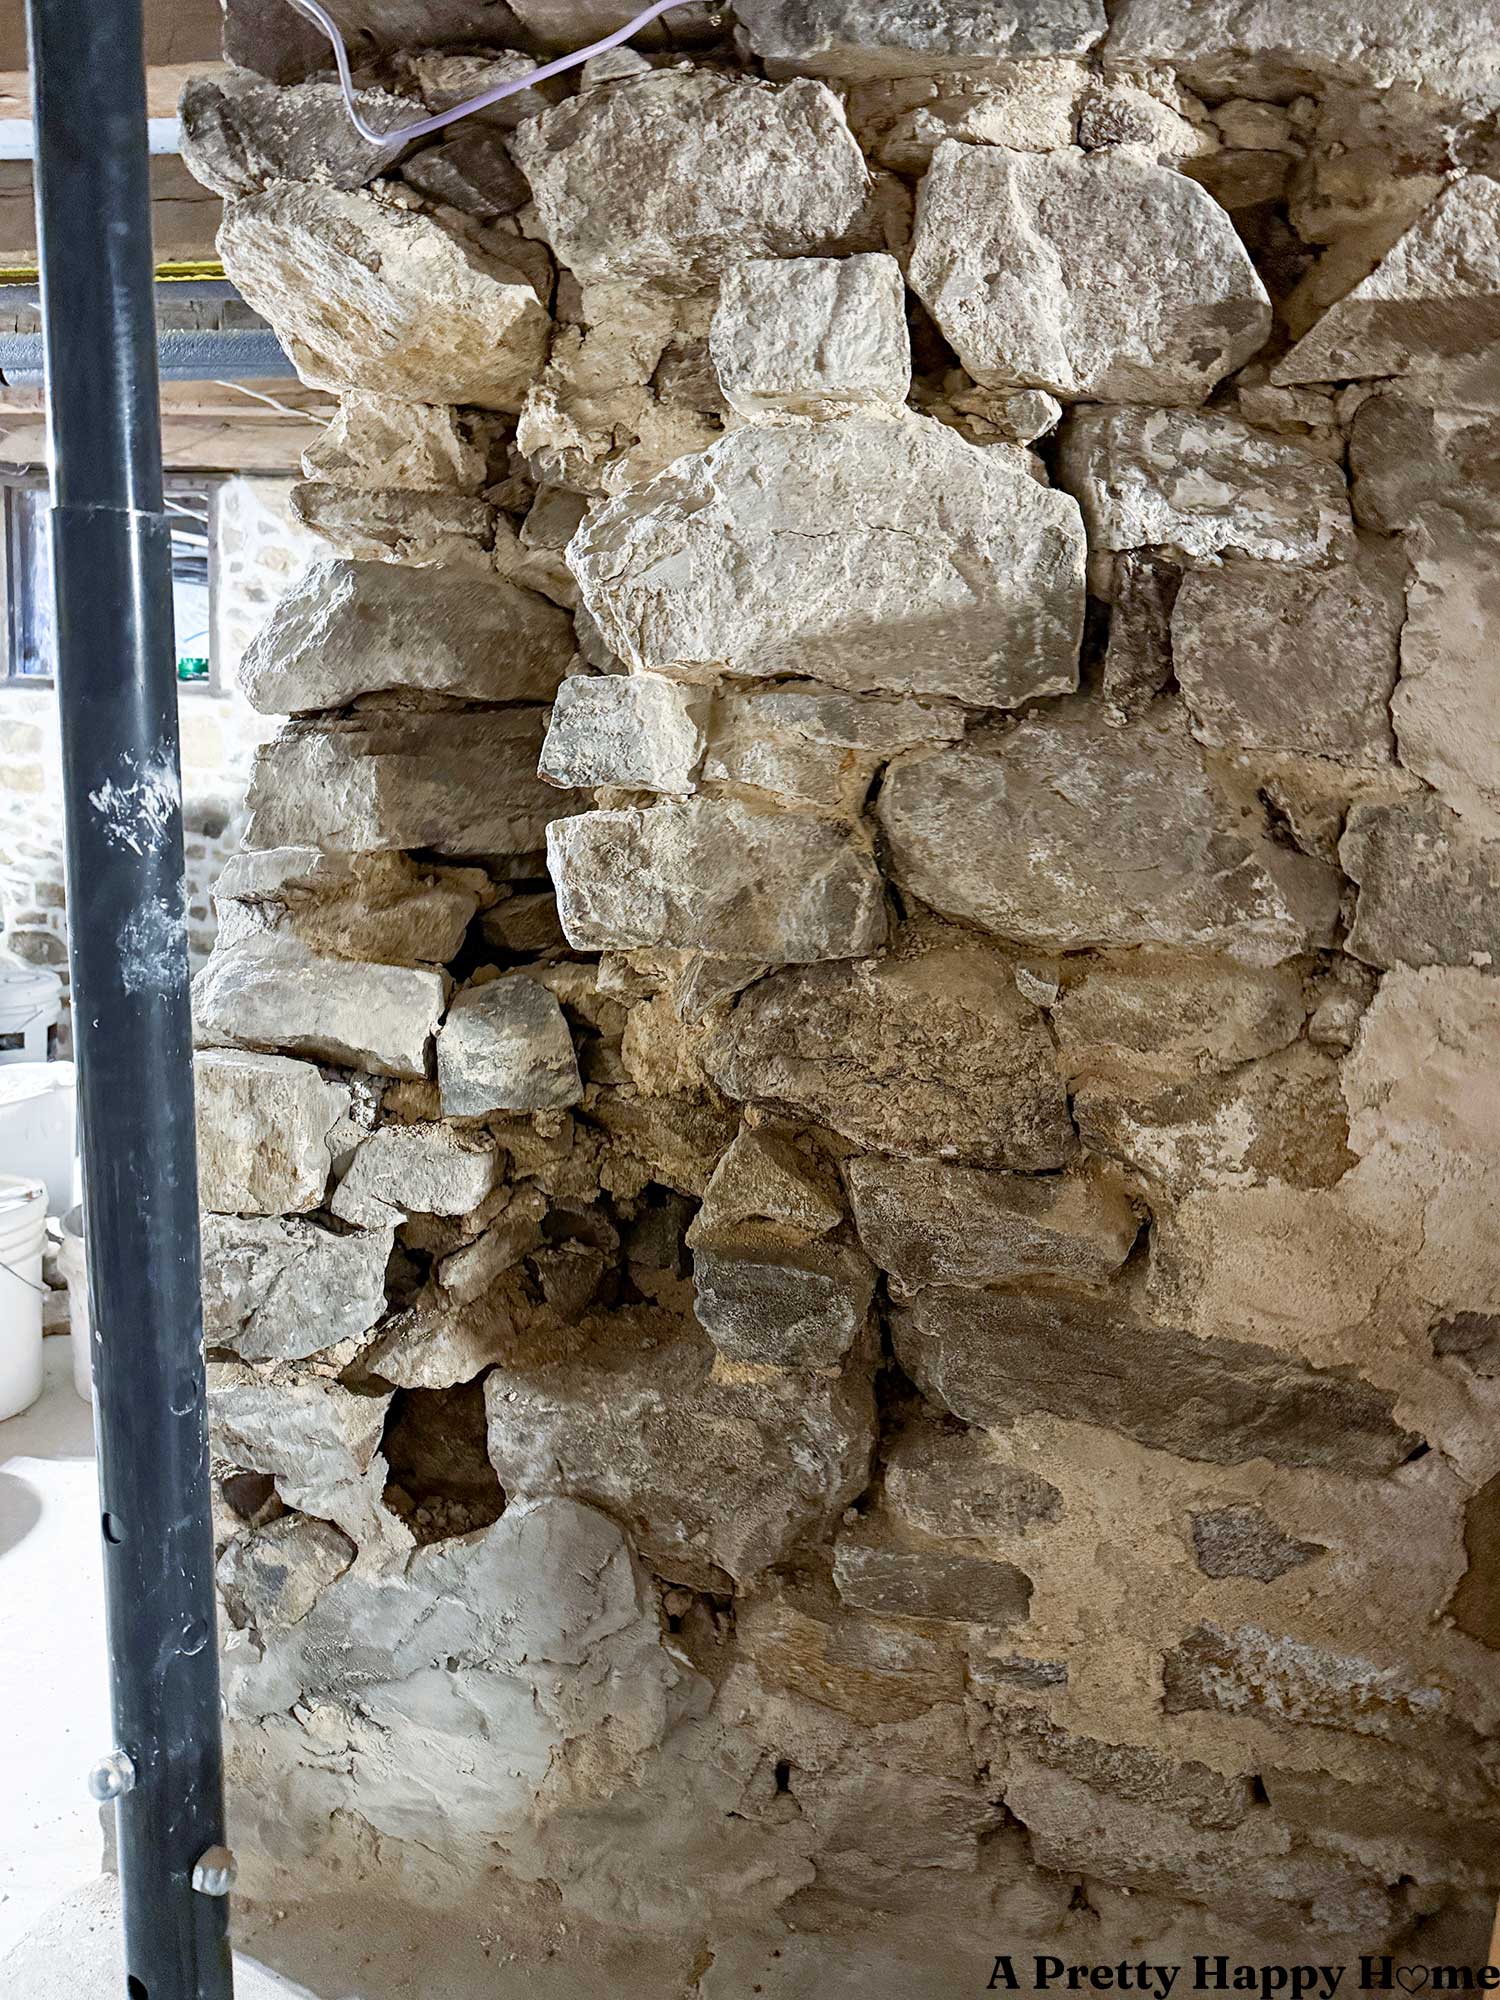
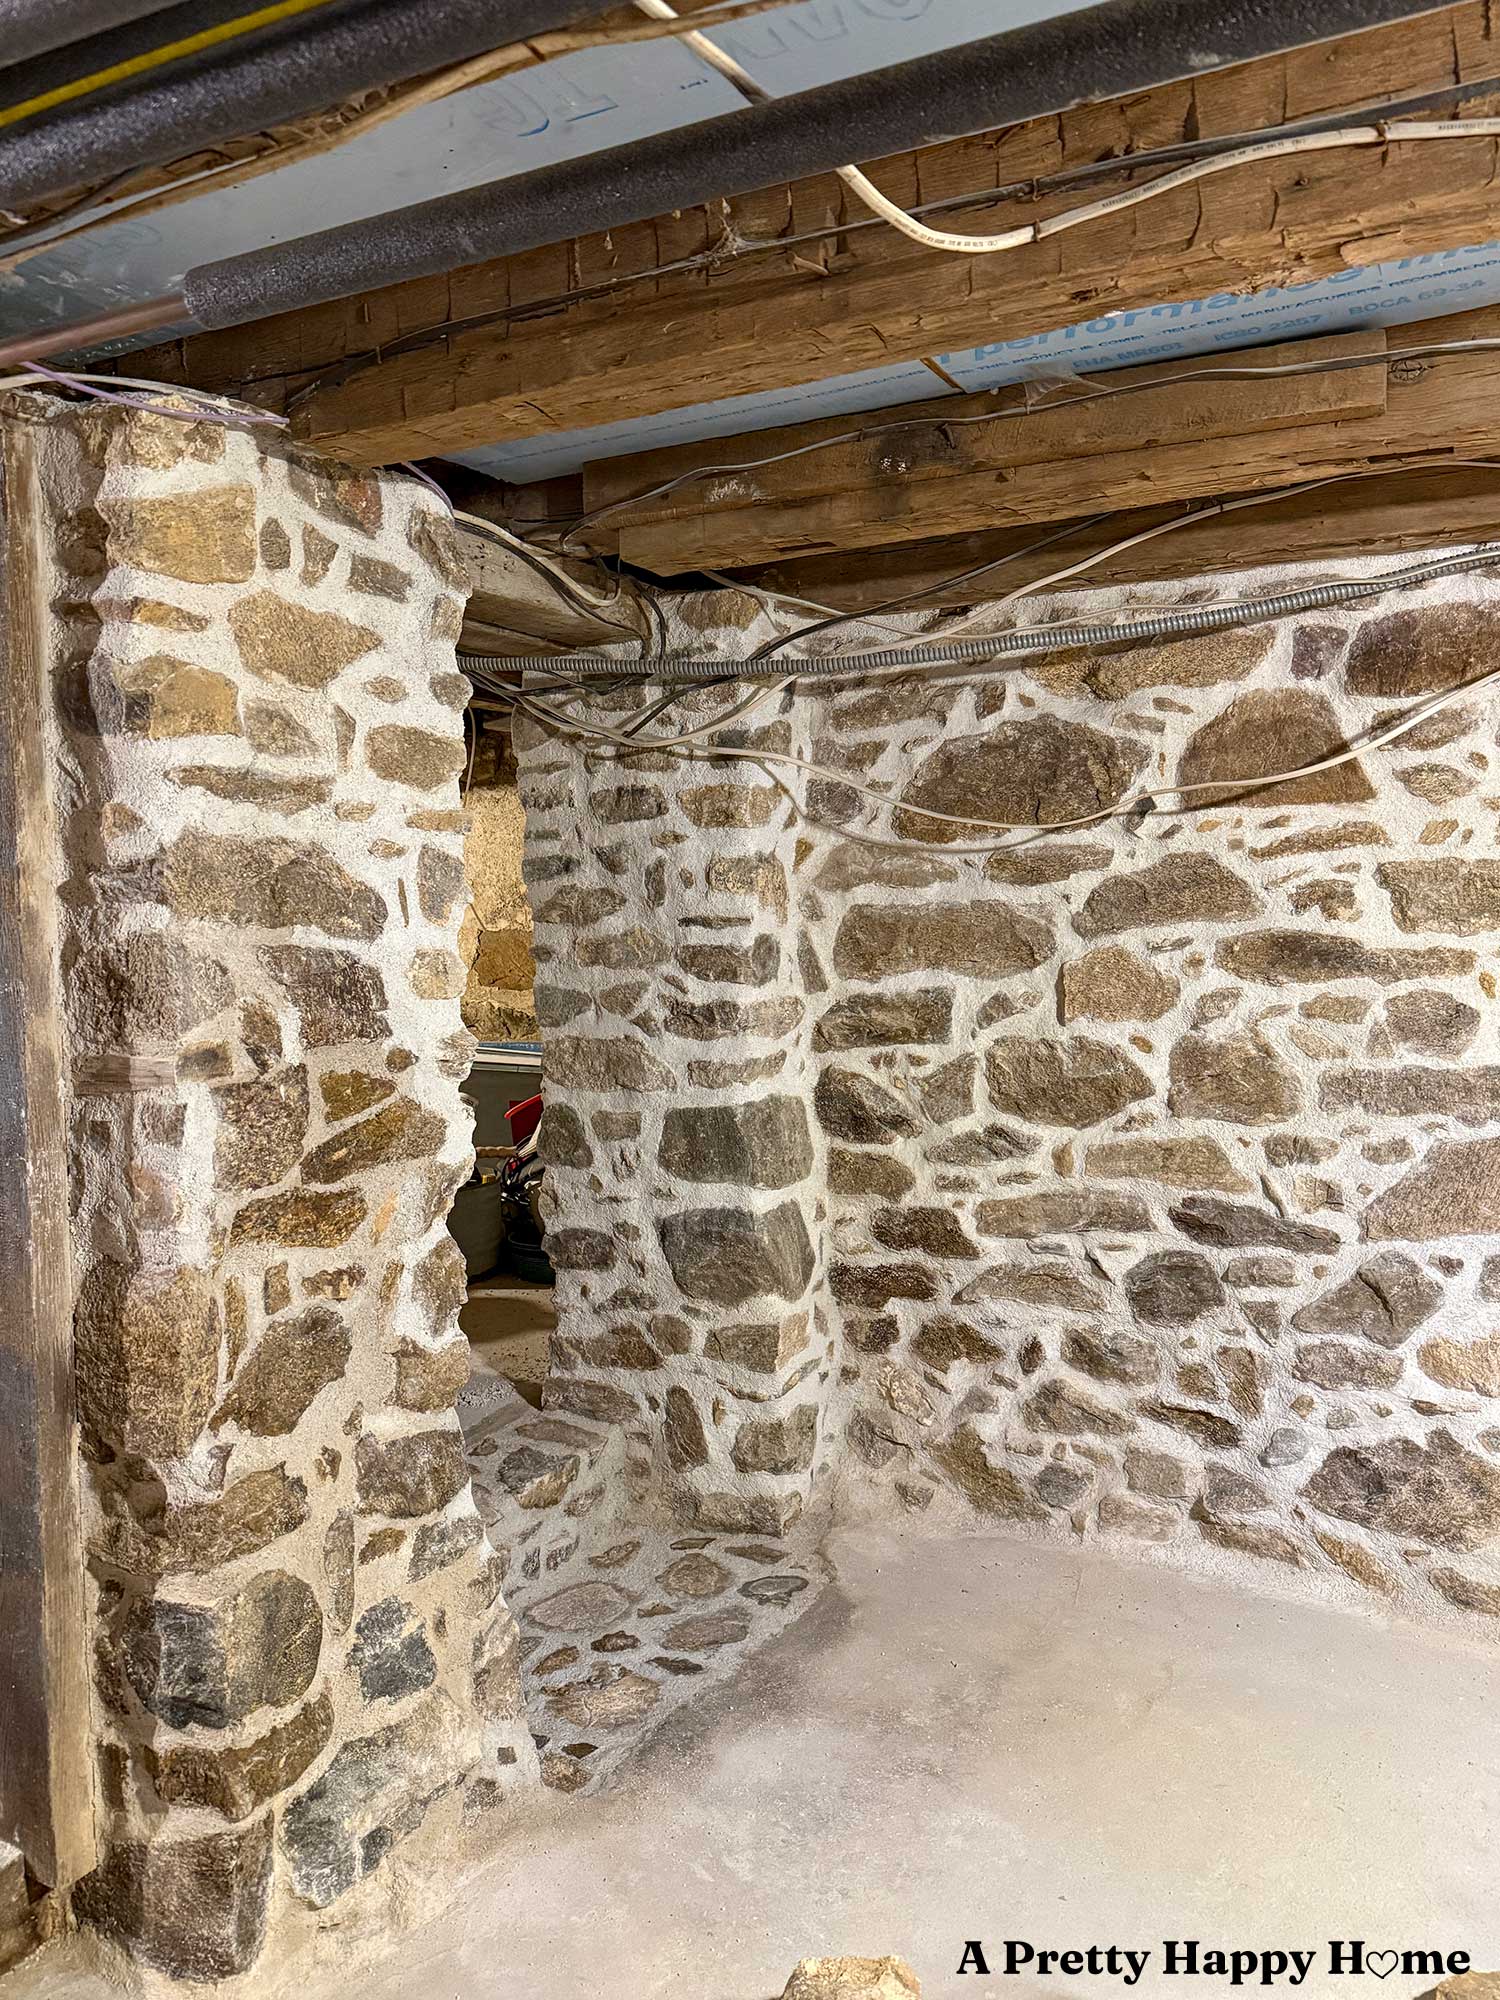
Mini crisis aside, this is where the project starts to get good, and the stone doorway starts to take shape.
I built the wall section on the right side of the doorway to support that free-hanging door header. The door header, in turn, holds up a floor joist. That’s why we were so worried about it.
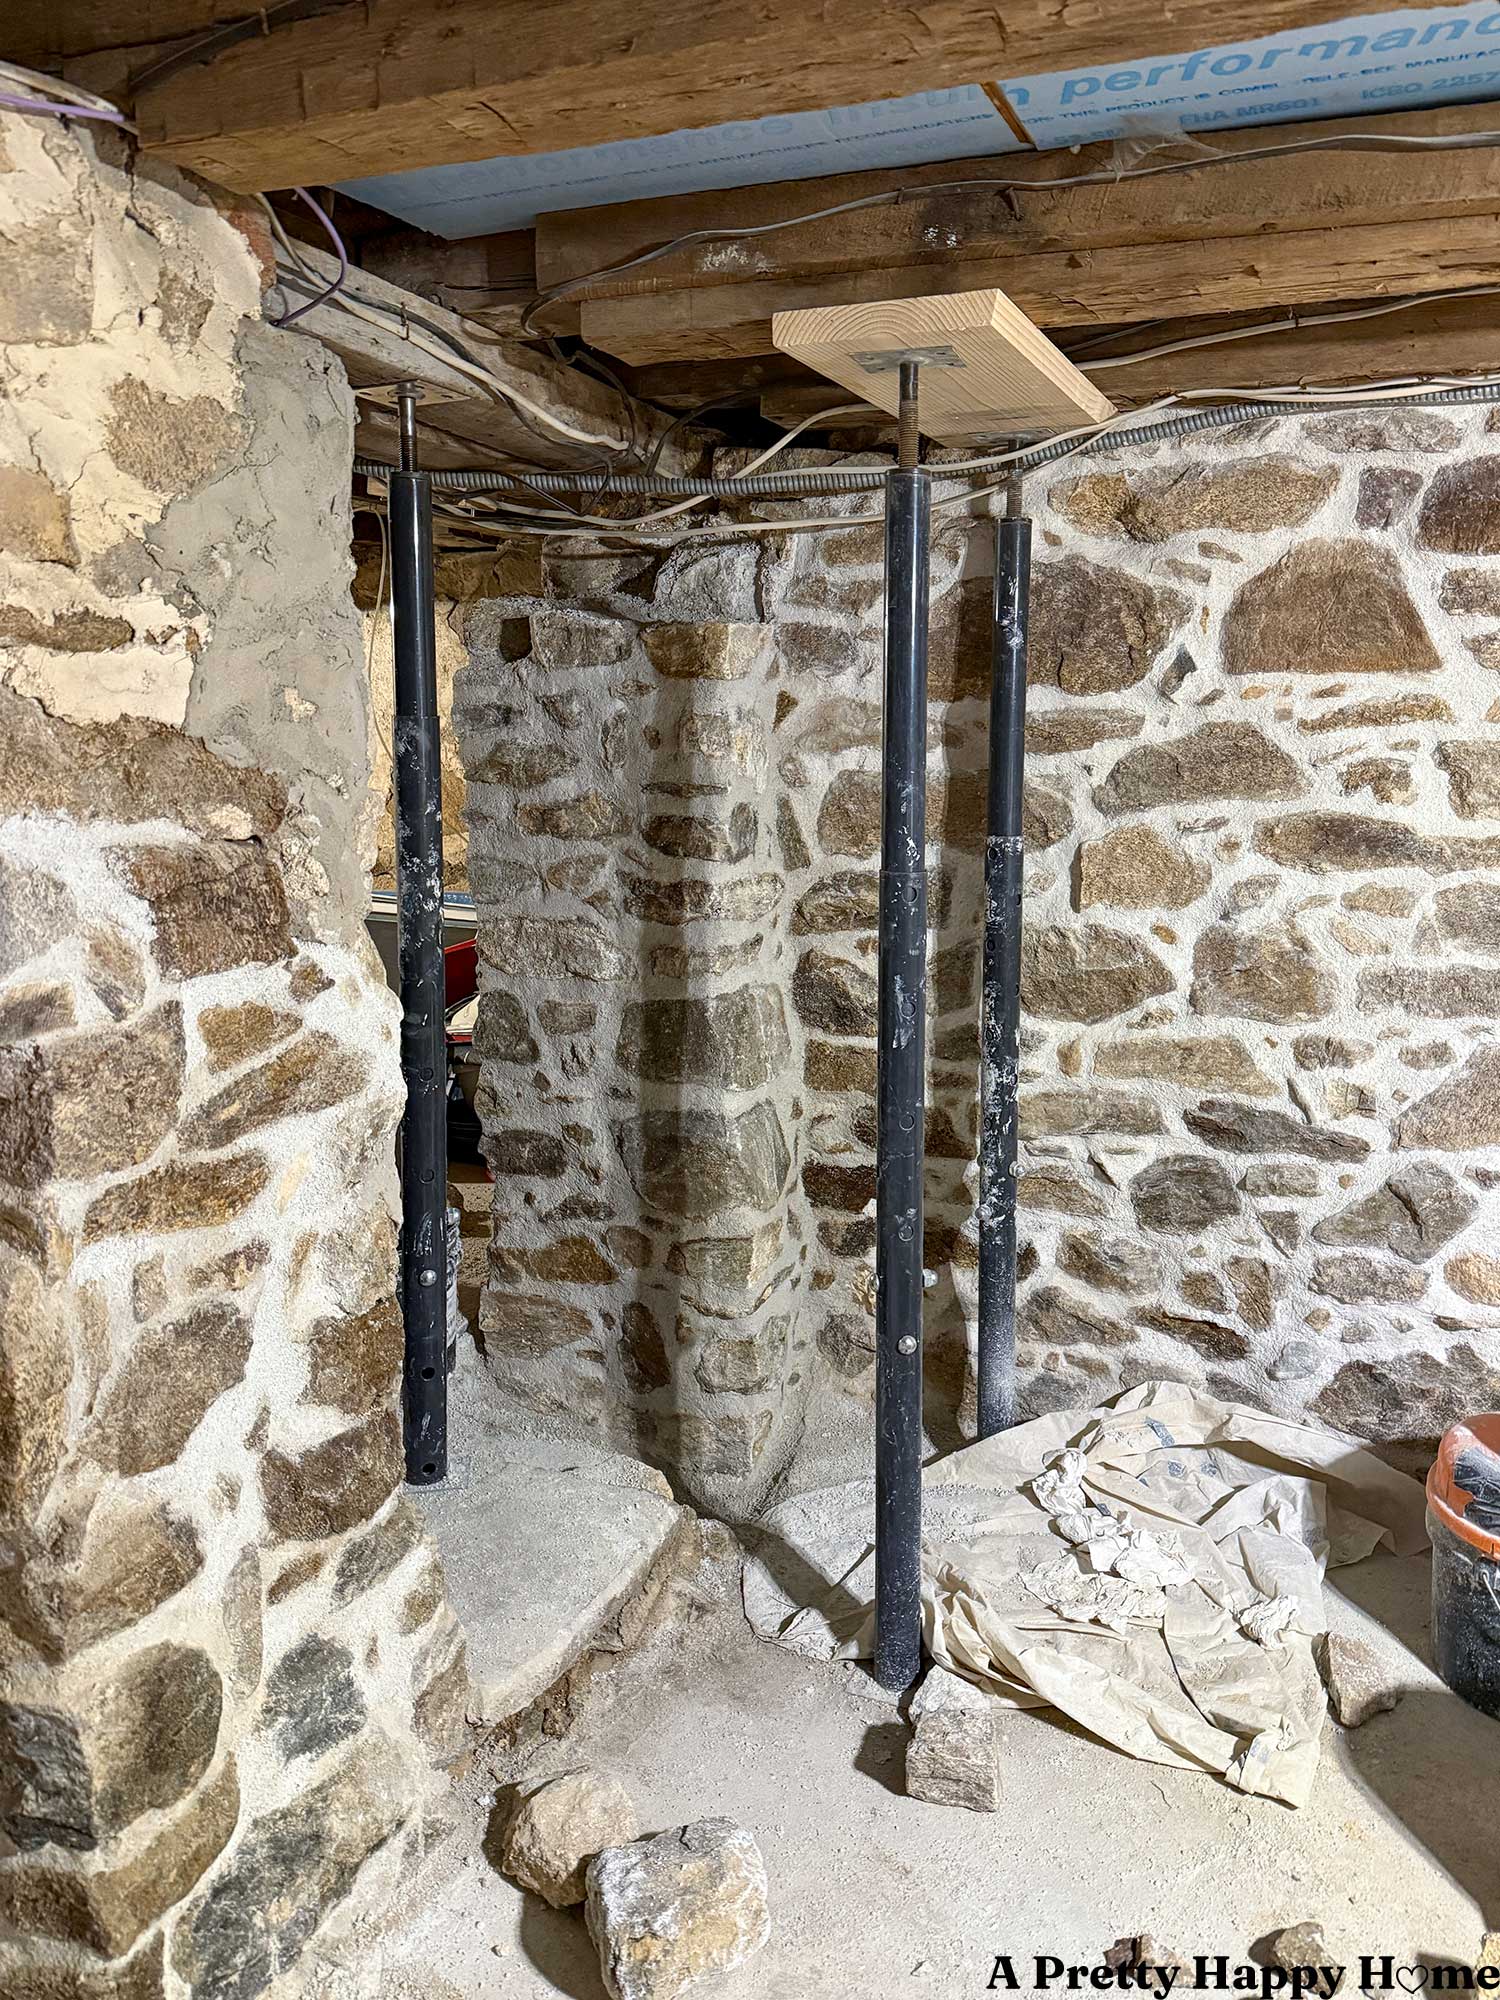
This new section of wall was built off the remnants of the foundation wall that used to be here.
How did we find the remnants of the foundation wall?
If your answer involved concrete being chipped up, you were correct!
All roads lead to concrete here.
For context, I put a 5-gallon bucket in the doorway so you could see how big the hole is. The area under the bucket is the base of the foundation. The area behind the bucket is what our soil looks like. It’s very rocky with some clay thrown in for fun. The area inside the bucket is just empty.
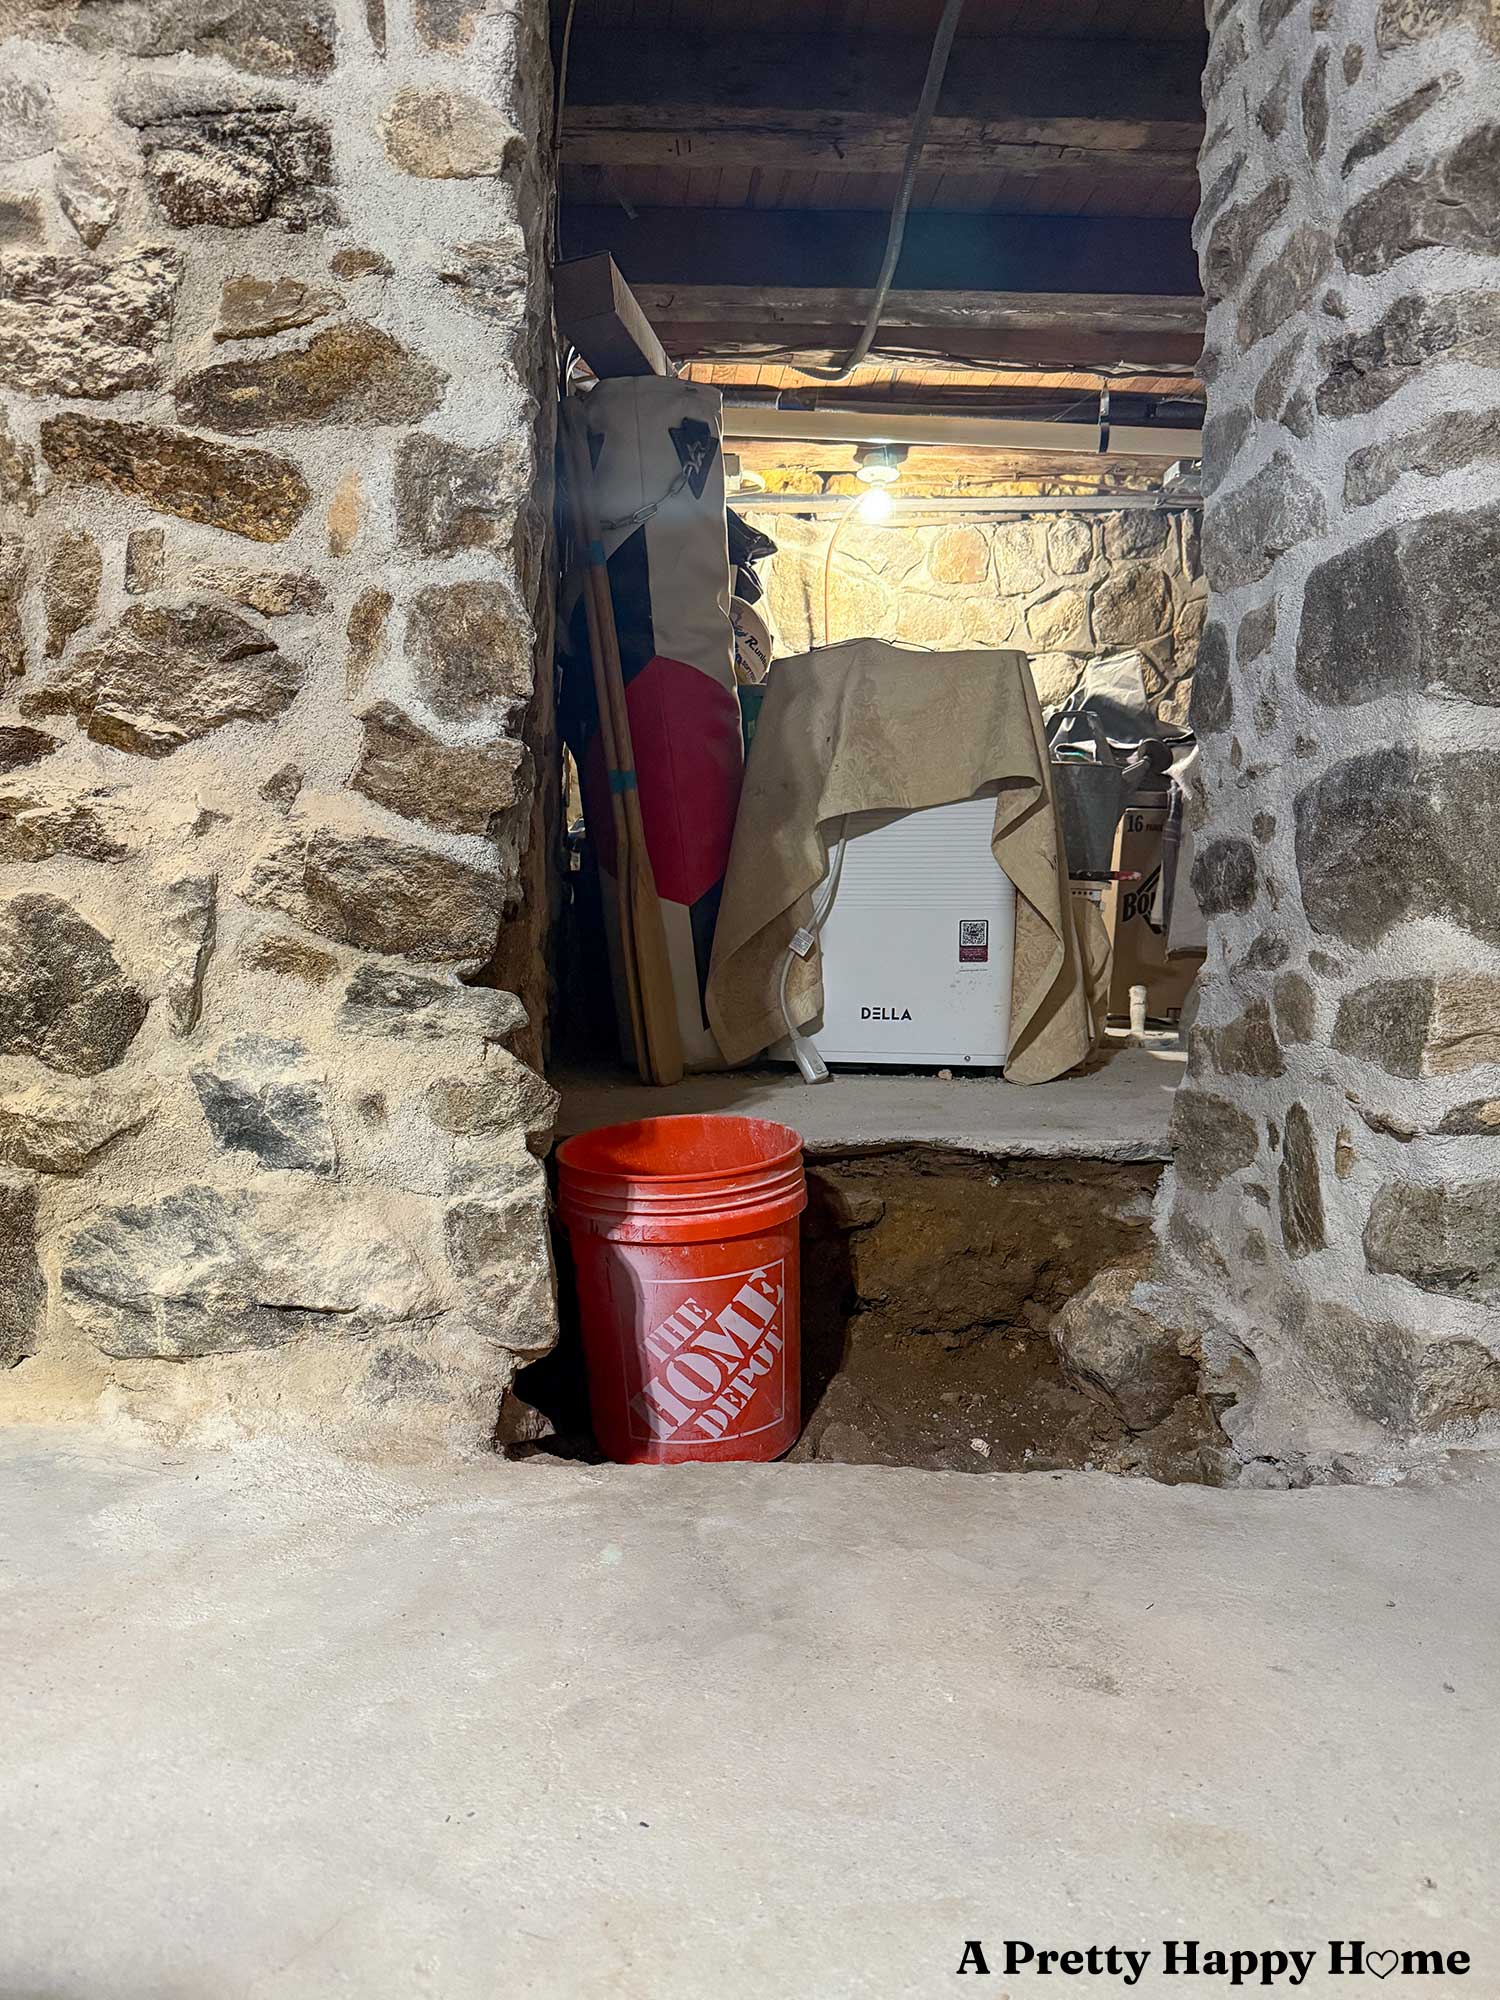
I’m not sure if you noticed in the above photo, but there is a medium-sized rock sticking up out of the “floor.” That rock was not coming out, so that’s how I determined where our step would be.
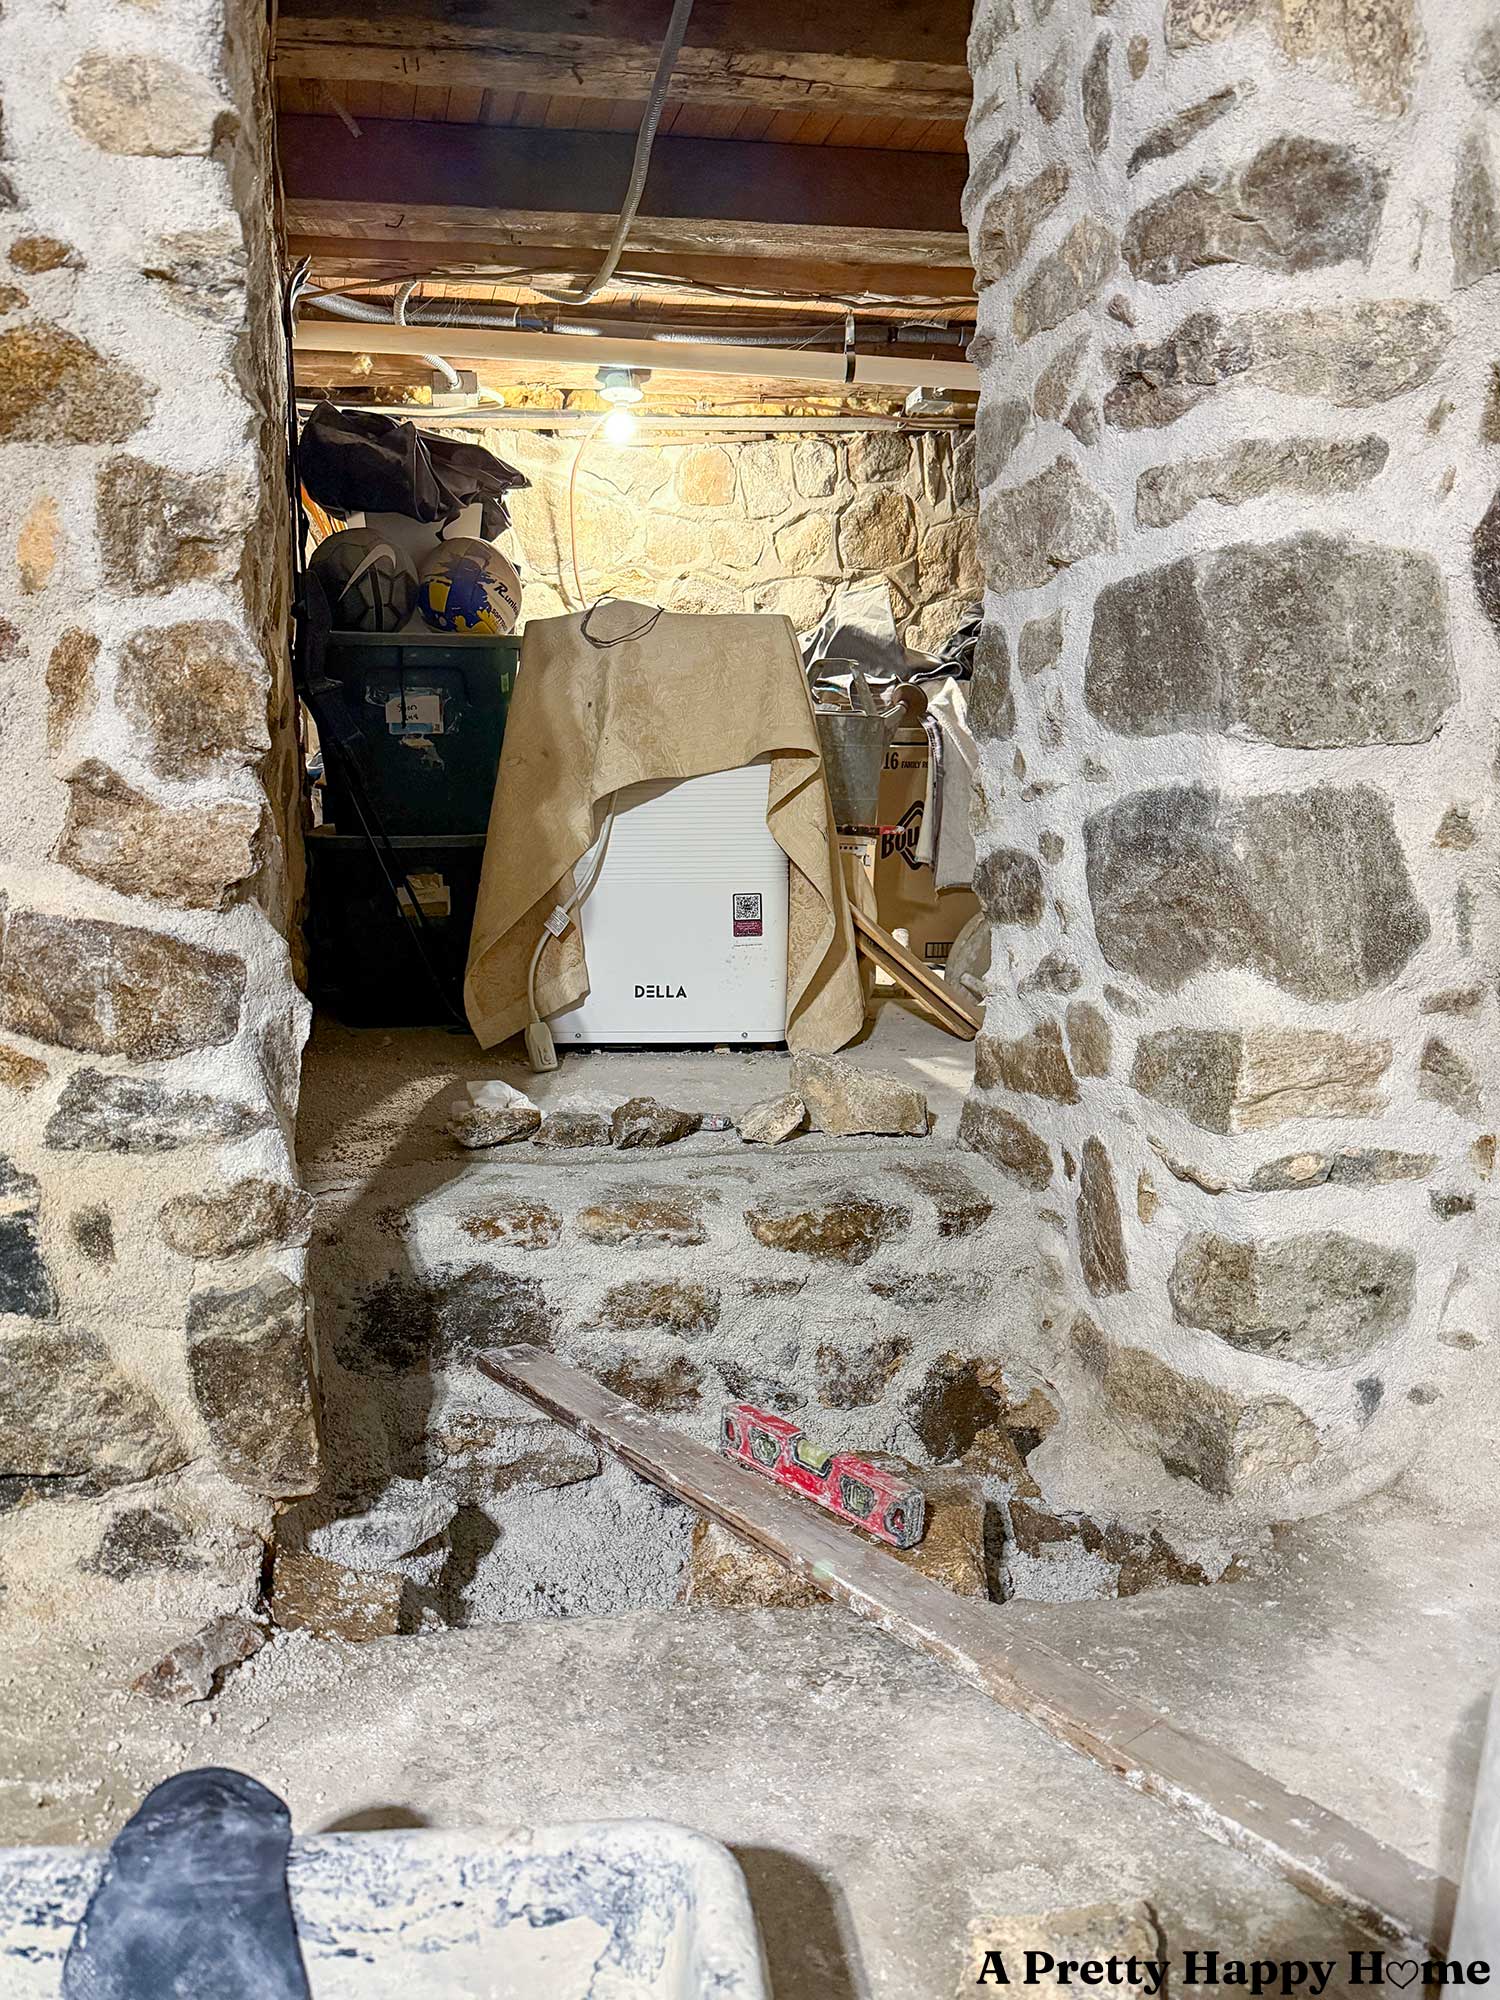
I secured the back of the step first because that’s the most vulnerable area since it is built into the dirt, albeit packed dirt. It needed to be deep enough to be stable for the rest of time, or at least as long as I live here.
The rest of the step would be flush with the concrete floor, so that’s why I have the board there to help me determine if the area was level.
This is the part of the process where I started to think this might look too nice for this space, especially since there is a second doorway 18 inches to the left that definitely has character, but maybe not the good kind of character.
You know what I mean? Oh, yeah. You know what I mean.
Let’s look at the before photo again because it’s been 32 seconds since you last saw it, and I want you to be floored.
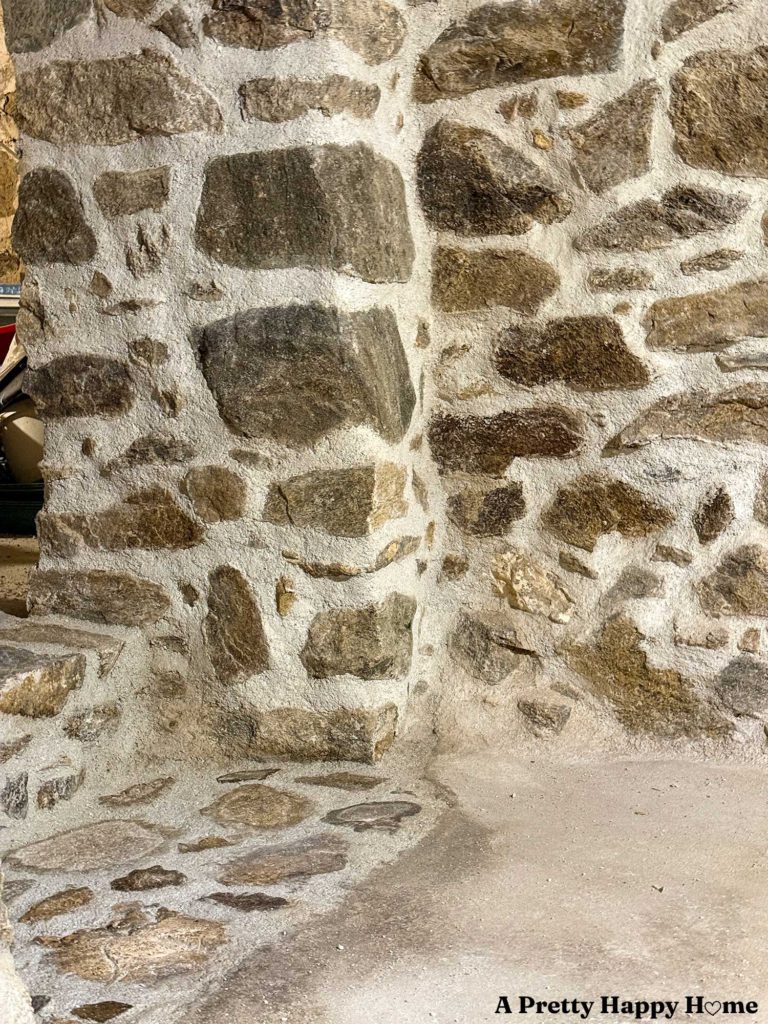
Tada!
So much better, right?
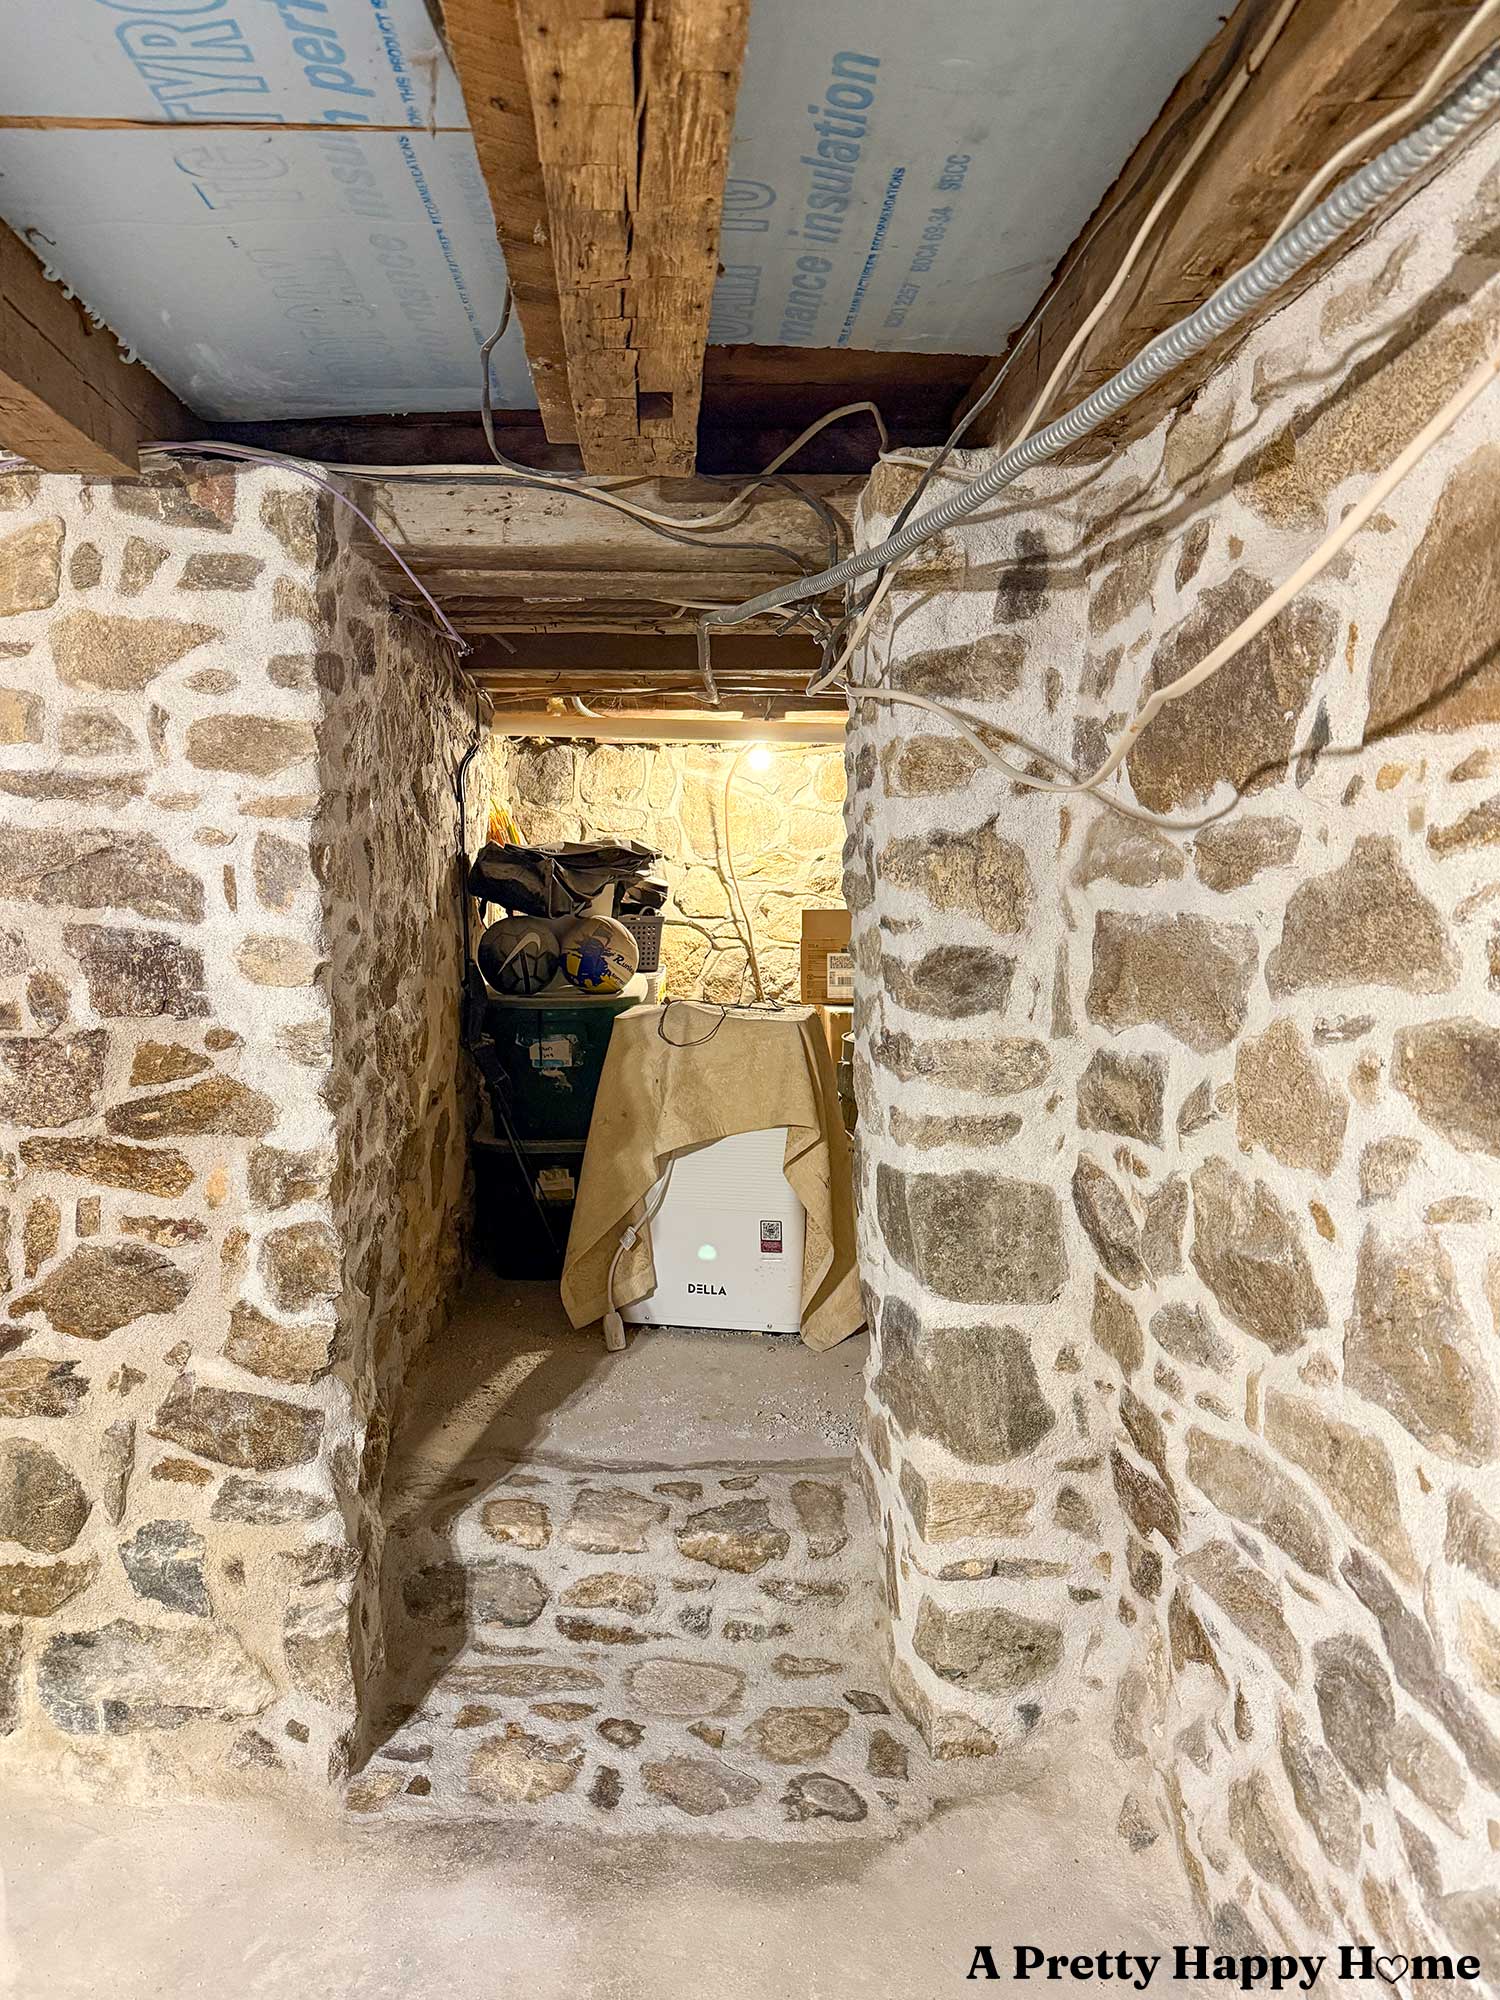
The doorway is twelve inches narrower than it started, but it is still 36 inches wide.
It doesn’t feel cramped at all.
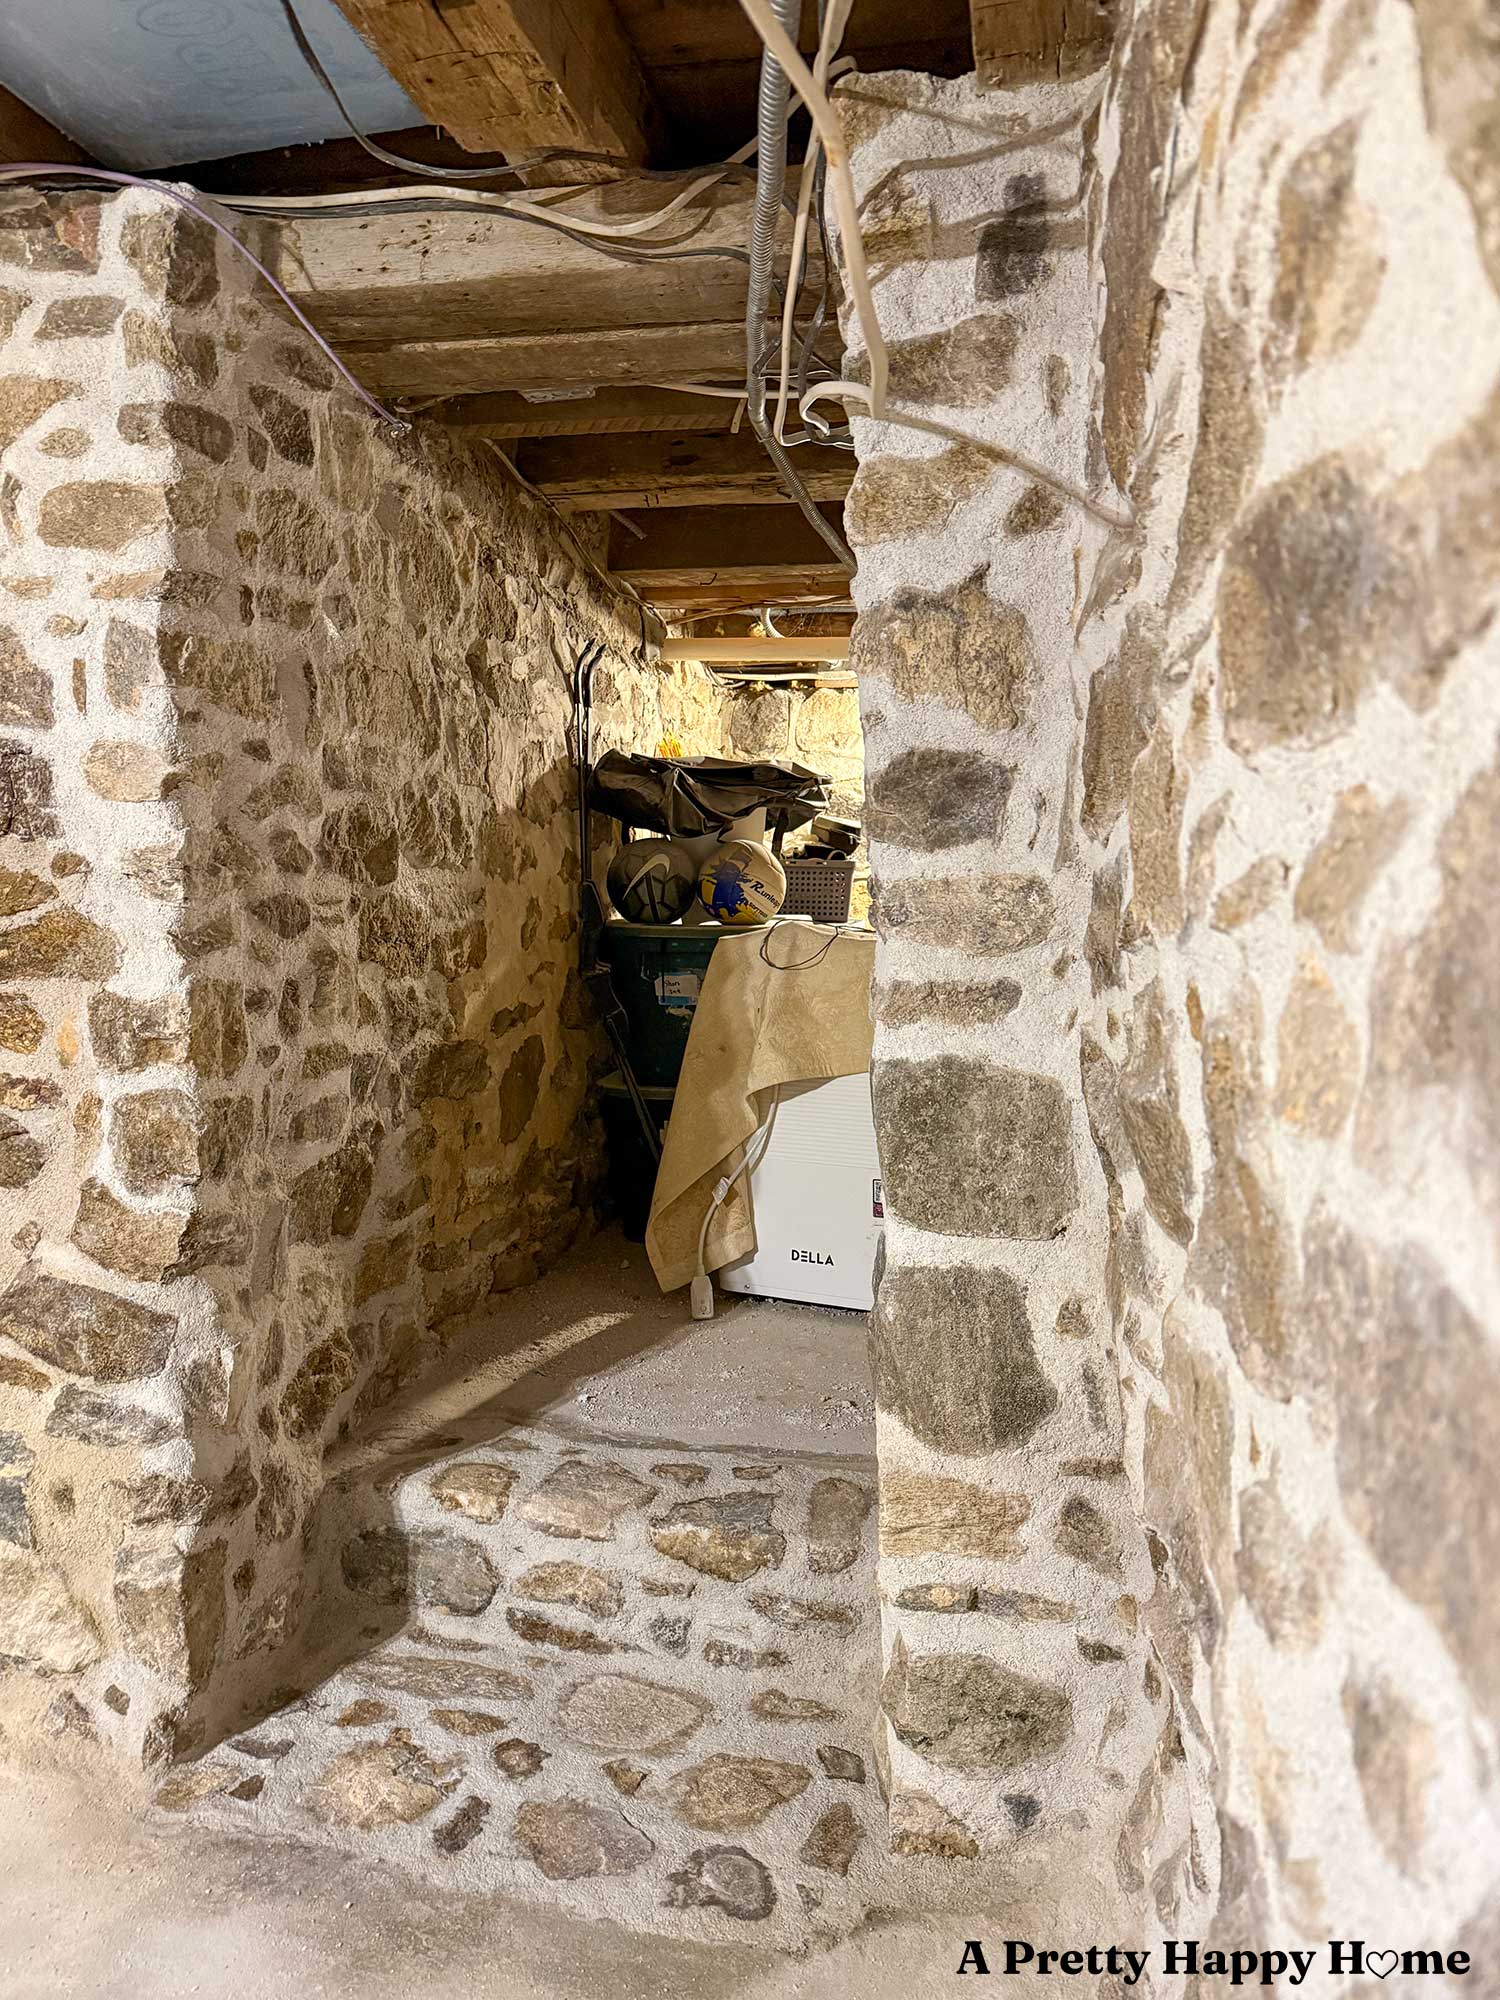
The thing that does feel cramped is that little room you step up into because it’s storing all of the stuff that was in the workshop room that we’ve been repointing.
Maybe once we get the workshop put back together and cleaned up, I’ll be able to show you a picture without that portable AC unit draped in a dropcloth in the background.
A DIYer can dream that their reality looks prettier than it is.
The things still left to do in the space include removing a section of cinderblocks from the wall opposite this one, building shelves, patching the floor, and cleaning up all the dust.
Cleaning up the dust is going to take the longest. In fact, cleaning up the dust feels more daunting than repointing the whole room.
How do you feel about construction dust? I’d love to know. Comments are like a freshly cleaned room…so satisfying! You can comment on this blog post, email me here, or reach out via direct message on Instagram or Facebook.
Happy DIYing!
P.S. I have spent way too much time thinking about whether or not a doorway has to include a door while writing this blog post.
For questions about where we buy our lime, what type of lime, etc., please reference our Lime Mortar FAQs.
If you need supplies for your repointing project and want to know what tools we use, please check out our Amazon Store.
Thank you for following along with our DIY adventures. If you’d like another blog post to read, try one of these.
Basement Workshop Stone Repointing: Part 1, Why Now
Basement Workshop Stone Repointing: Part 2, The Concrete Problem
Basement Workshop Stone Repointing: Part 3, Halfway Done
Basement Workshop Stone Repointing: Part 4, Floor Joists
Basement Workshop Stone Repointing: Part 5: Wall Tops
Basement Workshop Stone Repointing: Part 6: A New Wall
*affiliate links in this blog post*