

A new series chronicling our basement workshop stone repointing project (say that three times fast) starts today! Get your popcorn ready. I’m about to overshare the nitty-gritty details and drama.
Project Background:
Our house was originally built in the 1780s and has a stone foundation. It pains me to tell you that most of the exterior of that foundation has been skimmed with modern mortar, but that’s a project for a different blog post.
Historic stone foundations are made with fieldstone, which is stone used in its natural form as it came out of the ground. There was no grinding or chipping to make the stones uniform in any way, and you couldn’t buy a pallet of them from Home Depot back then, either.
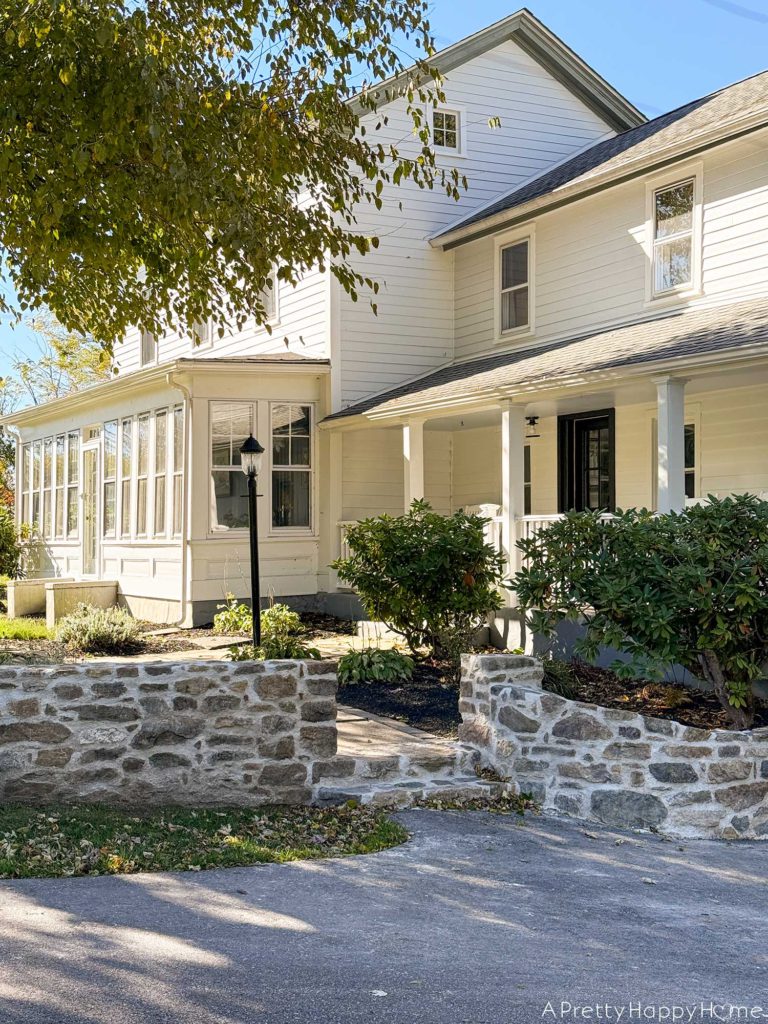
Our house has been added onto multiple times since the 1780s, so our basement is now comprised of several rooms with these stone foundation walls.
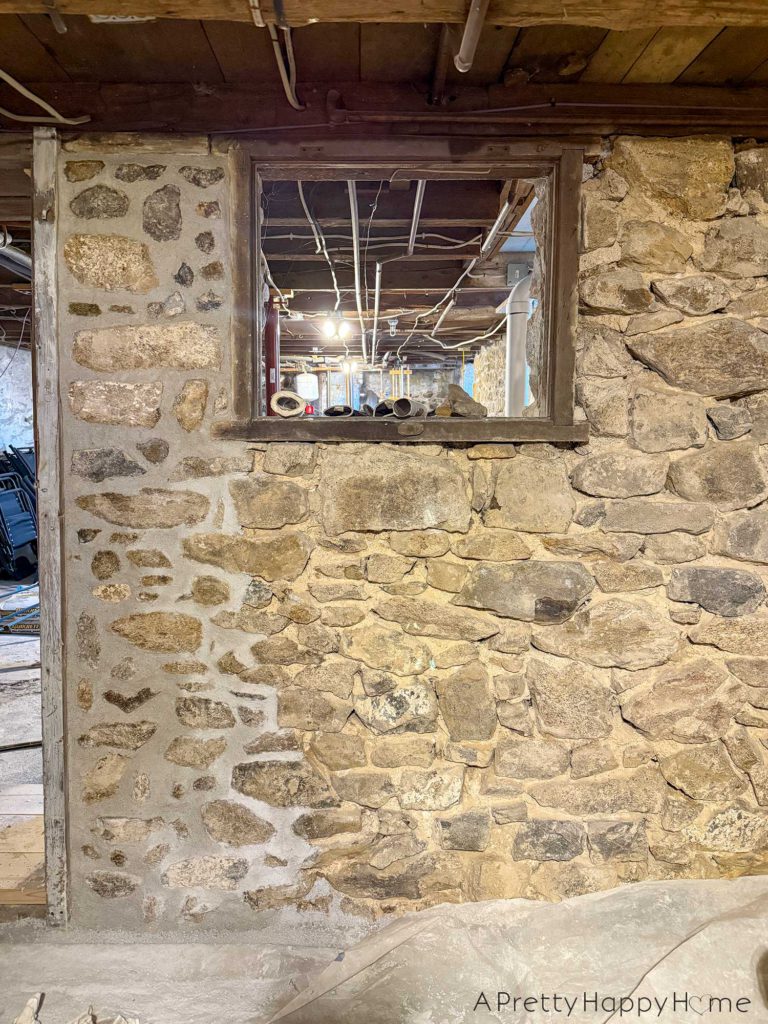
The 16’x16′ room we use as our basement workshop is the oldest part of the house. The foundation for this space would have originally been all exterior walls, but now these are interior walls.
It was time for those walls to be repointed with new lime mortar.
How did we know it was time to repoint? That’s a great question because repointing, if done well and conditions have been favorable, doesn’t need to be done very often. Maybe every 100 years or so.
We just happen to be the lucky ducks who get to take on this task.
Signs that it could be time to repoint your stone foundation include, but aren’t limited to:
- Piles of sand are accumulating along the floor or ground of the wall.
- The mortar is easily removed from the wall with your fingers.
- You have moisture issues.
- There are joints missing mortar.
- Plants are growing out of your foundation.
- Rodents or snakes are living in your foundation.
- Your stone foundation was previously repointed with concrete or a Portland cement product.
All mortar fails eventually, given enough time and the right set of circumstances. We are guessing the interior foundation walls of our basement workshop were repointed with lime mortar 100 or 125 years ago. The mortar definitely looked old. It’s hard to explain, but if you’ve looked at enough old mortar, you can start to spot differences.
Color can be one of the differences. Often, but not always, historic lime mortar is more of a brownish color.
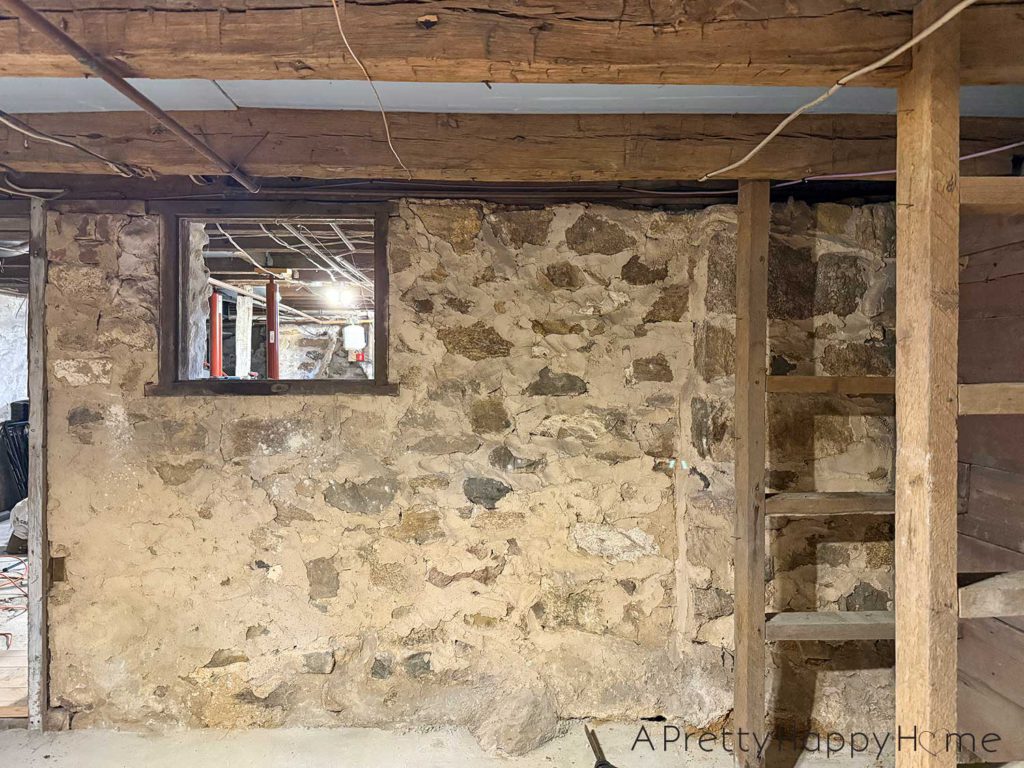

Our basement workshop had sand accumulation at the base of the wall. It was starting to look like we had beachfront property, but we don’t live near the beach. There was also loose and missing mortar on the top portion of the wall that supports the floor joists. The third problem is that concrete was pushed up about 12 inches along the bottom of the wall when the concrete floor was poured. We couldn’t tell what was happening to the foundation under that concrete.
What type of mortar do we use to repoint our stone foundation?
First, what we don’t use. Never use any mortar with Portland cement because it is extremely bad for your stone foundation. Portland cement doesn’t allow your foundation to breathe (take on and release moisture), and the Portland cement is too hard for your stones, which can cause them to break.
We use natural hydraulic lime to reproduce historically accurate lime mortar that most closely matches how our foundation was originally built, and why it has lasted so long.
When most people reference “lime mortar,” they are talking about hydrated lime that masons typically add to a mortar mix to improve its workability. The internet likes to fight about this, but our research has determined that this type of lime is not the gold standard for historic masonry and will prematurely fail. As always, do your own due diligence before embarking on a DIY project or hiring a mason.
There are different NHL number designations, which are used for different situations. So, you do have to get the right one for your project.
And speaking of this project, I’ve been showing you pictures of this space in this blog post.
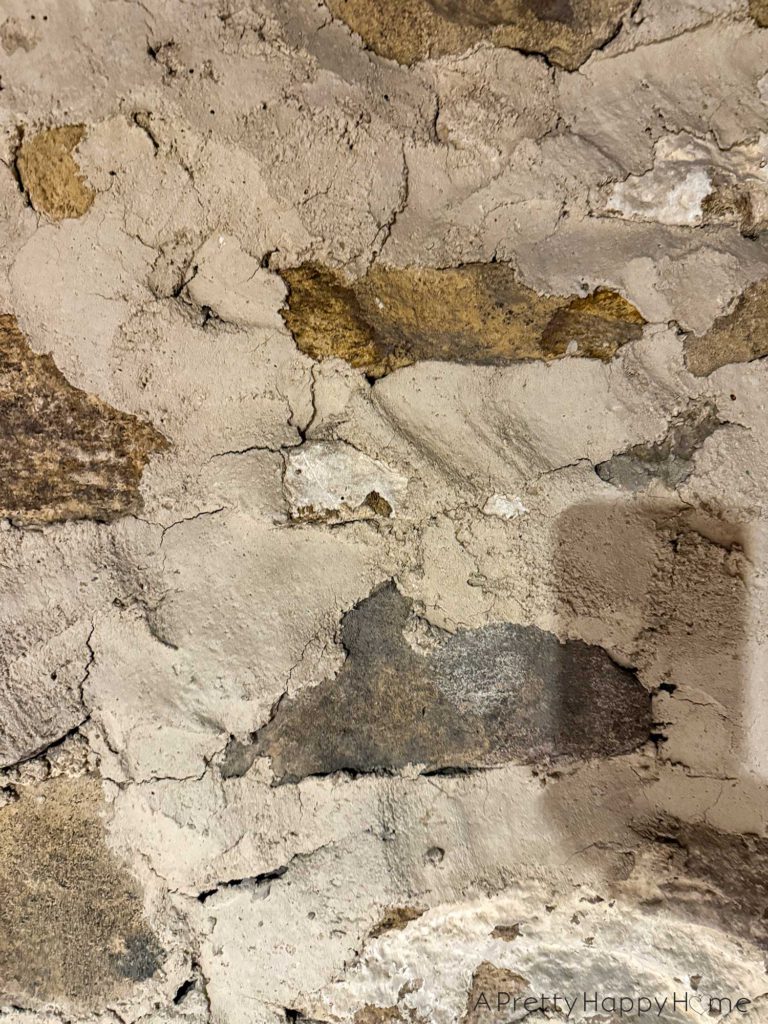
The before photos of our basement workshop walls weren’t terrible.
Not terrible does not mean good. Haha!
The walls looked to me as if a young child had finger-painted with mortar on the joints. No shade intended to young children.
If you look closely, you can see that the mortar has started to crack. That might be part of the reason why so much sand was landing on the floor.
Our project plan is pretty straightforward.
One wall at a time, baby. One wall at a time.
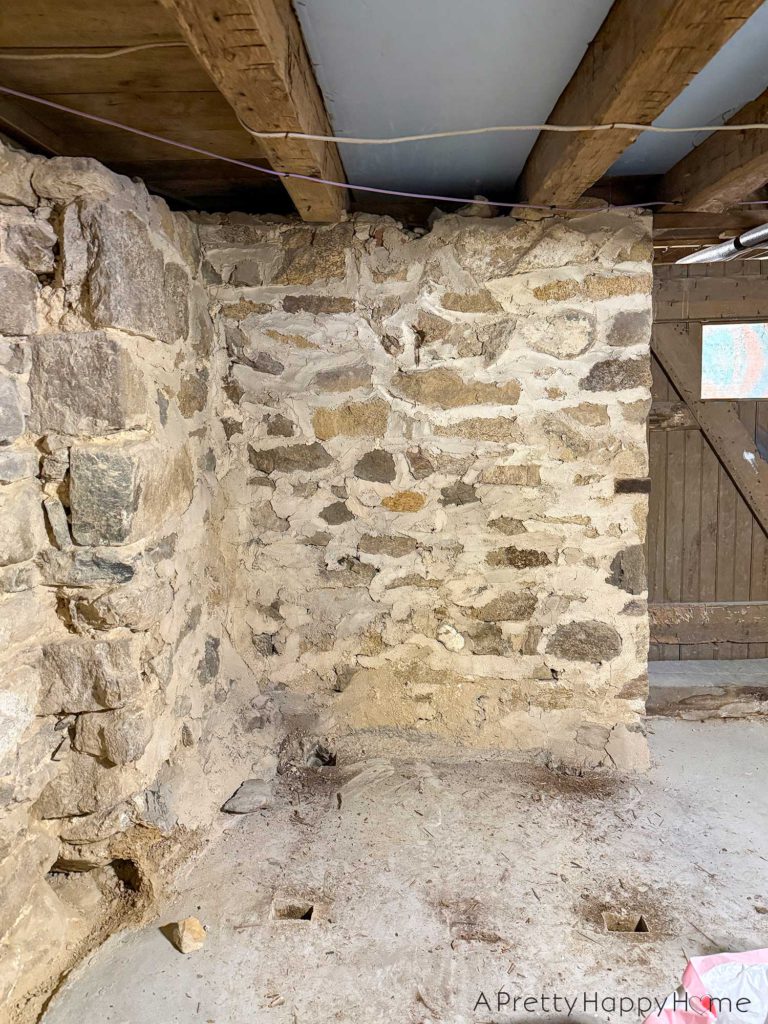
First, we chip out the mortar on one wall, which means we remove between 1 and 1.25 inches of mortar from around every stone using a pneumatic chisel. Occasionally, and much to the dismay of my thumbs, a hand chisel and a hammer have to be used, too.
Second, we clean up the giant mess we made. All the rubble needs to be removed from the room, and the walls need to be brushed or vacuumed off. You need to remove the mortar dust from the stones so that the new pointing (lime mortar) can stick directly to the stones.
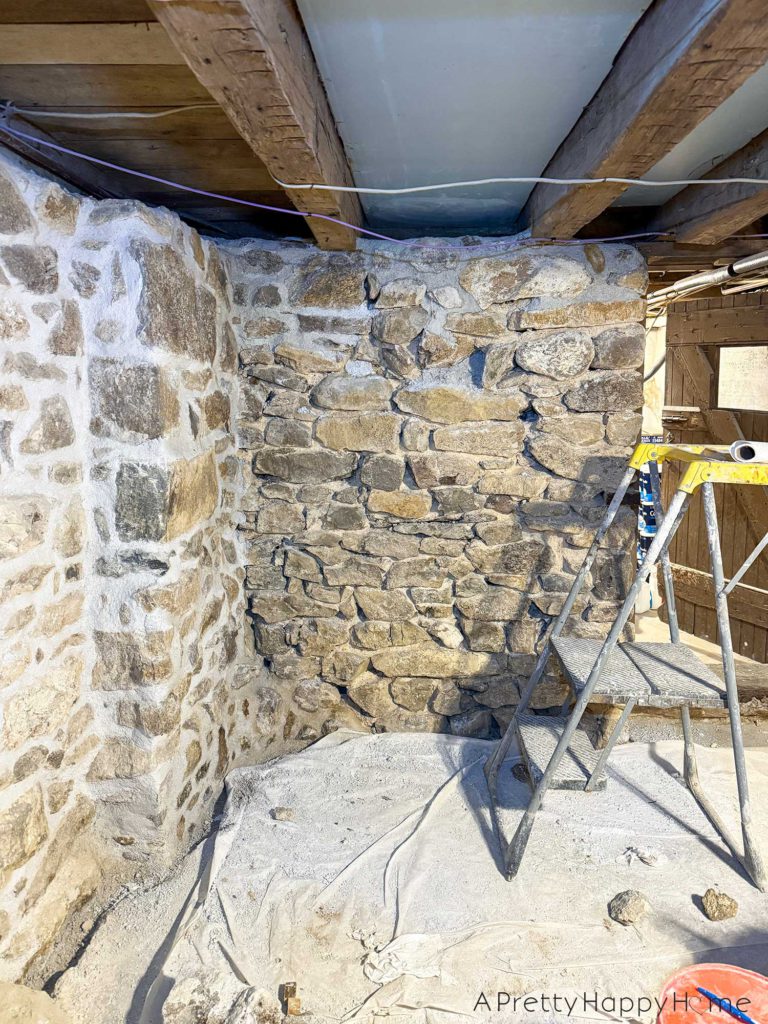
Third, we repoint with new lime mortar. That’s where the real magic happens, and the walls start to transform right before your eyes. It’s very satisfying.
We are more likely to stay motivated on big projects if we see small amounts of progress more frequently. Starting and finishing one wall is much more doable for us than trying to chip out the entire room before we do anything else. If something comes up or we lose motivation, now we’ve left our foundation in a vulnerable state.
Stay tuned for my next update, and I’ll share some progress and problems that we’ve had with this basement workshop stone repointing project!
Do you tackle projects a little bit at a time, too? Comments are like smiles. They brighten this blogger’s day. You can comment on this blog post, email me here, or reach out via direct message on Instagram or Facebook.
Thank you and happy DIYing!
Thanks for hanging out with me today. If you’d like another blog post to read, try one of these!
Curved Fieldstone Wall: Part 7, The Stairs