


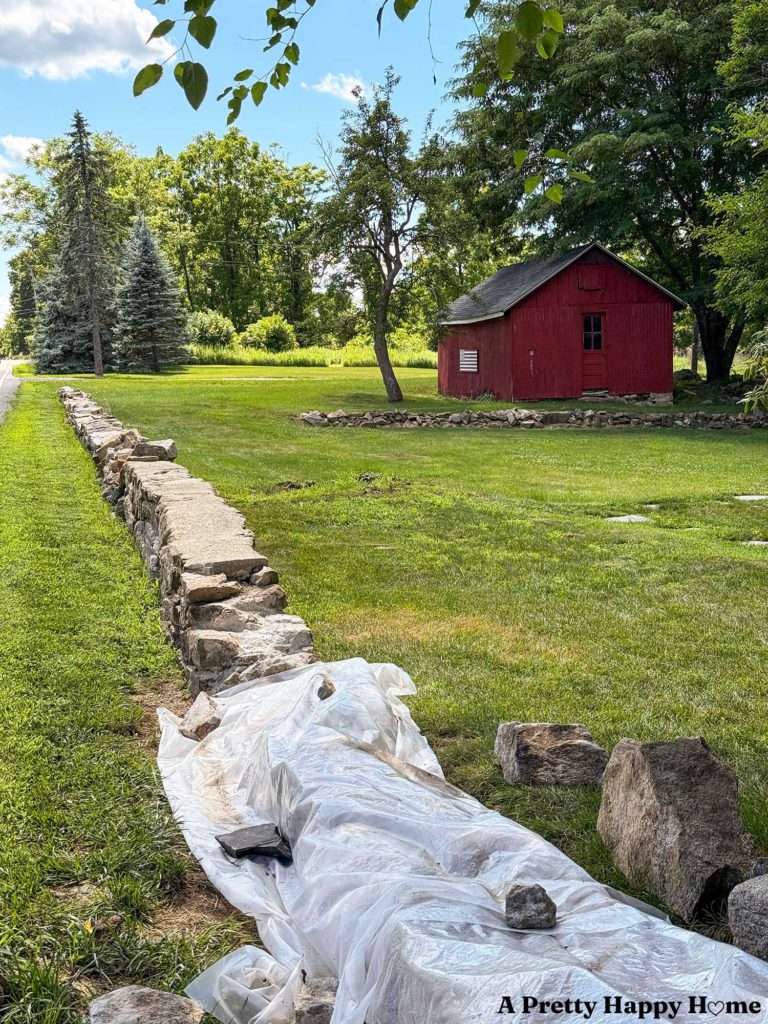
Welcome back to our Reconstructing a Fieldstone Wall series. This is part 4, and we will be discussing the pros and cons of reusing the existing wall footings to rebuild this old fieldstone wall.
You’d think this would be the one topic that would be all pros, no cons. But have you met me? I’m not a Negative Nelly. I’m more of a Realistic Rhonda. On this topic, though, my husband would probably say I’m an Obsessive Ophelia.
(My actual name is Annisa, in case you didn’t know.)
To recap: We’re reconstructing our low fieldstone walls.
I do a mini recap because some people come in mid-story, and if I want you to grab a trowel and help out know what’s going on, I’d better get you up to speed.
Our 1780s property has several low fieldstone walls, which is pretty normal. When the fields were cleared to grow crops or the foundation was dug for the house, the extra rocks that came out of the ground had to go somewhere. Somewhere was usually a wall.
Over time, our walls have become, to put it delicately, a hot mess. Therefore, we decided to reconstruct them. Everything we’ve demoed so far was originally mortared together with lime mortar. We found evidence of that, even though they look dry-stacked in places.
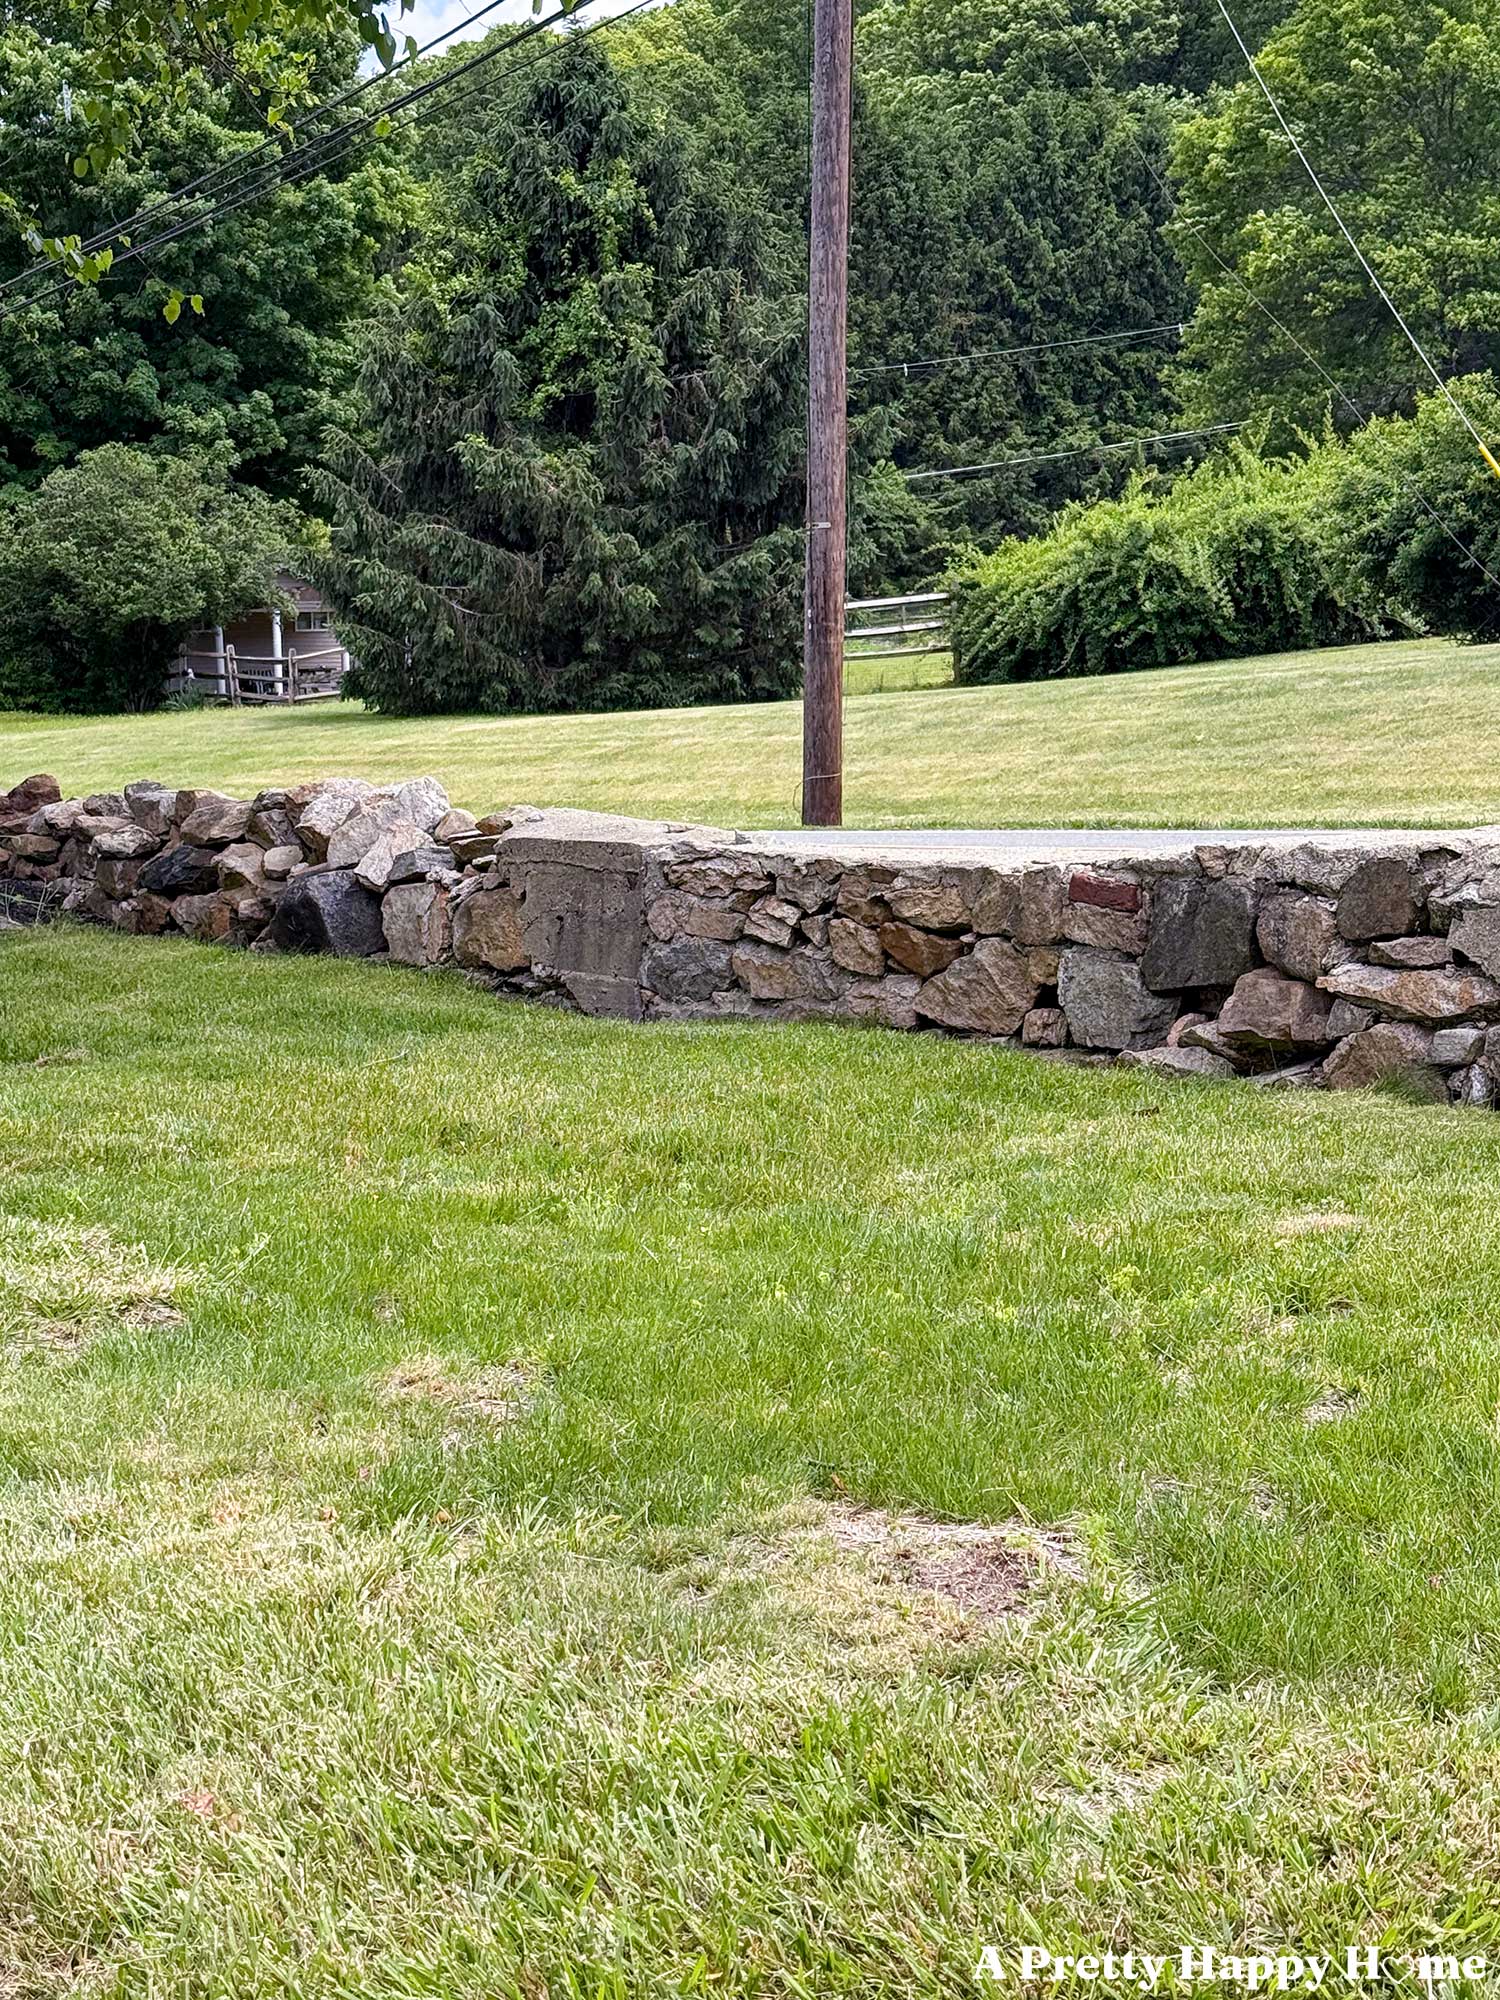

Our process for reconstructing the fieldstone walls is old school.
We’re basically reconstructing the walls as close as possible to the original way that they were built. While we aren’t putting the rocks back in the same order because no one’s paying me enough for that madness, we are reusing all the same irregularly shaped and sized fieldstone.
We are also using an equivalent lime mortar to what was historically used. I say equivalent because we’re using natural hydraulic lime (NHL), which is a modern standardization of an old process, so that I don’t have to tend a lime pit, hot mix anything, or make my own lime putty. I’m committed, but not THAT committed.
We are also reusing the wall footings that we found when we demoed the existing walls.
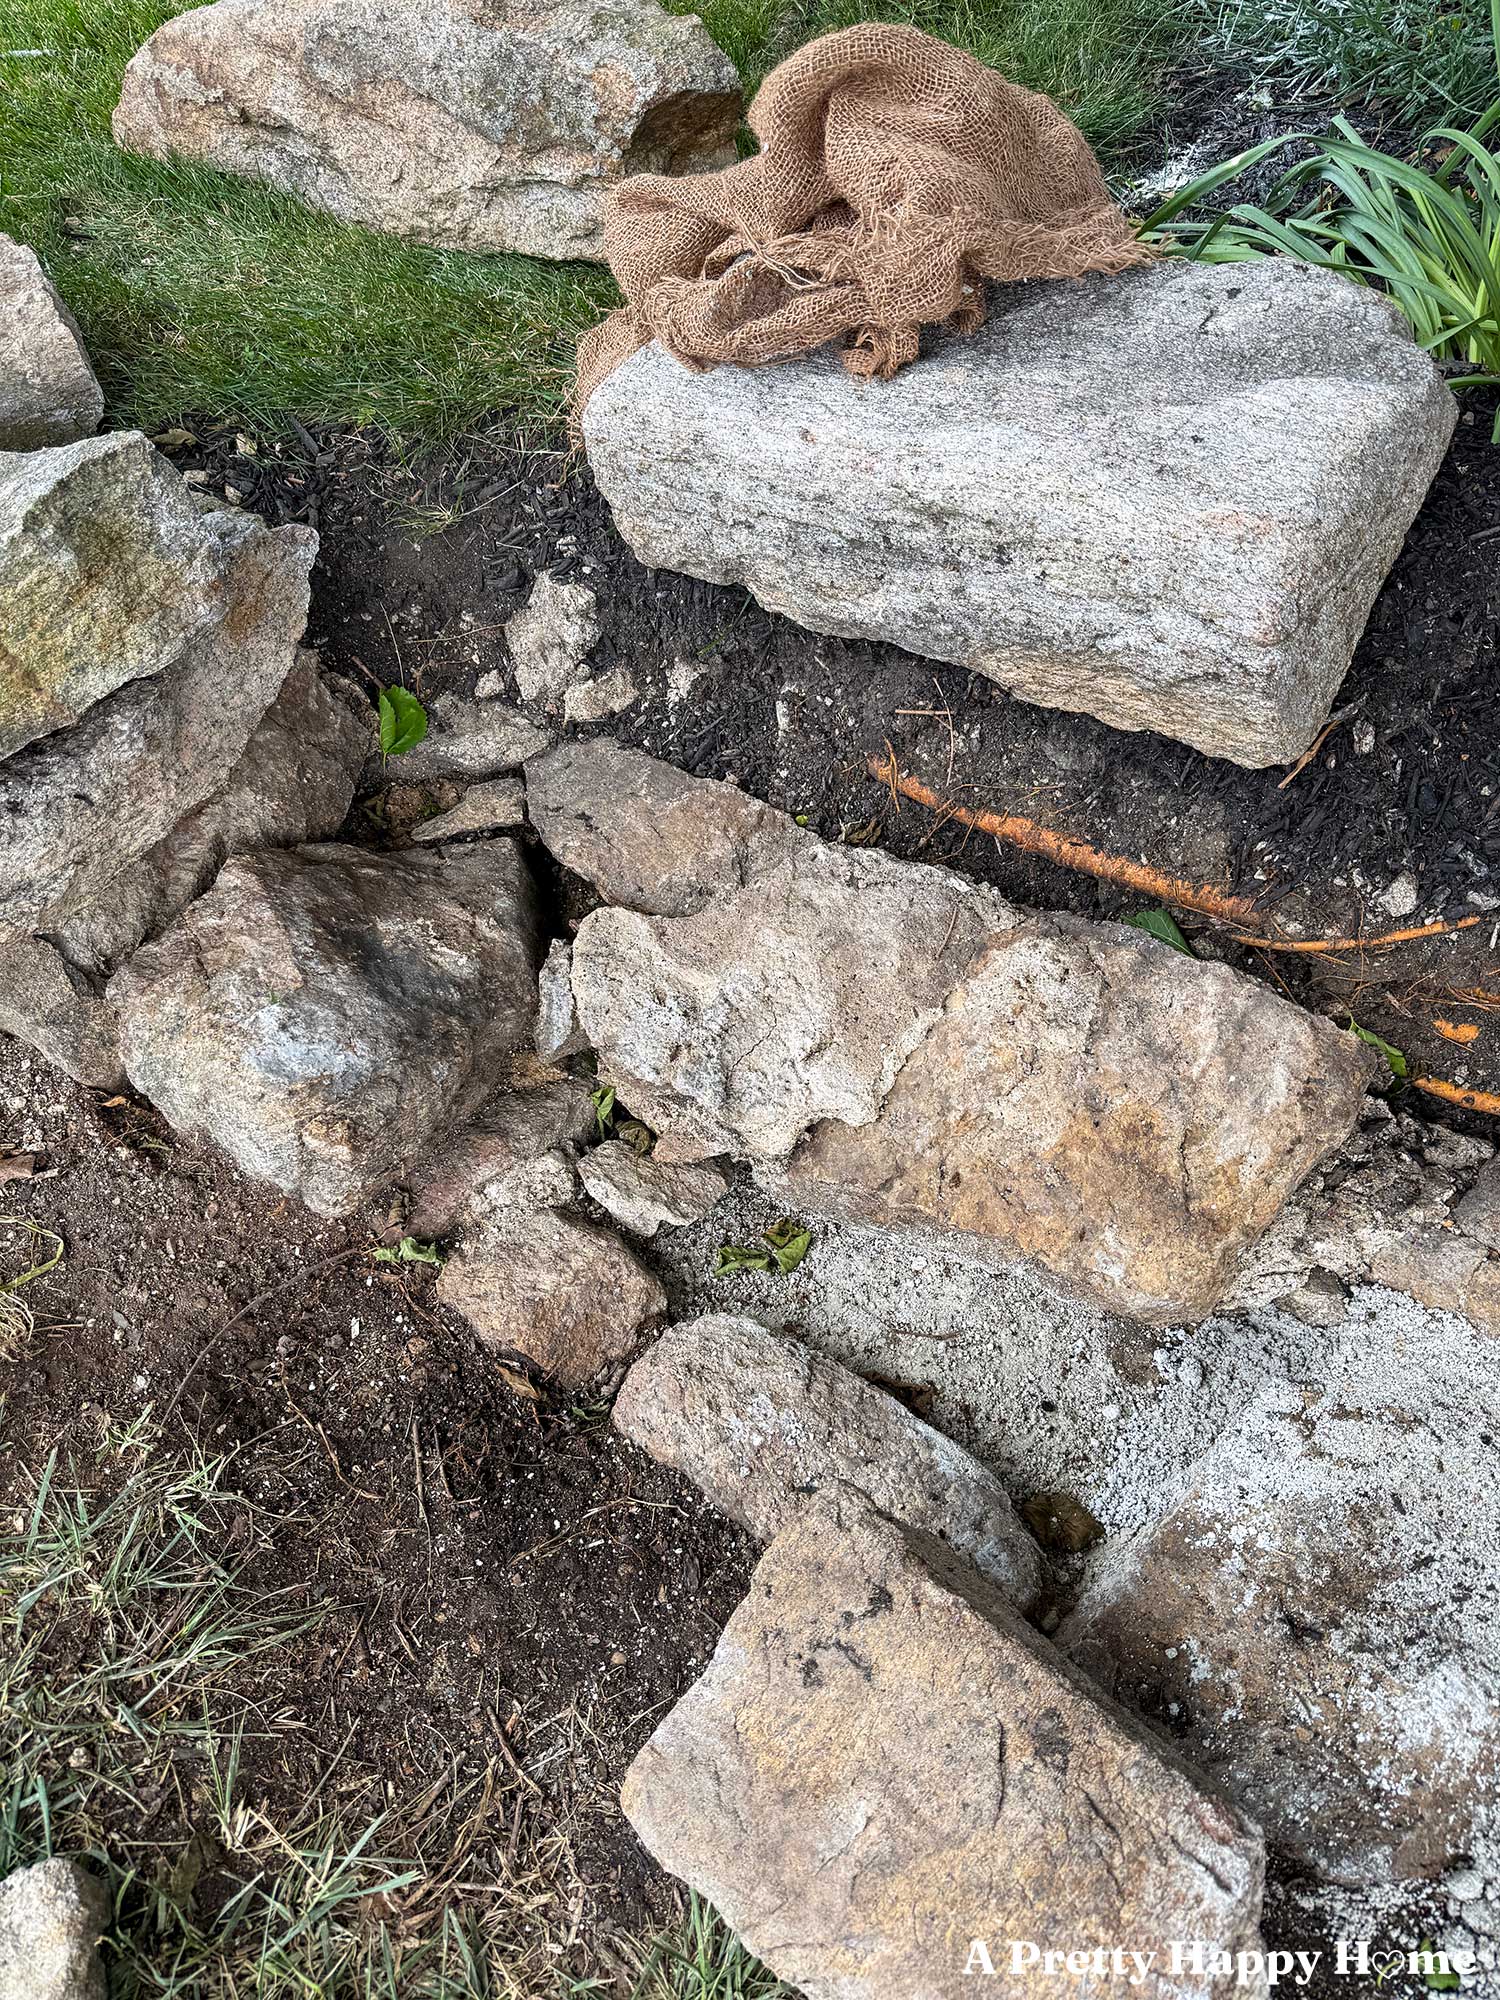
The pros of reusing the wall footings cannot be understated.
When we took the wall down to ground level or just below, we found solid lime mortar in between the stones that were laid there. Solid, as in hitting it with the shovel, was like hitting a rock. We are calling this a footing, and decided there was no reason to demo perfectly good, still hard, and intact lime mortar.
In a bit of a “dig no evil, see no evil” kind of way, we are assuming that, due to what we found, whoever built this wall dug below the frost line to build it. Even if they didn’t, we see no evidence of the ground heaving during the freeze/thaw cycles, so we decided it is safe to build our wall off of these footings.
So, the pros of reusing the existing wall footings are that it saves us time, cuts out a tremendous amount of digging (hurray!), and saves money on materials (sand and lime).
This project would be exponentially harder if we had to dig down four feet to build our fieldstone wall. We’ve done that before, and it’s about as much fun as you can imagine.
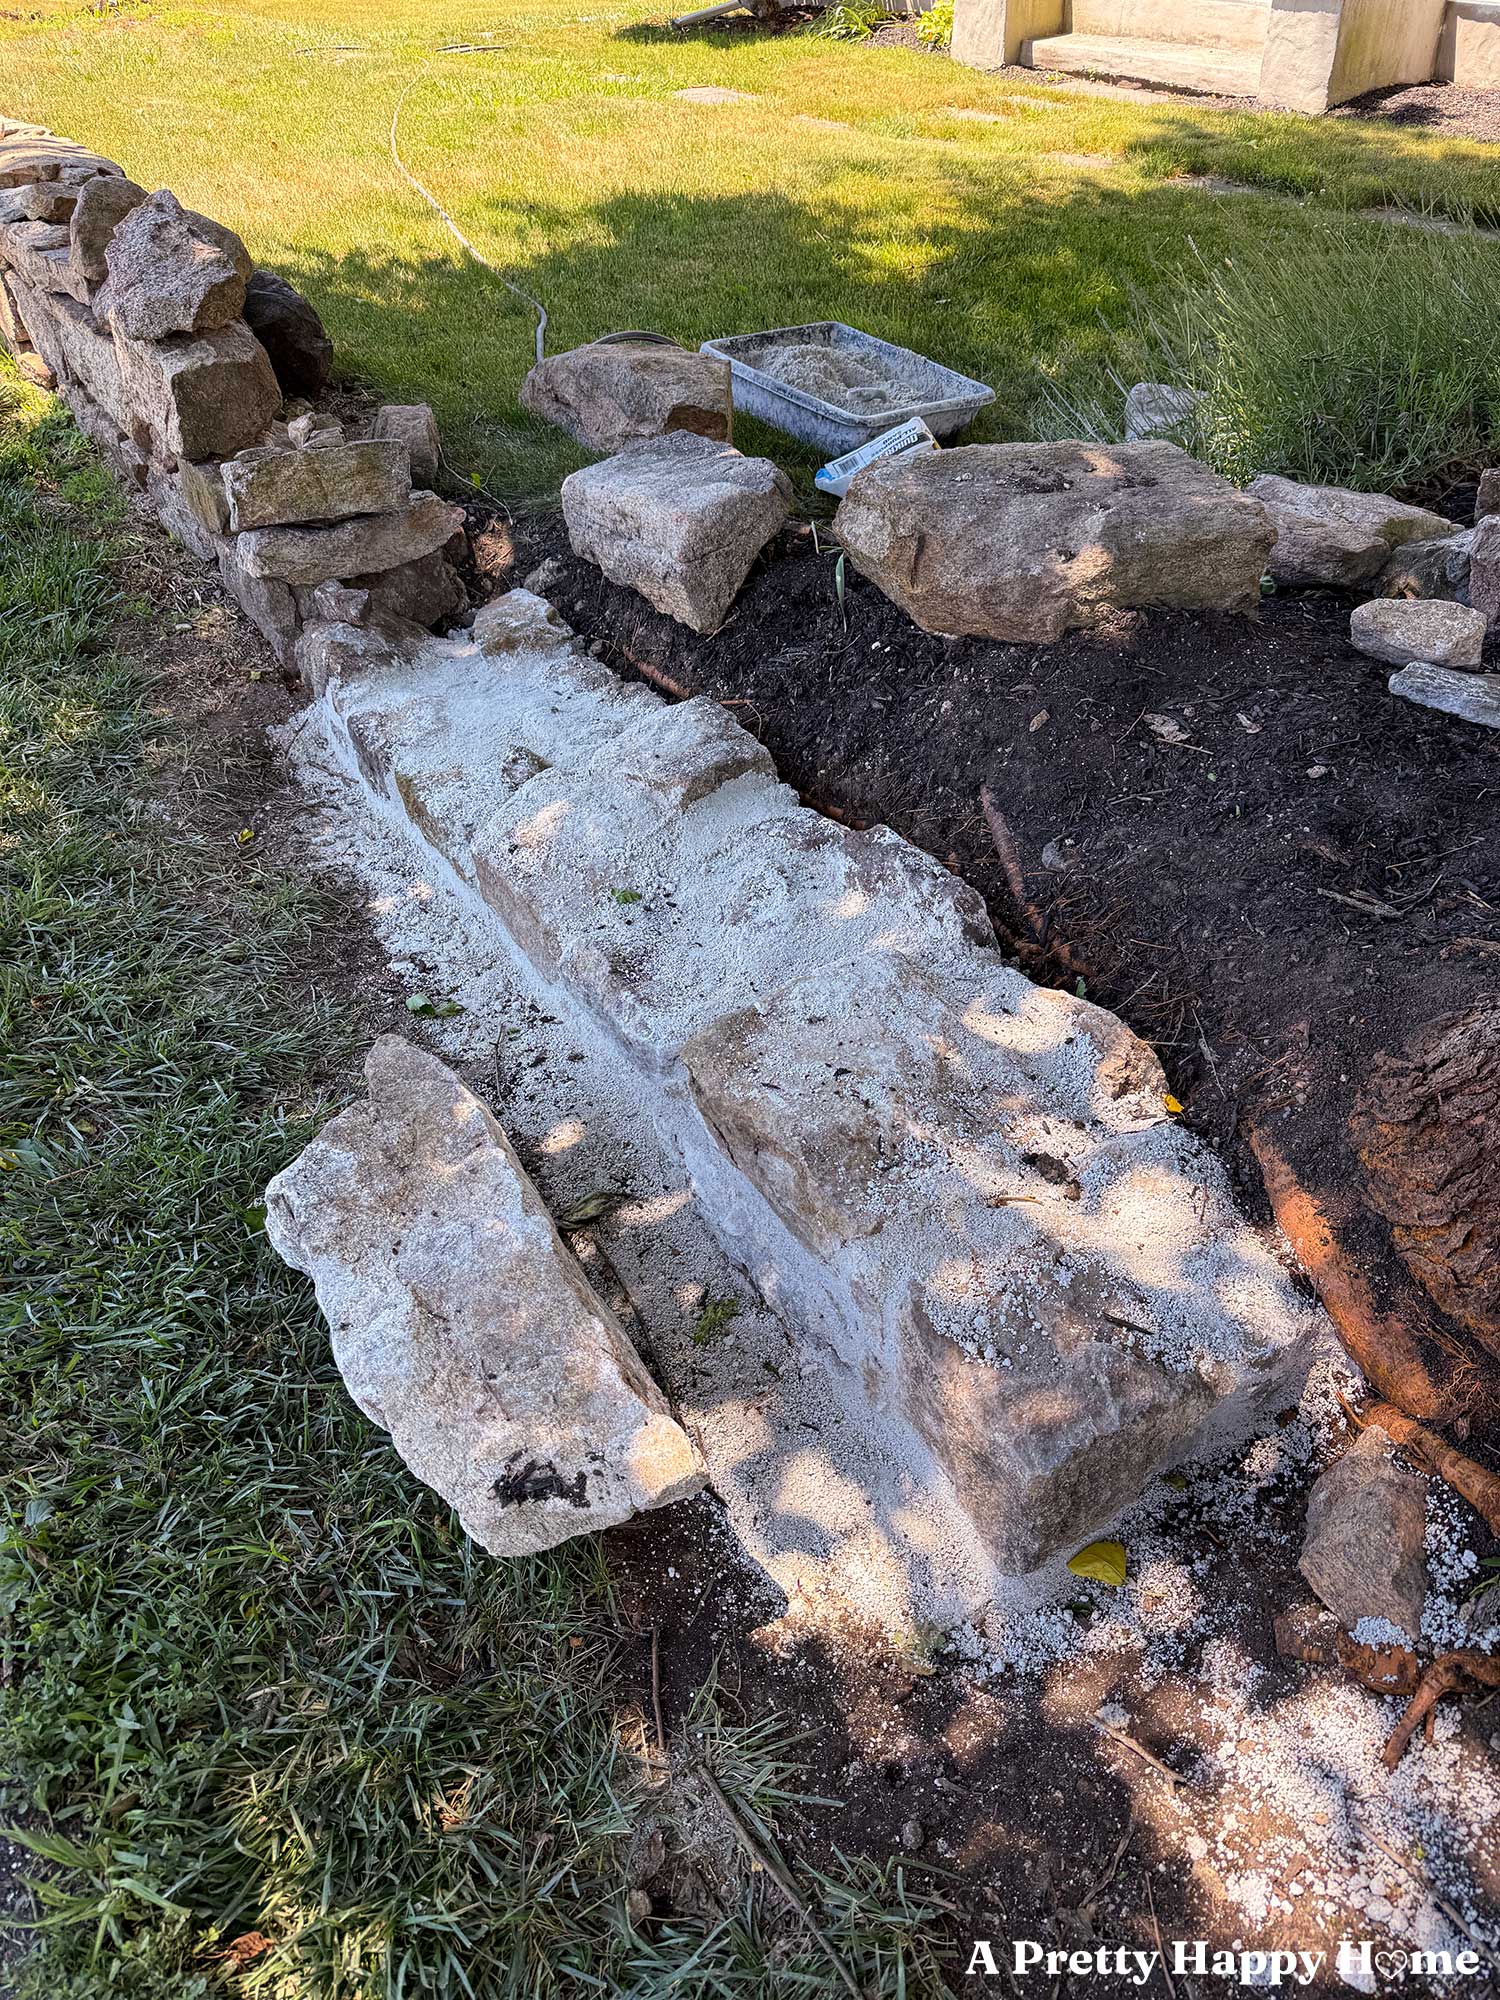
The con of reusing the wall footing is something few will notice.
In fact, I didn’t notice it until I started on this project.
The con is that the existing fieldstone wall isn’t perfectly straight, and the various sections don’t quite line up.
The sections on either side of the mailbox, which will be connected by a gate, are misaligned by about three inches. This means one of them is three inches closer to the road than the other. That might not seem like a big deal, but we do have to join those two sections together with a gate, so the details do matter.
The straight stretch that runs along the road kind of weaves in and out a bit. Not drastically, just enough to be annoying when I’m trying to keep it all lined up. Since I’m reusing the existing footings, I can only cheat the new wall either way a tiny bit to correct for this if I want to keep the wall between 17 and 18 inches wide.
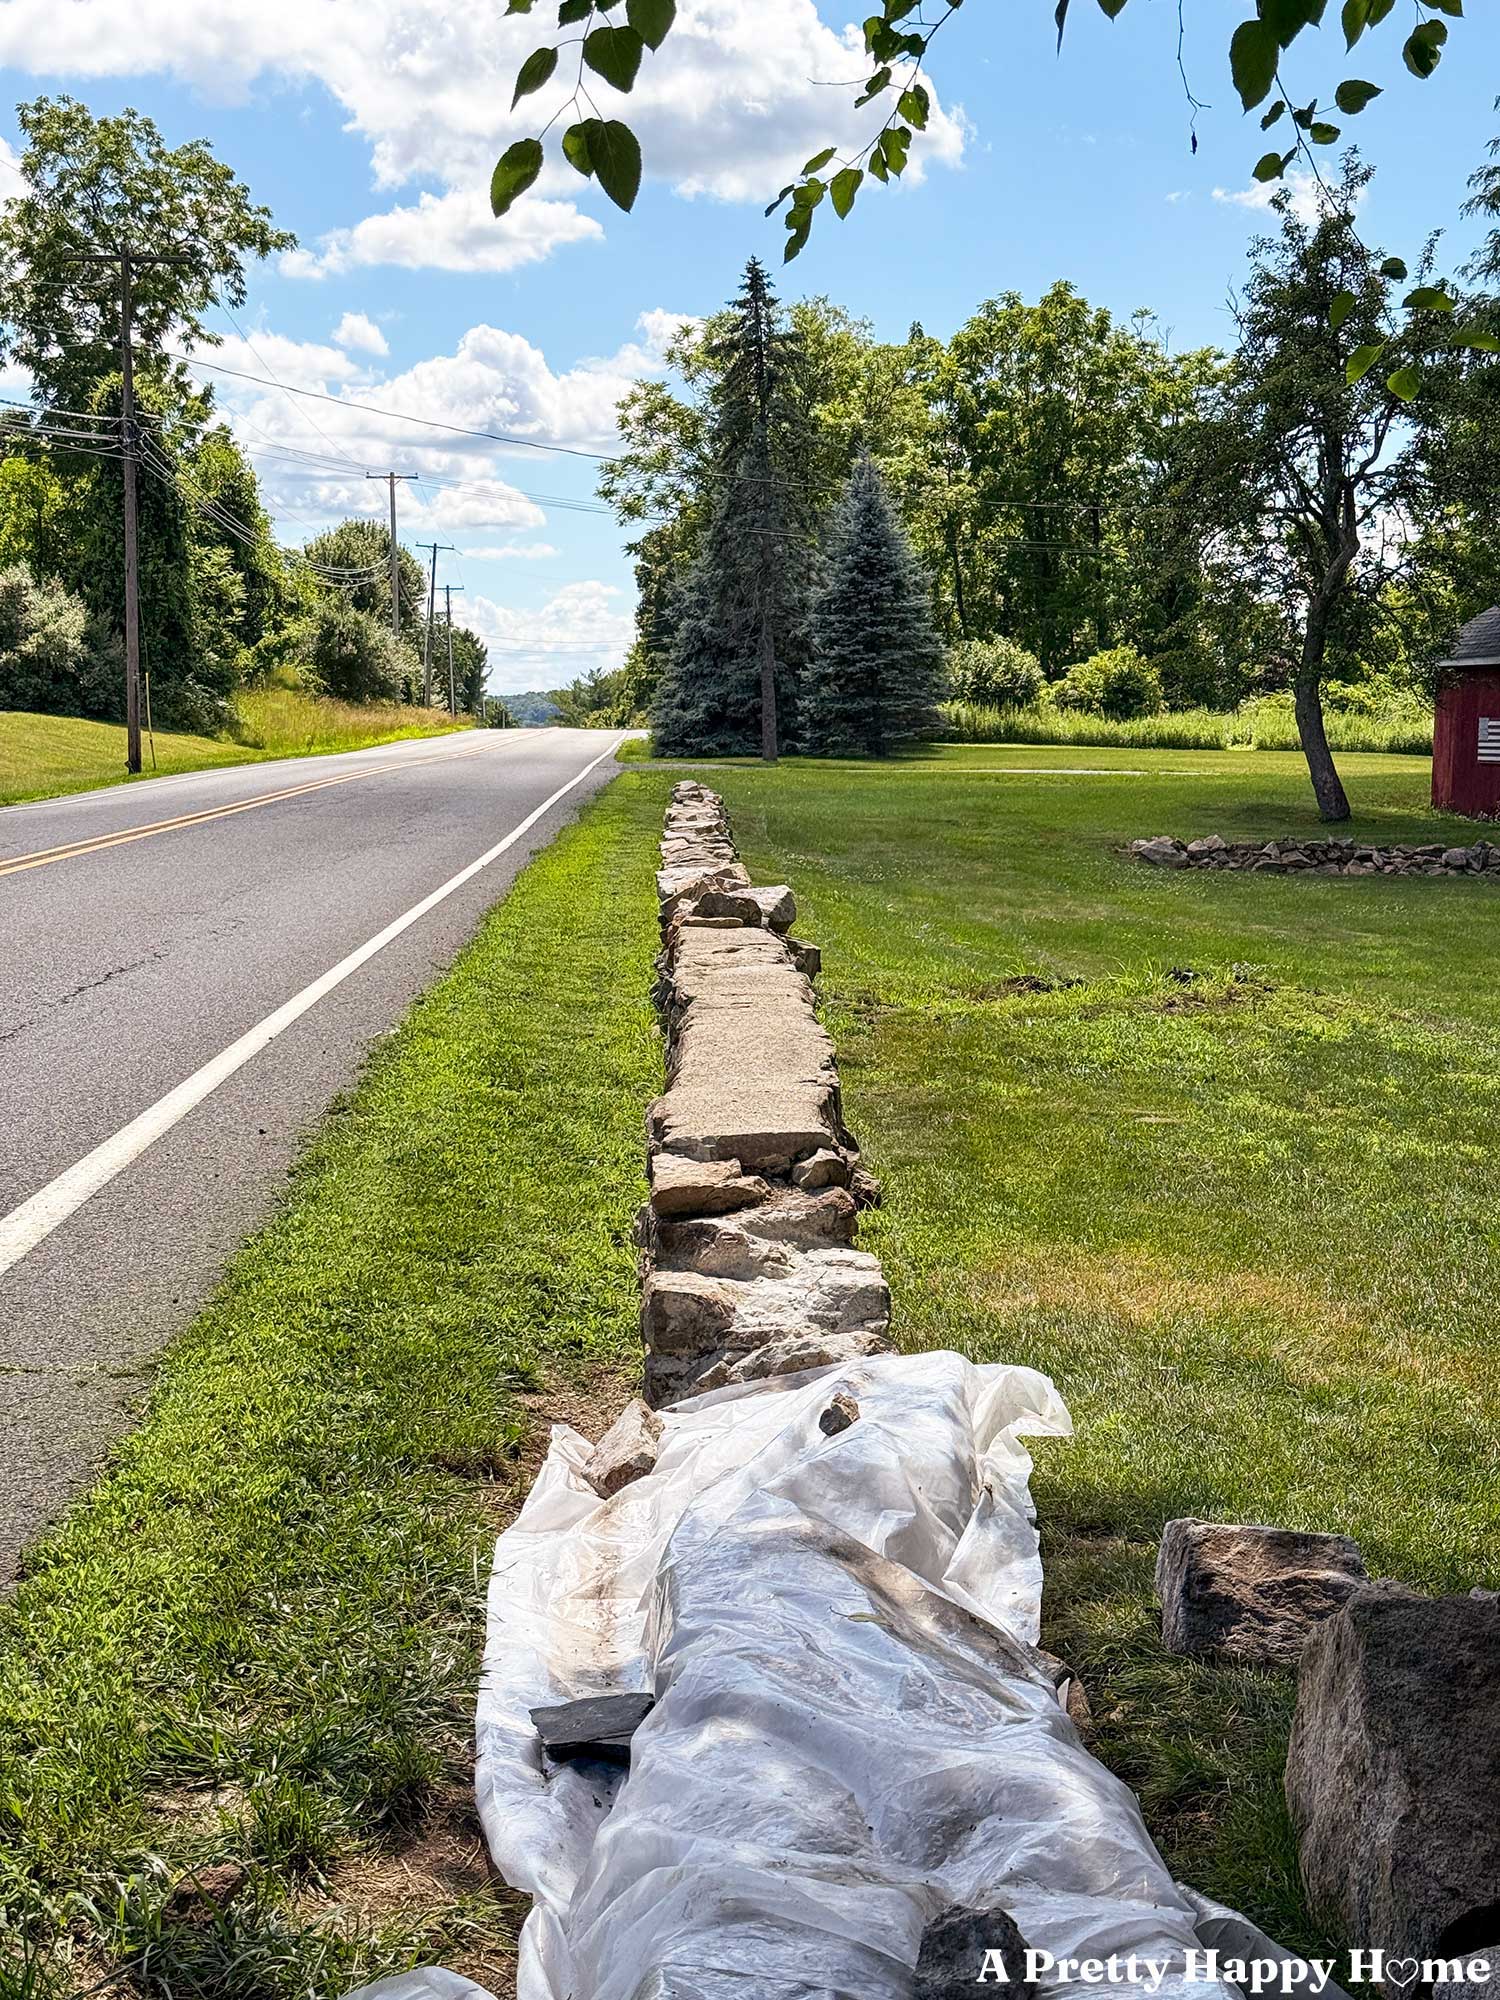
All in all, the pros FAR out weigh the one con that the wall does a little bob and weave down the road. It might be a big bob and weave by the time I’m done with it. Who knows?
The good news is that since this wall quirk is something I hadn’t noticed before this project started, I’ll likely forget about it once it’s done and I’m not staring at it all day long. It’s how these things tend to go.
Are there things you’ve never noticed until someone pointed them out? You can comment here on this blog post, email me here, or reach out via direct message on Instagram or Facebook.
Happy DIYing.
P.S. If you’d like more information about historic stone masonry, please check out our Lime Mortar FAQs or our Where To Buy Natural Hydraulic Lime Directory.
Thank you for following along with our DIY adventures. I appreciate you! If you missed any of the posts in our fieldstone wall series, you can catch up here, and I have saved our work to story highlights on Instagram.
Reconstructing a Fieldstone Wall: Part 3, The Sloped Section
Reconstructing a Fieldstone Wall: Part 2, Demo
Reconstructing a Fieldstone Wall: Part 1, The Plan
Curved Fieldstone Wall: Part 1, The Plan
Curved Fieldstone Wall: Part 2, Demo Section 1
Curved Fieldstone Wall: Part 3: Progress Section 1
Curved Fieldstone Wall: Part 4: Reveal Section 1
Curved Fieldstone Wall: Part 5: Porch Wall
Curved Fieldstone Wall: Part 6, Demo Section 2
Curved Fieldstone Wall: Part 7, The Stairs
Curved Fieldstone Wall: Part 8, Progress Section 2
Curved Fieldstone Wall: Part 9, The Salt Problem
Curved Fieldstone Wall: Part 10, Mailbox and Gate Plan