Basement Workshop Stone Repointing: Part 5, Foundation Wall Top
Welcome back to another installment of our Basement Workshop Stone Repointing series. This is part 5 because I really know how to milk a series for all it is worth. Today, we’re talking about the tops of foundation walls.
An old house’s stone foundation wall is usually at least 18 inches thick. Besides the fact that this wall is supporting the weight of the house, there are also multiple beams sitting on top of the foundation wall. These may include the sill plate, floor joists, and door and window headers.
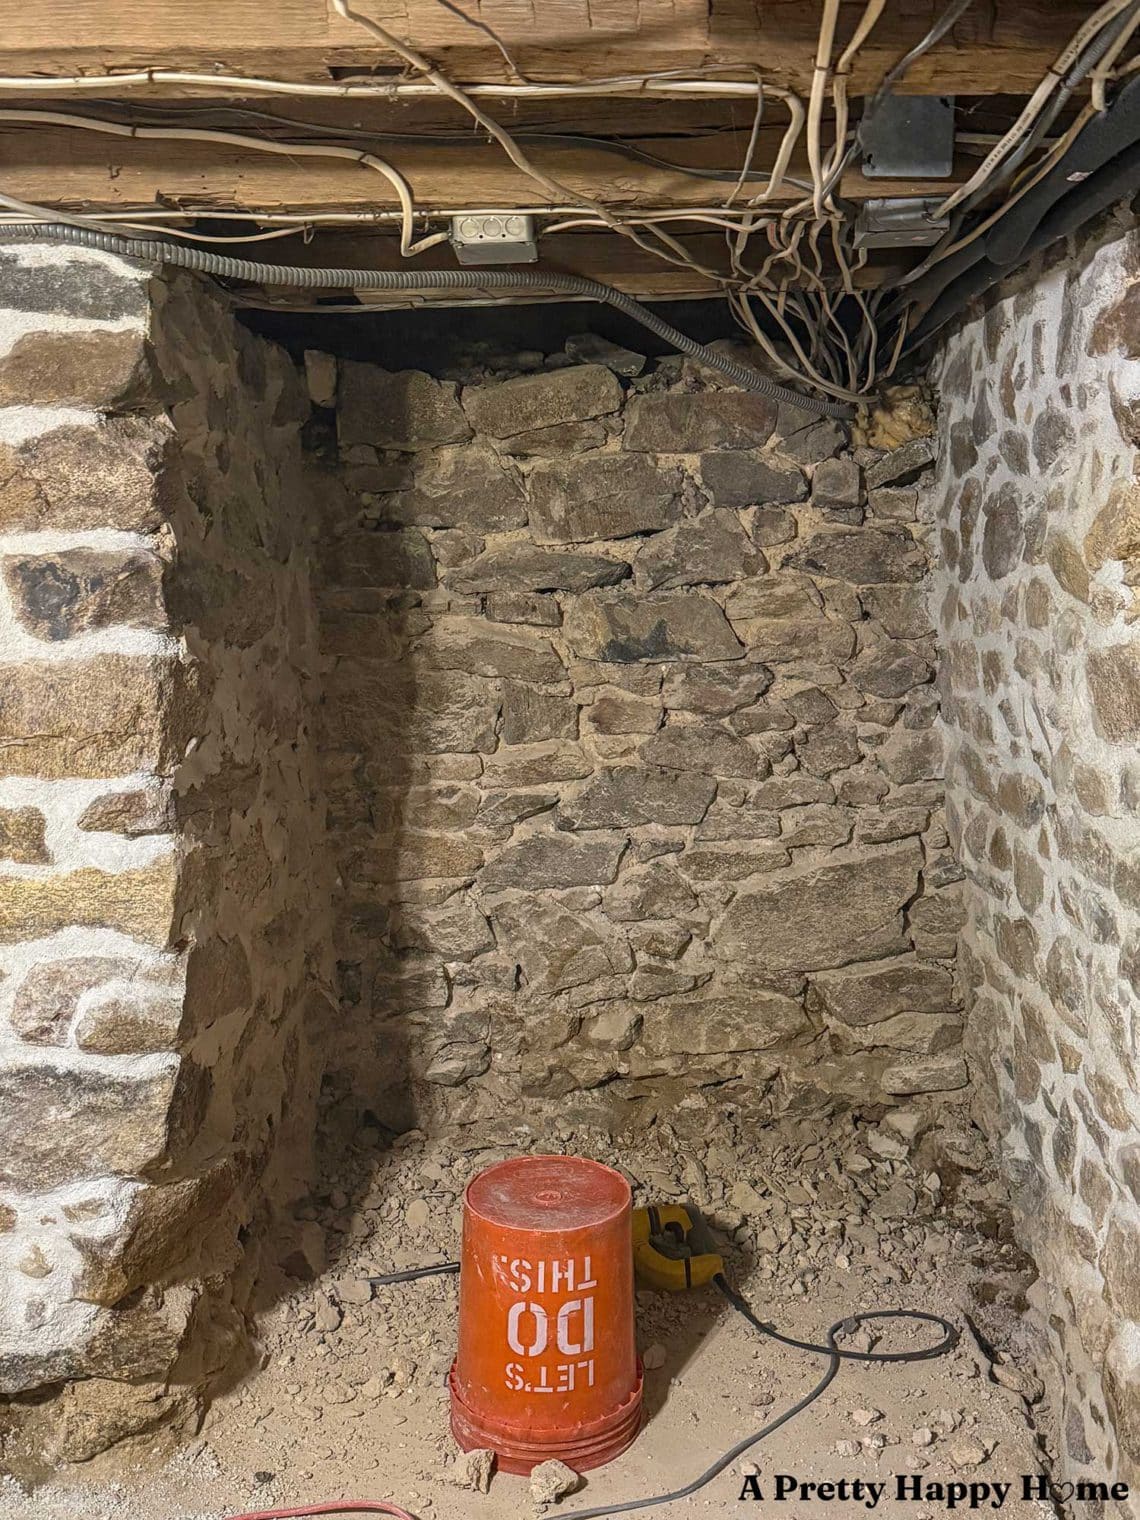
From the outside of the house, the top of your foundation wall is not visible. Or, if it is, there’s a problem, and this is not a good time to be reading this blog post. From the inside of your house, in the basement, the top of the stone foundation wall may very well be visible. At least, in our house, some of the wall tops are, so that’s the primary context of this blog post.

Over time, the top of the stone foundation wall can see damage. I attribute the damage to the top of our foundation wall to be from rodents, the passage of time, and construction, such as inserting pipes through the walls. There could be other things affecting the top of the wall, too.
Thankfully, it was only two of the walls in this basement workshop that were in varying stages of disrepair. There could be more, but I haven’t looked yet. Hear no evil. See no evil. Fix no evil. Is that how the saying goes? No? Darn.
To repair the tops of stone foundation walls, we do the following:
Take a deep sigh. (Kidding, not kidding!)
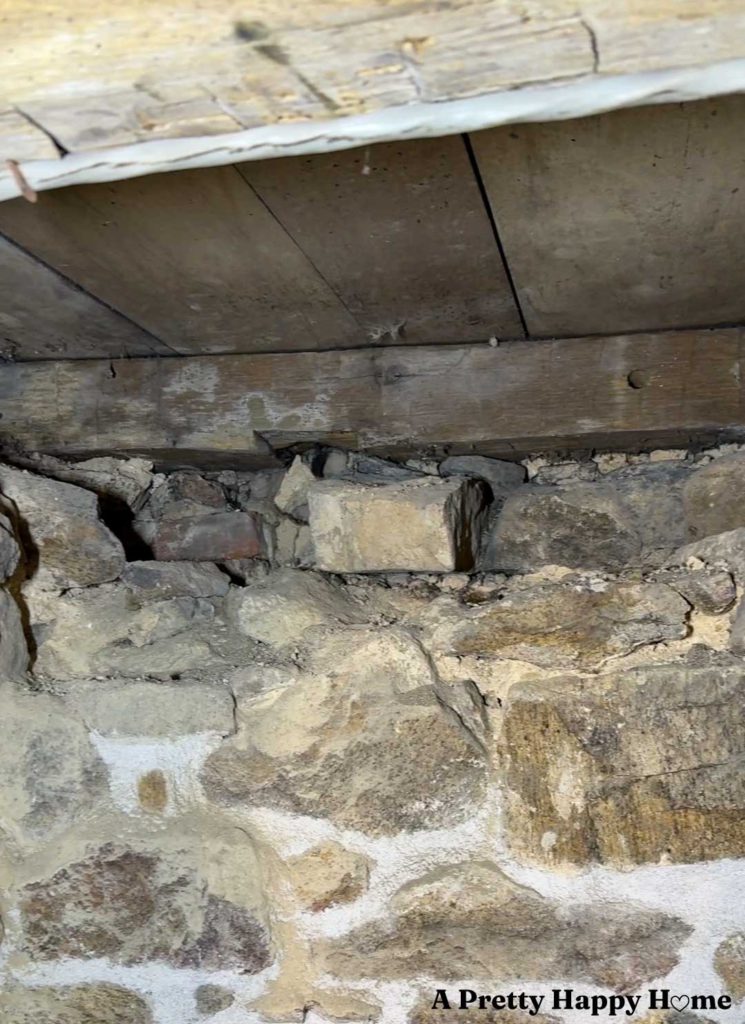
We remove any loose stone and mortar from the top of the wall, being careful to check to make sure we’re not removing something supporting a floor joist without taking precautions.
We’re going to reuse those stones to rebuild the wall, so we make sure to chip any old mortar off of them.
Then it’s time to start rebuilding. The top of the wall needs to be wetted down, as do any stones that will be used for rebuilding the wall back to the level it was.
If it’s just one layer of stones that needs to be reset with lime mortar, that’s easy enough.
If there’s more than one layer, make sure you’re staggering the stones, like the rest of your wall is built, so they lock together when the mortar cures. Again, taking cues from how the wall was originally built, you want mortar cushioning the beams. So, make sure there’s enough room to get some mortar on top of any rocks that are supporting the beams.
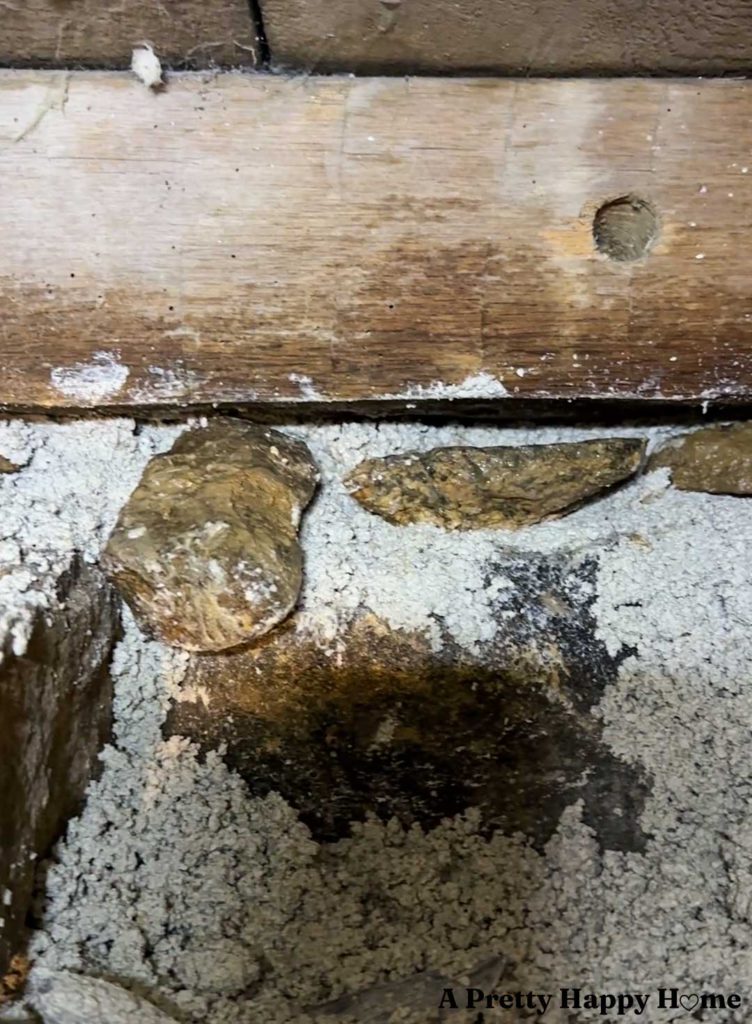
Smooth the top flat with lime mortar. Make sure it’s packed down tight or packed IN tight if the wall is going under a beam. Really get in there. Don’t be shy. You don’t want voids because this is supporting your house. I use my hand for this because I have more leverage than using my pointing tools or trowel.
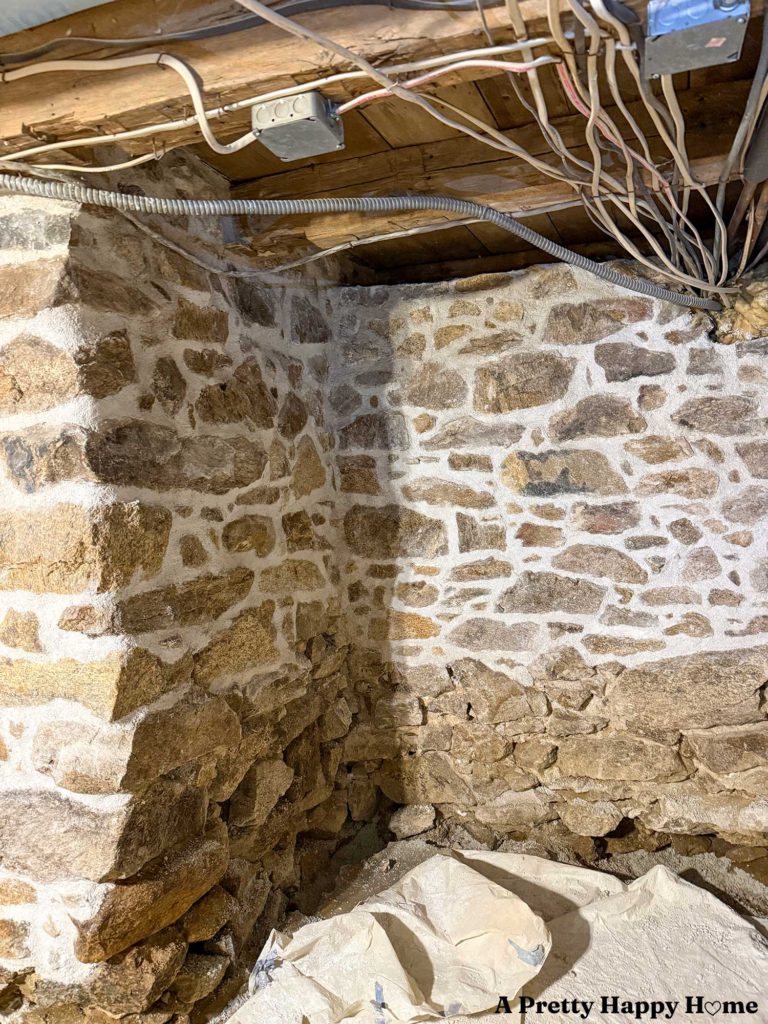
If your foundation wall that’s exposed inside your basement goes all the way up between the floor joists, then the same process occurs. You’ll just make sure you build from the back, working your way forward.
Don’t forget to brush your wall when it’s dry to remove the excess sandy bits. Brush it until you don’t hear anything drop, which is longer than you think. This should eliminate or drastically minimize any shedding in the future.
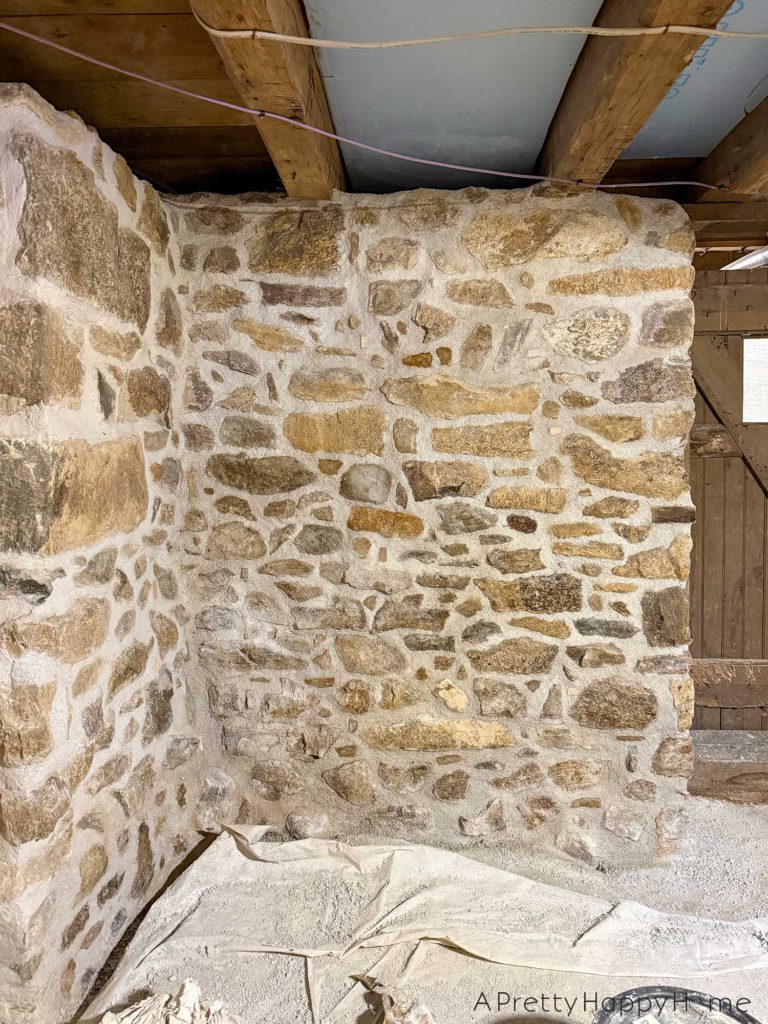
In the photo below, you can see a shadow between the beam and the rocks and mortar. This is because I wasn’t done. More mortar will be packed on top of these rocks to bring them up tight and flush.
The type of mortar we use to rebuild a stone foundation wall is important.
We use lime mortar made with natural hydraulic lime (NHL) for the rebuilding process. No Portland cement.
NHL is a dual-set mortar, meaning it has an initial reaction with water to start setting. That’s where the hydraulic part of the natural hydraulic lime comes in. It also sets with CO_2 through a process called carbonization.
If we used a non-hydraulic lime, which you’ll commonly see bagged in a hardware store as hydrated lime, it would only set with carbonization. For a deep repair, where air can’t reach, the mortar could stay soft indefinitely. To put it delicately, that’s not great.
A deep repair is definitely anything over four inches, but we don’t want to risk it, so we stick with NHL for all stone foundation repointing and repairs.
Why would I use NHL if it didn’t exist 250 years ago, and how is that historic?
I’m simplifying things greatly, but masons hundreds and thousands of years ago had the same problem with hydrated lime not setting up. They could build their buildings very slowly if they had all the time in the world.
Seems like not much has changed over the course of history because humans do not have all the time in the world. That’s the problem with mortality.
To solve the problem of mortar taking forever to cure, the Romans figured out how to add ash to their mortar. Masons later learned to make their lime mortar hydraulic by adding clay to their mix or using clayer limestone to make their lime.
(Hydraulic and hydrated are not the same thing, by the way. It’s confusing.)
I like to think of natural hydraulic lime (NHL) as a modern standardization of a historic process that gives predictable results for homeowners and professional masons. No one is tending to a lime pit for a month or doing any other such labor-intensive or dangerous techniques to make lime for their lime mortar in the 21st century. Thank science that we don’t have to. NHL is a close replication of historic lime, without having to time-travel.
Time travel could be cool, though.
What are we going to do about the top of the wall where the pipes run?
I am glad this house has electricity and indoor plumbing. Those things didn’t exist when our house was built, so it’s reasonable that some creative retrofitting occurred to plumb and wire things up.
We’ve repointed in the vicinity of the pipes, but haven’t come up with a good solution for sealing the area so rodents can’t traipse through like it’s their own personal thoroughfare. If you have any good ideas, let us know!
Thankfully, these are interior foundation walls now that the house has been added onto multiple times. We have gone to great lengths to harden or secure the exterior foundation walls to prevent pesky critters from getting inside. Sorry, no vacancies in this house for critters who make scratching sounds in the middle of the night!
How’s your foundation doing? Do you successfully keep rodents out of your house? I’d love to know. Comments are like squeaky cheese. So fun to consume! You can comment on this blog post, email me here, or reach out via direct message on Instagram or Facebook.
Happy DIYing!
For questions about where we buy our lime, what type of lime, etc., please reference our Lime Mortar FAQs.
If you need supplies for your repointing project and want to know what tools we use, please check out our Amazon Store.
Thank you for following along with our DIY adventures. If you’d like another blog post to read, try one of these.
Basement Workshop Stone Repointing: Part 1, Why Now
Basement Workshop Stone Repointing: Part 2, The Concrete Problem
Basement Workshop Stone Repointing: Part 3, Halfway Done
Basement Workshop Stone Repointing: Part 4, Floor Joists
Stone Carriage House Gym: Part 3, Old Windows
*affilaite links in this blog post*


You May Also Like

6 Things We Found Inside Our Stone Walls

Carriage House Interior Makeover Madness
