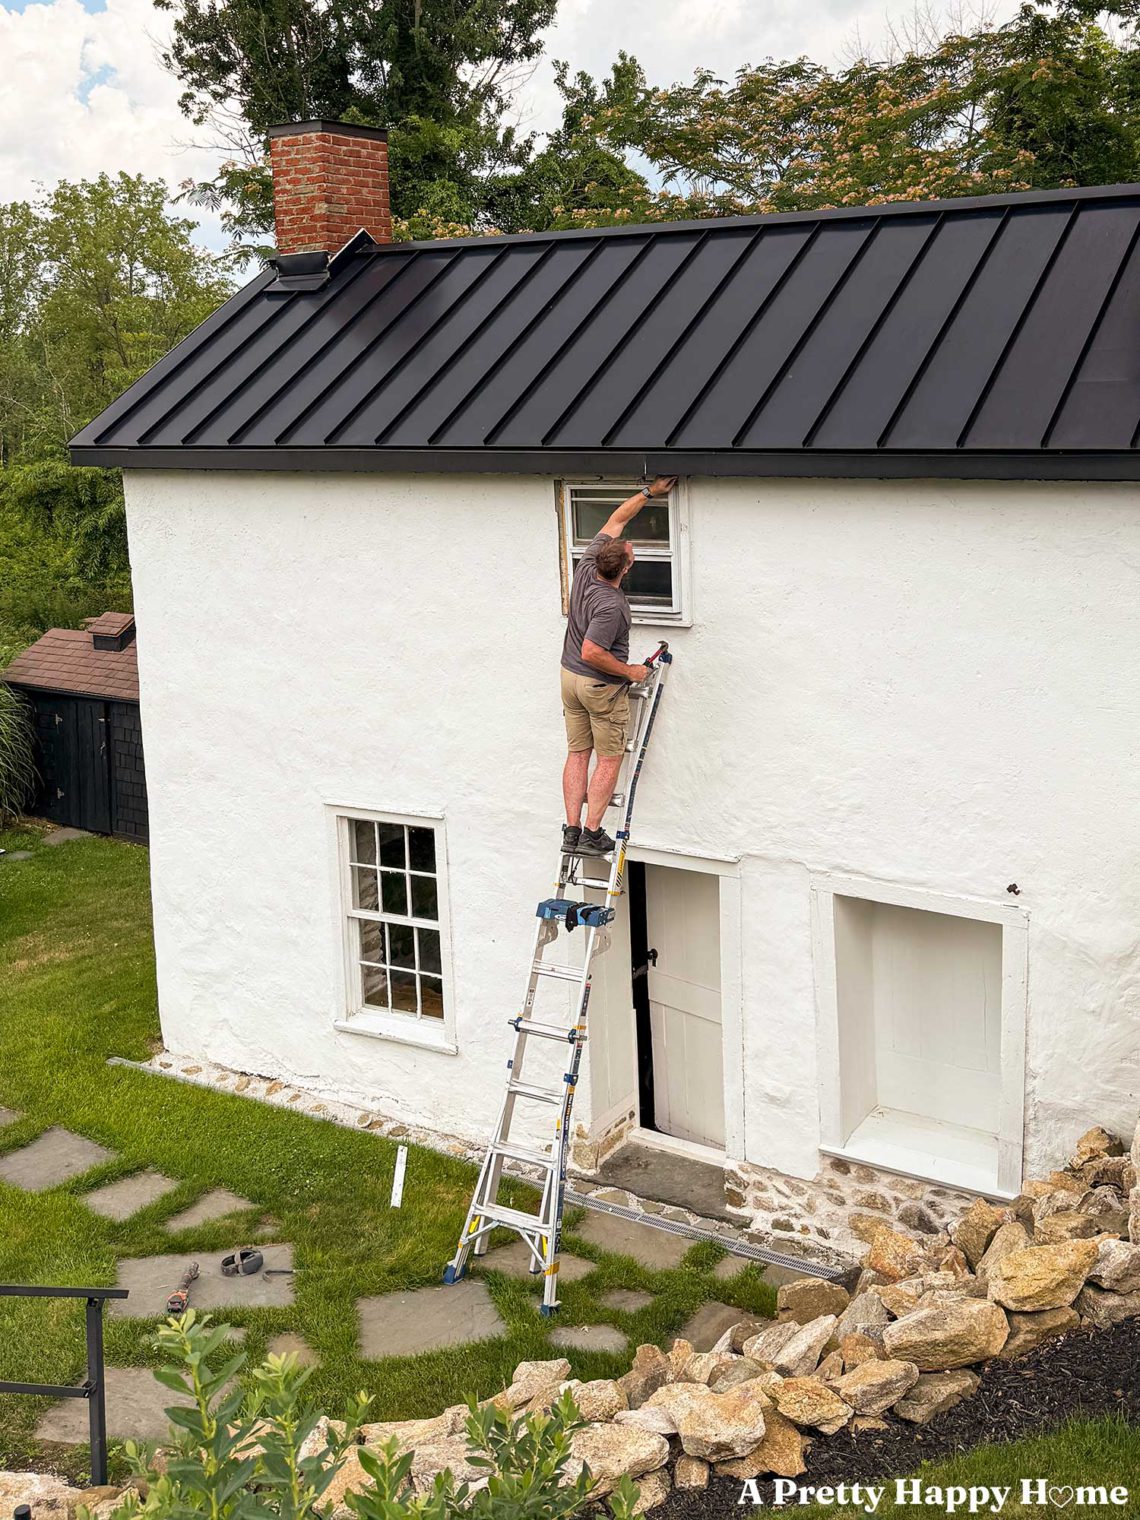
Finally Fixed the Carriage House Rotten Window Trim
Ready your party horns because we finally fixed the rotten window trim on one of our most prominent Carriage House windows. One of the three windows we see every single day.
It only took us seven years.
What DO we do with our time?
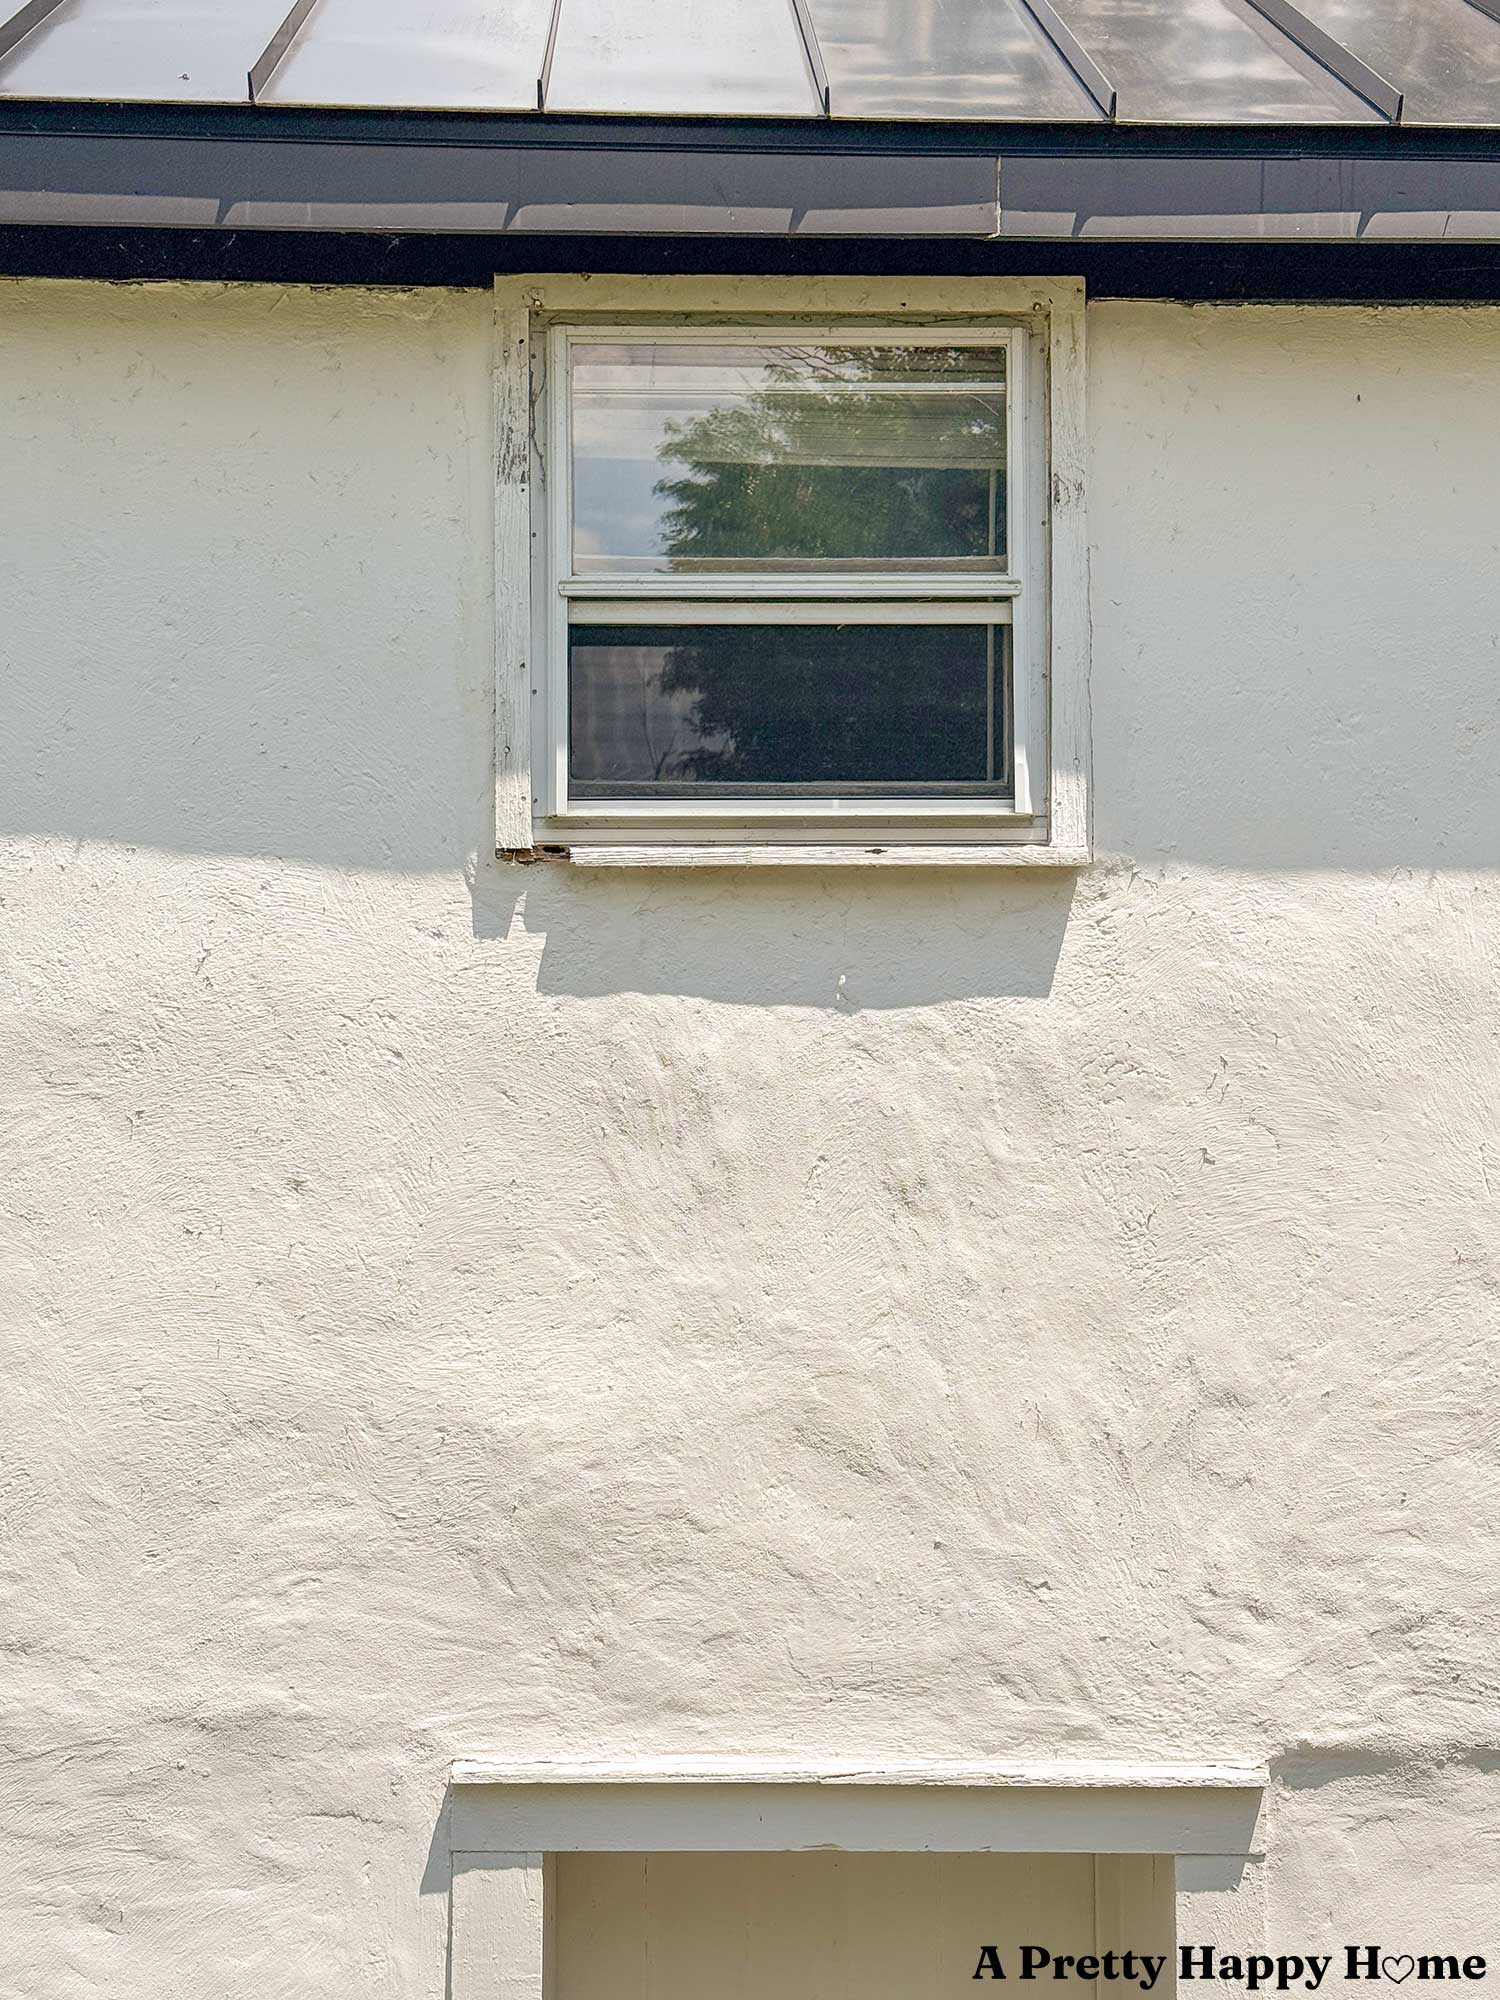
Here is the window in question. You can see the rotten trim on the bottom left-hand corner of the window. The window trim also doesn’t match the trim on this side of this building, and was likely installed when the storm window was added.
So, this task should be pretty straightforward, right?
Take off the old trim. Cut, nail, and paint the new trim. Bada-bing, bada-boom. DONE!
HAHAHAHAHAHAHAHA.
Not once in seven years has anything related to this old house been straightforward.
Scrambled-forward would be a more apt description.
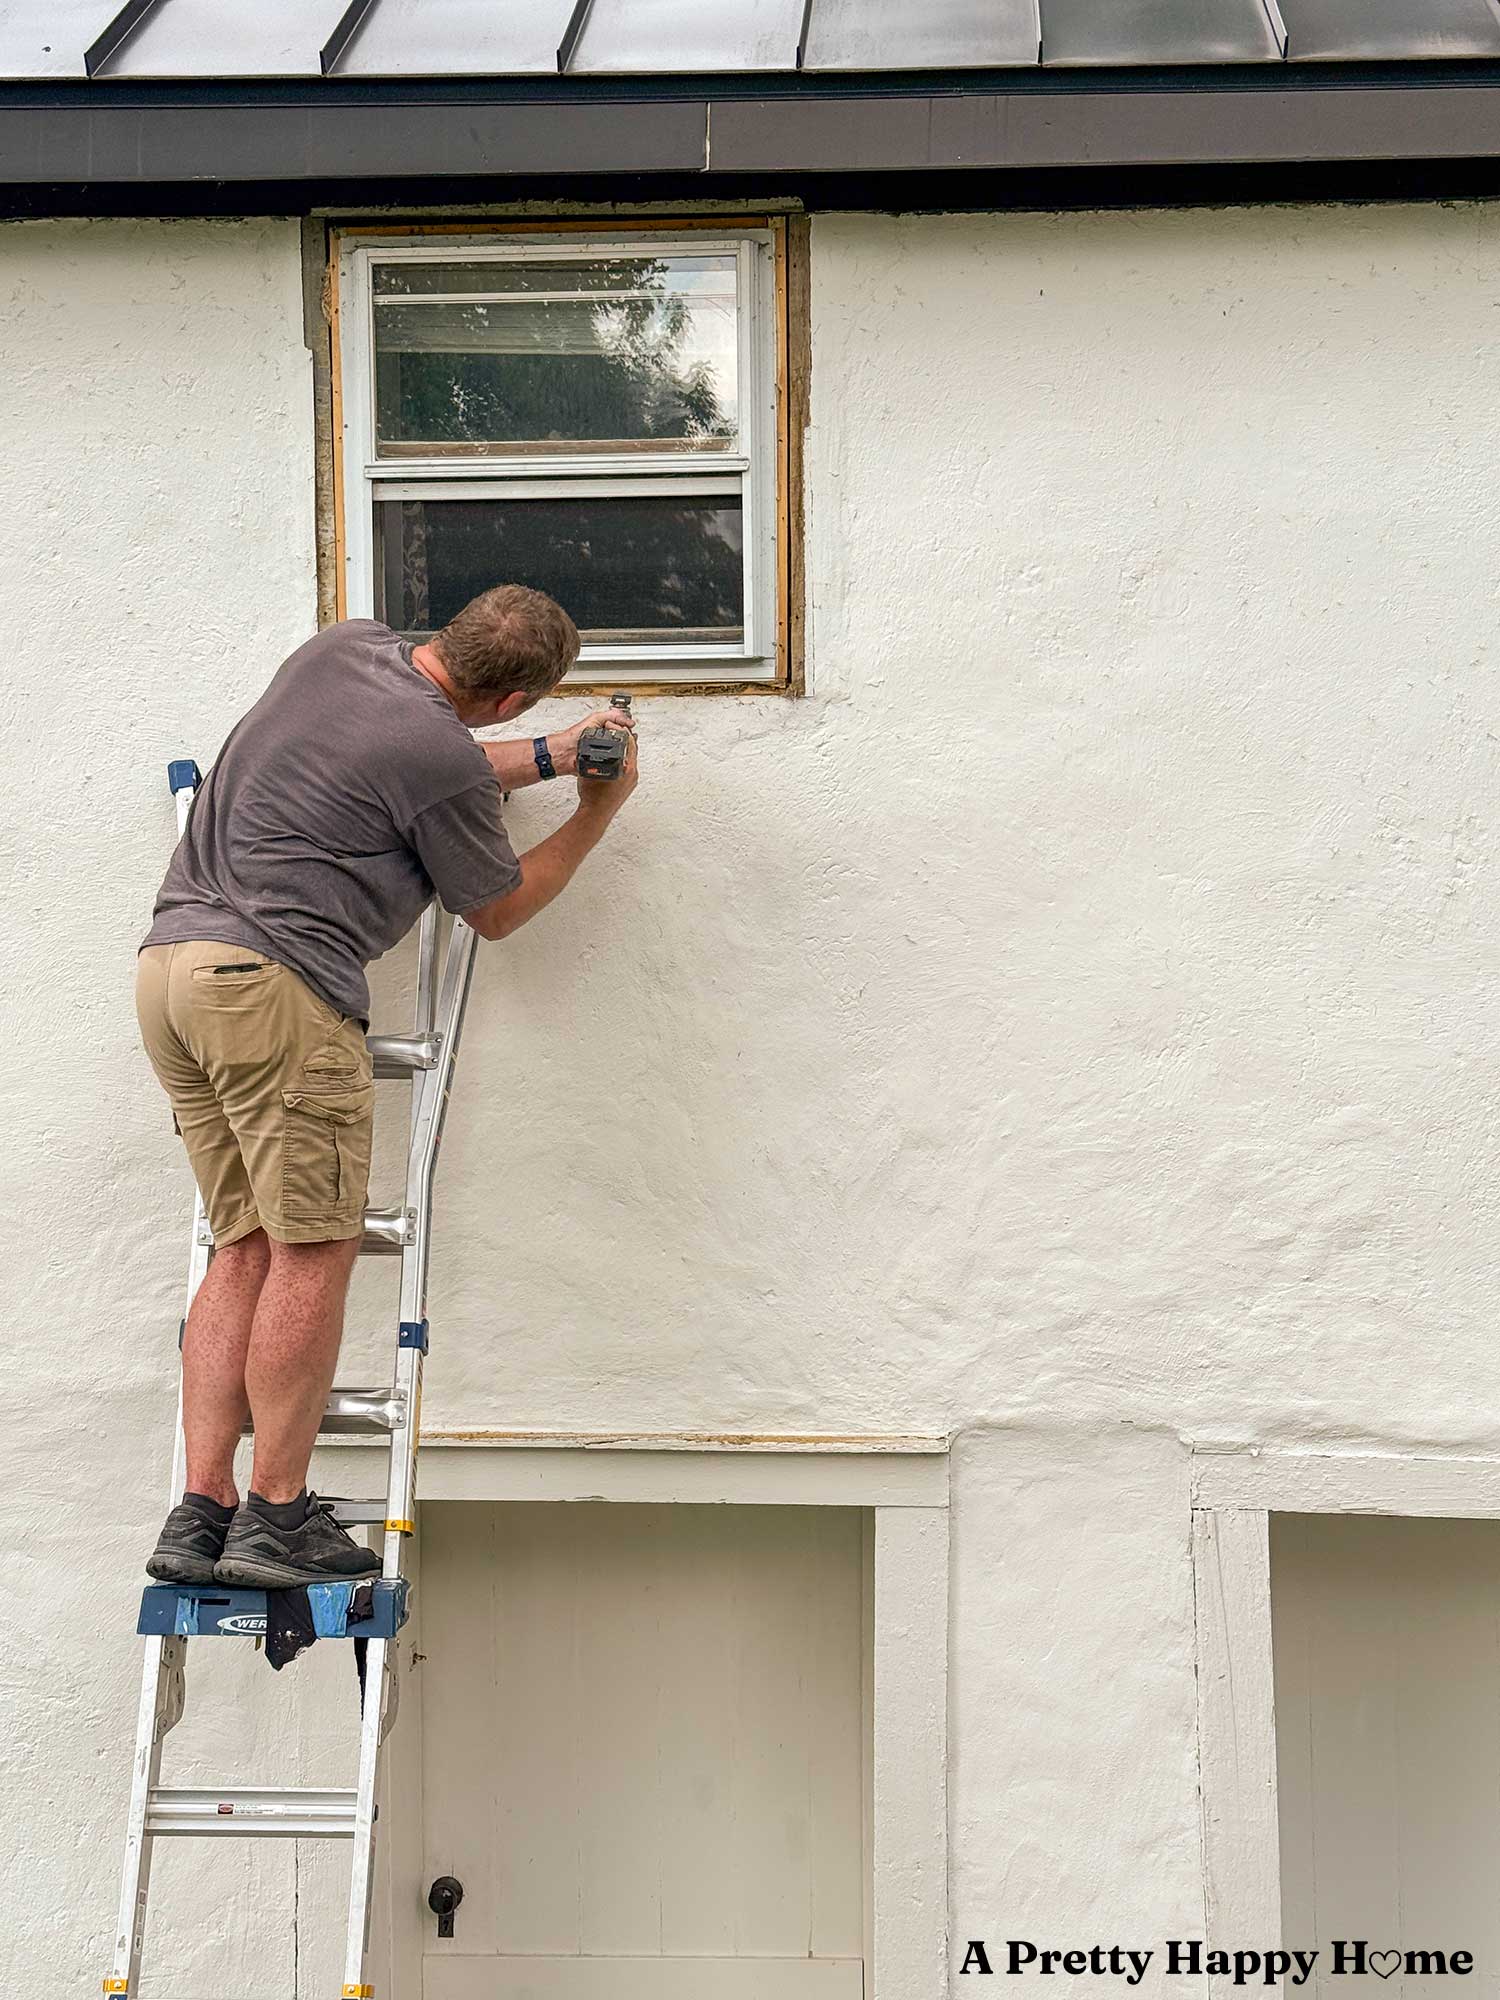
We spent a solid afternoon working on fixing the rotten trim on this Carriage House window, plus part of the next morning to finish painting.
It required so many little steps.
Besides pulling the old trim off, we had to use an oscillating saw to cut the wood underneath the trim flush to the building’s render (the masonry surface) for the new trim to sit flush against the render, since it was going to be wider.
The only problem with that is that carpenter bees had made a home in the wood underneath the window. Their access point was the rotten section of trim, which totally makes sense now. Every summer, there is at least one territorial carpenter bee making his or her presence known. We could never quite pinpoint where this bee was living, but we should have known.
If you aren’t aware, carpenter bees burrow into wood, essentially making little tunnels. If it weren’t so damaging, it would be quite impressive.
We also found out that they make themselves cute little nests. Why wouldn’t they want to be comfy?

We had to fill those carpenter bee holes because we needed a place to nail into. The fastest way to do that was with wood Bondo.
While that was drying, Handy Husband chipped off the area where the render curved up to meet the old trim. If we didn’t take off that curved area or vertical lip, again, the new trim wouldn’t sit flush to the building’s exterior.
In addition to that, we took the time while the ladder was out to resecure the fascia. When the roof was redone six years ago, the roofers hired a handyman to redo the fascia, and this unfortunately-placed seam wasn’t well-secured.
Is it any wonder that we have contractor trust issues?
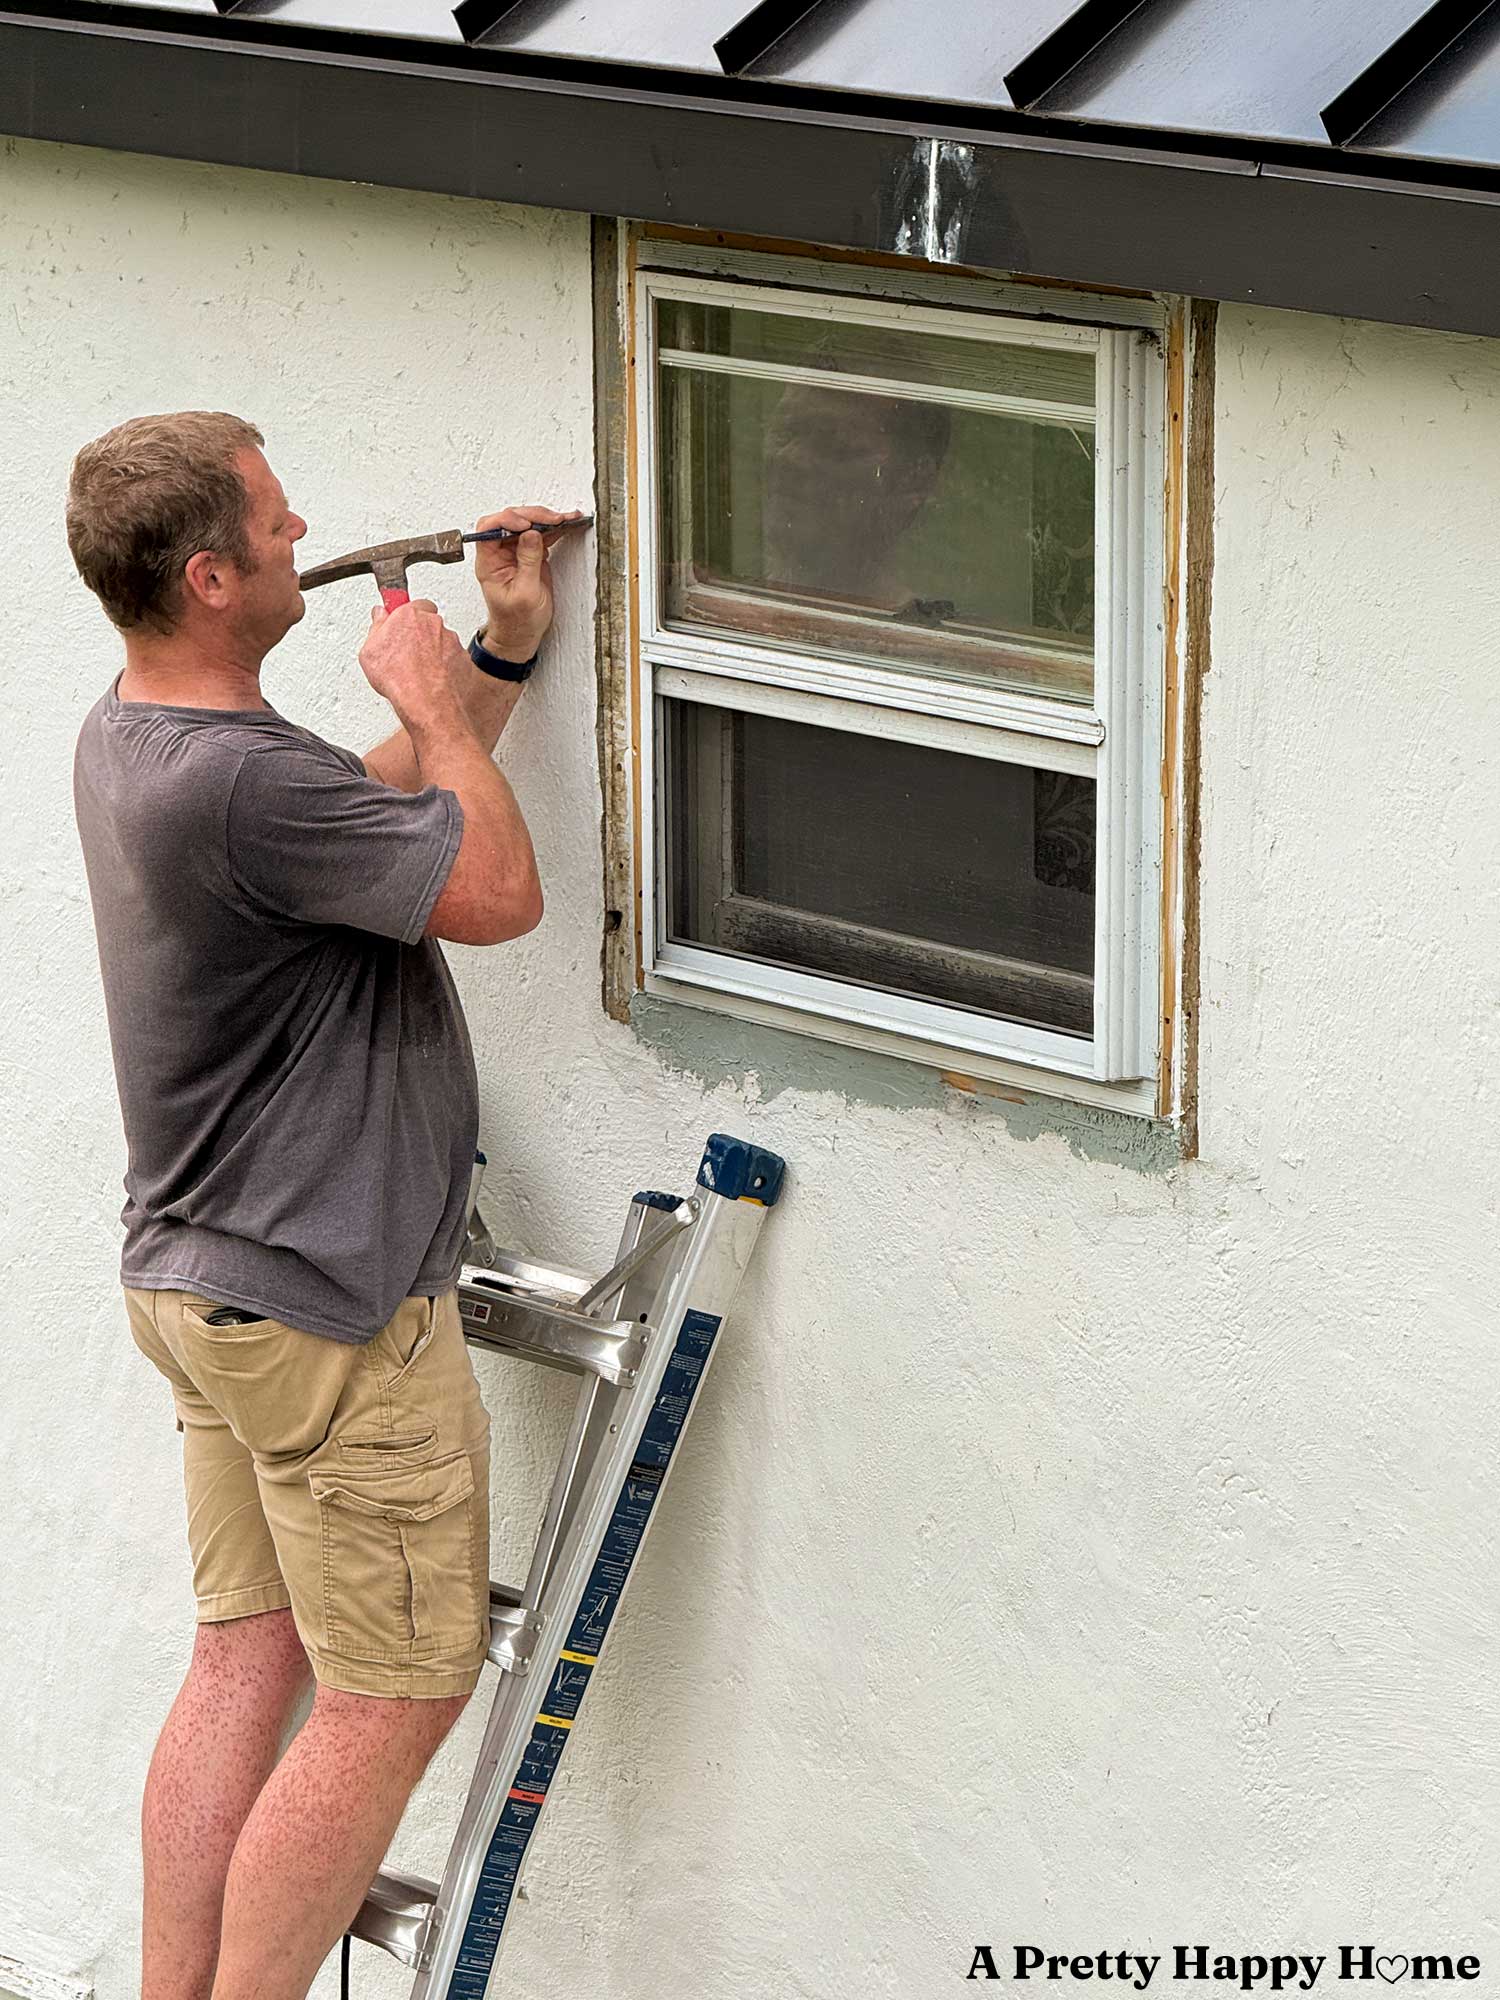
When all of that was done, we still had not installed any new trim, and we still weren’t to that point in the process.
Next up was the task of filling this gap between the stone wall and the trim.
The magic words “stone wall” were uttered, so you know I was called up to lend my expertise. We don’t know what happens if anyone says “stone wall” three times in a row, and we aren’t going to risk finding out.* We have enough chaos around here!
I mixed up a tiny batch of lime mortar to fill that gap.
Fun fact: This is the first time I’ve done any pointing while standing on a ladder 12 feet in the air. I now know that’s a good way to make a slow process slower! Handy Husband held my legs the entire time because he was worried I was going to topple backward. I wasn’t, but I did like him holding my legs until he asked me if those bumps on my calves were razor burn. I guess we can be too close.
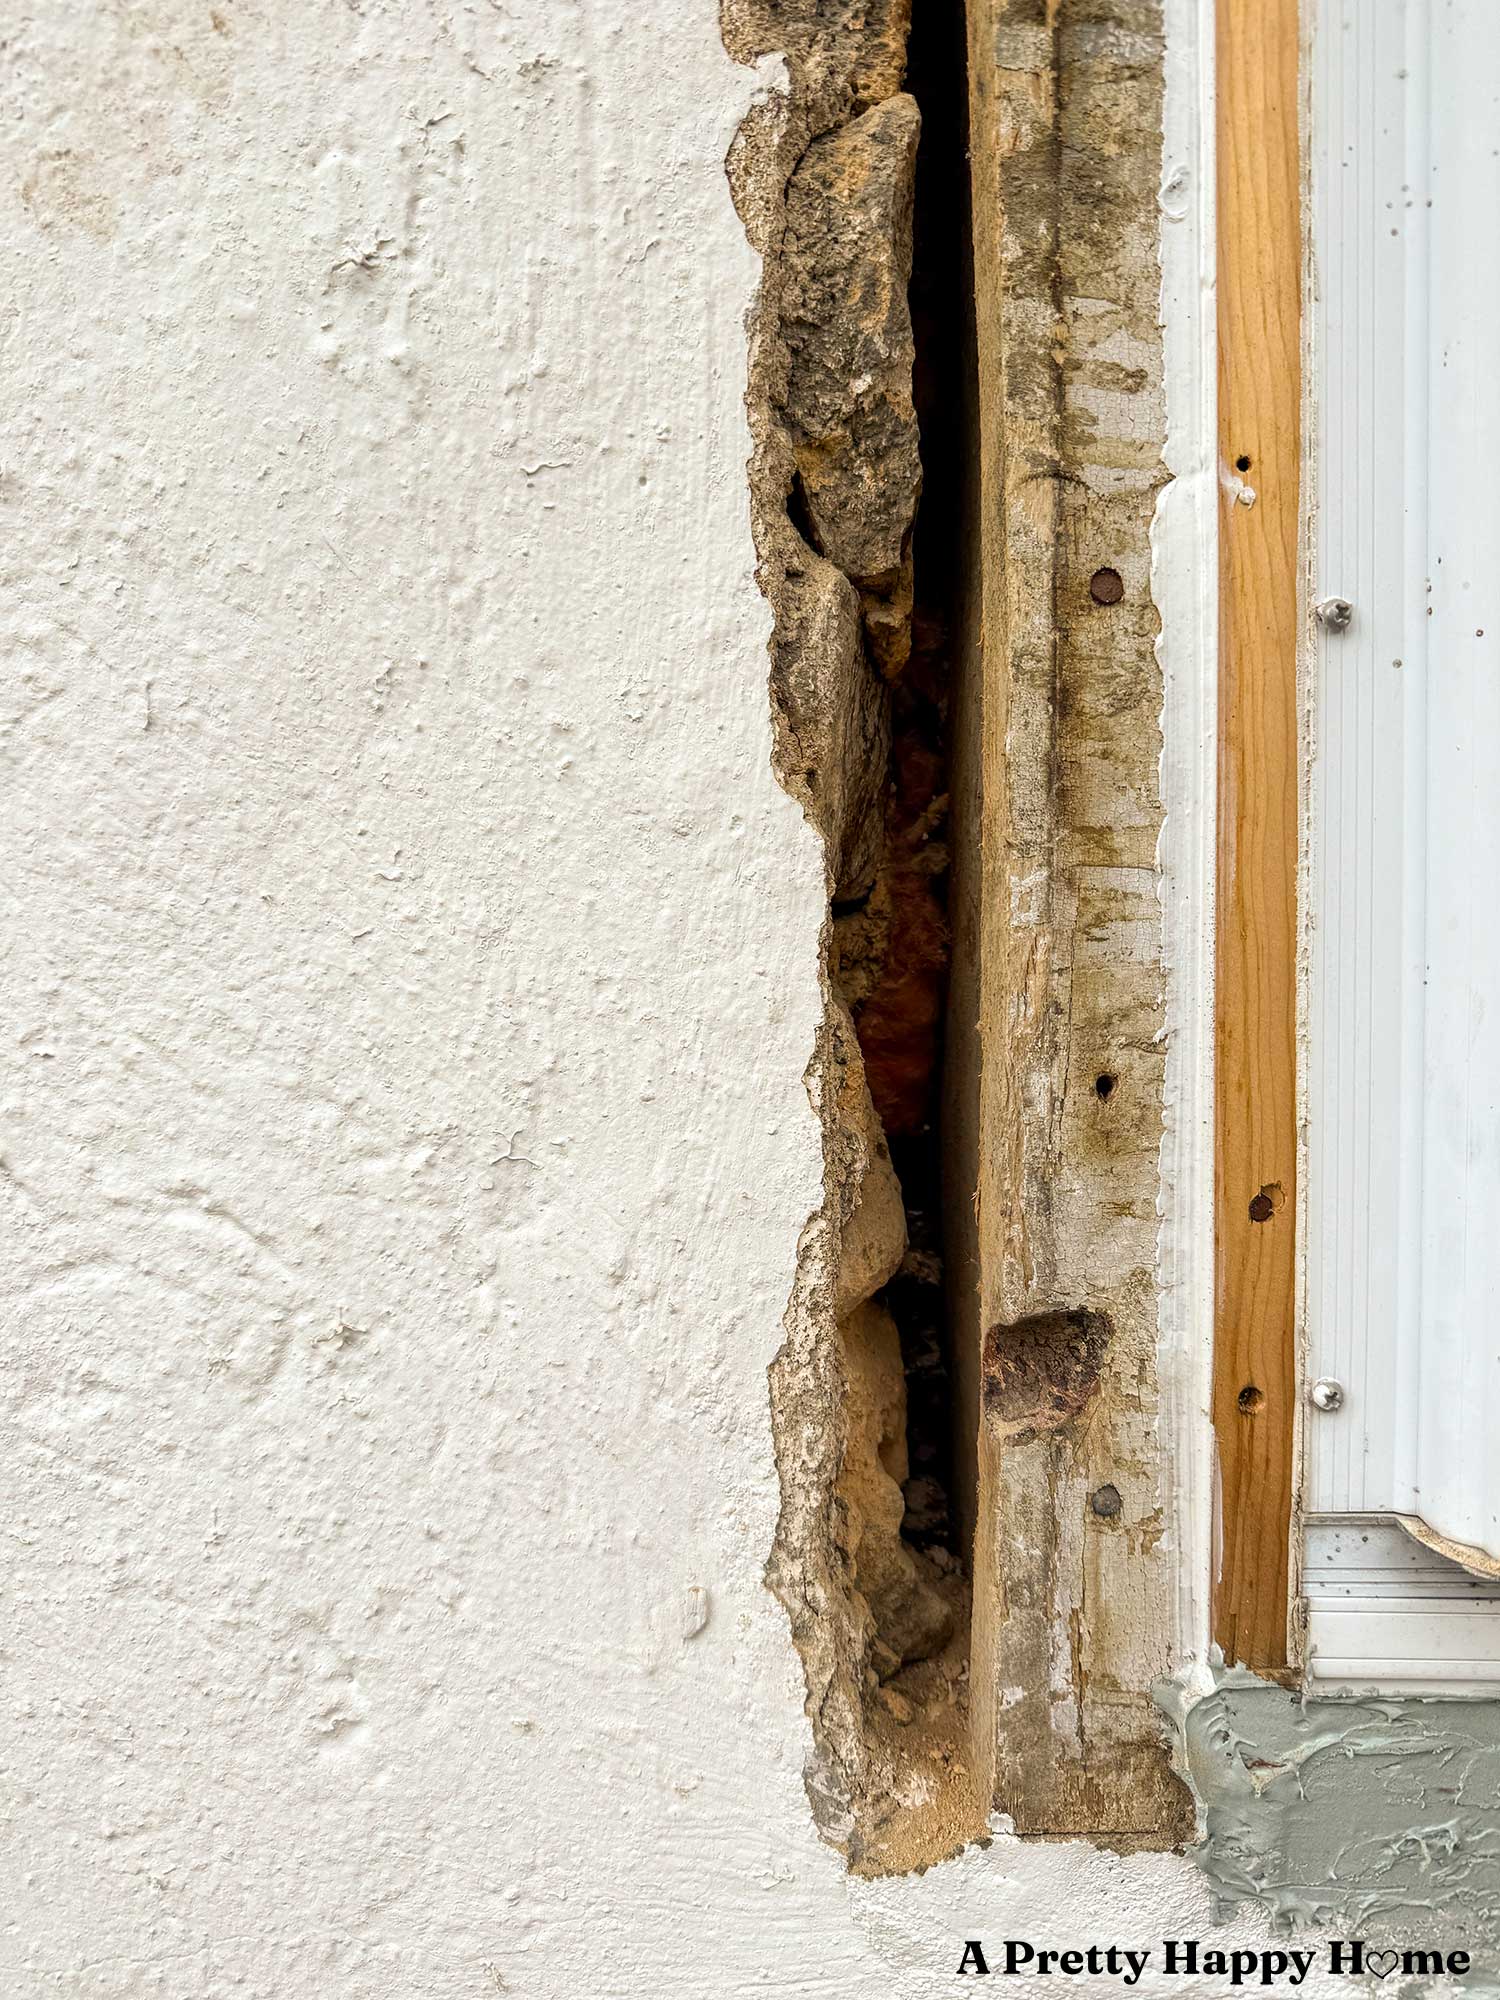
When the gap in the stone wall was repaired, we “only” had to install the new trim, caulk, and paint!
When everything was finished, we stepped back, looked at our work, and said, “Hmm. Maybe that looks a little too nice.”
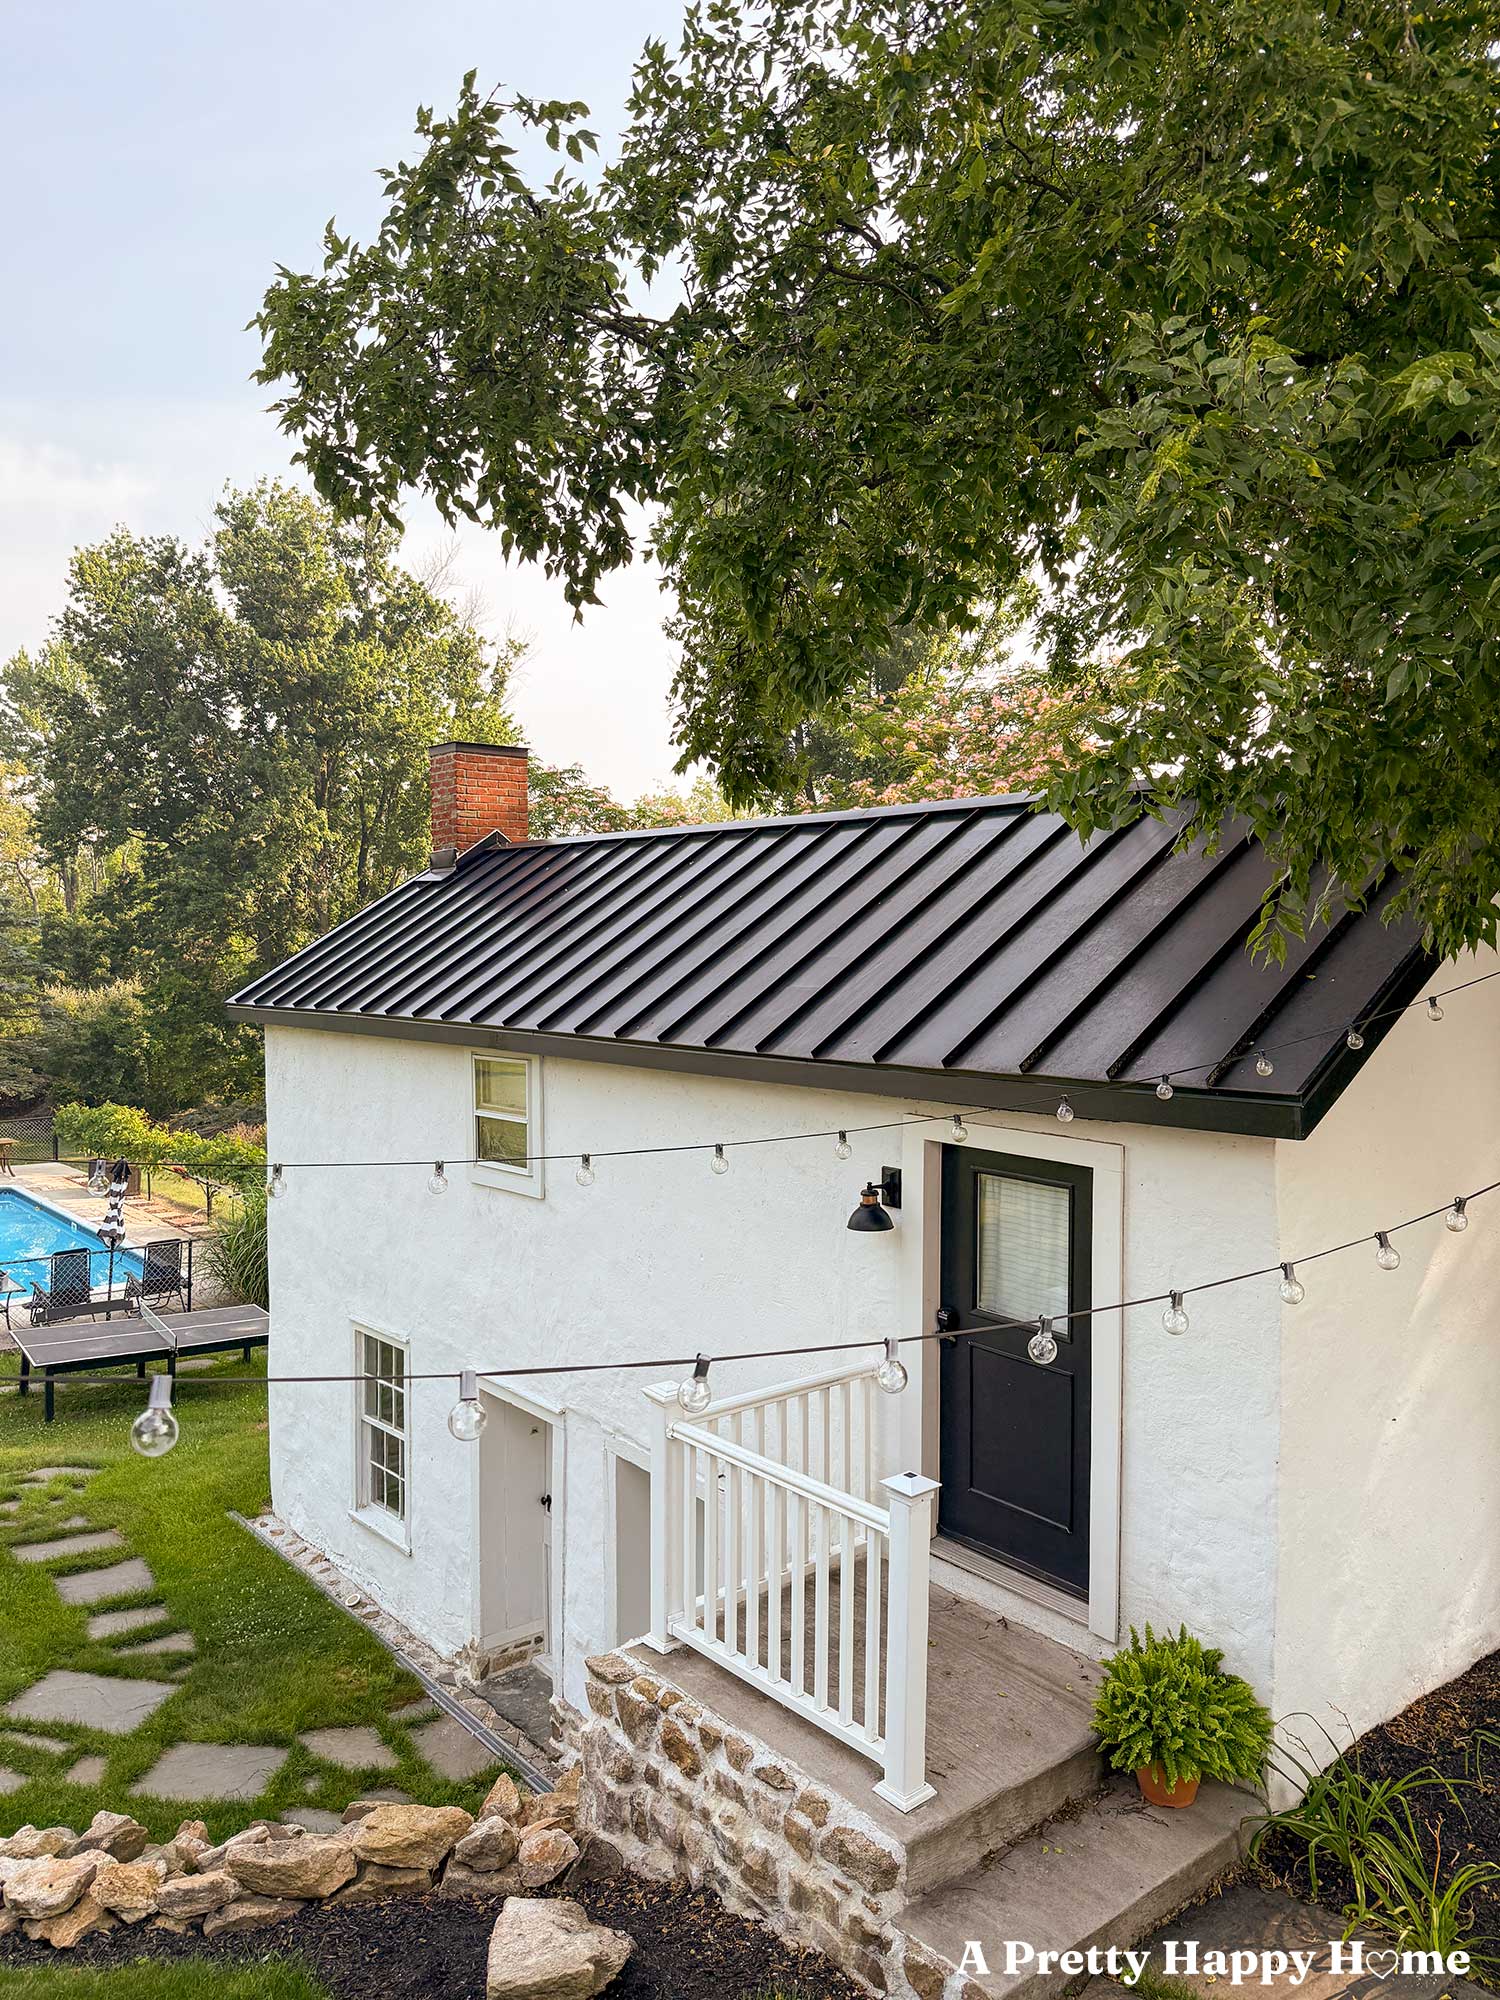
The new trim matches the width and style of the old trim of the first-floor window and doors.
It does not have a drip edge at the top because there was not room for one, and it’s not needed due to the protection of the soffit.
It also doesn’t have an angled bottom rail because of the storm window.
I will have to wait quite a while before I can touch up the little bit of new lime mortar that is exposed on the left side of the window. It has to cure before paint can be applied.
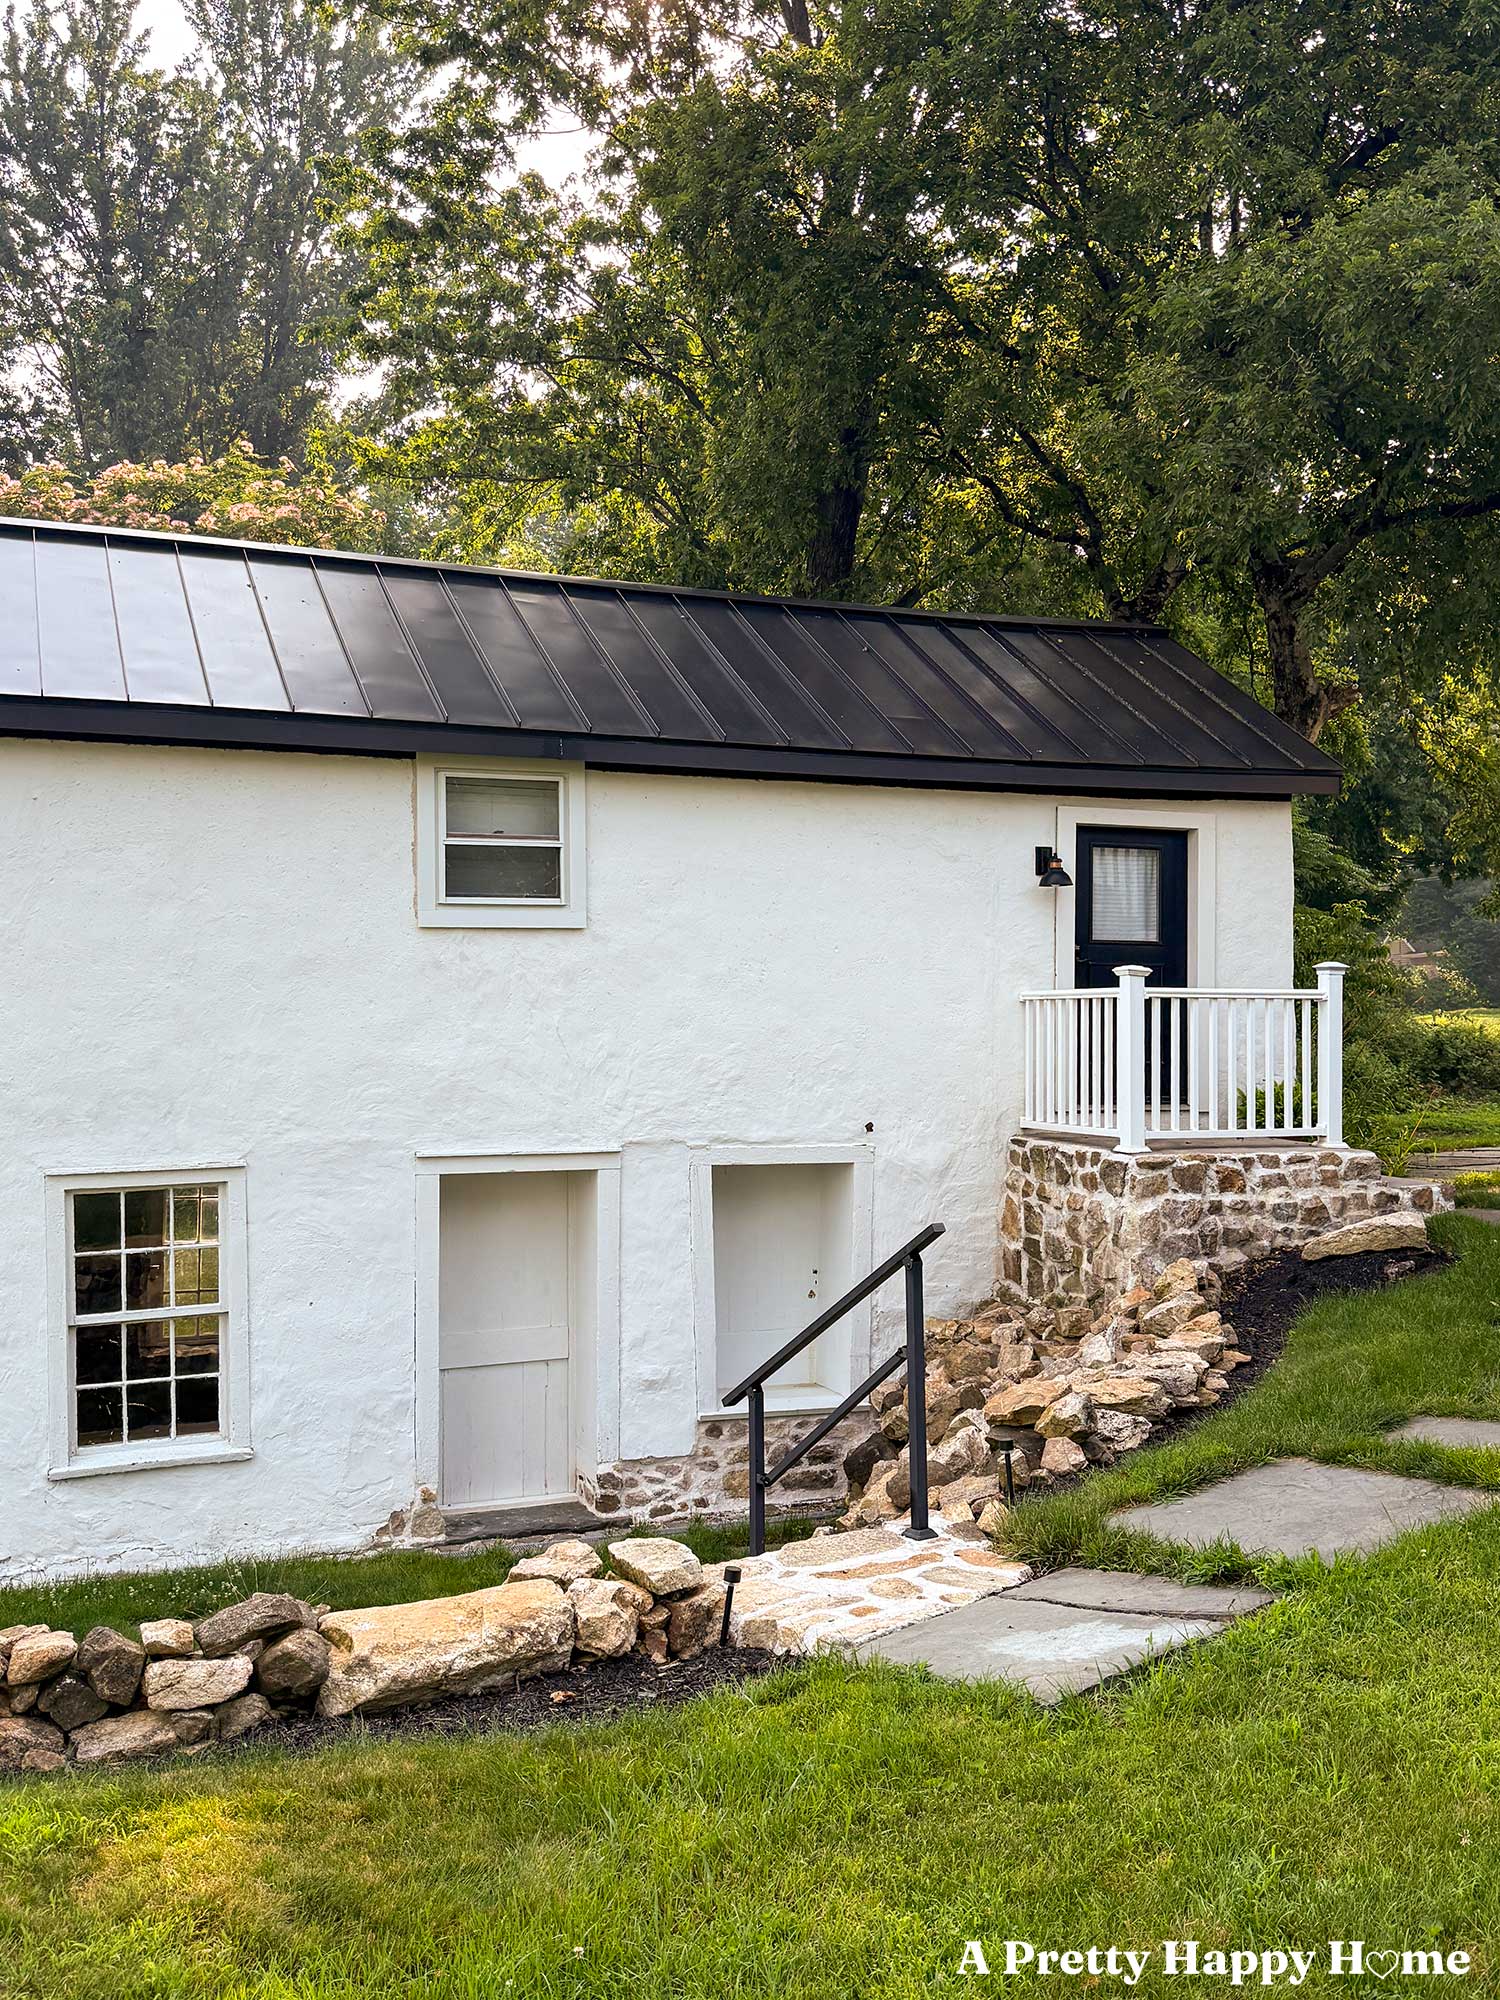
All in all, I am so darn happy that we finally fixed the rotten trim on this Carriage House window. It feels so good to check something small off our list.
It truly wasn’t a hard task, just one of the comically annoying tasks this old property serves up to us because of all the little steps it required.
Are your house projects straightforward, or are they more scrambled-forward like ours? You can comment here on this blog post, email me here, or reach out via direct message on Instagram or Facebook.
P.S. If you don’t have a leveling ladder that has adjustable feet for uneven surfaces, you need one. It is life-changing, and maybe life-saving!
*That was a reference to the movie Beetlejuice.
Thank you for following along and cheering us on with our projects. If you’d like to read about another one, try one of these:
Repaired Gable Return on a Greek Revival
Removing Rotten Trees and a Chainlink Fence
Reclaimed Wood Bench With a Story
*affiliate links in this blog post*


You May Also Like

Step Stool (from High School Shop Class) Makeover Part 2

All About Our 240-Year-Old Pumpkin Pine Wood Floors
