Basement Workshop Repointing: Part 8, Walls Are Done
Welcome back to the second-to-last post of our Basement Workshop Repointing series. Ready the confetti cannon! Today, I am happy to share that all four walls in this room are done being repointed and repaired.
I repeat, the walls are done!! Finally.
Repointing the walls on this 16×16-foot space took way longer than we anticipated. This is partly because there ended up being more rebuilding than we anticipated, and partly because these sorts of tasks just take time if it’s mainly one person chipping away at it (sometimes literally), a few hours at a time.
Hauling rocks, mortar debris, and bags of sand is a good workout, but the muscle this sort of project really strengthens is our Gluteus Perseverantia. That’s a term I just made up that means perseverance with a pain-in-the-butt project.
I’m glad we stuck with it, though, because this space feels so much better now.
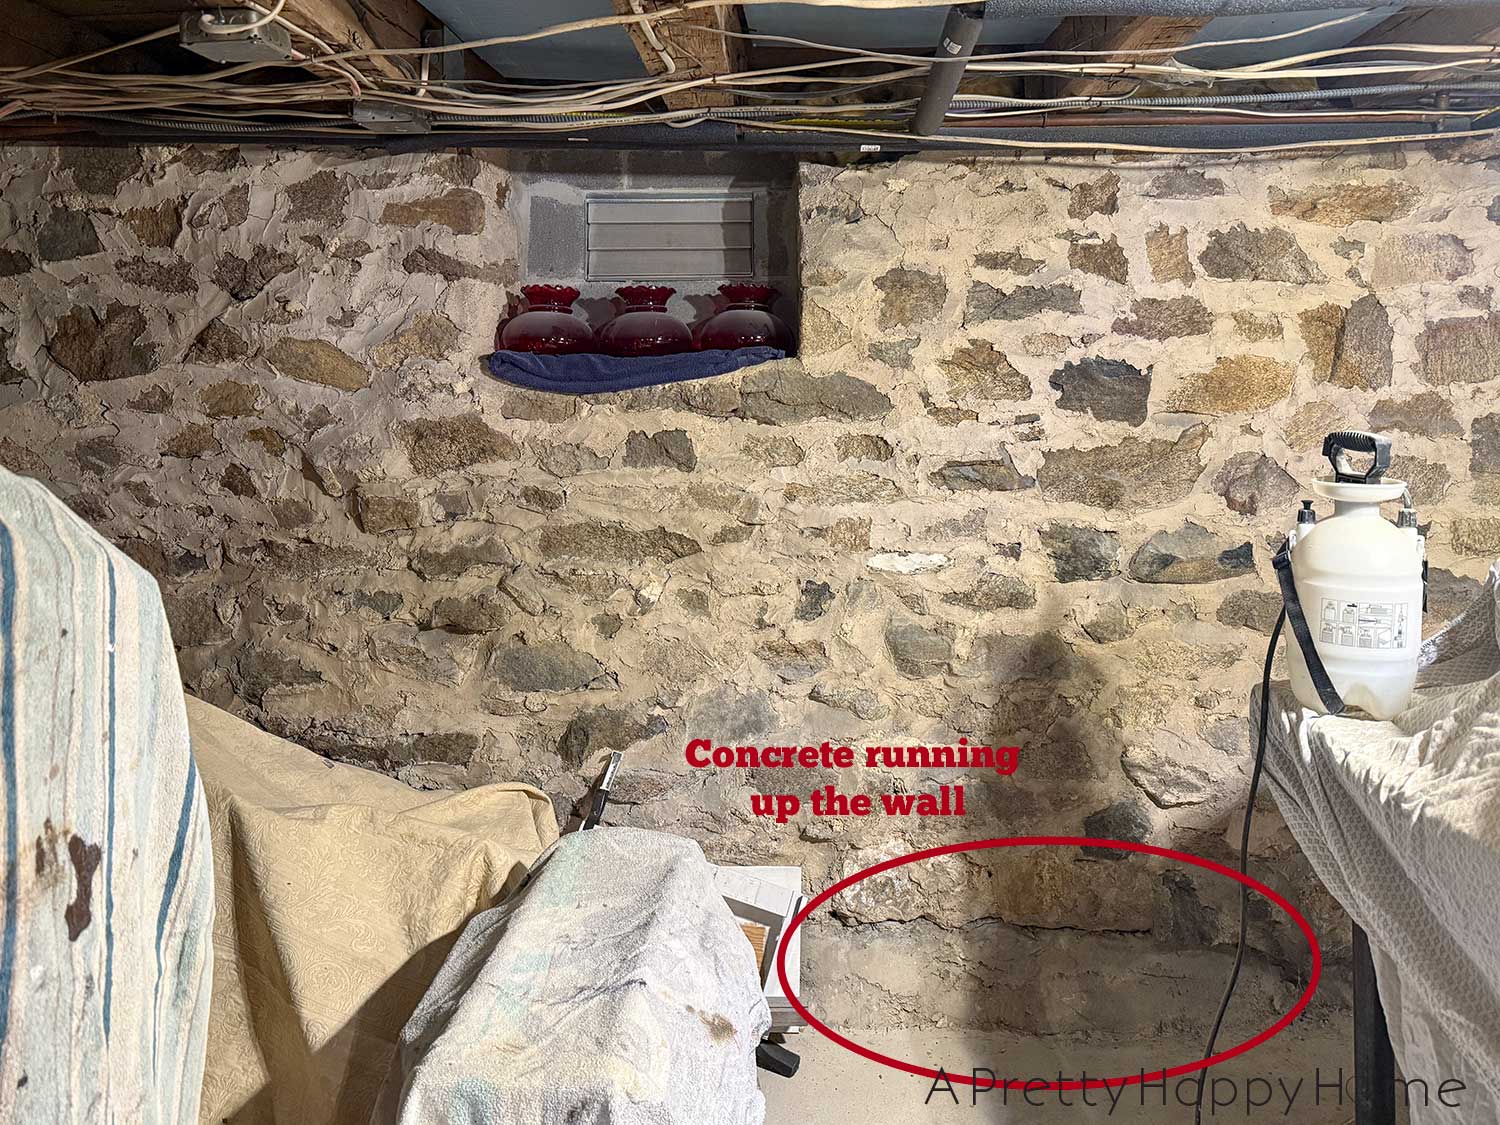
Here are the before photos of this Basement Workshop Repointing Project.
These photos are just to prime your memory in case all stone walls look the same to you.
I do know that all stone walls probably remind you of me at this point, though! Ha! If you have ever wondered if exposure therapy works, this should answer that.
Now, back to the project at hand. This stone foundation had concrete on portions of the walls. You’ve seen me type it a thousand times. Concrete or anything made with Portland cement is bad for historic stone foundations. It traps moisture in the wall and is too hard for the stones, which can cause them to break.
Another problem we experienced is that the stone walls were crumbling at the top. Since our floor joists rest on these walls, we do want them to be secure so that the joists aren’t dropping.
We had walls that were dropping piles of sand all over the floor.
If you don’t live at the beach, where there might be a legitimate excuse to find sand on the floor, this is a sure sign that the lime mortar on a stone foundation is at the end of its life and needs to be repointed.
We had a wall that wasn’t supporting a floor joist particularly well because of how a cinderblock opening was constructed.
I’m glad we didn’t know about that before starting this project. That precarious situation would have kept me up at night.
But now, drumroll, please!
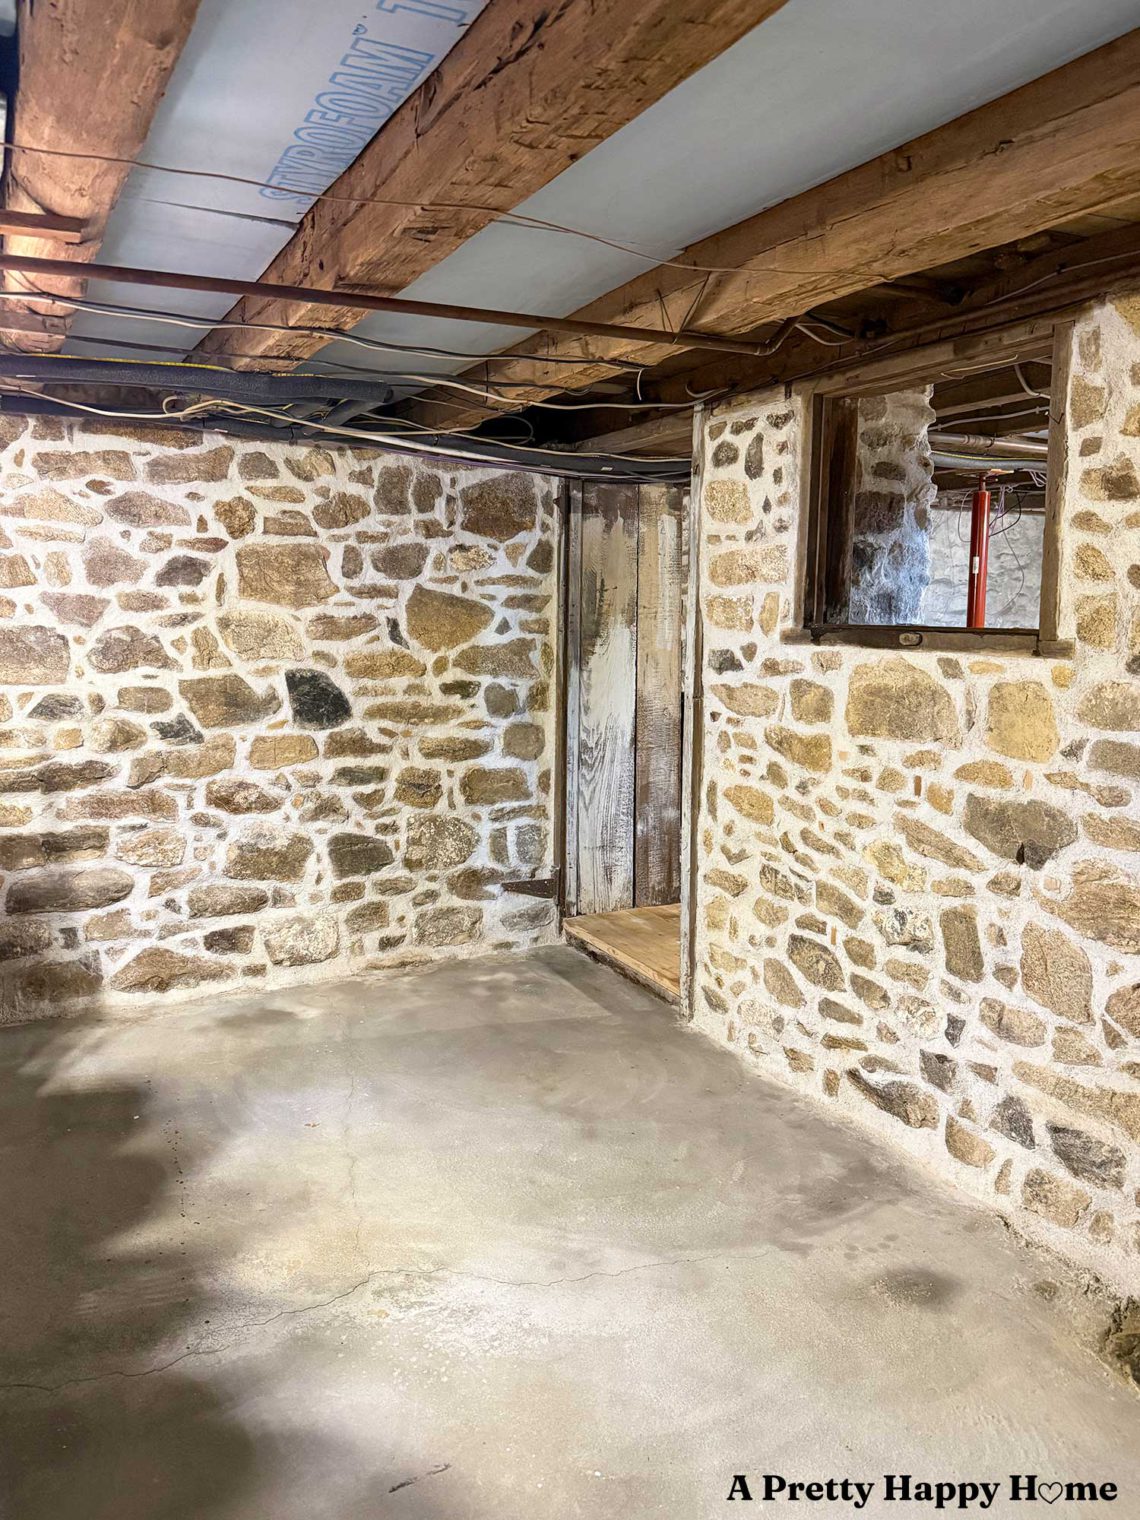
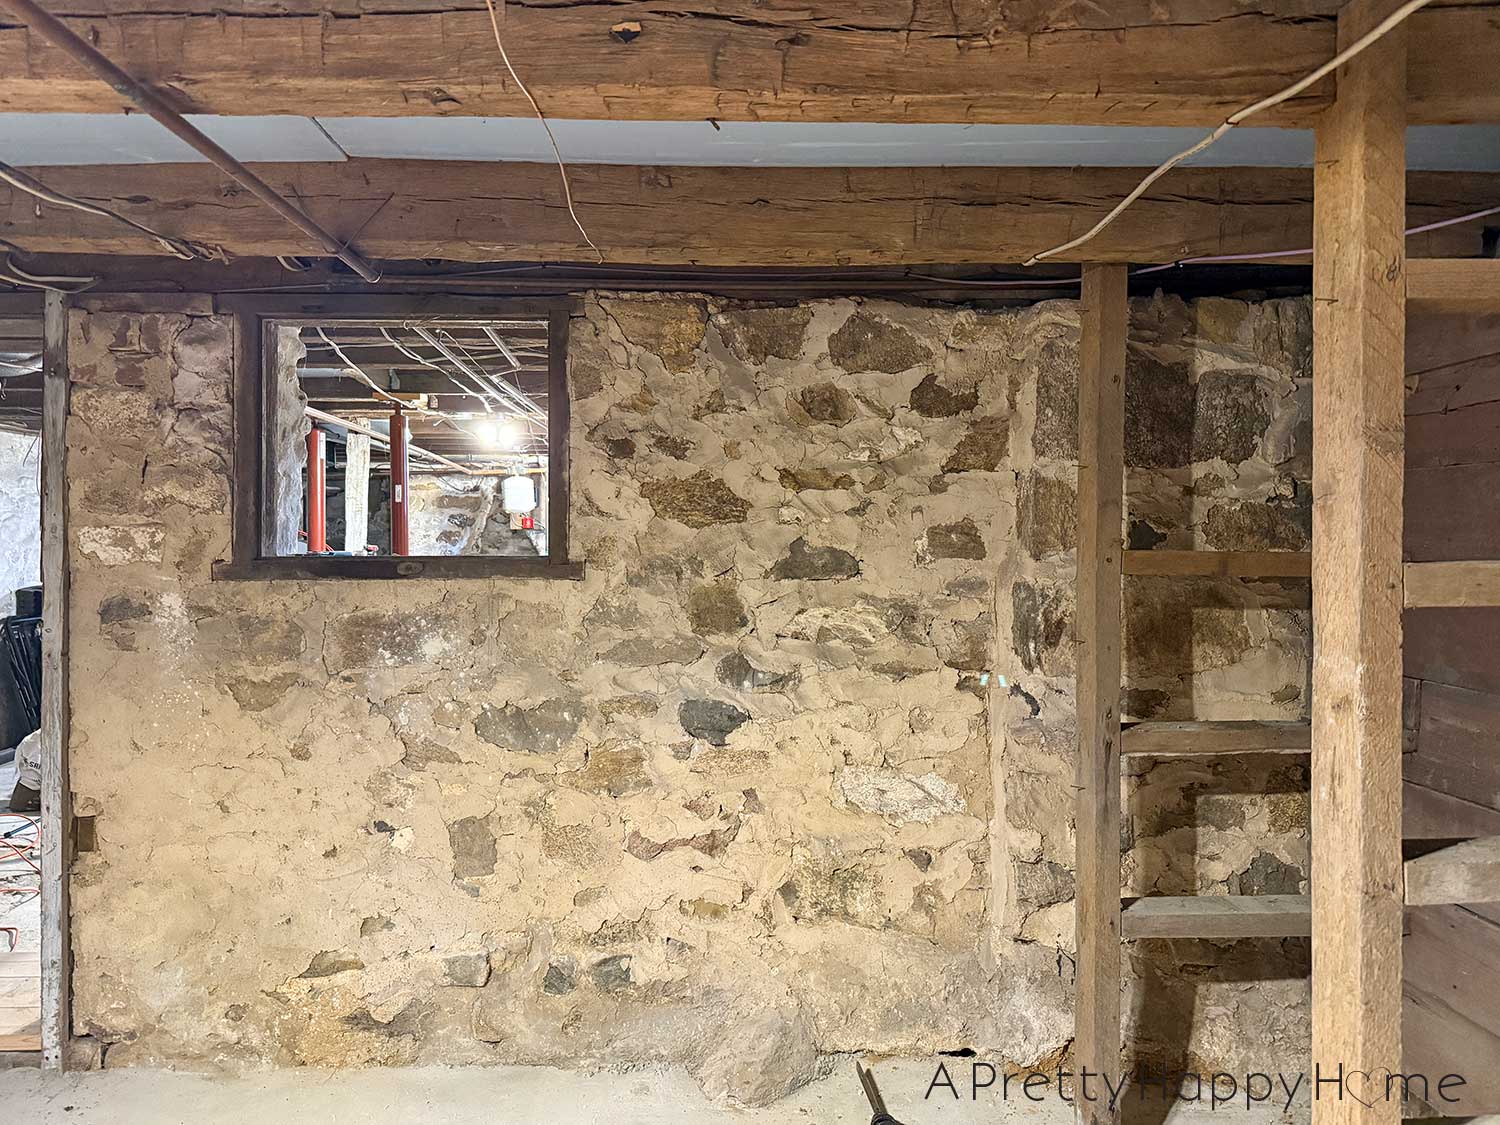
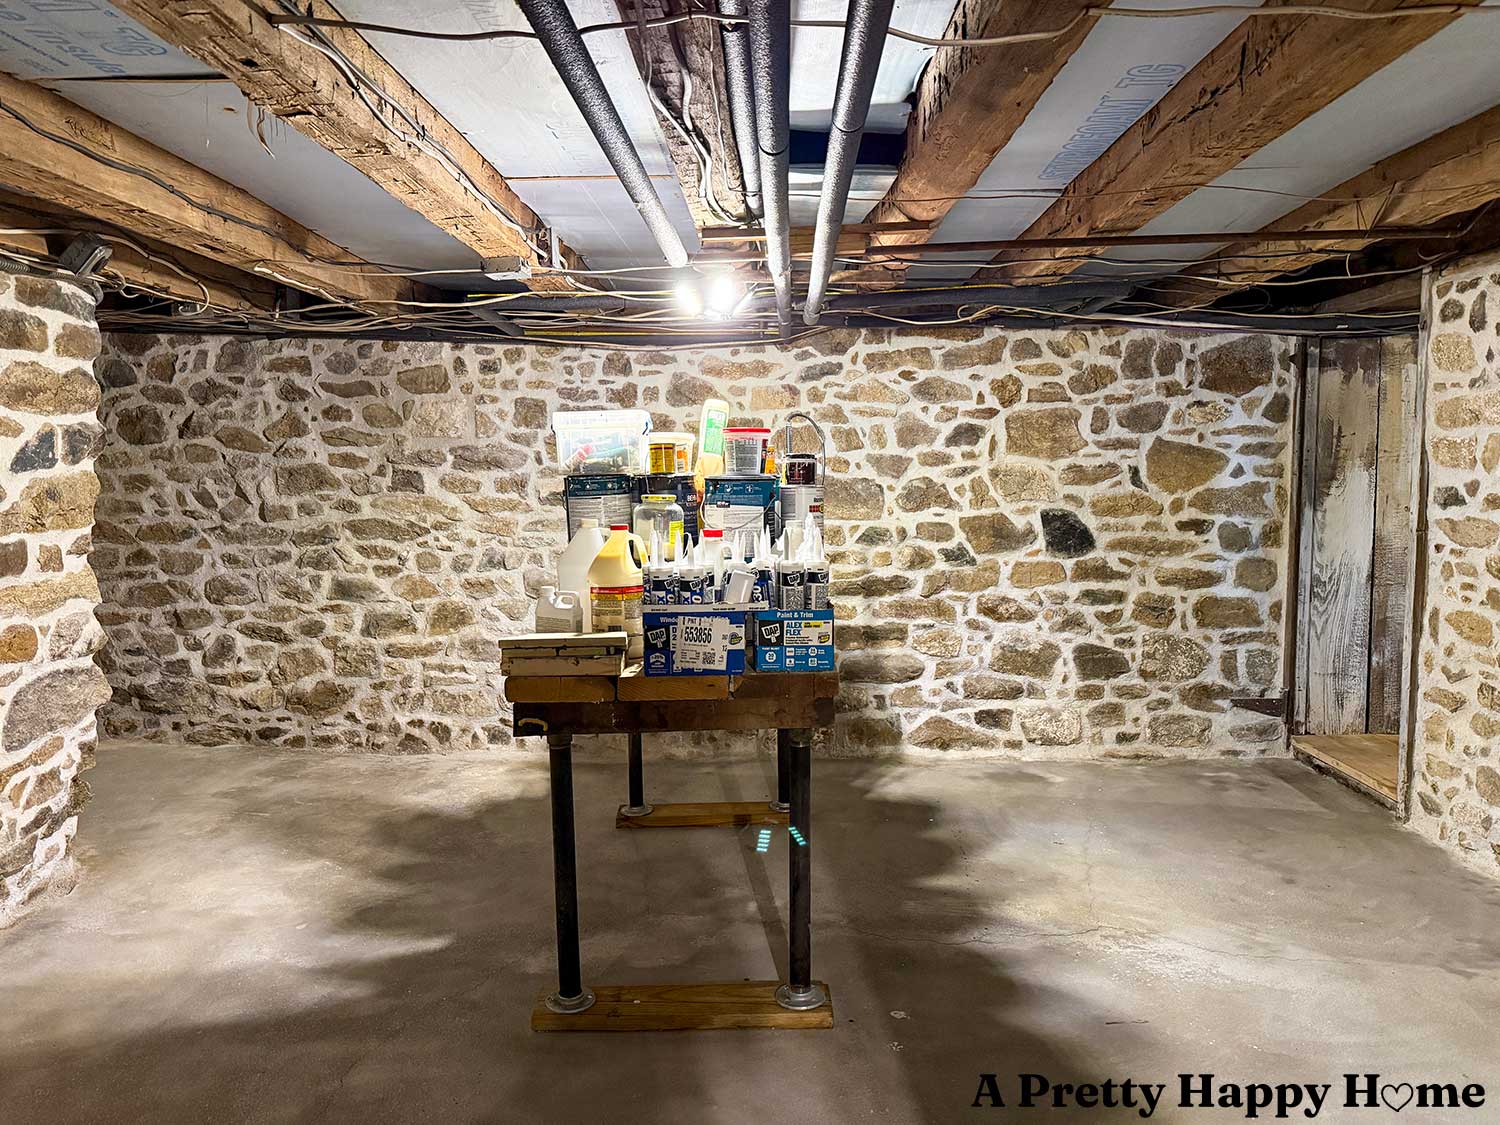
Here are the completed wall photos of this Basement Workshop Repointing Project.
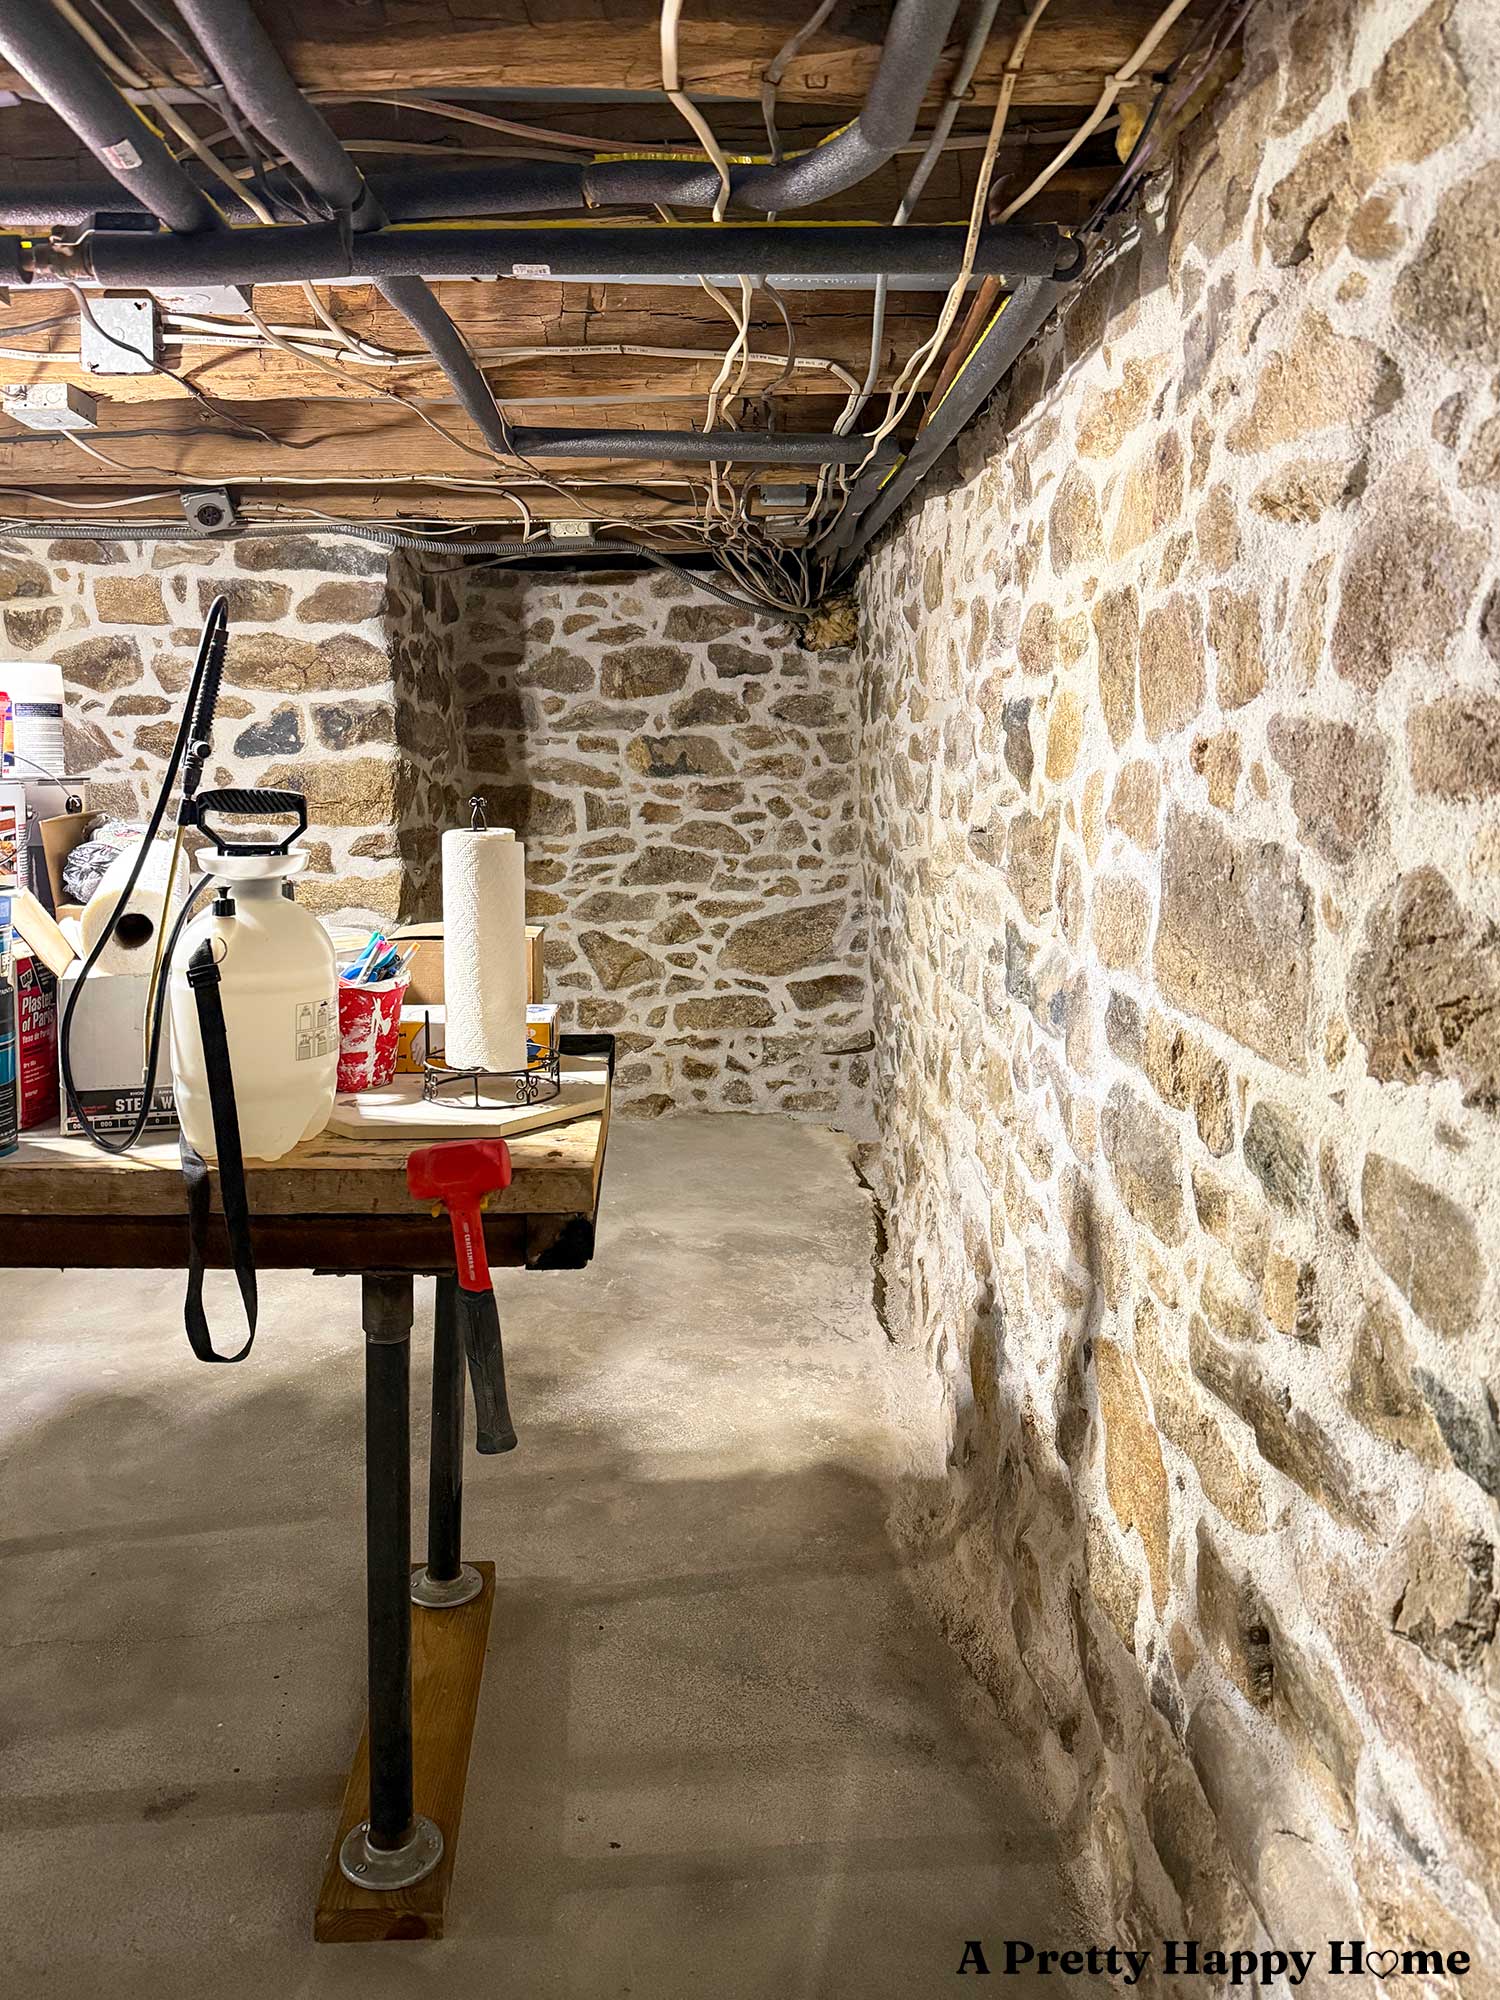
Yes, there is a rock sticking out of the floor. We don’t know why.
Taking it out was going to be more trouble than keeping it in, so we left it.
Old houses are quirky, and so are we. It’s best just to let stuck rocks lie sometimes.
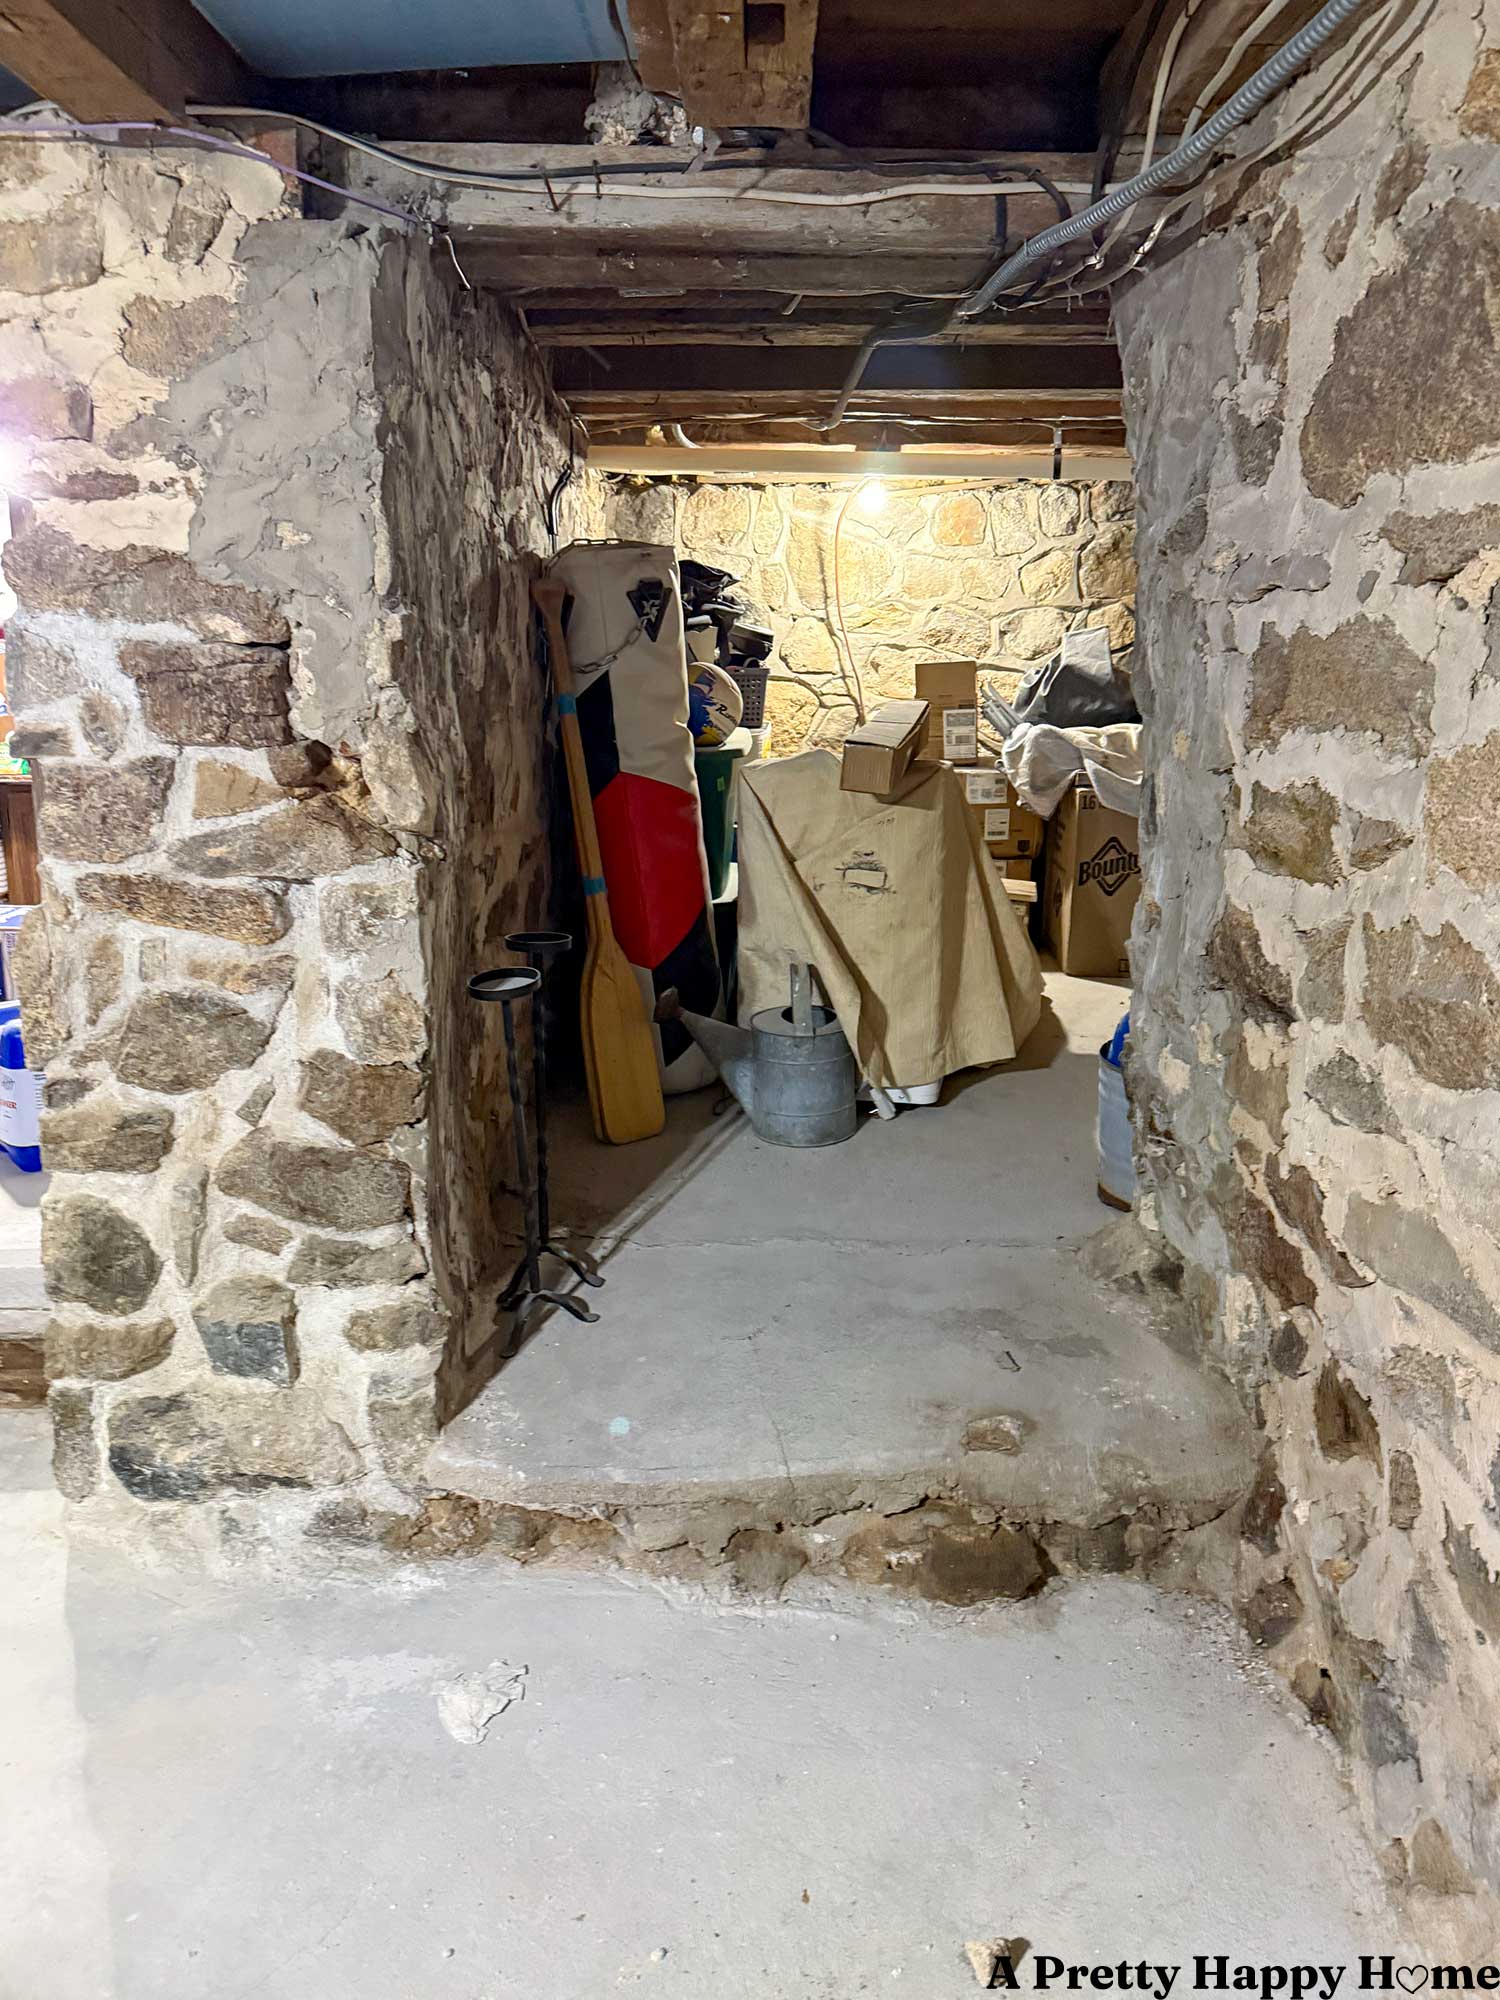
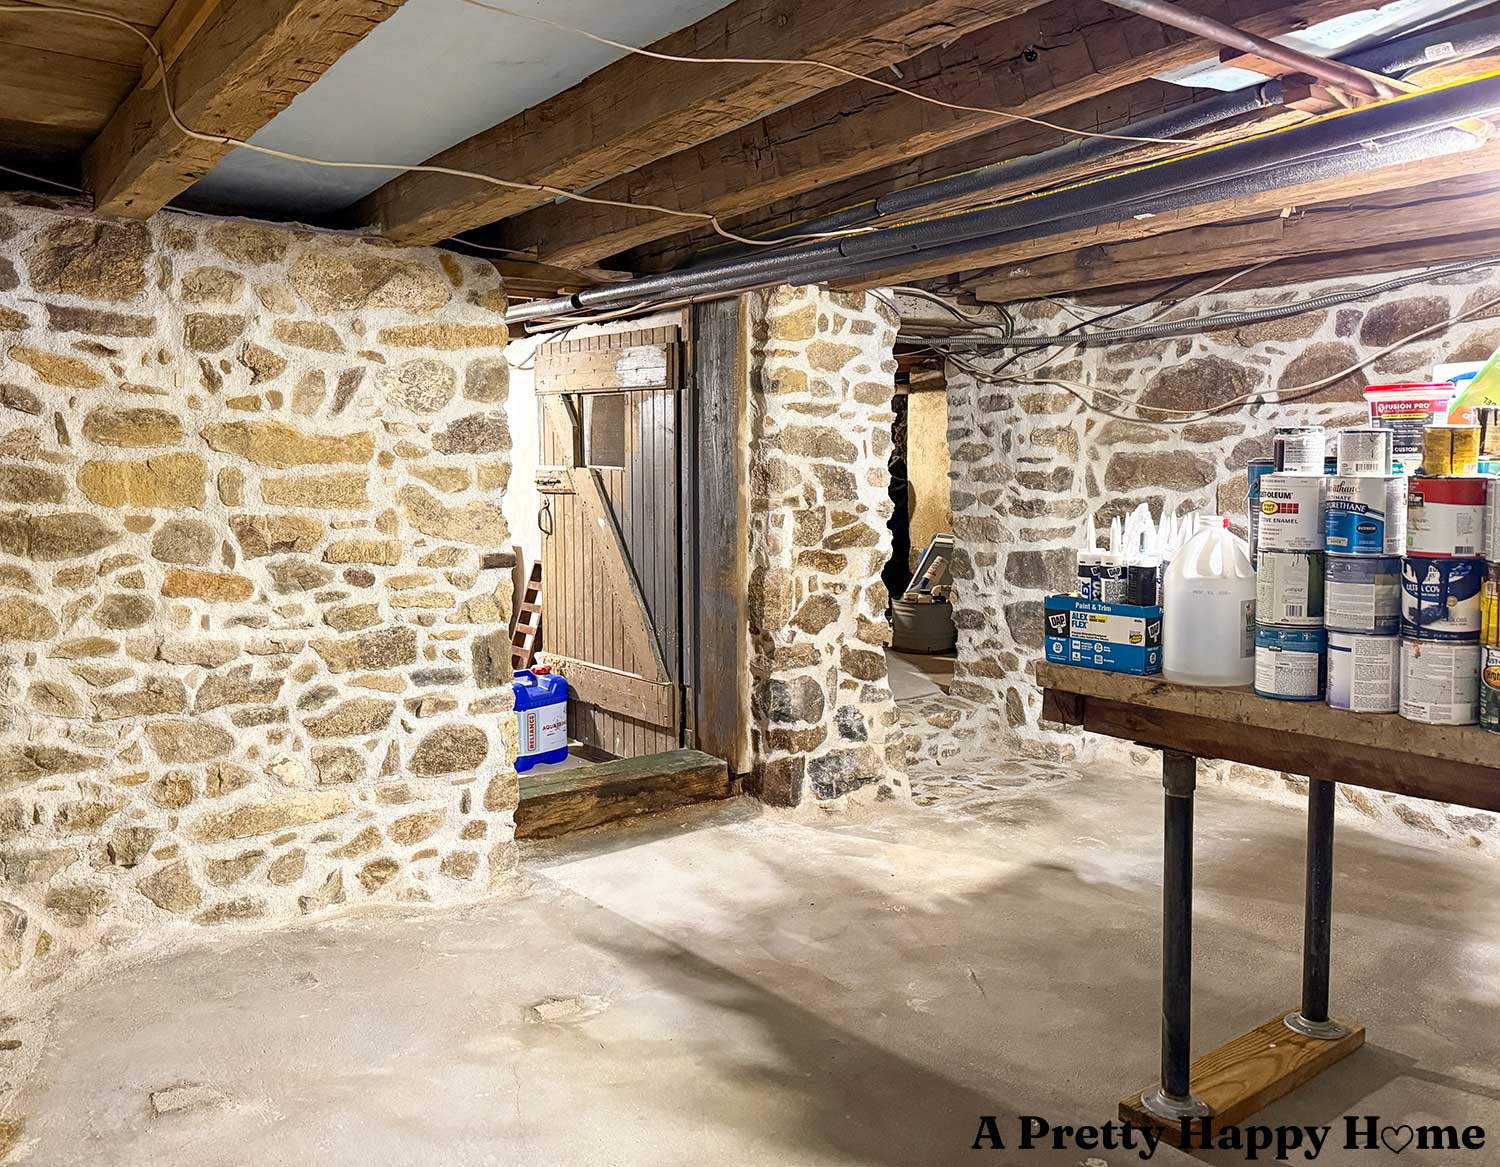
Our basement has multiple rooms, as you can see from the two doorways in the photo below.
One thing that’s consistent about our entire house is that you have to step up or down into each section of the house. The same is true for our basement. The floors in each room are all at different levels. The ceilings, too, for that matter.
Walking through this space is a practice in old house parkour.
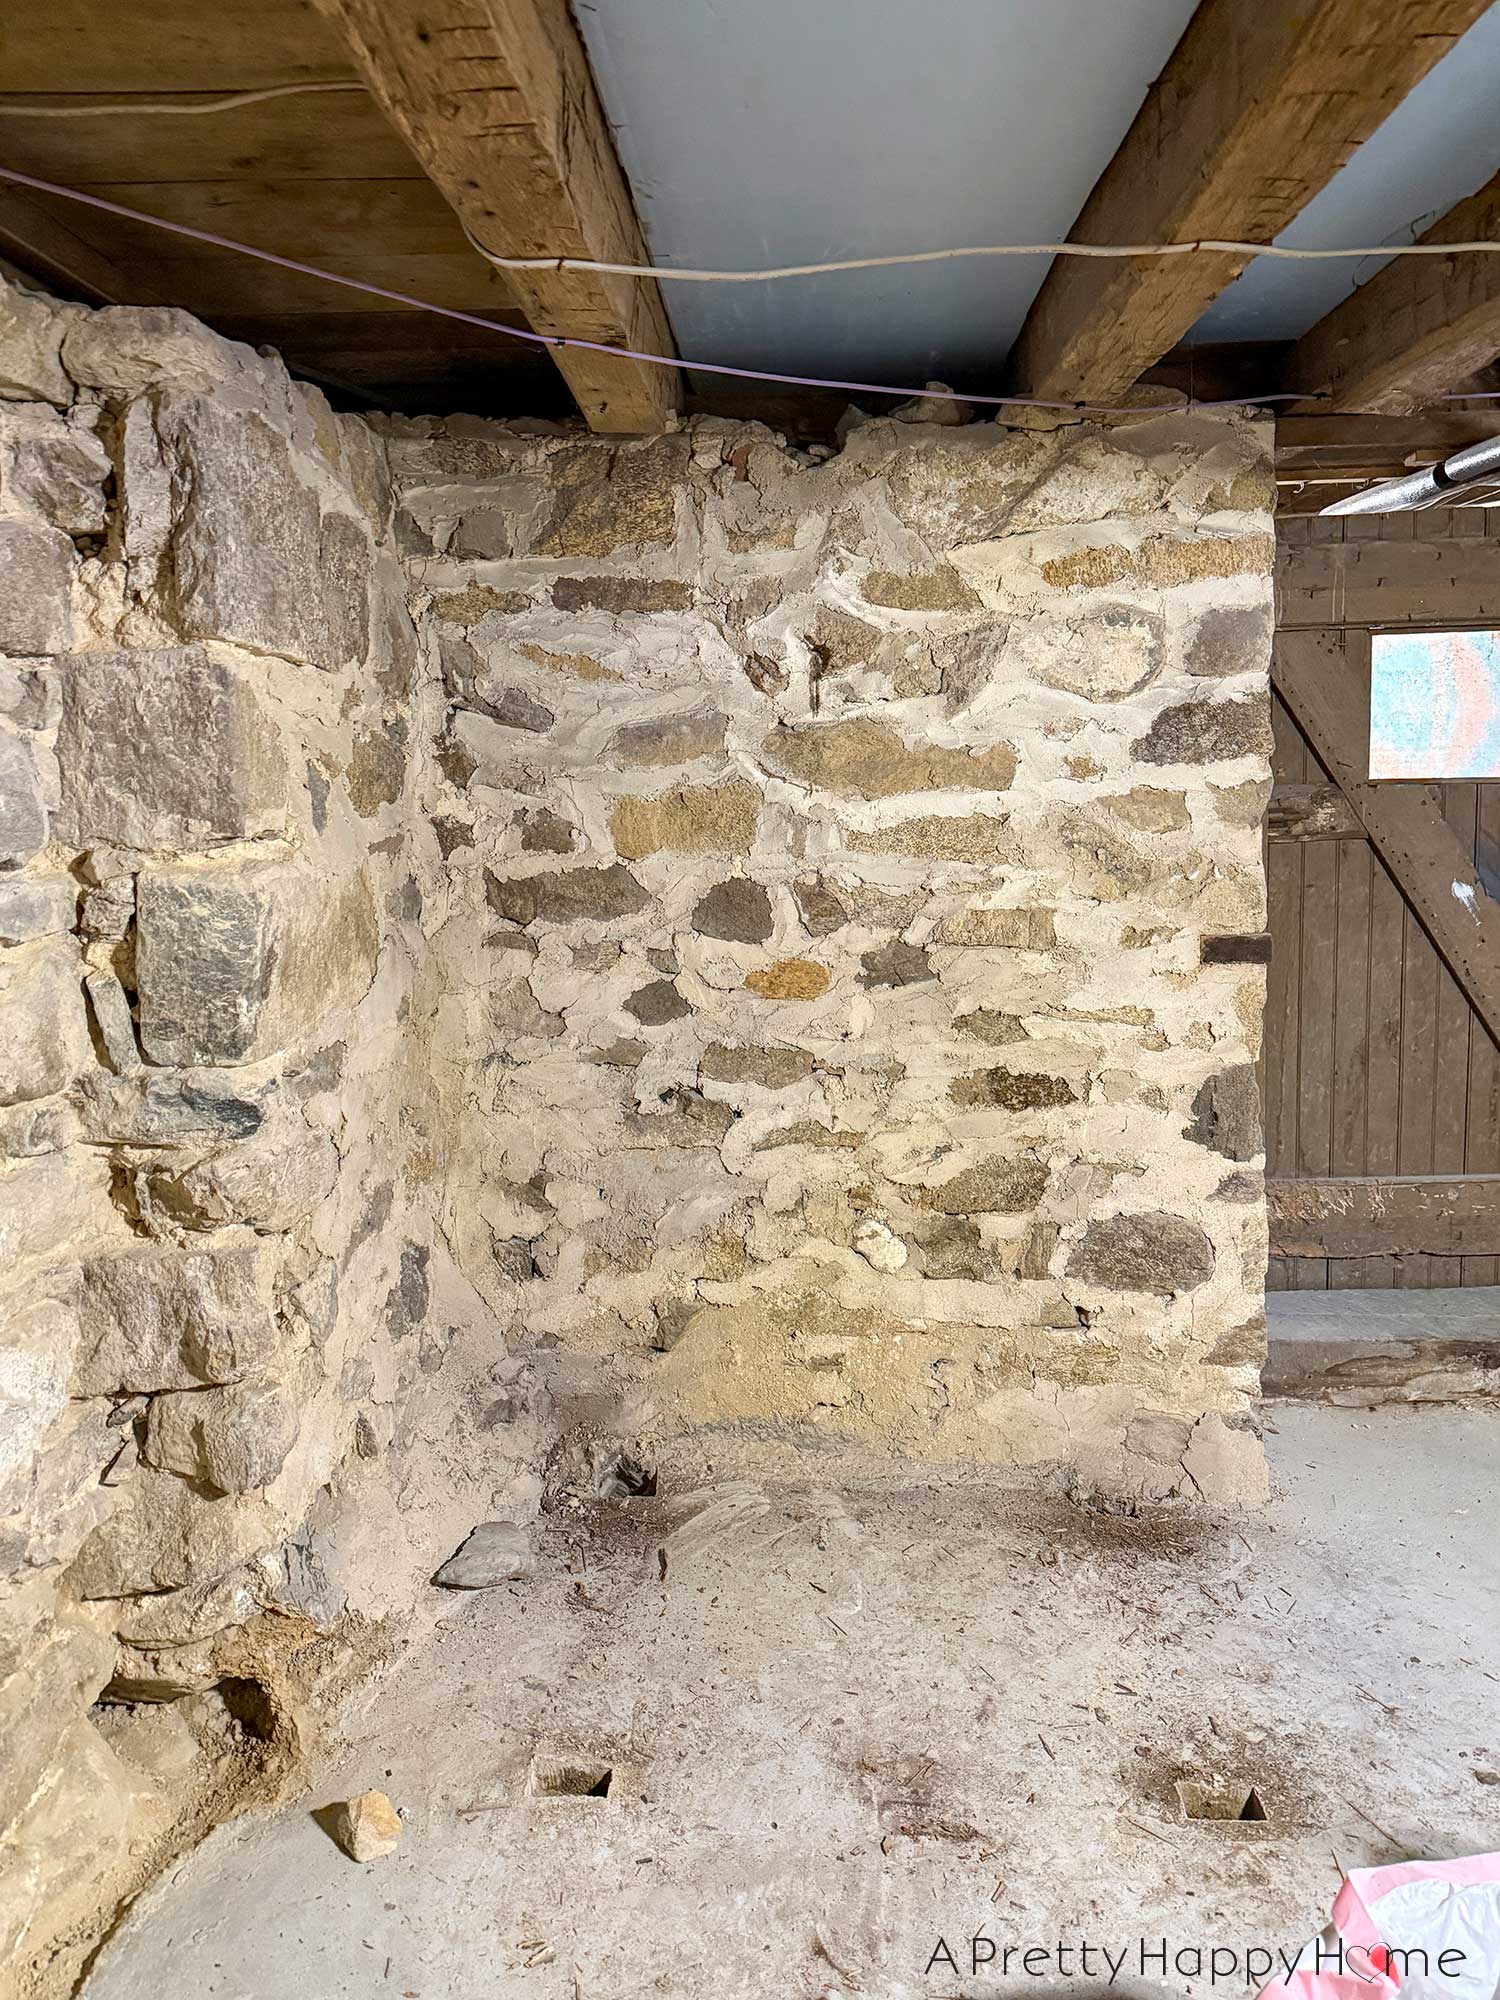
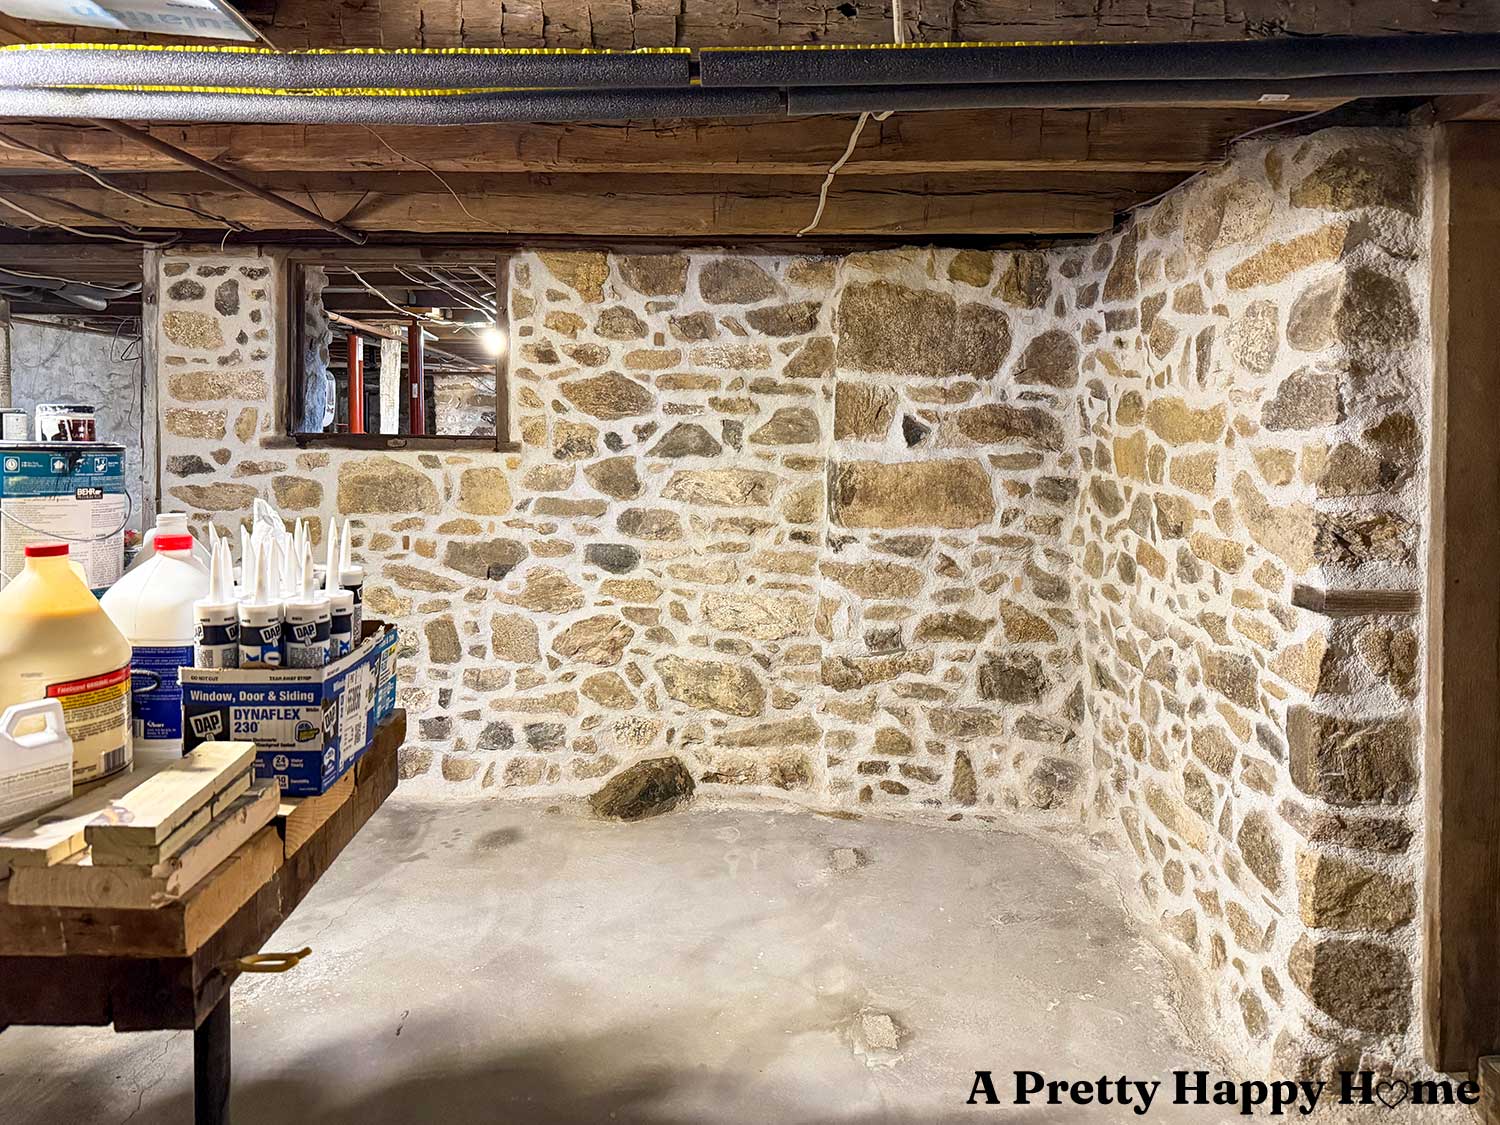
Look closely at this next photo.
Can you spot where the cinderblocks used to be in the wall? You probably can because the mortar is still drying in that spot, but I don’t think you’ll be able to tell once it cures.
The cinderblocks were there to hold a vent that granted passive airflow to our front porch foundation. We decided the correct way to ventilate the front porch is to install foundation vents on the porch itself. This decision allowed us to close that opening and properly support the floor joist directly above it.
That’s one less thing to keep me up at night.
I did mention this is the second-to-last post in this series. What more is there to do?
You’ve been looking at it. You might have even been distracted by it, but were too polite to say anything.
The grand finale will be when I take everything off that workbench and put it away so you don’t have to look at it anymore, and so I can actually use the workbench again.
In order to put that stuff away in a room with zero storage, we have to build shelves. In fact, the shelves were the entire reason we skipped ahead in our repointing plans to work on this room before we finished repointing the main area of the basement. We sure went to a lot of work to build shelves.
Can you believe we finally finished these walls? Are you wondering if we’d ever get there? I’d love to know. You can comment on this blog post, email me here, or reach out via direct message on Instagram or Facebook.
Happy DIYing!
P.S. Perseverantia is a real word. It’s Latin, and where the English word perseverance is derived.
For questions about where we buy our lime, what type of lime, etc., please reference our Lime Mortar FAQs.
If you need supplies for your repointing project and want to know what tools we use, please check out our Amazon Store.
Thank you for following along with our DIY adventures. If you’d like another blog post to read, try one of these.
Basement Workshop Stone Repointing: Part 1, Why Now
Basement Workshop Stone Repointing: Part 2, The Concrete Problem
Basement Workshop Stone Repointing: Part 3, Halfway Done
Basement Workshop Stone Repointing: Part 4, Floor Joists
Basement Workshop Stone Repointing: Part 5: Wall Tops
Basement Workshop Stone Repointing: Part 6: A New Wall
Basement Workshop Stone Repointing: Part 7: Stone Doorway
*affiliate links in this blog post*


4 Comments
Nancy B
So many mysteries in this room….the rock sticking up in the floor, the square holes where something used to be, also in the floor…3 beautiful Ruby red vases? Or light covers from the chandelier in the living room?
I should’ve remebered the Latin word from my 2 years in high school a long time ago, but I was laughing at connecting it to the Gluteus pain the butt part.
Congratulations on completing a huge undertaking. It has to feel good!
annisa
Thank you! It feels SO good, but also leaves me wondering what’s next. The red lampshades are for our living room chandelier. They are only useful if you want the room to glow red. Yes, the room does have a few mysteries it is keeping quiet about. I suspect there was a wall of some sort at one time. The holes in the floor are from concrete being poured around an existing shelf support that we removed.
Pamela
Yes, it’s been a while, and yes i wondered if you’d have the stamina finish. But then you always seem to be victorious in spite of my lazy-bones-idea of what DIY project should consist of ;). This is massive! Epic! and it looks amazing. Honestly I forgot what you plan to actually use this room for. And can I say Gluteus Perseverantia is the best 🙂 and I plan to use it, but how does one actually pronounce your new words?
annisa
Well, Google tells me the latin word perseverantia is pronounced like this:
per: Like the English word “per”
se: Sound is “seh”
ve: Sound is “veh”
ran: Sound is “rahn”
ti: Sound is “tee”
a: Sound is “ah”
I would have gotten the “ti” wrong.