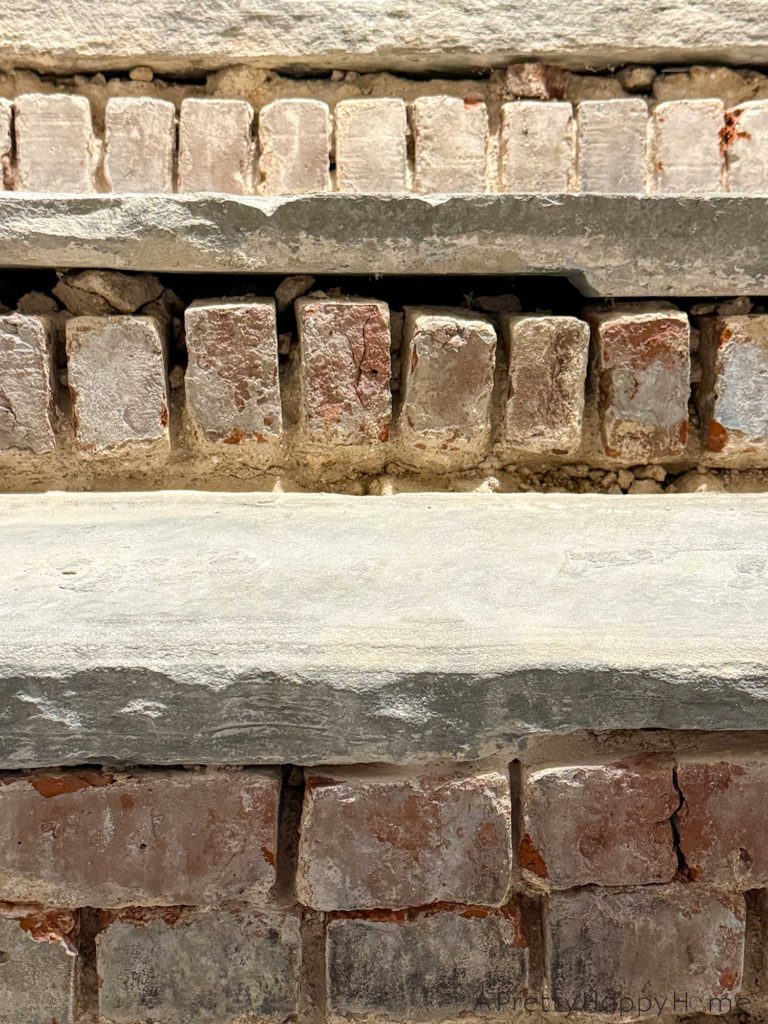
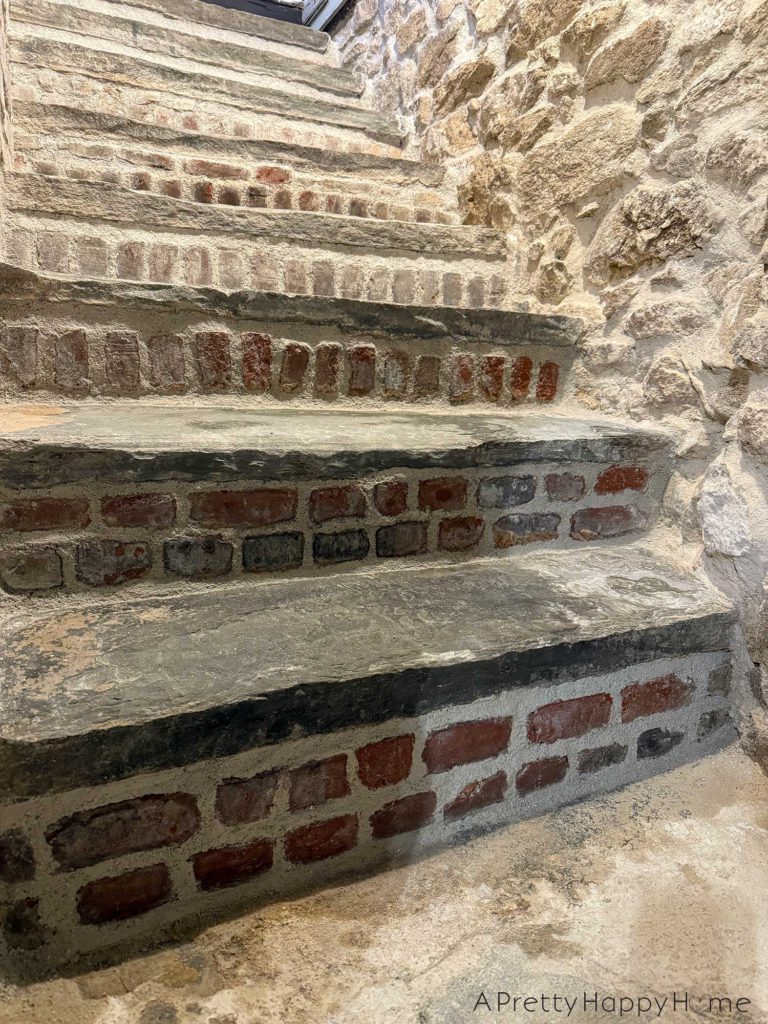
Lime Mortar Pointing on Brick Stairs
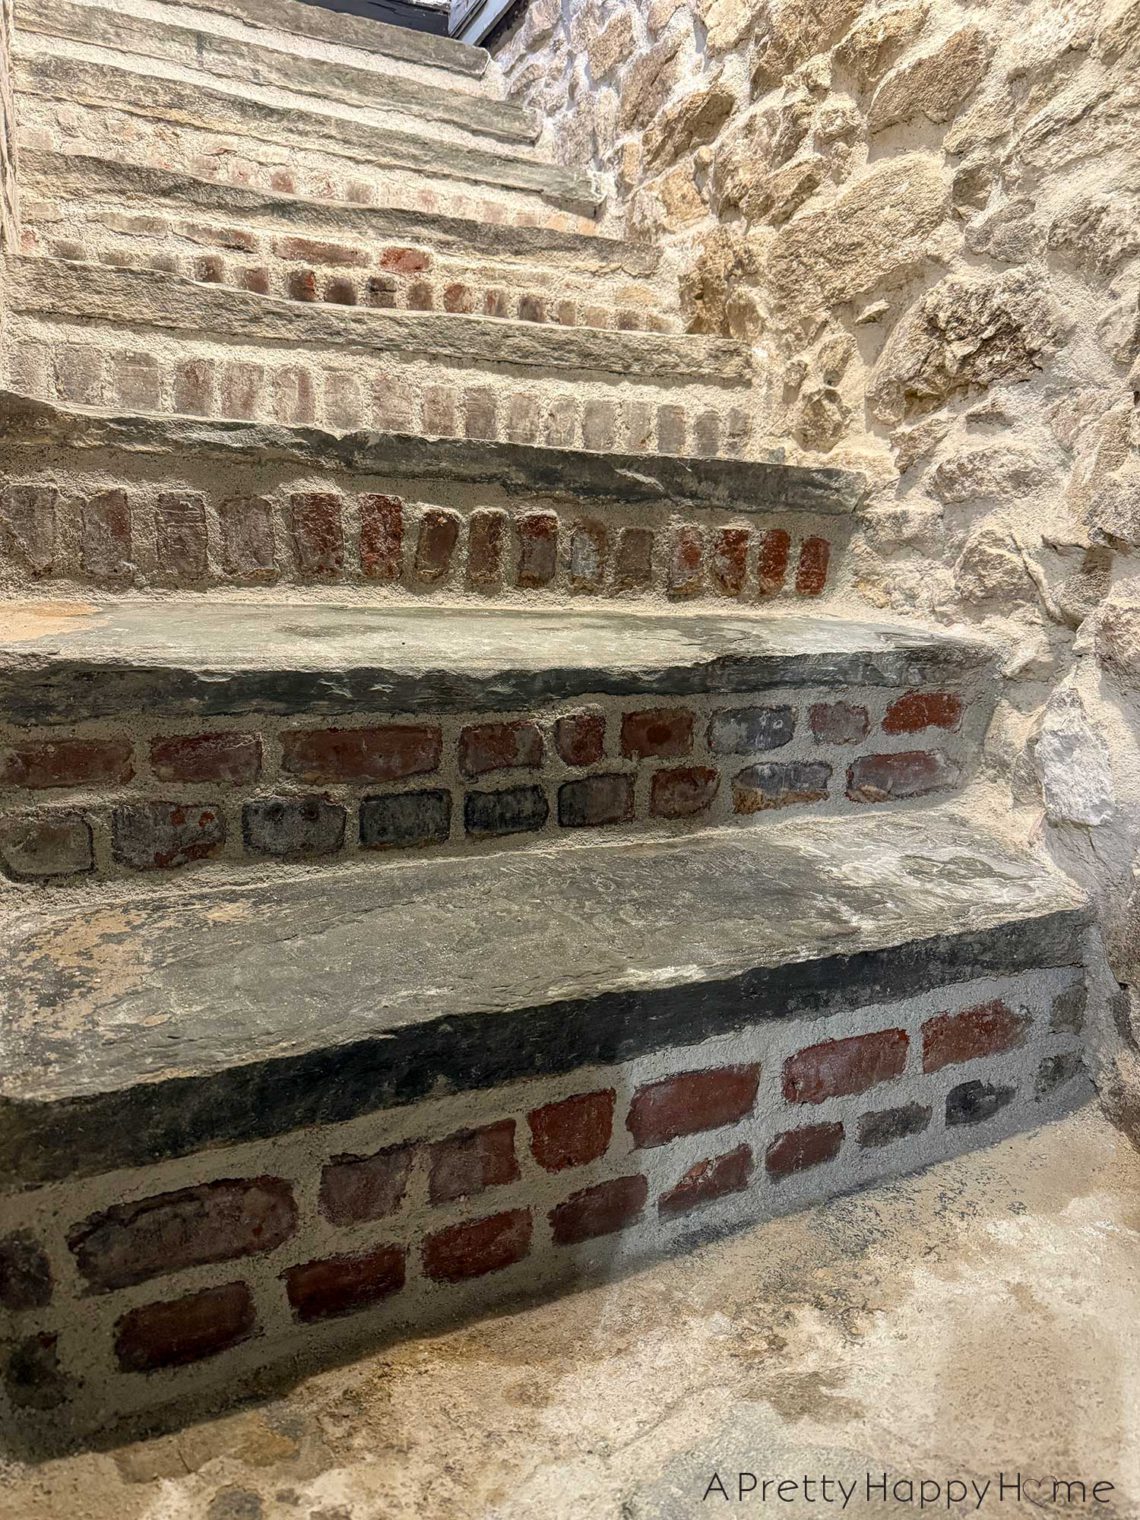
It took two years, but I finally finished the lime mortar pointing on our brick stair risers in the basement.
*takes a bow in an empty room*
The stair treads are flagstone, but the risers are brick. Someone had a “one and done” approach to building these basement stairs, and I wish I could throw them a ticker tape parade for their decision because they will never rot or need to be rebuilt.
Repointing is another issue. That needs to be done every one hundred years or so. I’m just the lucky homeowner whose game piece landed on the “must repoint” square on this board game called “Money Pit.”
We had lived with the stairs in a partial state of finish for so long that I forgot how far this stairwell had come, which is particularly noticeable on the walls.
Here’s how the stairs looked a lifetime ago in January 2024.
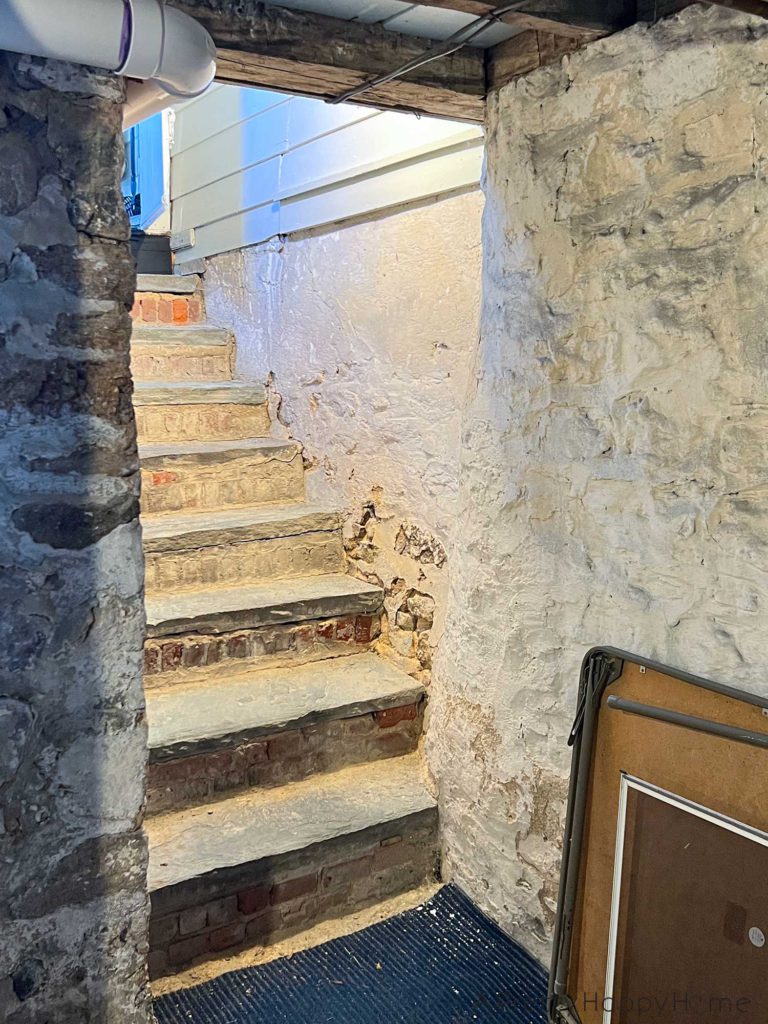
We repointed the wall and hand-chipped with a chisel the mortar on the first four stair risers.
Chipping out around those small bricks was exceptionally tedious work to do by hand, so we lost steam and moved on to other tedious projects.
January 2024 was the beginning of our stone foundation repointing journey, and we were still extremely cautious about potentially destabilizing our foundation during the process.
Two years into this, and we’re still cautious, but we now understand that these particular stone walls are sturdy. For the most part, they can handle power tools over hand chiseling to speed up the process.
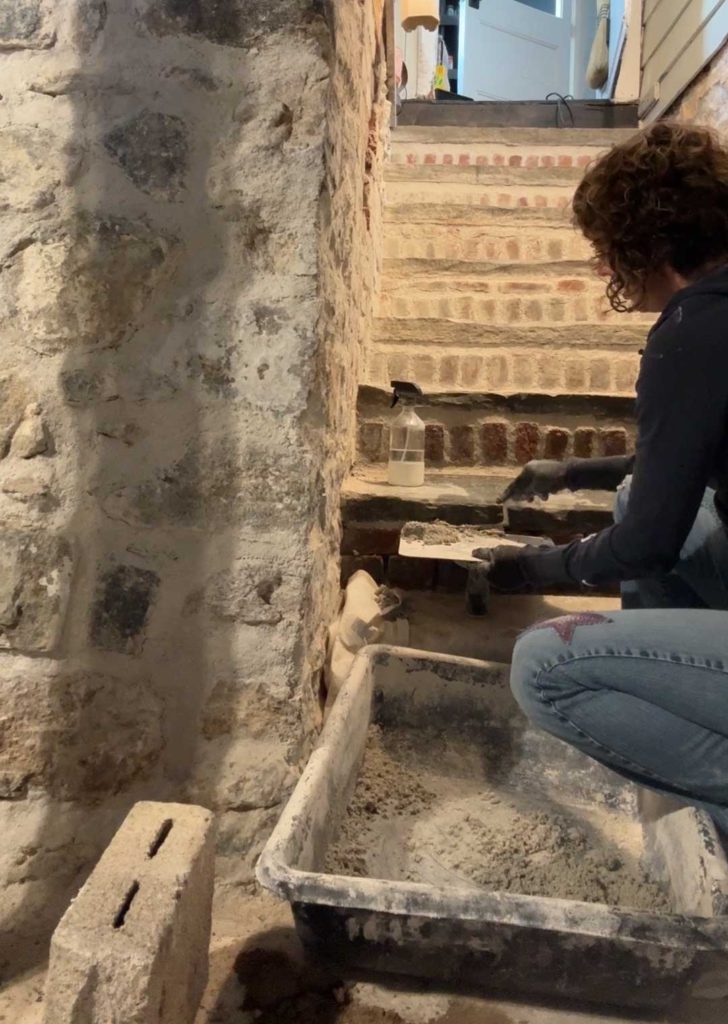
We got back to work on the stair risers in December 2025.
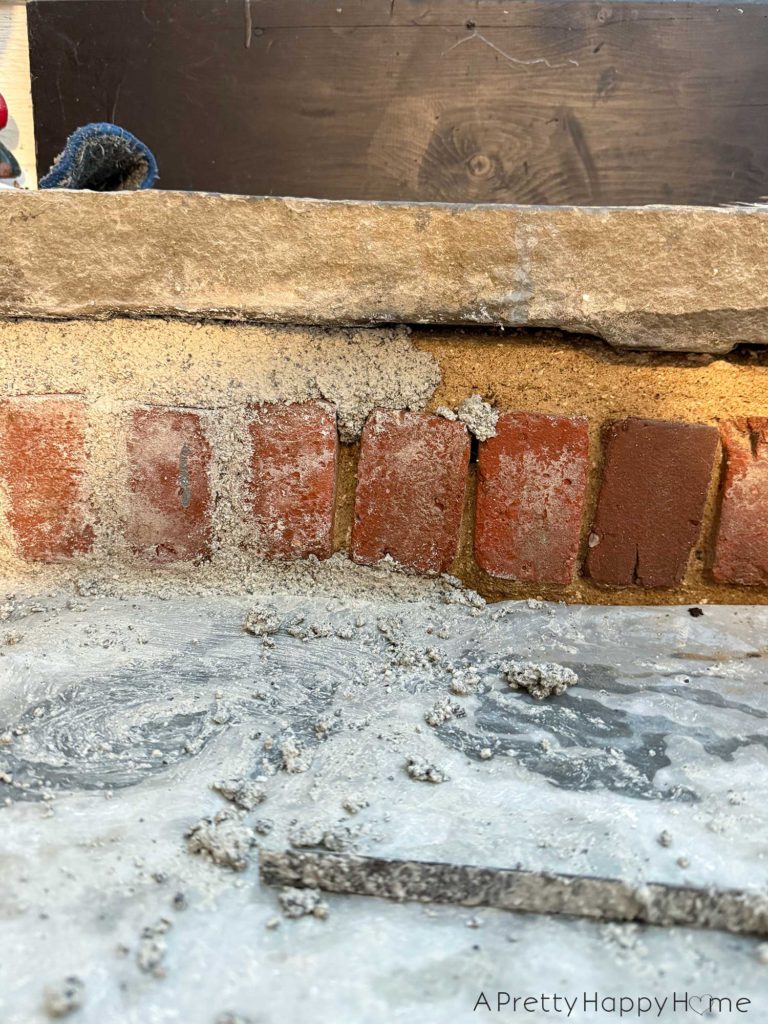
Handy Husband used the chisel attachment on our hammer drill to chip out the last four stair risers.
This was two hours of work to chip out these stair risers, compared to two DAYS of work to chip out the first four risers.
Power tools make a big difference (Huge!) in keeping this project moving forward. That’s the learning process for you!
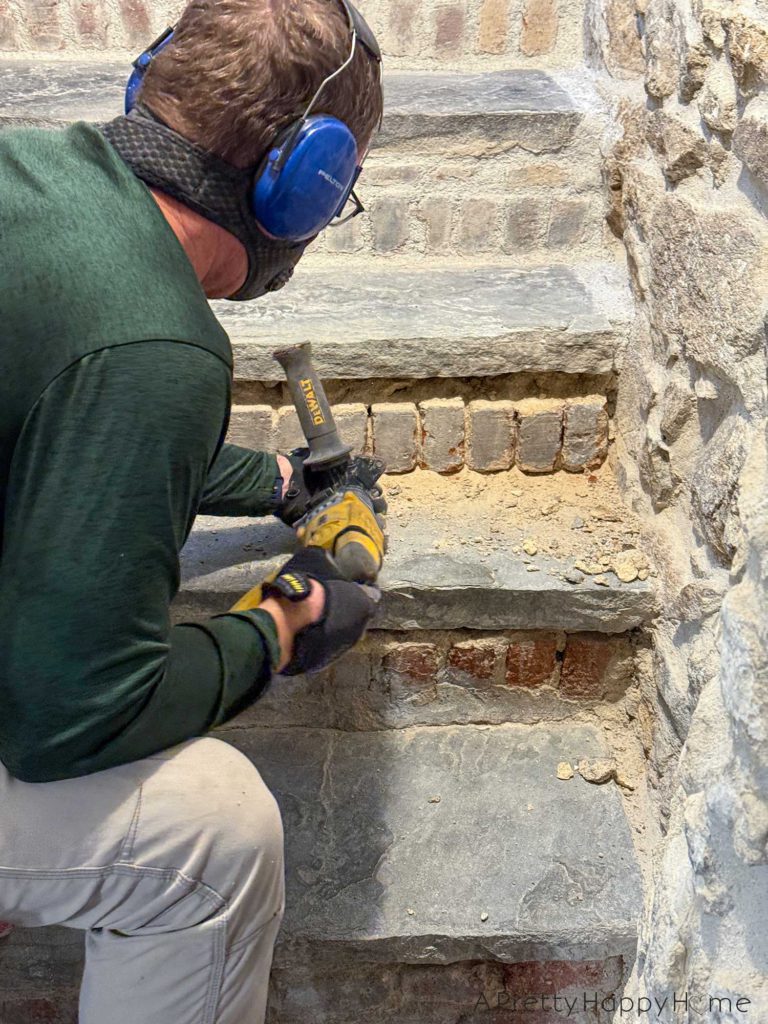
It will always be funny to me that the chipped-out stair risers look like cartoon teeth.
Once you see it, you can’t unsee it.
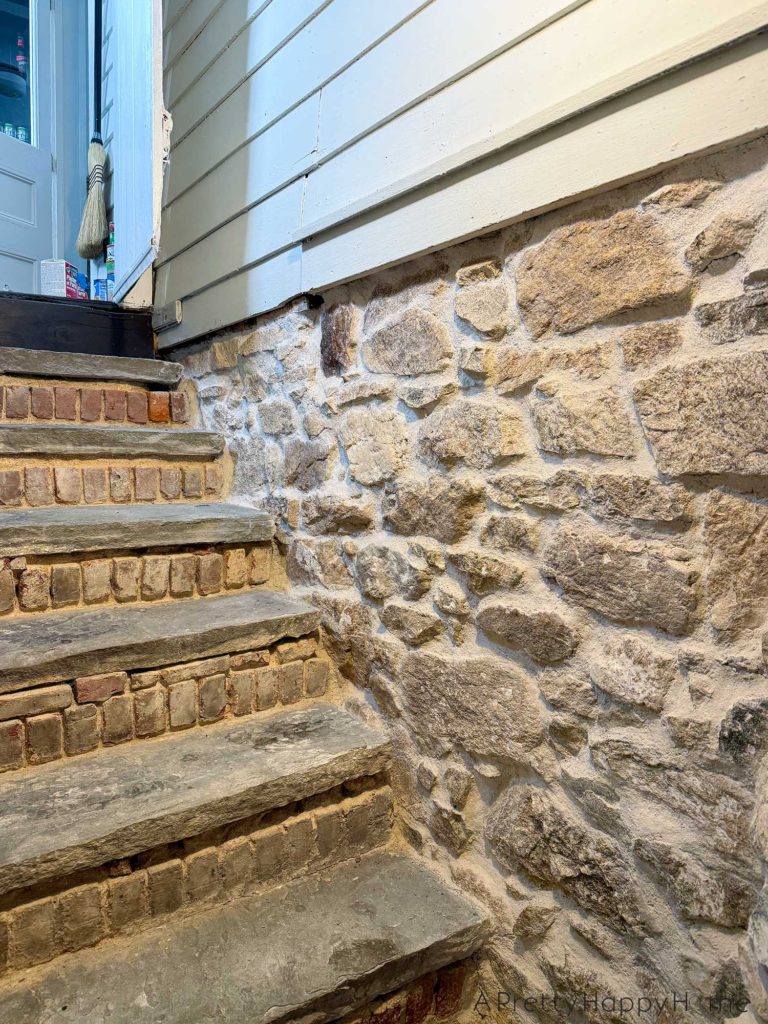
Speaking of the learning process, I’m slightly reticent to show you the photo below because you can see a glimpse of the very first wall I repointed.
That wall is strong and secure now. I’m still proud of it, but now I know it could look better. I was learning. This is normal.
Word to the wise – pick the least visible wall to start your learning on if you’re going to repoint your stone foundation.
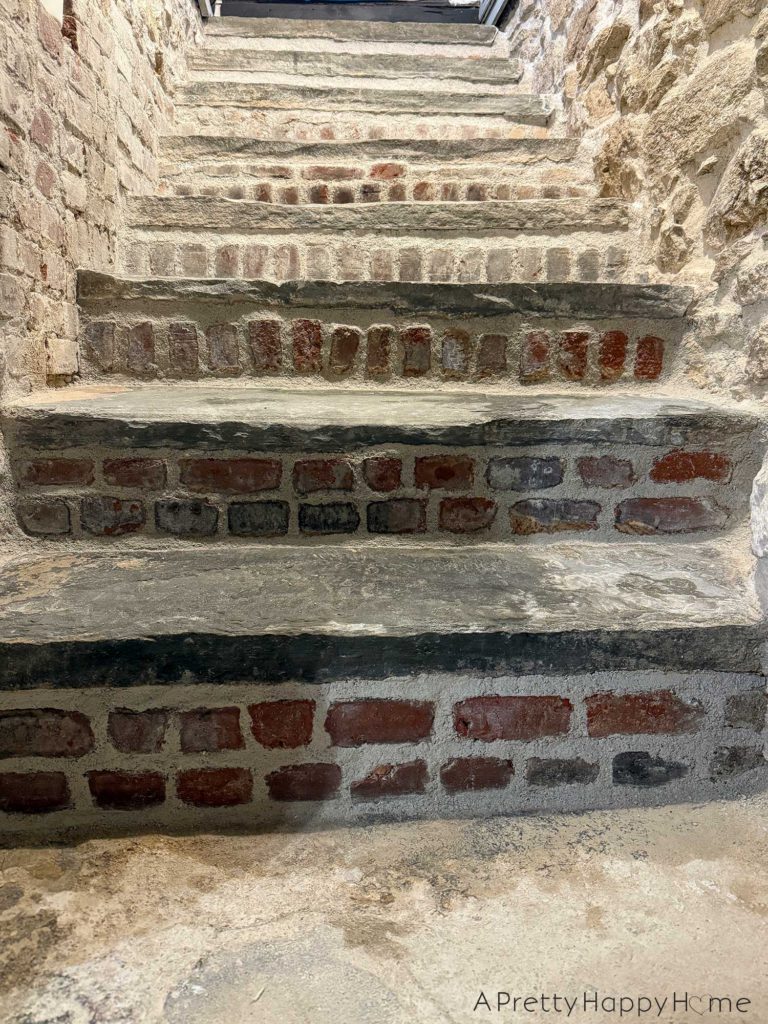
I’m glad I didn’t give up on teaching myself how to repoint because I’ve gotten much better at making the new lime pointing look pretty darn great.
Practice may not make perfect, but it usually does make better.
Funny how that works.
We’re also better at getting the lime plaster off the stone faces. Someone should study that chemical bond because, holy moly, is that stuff hard to remove.
So, that’s the last thing that could be done to these stair risers: wire brushing them with a wire brush attachment on our angle grinder to remove the lime plaster on the brick faces.
However, at our current rate of working on these stairs, it might be another two years before that is completed.
That was a long way of telling you we’re back to working on the stone foundation of our main house.
Most of the last year was spent working on the Carriage House, so it feels good to resume work on the place where we actually live. Ha!
Perhaps our priorities are skewed?
I’ll have time to ponder that while working away in the basement. Stay tuned for my next update!
Do you have a basement? Is it a little creepy like ours is? How are your house project priorities going?
Let me know! Comments really do make my day. You can comment on this blog post, email me here, or reach out via direct message on Instagram or Facebook.
Happy house progress to you and yours!
P.S. We used lime mortar for the brick pointing because that’s what was originally used to set those bricks on our late 1700s home.
Thanks for hanging out with me today. Here are some other posts you might enjoy.
6 Things We Found Inside Our Stone Walls
Wear on Our Stone Steps and a Basement Mystery
Fieldstone Porch for our Carriage House
*affiliate links in this blog post*


You May Also Like

Back Staircase Before and After

Wood Chandelier in the Music Room
