Basement Workshop Repointing: Part 6, A New Wall
Welcome to another installment in our riveting Basement Workshop Repointing series. This is part 6, where we leave repointing in the mortar tub and move straight into building a new foundation wall. It’s technically the extension of an existing wall, but we are building it from scratch.
Coming up with blog post titles, especially ones that appease the search engine gods, is harder than repointing a stone foundation. But I digress.
Why Do We Need to Extend the Foundation Wall?
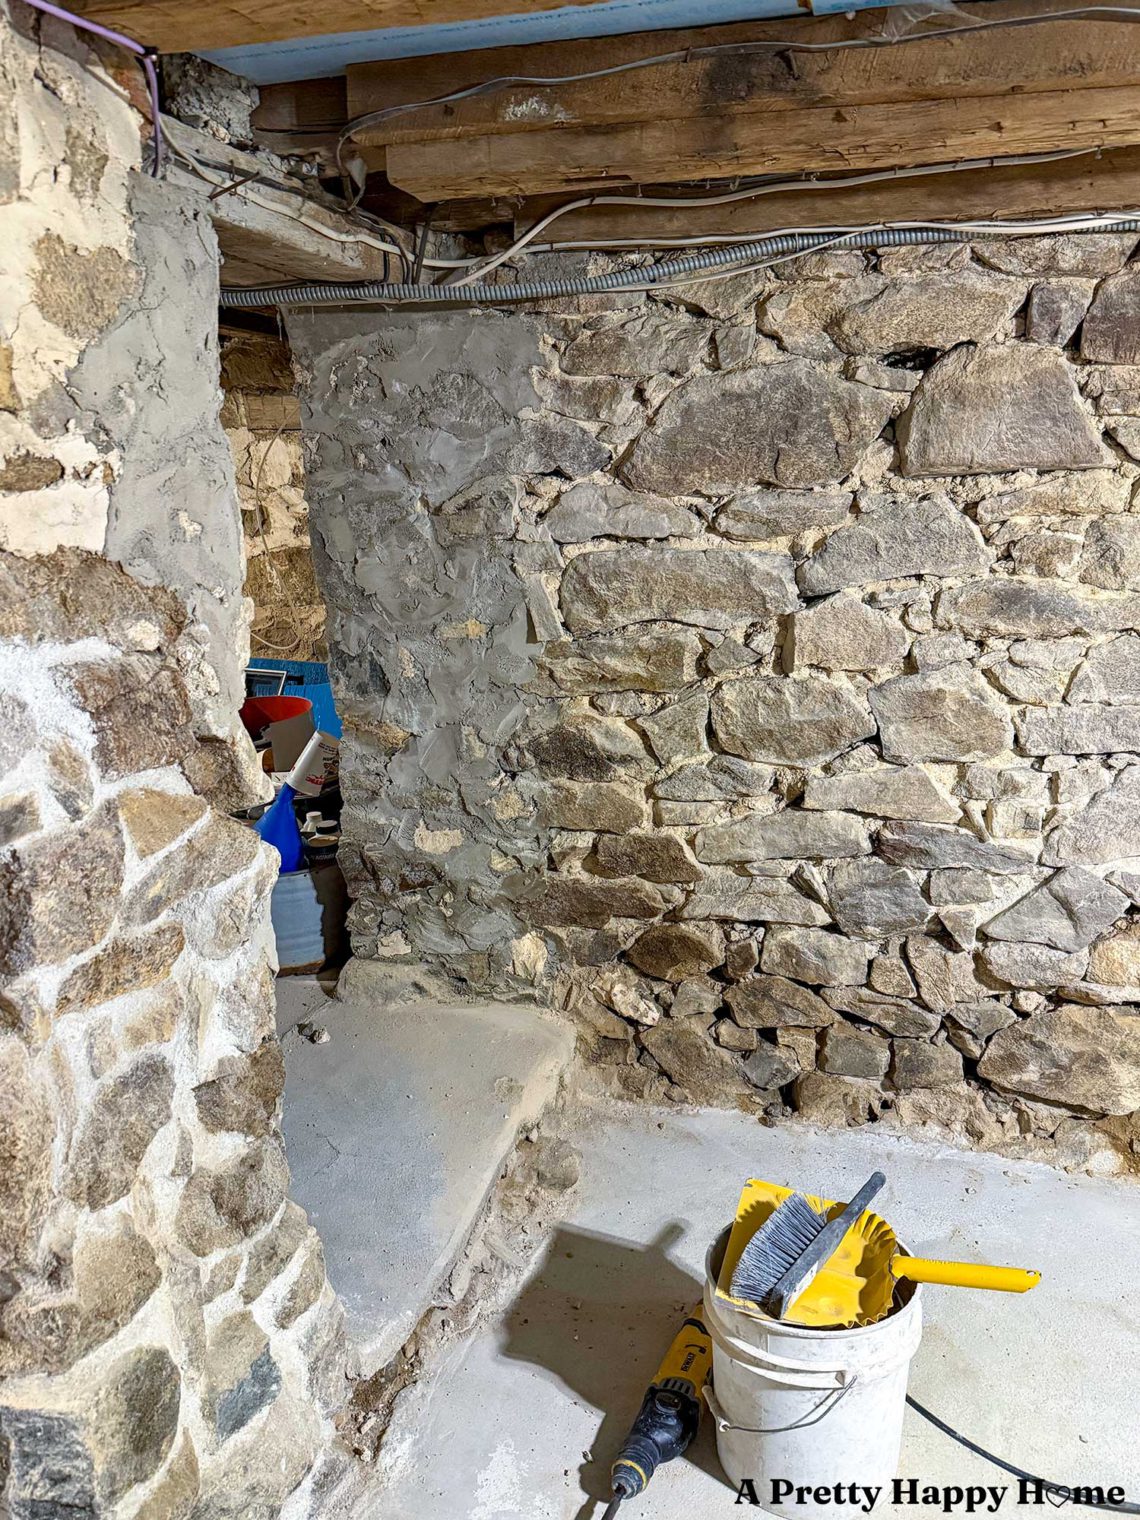
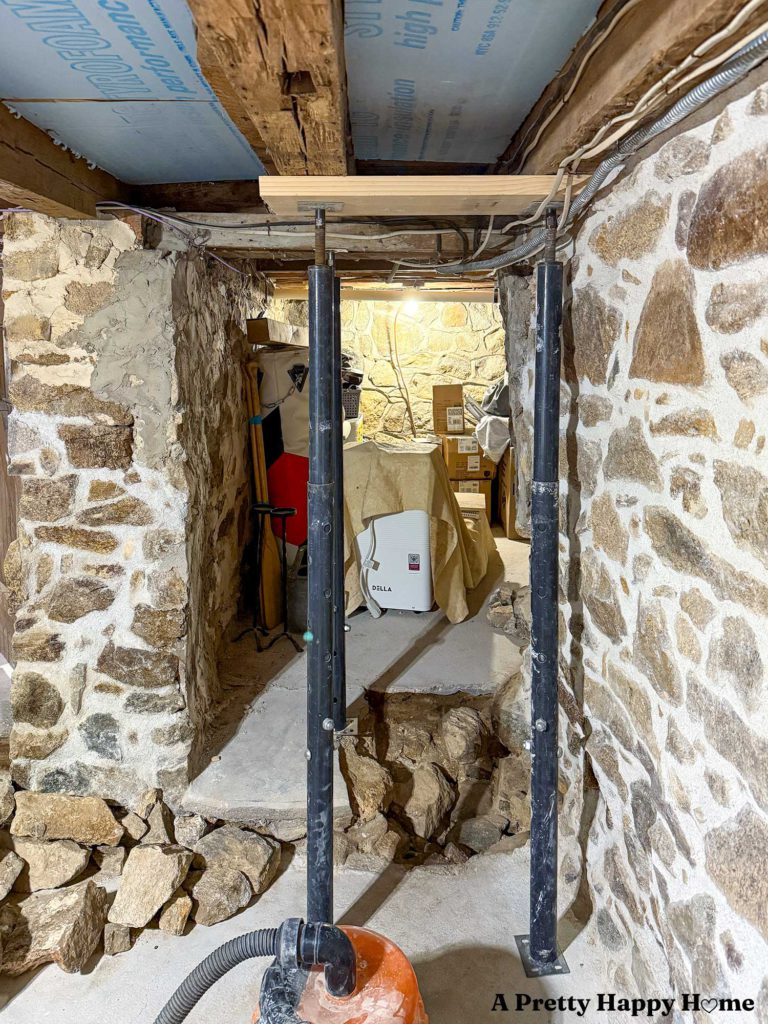
At some point in the past, an opening was created in this foundation wall to access the foundation under our kitchen addition. It’s a rather large opening, approximately 4 feet across.
Two problems exist with that opening because one problem wasn’t enough.
First, this opening in the foundation was patched with concrete. Concrete contains Portland cement, which is much harder than the fieldstone and can cause the stones to break. It also traps moisture in the foundation, which is a no-no for a stone foundation built with historic lime mortar that is designed to breathe. This means it takes on and releases moisture, and the concrete is essentially forcing the foundation wall to hold its breath with a mouthful of water for decades.
Bad things will eventually happen. You just don’t know when.
The second problem is more alarming, if you can believe that.
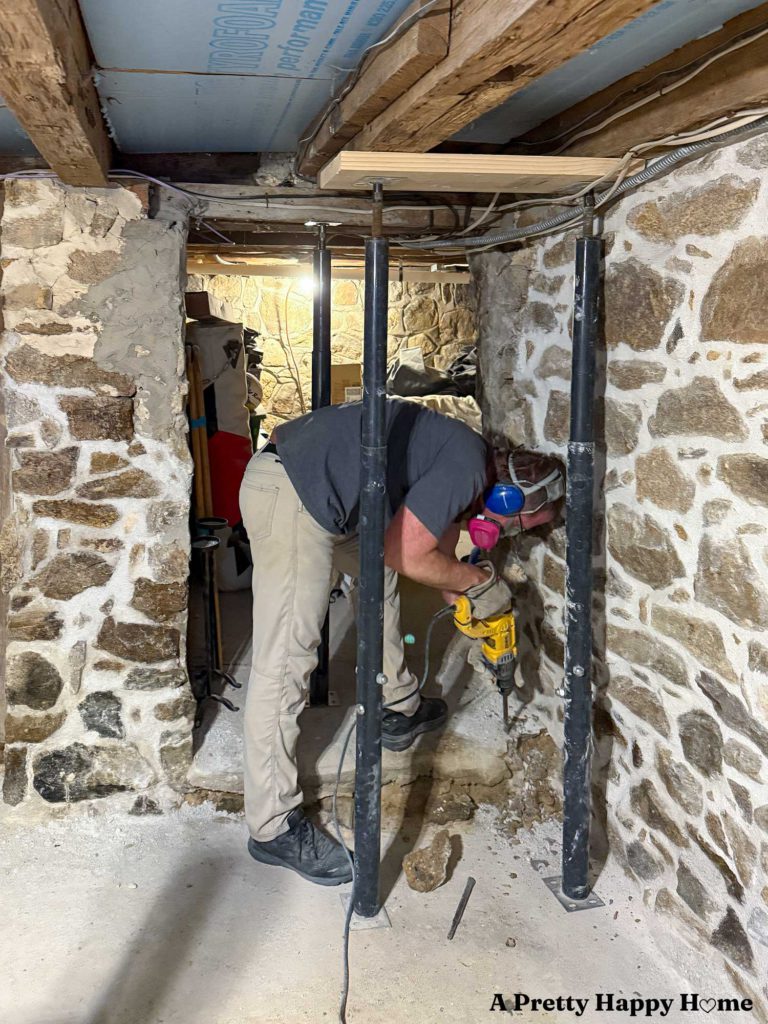
Either the doorway is too wide, or the door header above the doorway that supports two floor joists is too short. This header simply sits on top of the foundation wall and carries the load of what’s above it. There are no screws, nails, brackets, or bolts holding that door header in place.
This isn’t necessarily a bad thing in terms of 18th century construction practices because beams that sit solidly on a foundation are held in place with gravity and the weight of the house.
The key phrase in that last sentence was “sit solidly on a foundation.”
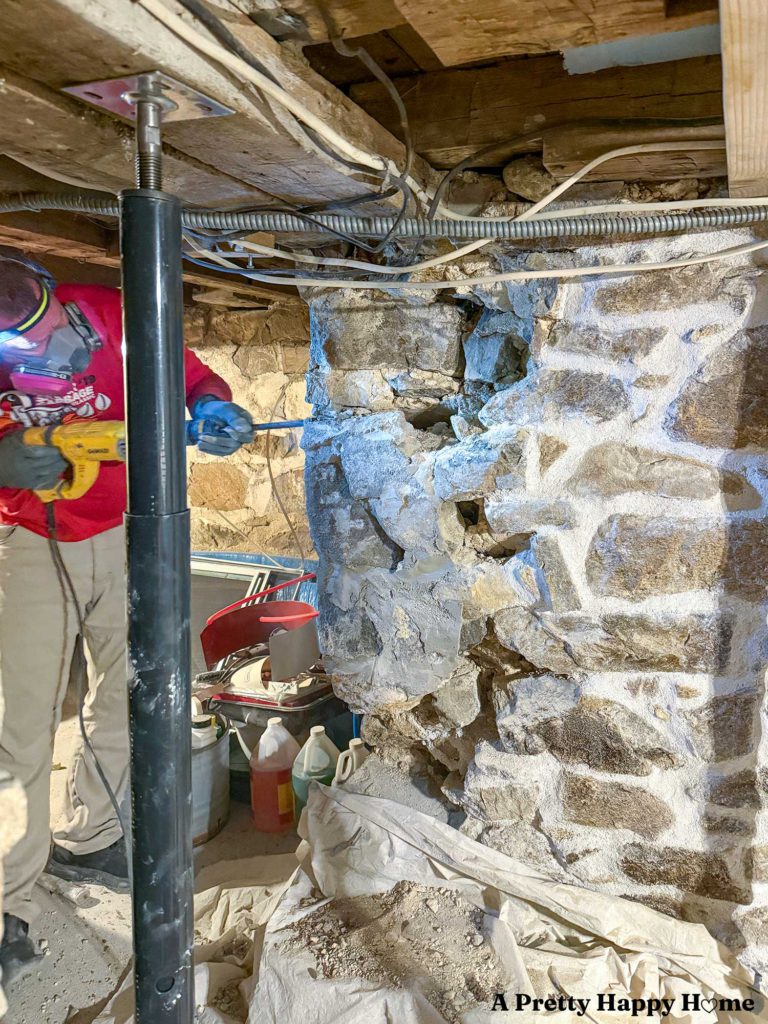
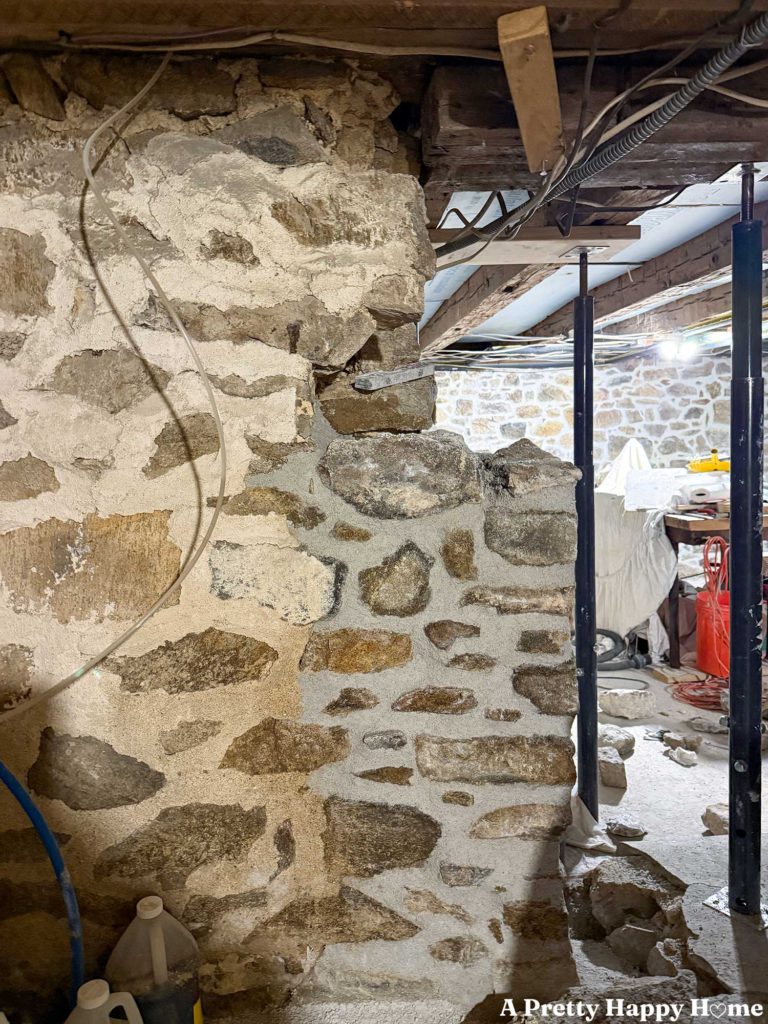
The only thing holding this particular header up was hopes, prayers, and less than 2 inches of concrete. When we removed the concrete to repoint the foundation, the door header was now completely unsupported. If you look carefully at the photo below, you can see the unsupported door header (it’s two beams) at the top. That’s why the jacks are in place.
How Do We Properly Support the Door Header?
We considered two ways of supporting this door header.
First, we could cut a new door header that is longer. It’s not an ideal solution, however, because it would still require removing part of the wall at the top and then leveling it to extend the header into place.
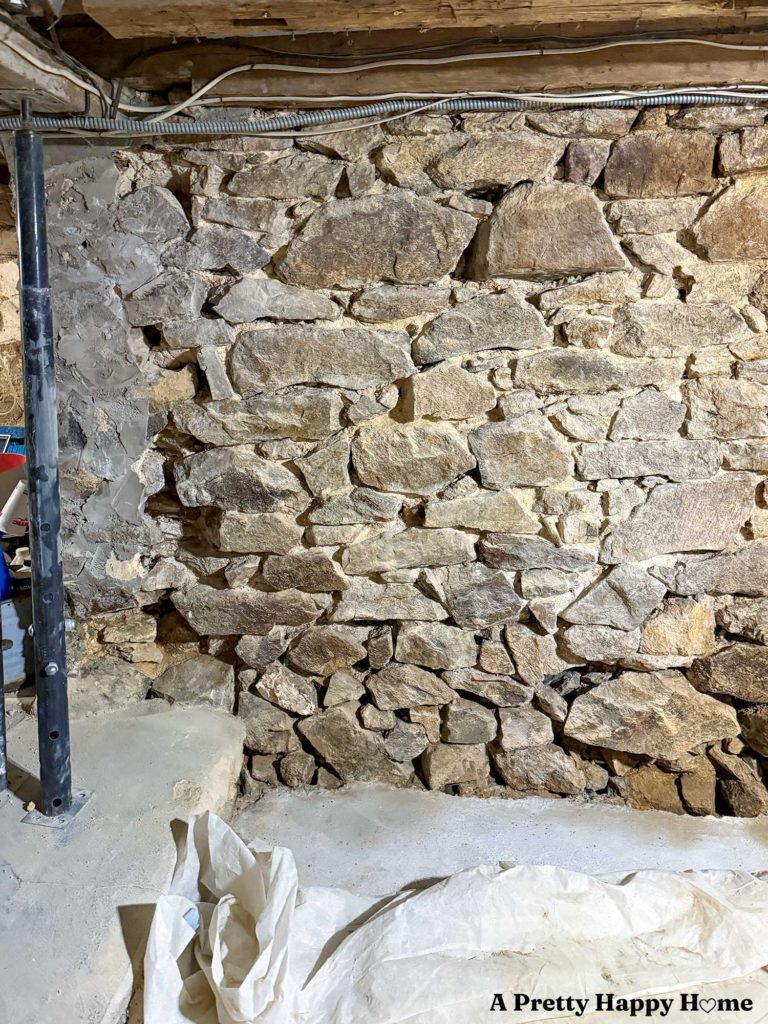
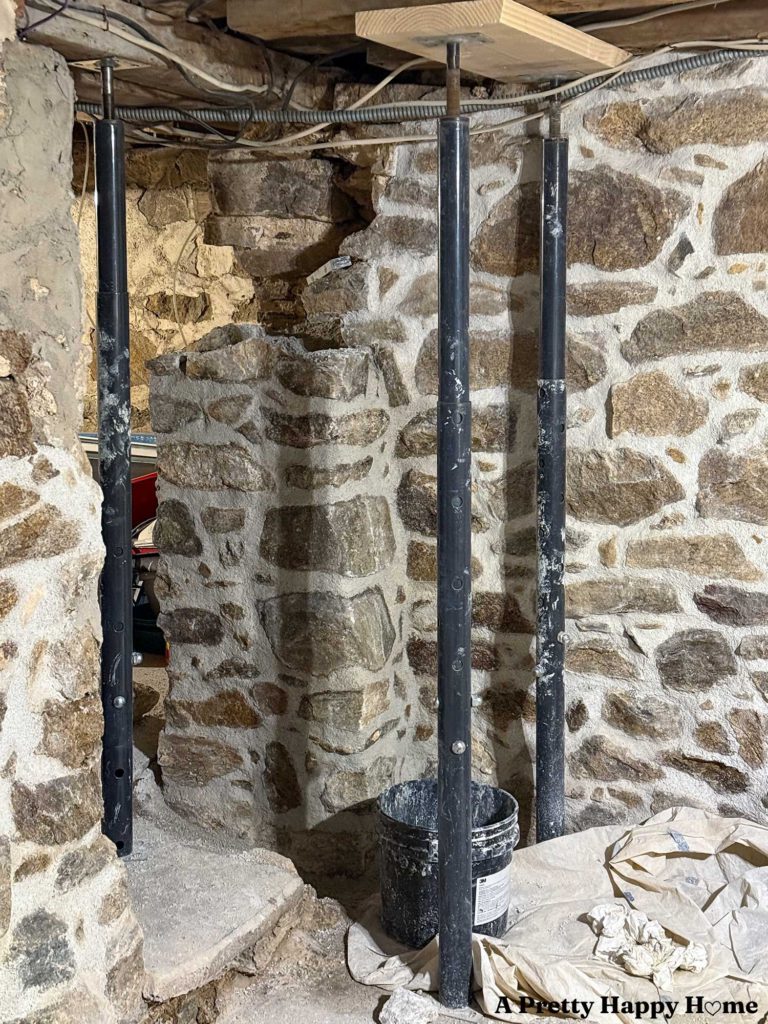
We opted for option number two, which is more time-consuming, but we think it is the best way to support the door header. That option involves narrowing the doorway by about 12 inches by rebuilding the stone foundation to fill in that gap. This extra twelve inches will give that door header plenty of space to rest and will better distribute the load.
What’s the Process For Rebuilding Part of a Stone Foundation?
The process for rebuilding a section of a stone foundation is pretty straightforward.
First, we need something to build off of. A foundation for our new foundation wall, if you will.
When we broke up the concrete floor in the doorway, we discovered that under the concrete was the remains of the original foundation wall.
Originally, the builders would have dug past the frost line to start laying the stone foundation. Since that part of the wall still exists, we can build off of it. And thank goodness. This project has thrown us enough curveballs. It’s about time we caught a break.
In order to utilize the existing foundation as a building base, the exposed wall needs to be cleaned up as much as possible. This means it must be free of debris such as loose mortar and dirt.
If someone caught you vacuuming dirt off a pile of rocks outside, they’d think you bumped your head on one of those rocks. But if you’re vacuuming rocks inside your house, it’s a perfectly normal thing for a DIYer to do at 10 pm on a Tuesday. Context is important.
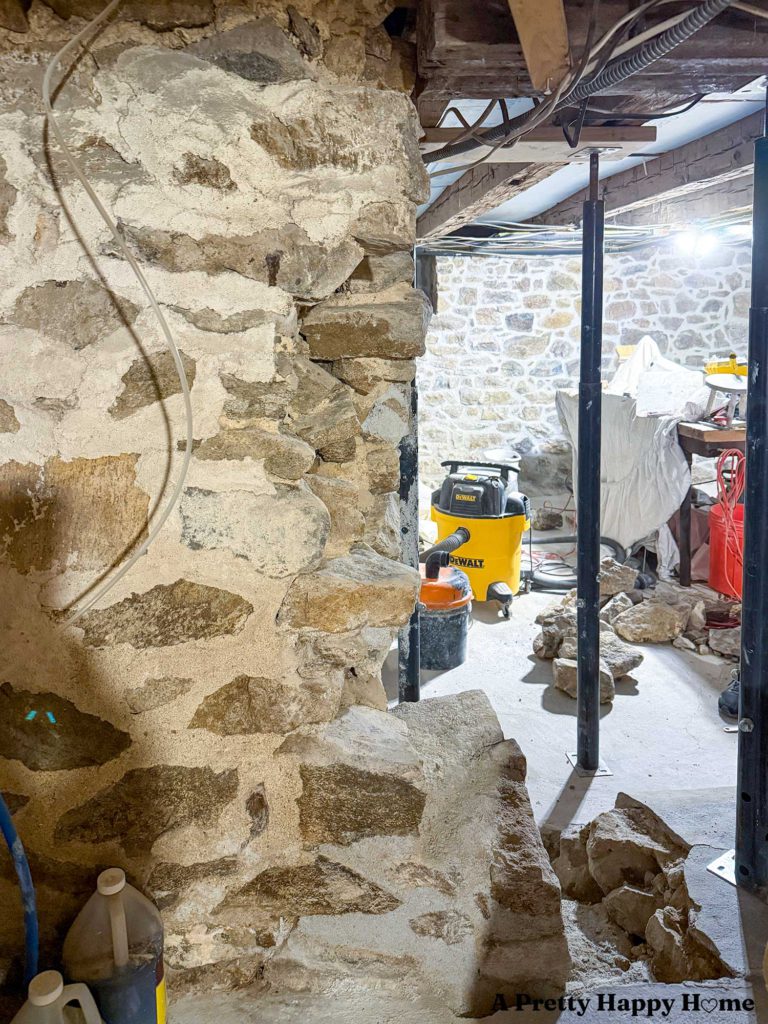
Second, we need fieldstone to build the new foundation wall. Fieldstone is plentiful on our property, so we don’t have to buy it. We do have to move it, though. So far, we’ve hauled in eight 5-gallon buckets and one wheelbarrow full of fieldstone. If you enjoy a good arm workout, this is the task for you.
For this project, we need as many rocks as possible that have one corner that’s shaped in a right angle, because we’re essentially building a rectangular column. Guess how many rocks in nature have a perfect right angle? Not many. Finding suitable rocks that fit the space and shape constraints is the hardest part of this project.
It’s also why, I suspect, that modern masons prefer to work with stone veneer that’s been cut to have flat backs and uniform shapes and sizes. It’s easier!
Third, we need lime mortar. We mix our lime mortar with natural hydraulic lime (NHL3.5) in a ratio of one part lime to 2.5 parts sharp sand. (The details on where we get the lime are here.)
By using natural hydraulic lime that sets with water and air, we can have confidence that our new wall is actually going to harden quickly. If we used hydrated lime that only sets with air through a process called carbonization, our wall might never cure because air can’t reach deep into the wall. It could stay mushy, and there’s nothing structural about mushy mortar. If you hear of someone using hydrated lime for their lime mortar, they are probably adding Portland cement to it to get it to set up.
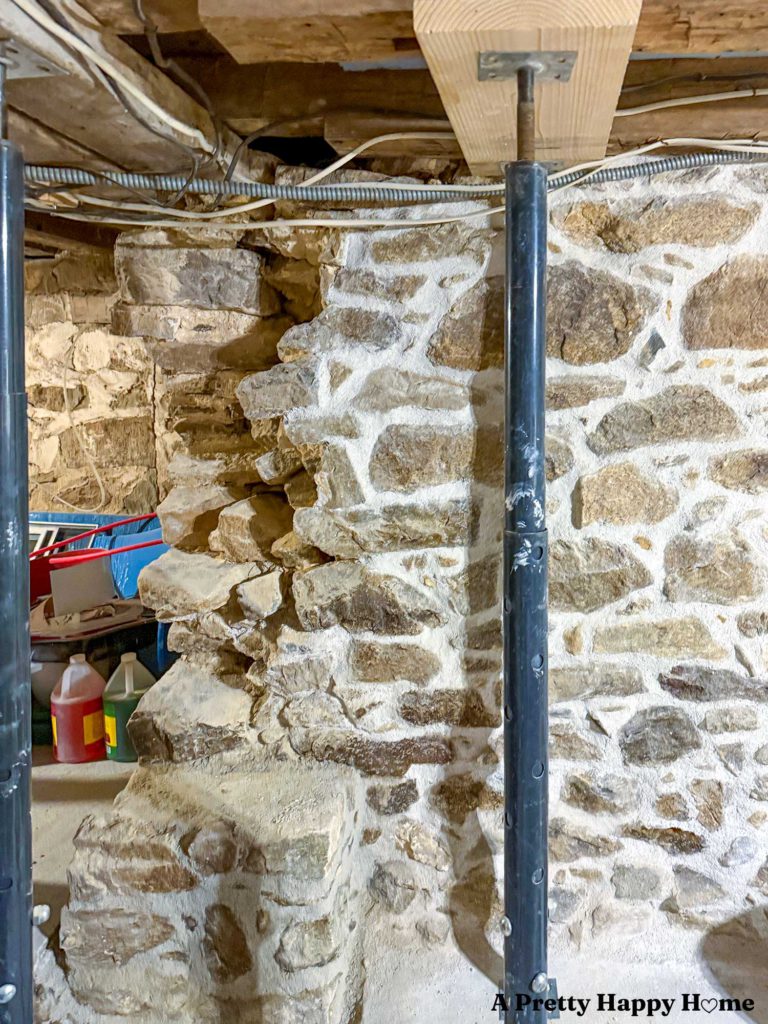
Last, we have to connect the new wall to the old wall.
That’s partly why the old wall looked jagged. It allows us to feather in new rocks, to lock them all together as one cohesive unit. The goal is that if all the mortar disappeared, the wall would still stand because of how the rocks are stacked together.
Pretty cool, right?
I hate to do this to you, but come back soon to see the finished new wall and doorway. We’re so close to completing it!
Does this story make you grateful for your own foundation that probably doesn’t have as many quirks? I’d love to know. Comments are like perfectly placed vacuum lines on carpet. They are so satisfying to see. You can comment on this blog post, email me here, or reach out via direct message on Instagram or Facebook.
Happy DIYing!
For questions about where we buy our lime, what type of lime, etc., please reference our Lime Mortar FAQs.
If you need supplies for your repointing project and want to know what tools we use, please check out our Amazon Store.
Thank you for following along with our DIY adventures. If you’d like another blog post to read, try one of these.
Basement Workshop Stone Repointing: Part 1, Why Now
Basement Workshop Stone Repointing: Part 2, The Concrete Problem
Basement Workshop Stone Repointing: Part 3, Halfway Done
Basement Workshop Stone Repointing: Part 4, Floor Joists
Basement Workshop Stone Repointing: Part 5: Wall Tops
*affiliate links in this blog post*


4 Comments
Ramona
I will never look at a stone wall or stone foundation without thinking of you and your husband doing all this restoration on your home. I’m glad you are giving us the details. Also you don’t need a gym to work out in you do enough heavy work. Or do you work out in the gym so you can do the heavy lifting? The finished walls look great.
annisa
Hmmm. I have wondered that myself about the gym workout. I suppose I won’t always (at least I hope not) be working on these stone walls, so I should probably keep up with things at the gym.
Nancy B
I’m kind of sad that the quirks in our old foundation don’t have this much character, and lovely stones that you are able to repair so skillfully. So fun to follow along with this!
annisa
I’m glad you’re enjoying it!