Spider Hair Clips using Hand-Curled Fabric Ribbon
I see a lot of blog tutorials about crafts, decorating and cooking. A lot of it is eye candy because I look and file it away in my sub-conscious for later.
I’ve concluded two things.
1) There are so many, incredibly talented people out there. I am in awe. Seriously, DIYers rock!
2) I don’t have the time, money or patience to recreate 99% of the things I read.
So, when I saw a recent tutorial on how to curl fabric ribbon and make spider hair clips. BAM! I was on it! Of course, I had to finish cooking dinner and wait two days to go to the craft store, but seriously, right after that, I was on it.
Here’s the cool tutorial I saw on a neat blog called Free Time Frolics. Again, I can’t emphasis enough that there is some serious talent out there in the universe.
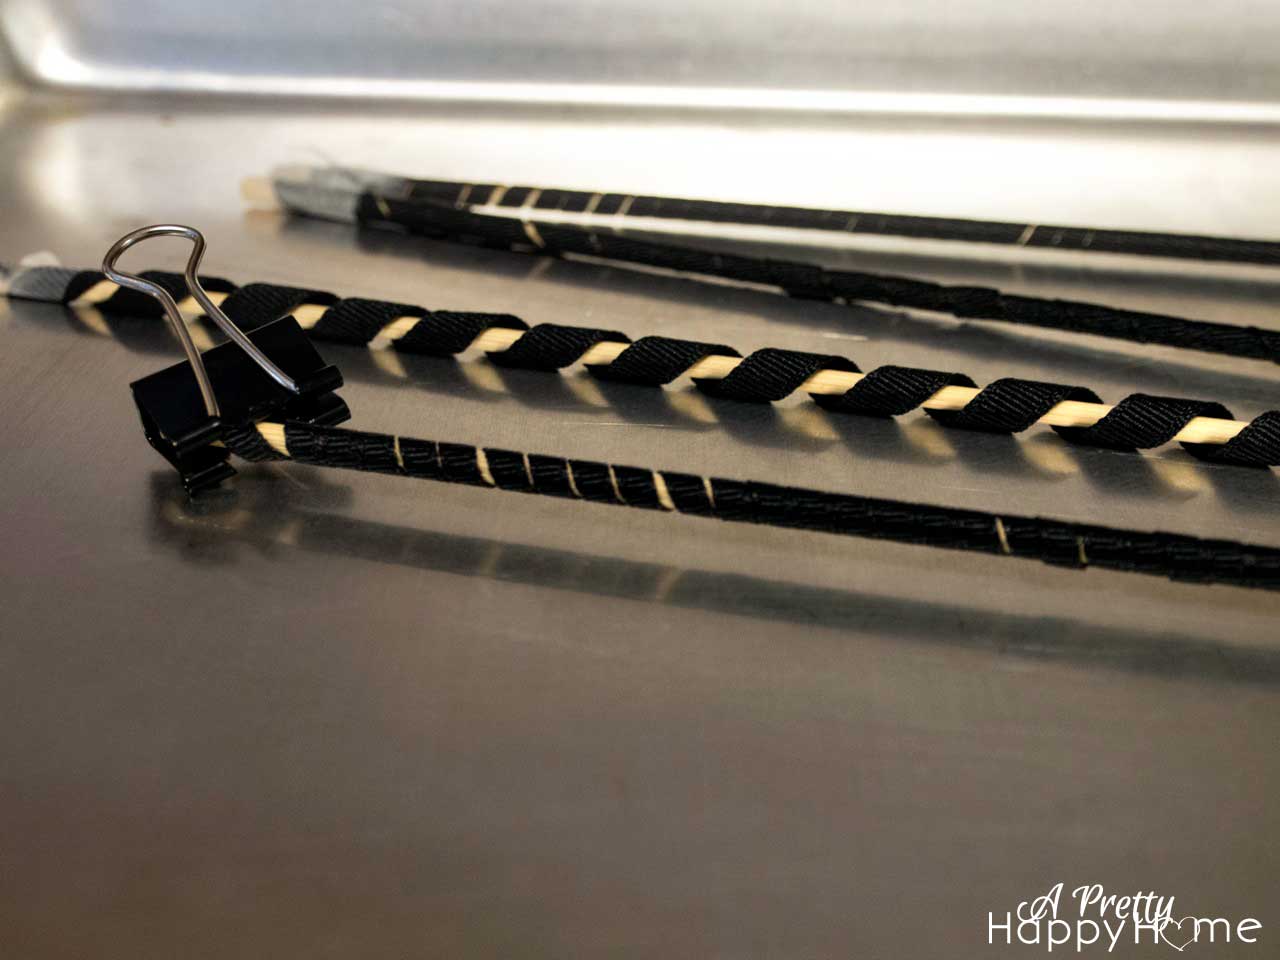
So, the first thing I did was make some corkscrew ribbon using this tutorial. It’s super easy, folks.
After that, I put the kids to bed (that’s not part of the tutorial, I’m just over-sharing) and then assembled my supplies.
Spider Hair Clips
1. Black fabric ribbon (I found the 1/8 inch worked well for the spider legs. I used 1/4 in for wrapping the clip.)
2. Green fabric for the bow
3. Small googly eyes
4. hair clips
5. Black pom pom (I used 1 inch ones)
6. hot glue
So, my clips did not turn out as well as the tutorial. Mainly because I find it hard to keep the hot glue from getting where it shouldn’t be. Am I the only one with this problem? Do I just need more practice?
The good news is that they lasted through an intense jumping session on the trampoline. Not by me, by my daughter!
These little clips, besides the hot glue gun burns, were easy to make. If I was a bit more of a perfectionist, they might have turned out a little better. However, they are fun and make me happy to see them decorating my daughter’s hair! I’ll take that as a crafting win. Have you tried any tutorials lately?
Here are some other posts you might enjoy!


