Dining Table Refinish
It’s confession time. I try not to become emotionally attached to inanimate objects. It’s silly in the grand scheme of things. I do know this, but still…I really, really love my dining room table.
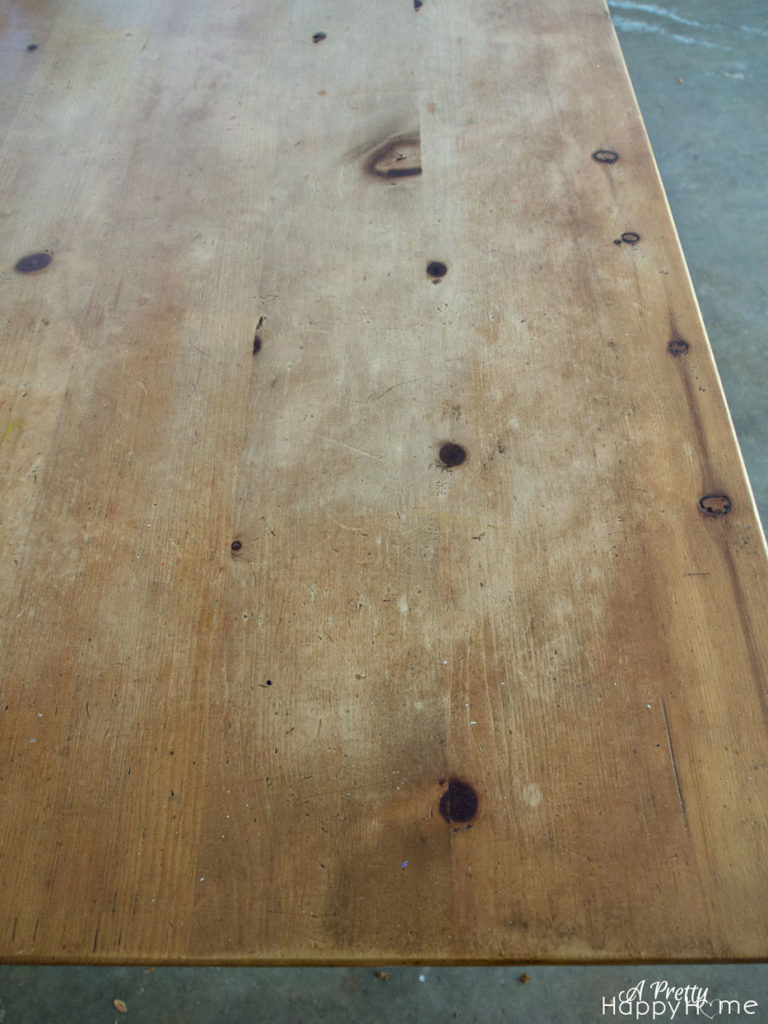
It used to be the lunch table at one of my favorite jobs. Over time, one too many hot paper plates was set on the table and the finish started to wear off.
I bought the table and 4 chairs for $150. I was over-the-moon excited. The legs on the table alone were worth it. They make my heart go pitter-patter.
But I’m not emotionally attached or anything.
The good thing about the finish wearing off the tabletop is that I didn’t freak out too much about accidental marks left from over-zealous coloring or aggressive car racing or spilled glitter glue.
Okay, the glitter glue did cause a mild panic attack. Whoever invented that stuff obviously isn’t a parent.
Enough was enough. The table needed a refresh. It was long, long overdue.
I can procrastinate with the best of them.
I started by sanding down the table top. (This is my sander from Home Depot.)
Sadly, that was the only way to obliterate all glitter remnants.
It actually went pretty fast, which makes sense because the table’s finish was half gone anyway.
I used 60-grit, then 150-grit and finally 220-grit sandpaper.
I sanded enough to remove the finish, but I did not go out of my way to remove any of the “character” marks the table has acquired in a dozen years.
I hemmed and hawed about how to refinish the tabletop.
The legs were fine and I didn’t want to touch those, so I needed to match whatever finish was originally applied to the table. I’m fairly certain the table’s natural wood was originally coated in some sort of polyurethane, not wax or oil.
At least, I crossed my fingers and hoped that was the case because I’d soon find out!
I ended up using five coats of Minwax’s water-based Polycrylic in satin finish on the table. (Here’s a link on Amazon so you know what it looks like, but it’s going to be more expensive there than going to your local home improvement store.)
Three is the minimum number suggested on the can of polycrylic. I might have had a little paranoia going on about protecting my baby tabletop and I had enough for 5 coats, so that’s what happened.
I lightly sanded in between each coat with 220-grit sandpaper.
The trickiest part of the process was making sure I didn’t miss a spot when applying each coat. The first coat was easy to tell where I had applied the poly. After the second coat, not so much – unless I was looking at the table from the correct angle. Dang lighting problems!
Doesn’t the table look a million times better now?
Gone are the traces of marker and glitter! For now.
Not too shabby for a less than $20 makeover.
Aside from the fact that my refinished top is a little smoother and ever-so-slightly shinier, I’m pleasantly surprised with how well the refinished top blends with the table base.
Even though this was one of the easier projects I’ve done, I really did not want to do it over. This gal is not a glutton for punishment.
As a total aside, I find myself making an excuse to go to Trader Joe’s just so I can buy a $3.99 bouquet of flowers.
I hope I’m not the only one.
Has anyone else refinished a dining table on a wing and a prayer? Were you happy with how it turned out?
Here are some other projects I think you might like! Thanks for reading!
Refinish Wood Dining Chairs Without Power Tools (yes, the chairs in this post got a makeover later)
The Great Guitar Hanging Debacle
*affiliate links in this post*


8 Comments
Margarita
It’s beautiful!!!
annisa
Thank you so much!!
Pingback:
Patti
Beautiful! What kind of wood is the table top?
annisa
Thank you! I’m actually not sure because I bought it second-hand. I’m guessing some sort of pine though because the wood is pretty soft. Way softer than is ideal for a table that gets used and loved everyday!
Pingback:
Pingback:
Pingback: