Bowling Ball Lawn Orb
What do you do when your local bowling alley is getting rid of old bowling balls for free?
Uh, jump for joy?
Not while holding the bowling balls though.
I’ve heard bowling alleys often end up with cracked or damaged bowling balls and they’d rather give them away to DIYers than fill up their garbage cans. I imagine the garbage man likes it a lot better too.
I’d like to know if this is true in places other than my small hometown. Let me know!

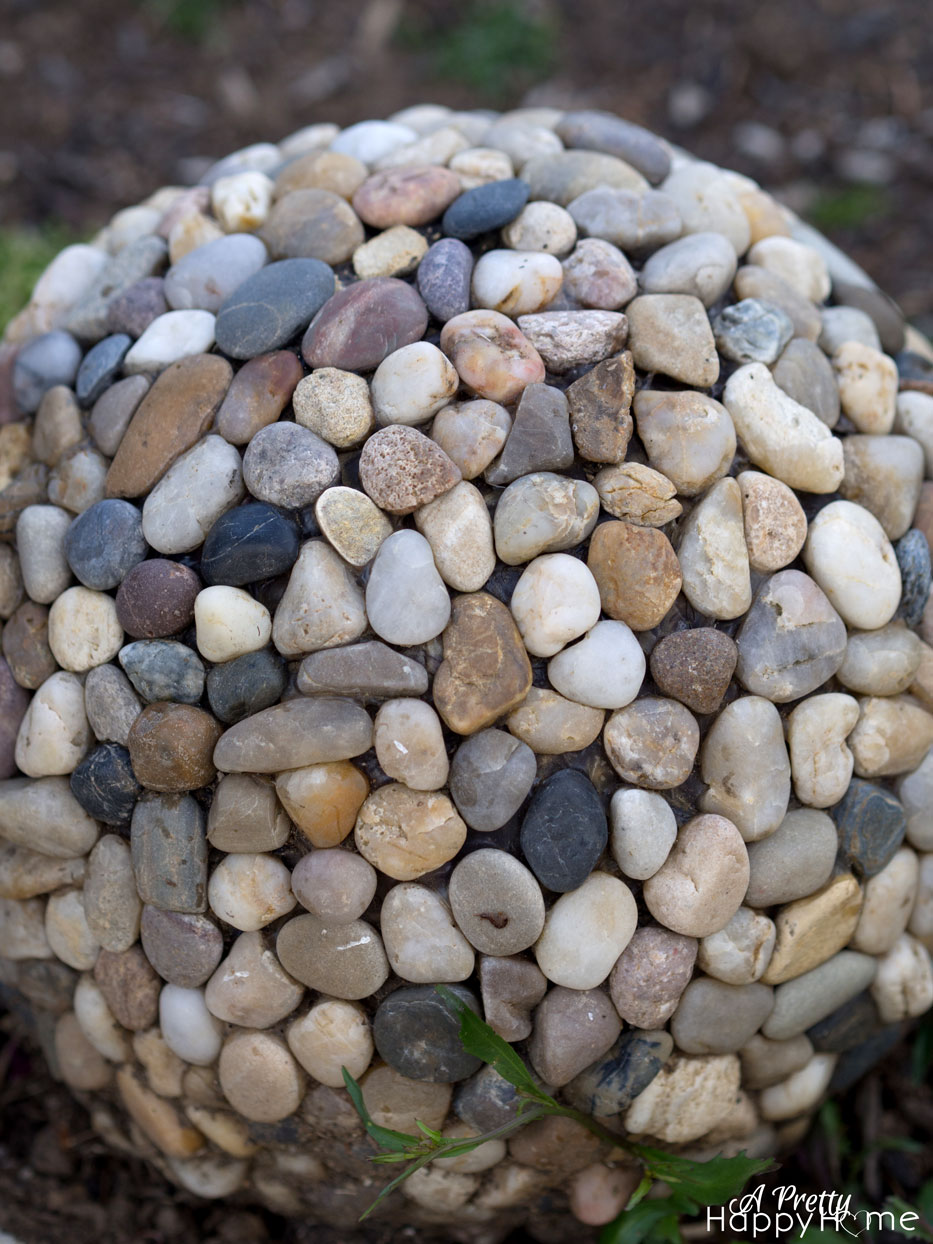
One thing you can do with an old bowling ball is make a decorative lawn orb. It’s easy to make one, but it does require a wee bit of patience.
First, procure a bowling ball. Size and color don’t matter a whole lot depending on how you want the orb to look when you are finished.
Next, sand the surface of the bowling ball with the sandpaper of your choice. You can do this by hand. You don’t need an electric sander. Your goal here is to rough the surface up a little so the stones or whatever you want to decorate the ball with will stick better.
The next step is very important. Unless you want to make a home for creatures, caulk the holes of the bowling ball shut. It doesn’t have to be perfectly smooth because you’ll be covering over the holes anyway.

Finally, it’s time to decorate! The Junk Whisperer (aka my stepmom) made this lawn orb using stones she found at the Dollar Store. Small glass gems from the craft store would be pretty too.
Using clear Liquid Nails (or another equally tough adhesive) work in a small section at the top of the ball and begin glueing your stones on. Wait for that section to fully dry before you rotate the ball to work on another small section. (The Junk Whisperer used almost 2 tubes of 5.5 ounce clear Liquid Nails All-Purpose adhesive.)
If you don’t wait and start to glue stones down the side, gravity is going to cause the stones to slide. That’s going to mess you up!
Patience (and a strong adhesive) will pay off. This ball has been outside all winter and spring and the stones have stayed intact. However, if you live in an area with really hot, prolonged temperatures, the glue can “loosen” even after it has cured and the stones may start sliding. In which case, they’ll need to be reattached.

Let’s talk bowling ball color.
This ball started out as a dark purple. Between the sanding, the rocks, the glue and probably a little bit of dirt you can’t really tell. If your ball is neon orange, I’m going to go out on a limb here and say you’d need to cover your ball really well to make sure the orange color doesn’t show through. If you decide to decorate the ball with glass gems, keep in mind that the ball’s color will also be more evident depending on the opacity of the glass.
This DIY lawn orb is such a fun, creative, low cost way to jazz up your landscaping. In my case, anything that distracts your eye from the weeds is a very, very, very happy thing.
This has been fun! Thanks for coming by today. If you’re ready for another one, here you go…
*affiliate links in this post*


3 Comments
Cindy
I love this!
Pingback:
Pingback: