Pine Cone Birdhouse Bookends
The other day while on a creative sojourn through Joann’s (I can sojourn now, as long as I’m back by 2:30 to meet the school bus), I decided I needed to jazz up the bookends on the shelves in our dining room.
Spray painting them ‘champagne mist’ was no longer enough.
Sometimes ideas and inspiration come to me in convoluted ways.
I’m just thankful that this time I was in the paint-it-yourself-trinket aisle instead of the all-things-wedding aisle at the craft store.
Through a few leaps of illogical logic and some creative mind-bendery, I decided I needed birdhouse bookends.
I started with two of these very generic wood birdhouses (similar). I think they were $1.39 each before my coupon. (Bad camera phone photos ahead.)
I spent some quality time in my cold, dark basement painting the birdhouses gold with brown roofs. The brown roof was because I intended on busting out the glue gun to attach pine cone pieces to the roof and I didn’t want any gaps in my roofing material to be too obvious. First-time pine cone roofer problems.
You can’t really tell from this picture, but my 5-year-old was sitting on my lap while I painted and took photos. He helped paint some of the other creations you see in the background. The family that paints together…gets paint everywhere.
Now, my birdhouses weren’t going to be quite tall enough for my sense of balance and symmetry, so I asked my husband to cut two slices off one of the tree limbs he’d just taken down in “operation take back the backyard.”
He said, “I’m not sure what you mean. Can you draw a diagram?”
*insert forehead slap here*
I decided I could just show him what I wanted more easily than drawing a diagram. So, he got out the chainsaw and we walked over to the tree limb and I made some sawing motions with my hand in the general vicinity of where I wanted him to slice the limb off. I got this:
No, they weren’t perfectly the same size or level, but that’s my fault. I didn’t draw a diagram! 😉 They were fine though and would serve their intended purpose.
To clean up the rough edges, I used my favorite Ridgid sander. Easy peasy.
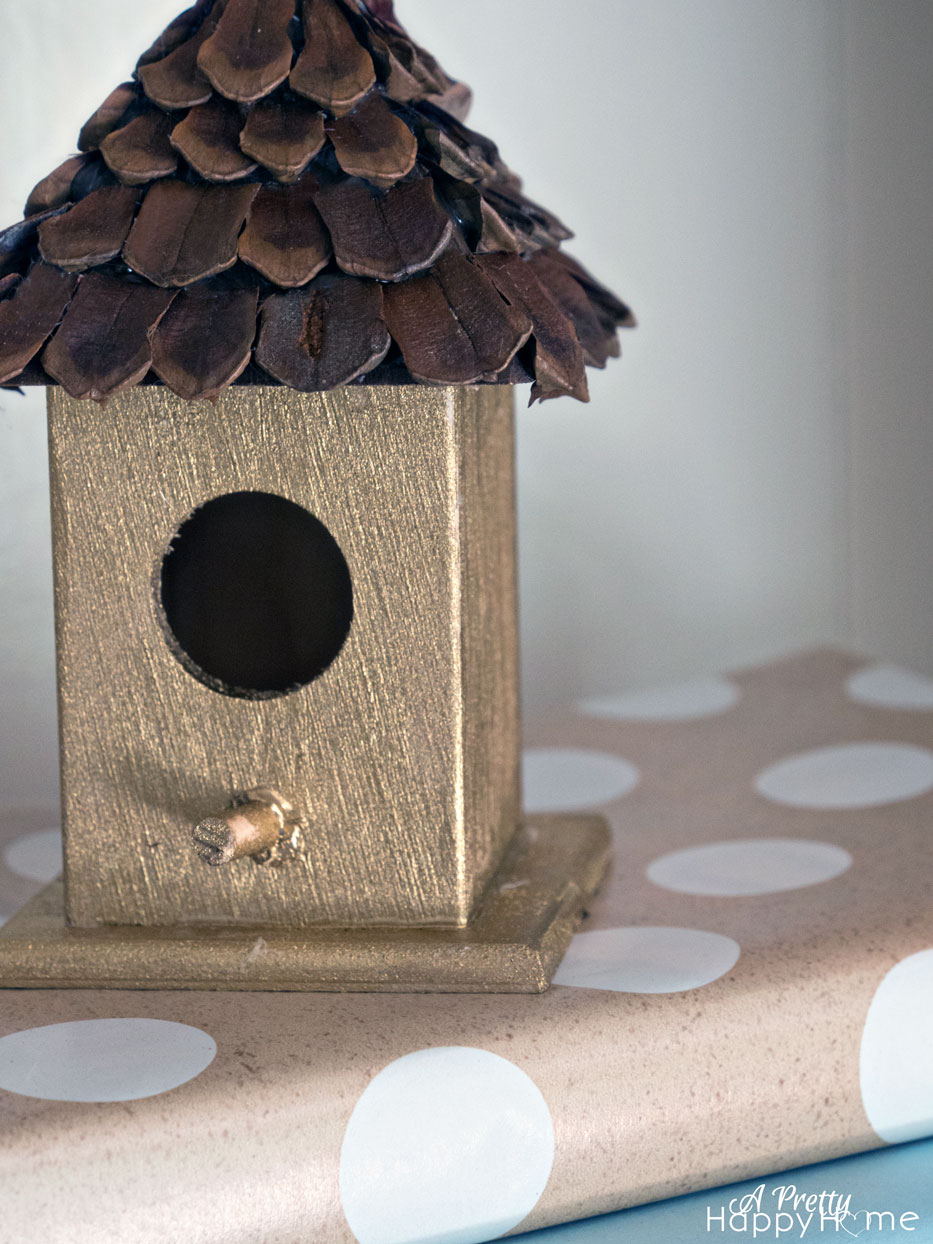
The last step of this process was the roof! I started by breaking the scales off my pine cones. After that, it was sort of a puzzle of finding which scale would work in the area I needed. I did use some clippers to make the scales shorter when needed. I hot glued the scales as I went starting at the top of the roof and working my way down each side.
When all of that was said and done, I ended up with this.
I decided not to permanently mount the birdhouses to the bookends in case I wanted to do something like this.
Or, I could get really crazy and do this.
Okay, that might be slight variations on the same theme! I’m just keeping my options open, people.
In all honesty, I haven’t decided whether this craft is too cutesy or amateurish. Although, I am an amateur, so if the shoe fits…
The one drawback to this project is that I only used 3 of the 30 gajillion billion pine cones I have in my yard. I’m well on my way to making a dent in the pinecone problem! Or not.
After all of my playing around, the birdhouses ended back where they were originally intended as window dressings for my bookends.

Love crafty projects? Me too! Here are some more!
Embroidery Thread Embellished Tank and Skinny Jeans
*affiliate links in this post*


2 Comments
Jeannie Gerhardt
Paint everywhere, ha ha! I love it! You have awesome roofing skills and what a fun project to share with kiddoes….I’m feeling a pinecone project coming to Alaska…
annisa
Do you need any pine cones? Ha! This might be the year of the pine cone. W