
DIY Wood and Brass Hearts for Valentine’s Day
I have a lovely DIY to share with you today – wood and brass hearts!
They are perfect when you’re looking for a subtle touch when it comes to Valentine’s Day decor.
Although, when it comes to the actual Valentine’s Day and every day, really, don’t be subtle when telling your valentine they are loved. Life is too short!

Here’s how to make these wood and brass hearts.
Step 1: Unless you want to freehand it, print out a paper heart template. We used a 2-inch and a 3-inch heart.
Step 2: Trace your heart shape on a piece of wood and carefully cut the heart out using a jigsaw. We used a 2×4 for the bigger heart, but any type or size of wood will work. Your wood heart just needs to be thick enough to add brass banding later.

Step 3: Sand, stain, and seal your wood heart however makes you happy. Don’t want to use stain? Go for paint. There are no rules here!
We used clear spray paint to seal the hearts, which gives them a subtle shine. If you are using a stain that has poly in it, you won’t need to do this additional step.

Step 4: Cut a piece of thin brass sheeting to the length and width you’ll need to wrap around your wood heart.
The brass we are using in this DIY is thin enough to be cut with scissors.
If you want to mark cut lines on the brass with a permanent marker then just have a Magic Eraser handy to wipe off any excess marker lines.
In regard to the width of the brass banding, do whatever looks good to you. If you look closely, our brass banding is not flush with the top and bottom of the heart. This is because we rounded off the edge around our heart with sandpaper.
Step 5: We secured the brass strip to the wood heart with small brass nails (similar). If you can come up with a different or better way to secure the brass, go for it! The nails we used bend easily, so we first punched a pilot hole through the brass and the wood heart using a pushpin.
Step 6: Once the pilot hole was made, we tapped the brass nails in with a hammer to secure the brass banding to the wood heart. We repeated the process all the way around the wood heart until the brass strip was secured.

Alternative Idea to Using Brass: If you like this idea, but don’t want to mess with the brass, you could paint the edges of your heart with gold craft paint or apply Rub N’ Buff.
Idea For Personalizing These Wood and Brass Hearts: If these hearts are a gift for your valentine, you could always etch a message or the date on one side with a wood burner or use a permanent marker. Or just go old school and carve your initials in the heart.
Other Uses For These Wood and Brass Hearts:
- Table number markers for a wedding
- Place cards for a dinner party
- Paperweight
- Wreath Adornment

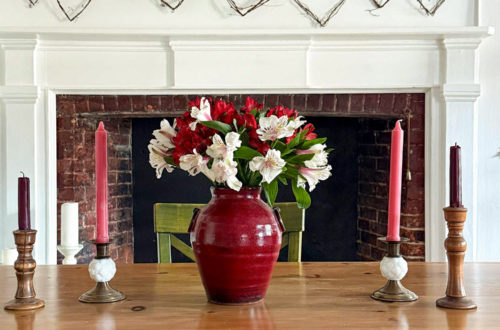
I’m keeping my wood and brass hearts in a fancy bowl with a bunch of other wood hearts that we made last year.
I like the juxtaposition of the fancy bowl with the rustic wood hearts.
Since I’m not really into decorating for Valentine’s Day, this bowl of wood hearts is a fun, but subtle way of acknowledging the holiday without having my house looking like a Conversation Heart candy factory.
Although, I wouldn’t mind my house smelling like a candy factory. Yum!

If you make these wood and brass hearts or any other Valentine’s Day craft, I’d love to see it! You can email me through the blog’s contact page or message or tag me on Instagram or Facebook.
Happy Valentine’s Day!
Products Used in this DIY:
2×4 and other wood scraps
Brass Sheet Roll 1000mm x 100mm x 0.1mm
Brass Nails (similar)
Minwax Special Walnut Stain
Varathane Red Mahogany Stain
Clear Spray Paint
Magic Eraser
*affiliate links in this blog post*
Thanks for being here today! Here are some other ideas you might enjoy:


You May Also Like
DIY Grapevine Heart Garland
DIY Wood Pedestal With Mini Egg Trim
