
Colonial Farmhouse Kitchen Mini Makeover One Year Later
Do you know what I enjoy more than a room makeover reveal? Learning how that makeover is holding up over time.
Instead of the pretty spaces, give me all of the hard-working, well-loved spaces that shine.
Last January, we did a Colonial Farmhouse Kitchen Mini Makeover that mainly involved staining the cabinets and changing the backsplash grout color in our kitchen.

To get the full impact of this kitchen mini makeover, I need to take you on a quick trip down memory lane.
The photo below is how the Colonial Farmhouse Kitchen looked when we purchased the place in June 2019.
I know I say this every time I show a before picture, but that is not our stuff. It was all left here on the day of closing.
It’s like a real-life search and find picture!
Can you find the coffee pot, the cane, the plant, the box pans, and the bottle of wine? They even left us wine glasses. Ha!
The cane is what really gets me, though. Did you not need that?

Over time, I got rid of all the stuff that was left here. It was carloads upon carloads of donations. In typical me fashion, I ended up spreading the donations around to multiple stores when I realized the workers started to recognize me. For someone who regularly chats about her life on the internet, I require a high level of in-person anonymity, apparently.
Once the kitchen was cleared out, I removed the wallpaper and painted the wainscoting.
It was better, but still not quite where I could live with it long term.
Also, this wall of cabinets is really the extent of the kitchen. We do have a refrigerator because we are all modern like that, but it just floats opposite this run of cabinets all by itself. It is just a wall with a gigantic ivory-colored refrigerator.
Oddly enough, I am so glad that refrigerator is ivory and not stainless steel. Stainless steel would not be my first choice for this setting.

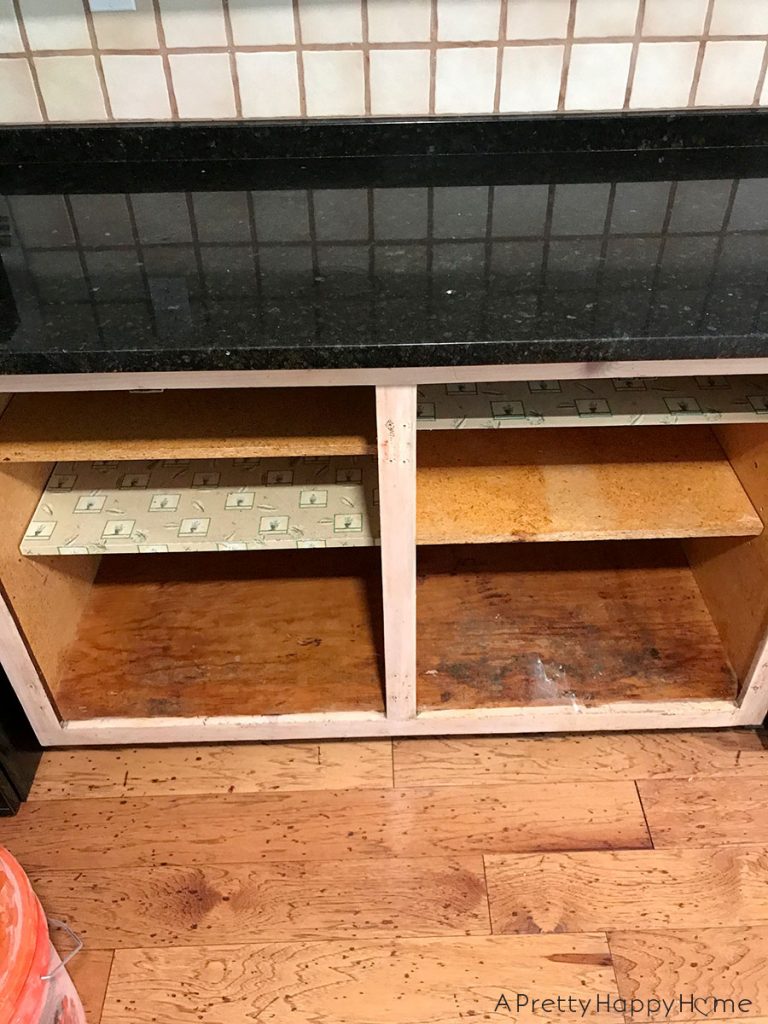
To continue on with the kitchen mini makeover, I sanded down the cabinets inside and out.
That task was…how do I say this nicely?
Gross.
Even with a mask on, I could smell decades of grease and other kitchen smells coming off those cabinets.
Gaggity-gag-gag-gag.
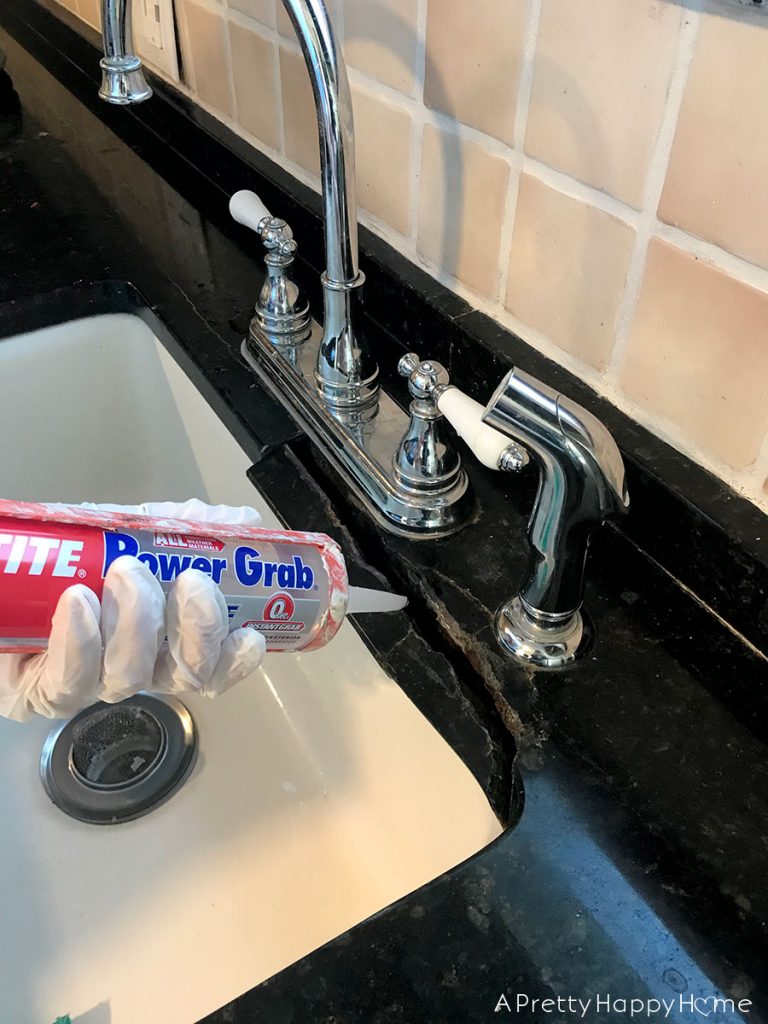
Another fun thing I did was glue the granite countertop back together with construction adhesive.
I said more than a few prayers, hoping this Hail Mary trick would work.
We’re not sure why the granite broke, but we suspect it has something to do with where the seam was placed and the fact that the counter is not level.
While I really wanted to switch out the tile backsplash during this kitchen mini makeover, we decided not to for a couple of reasons.
First, we were clinging to the false hope that maybe we would do a bigger kitchen renovation sooner rather than later. I swam around in that pool of false hope for many months, and it was glorious while it lasted.
Second, we were scared to take the tile off the wall because we didn’t know what we’d find behind that wall. Were we ready to find out what that tile was hiding? No. No, we were not.
The quickest, most satisfying way to update the tile was to use Grout Renew to change the color of the grout from terra-cotta to white. If you haven’t used Grout Renew yet, it is the fastest, easiest way to update yucky grout.

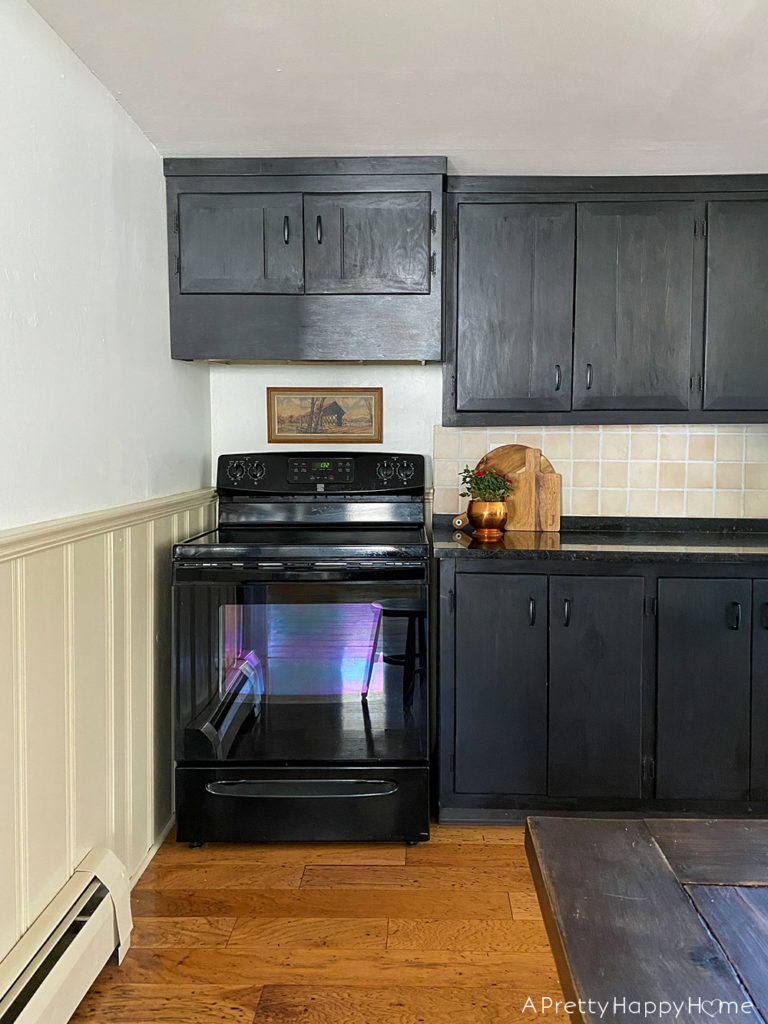
We also built a cover for our range fan that integrated in the existing cabinet that was over the range.
It didn’t make the fan work any better, but at least I don’t have to look at it. Also, if it looks like that cabinet is tipping forward in some of the pictures, it’s not really the cabinet. It is the wall. Old houses are fun.
Someday, I think this old house needs a classic white or off-white kitchen.
Someday is not now, though, and I had to work with the existing appliances and cabinet layout.
That is why I chose to stain the cabinets black. I wanted the appliances, which aren’t my favorite, to blend in with the entire run of cabinets to appear seamless. In other words, there’s nothing to see here, folks! Just keep your eyes moving on until you land on something prettier. Ha!
I could have painted the cabinets black, but black stain gave the kitchen a more laid-back feel, and it was so much easier to apply.

So, how is the kitchen mini makeover holding up a year later?
By and large, I’d give it a B+.
The biggest problem is that the dishwasher broke a few months ago, and we haven’t replaced it. We could replace it, but the next dishwasher we purchase, I’d like it to have an integrated cabinet front. Building or buying a cabinet front for the dishwasher creates another situation. Either we will have a dishwasher front that doesn’t match the rest of the cabinet fronts, or we need to update all of the cabinet fronts to match.
It was easier at the time to just hand-wash the dishes. Really, I don’t mind that task. Everyone is required to wash, dry, and put away their own breakfast and lunch dishes. Then the kids do the bulk of the dinner dishes. It all works out.
The cabinets are doing great. There are a few nicks around the handles, but now that I’ve documented those nicks for this blog post, I’m going to do a quick touch-up.
Perhaps the most miraculous thing is that the granite counter is still holding strong, with that construction adhesive holding it together. *knocks on wood it stays that way* I am scared to really scrub at that section of counter though, so it does get dirtier than it needs to before I give in and give it a good cleaning.
We also need to replace our faucet because we suspect it has hard water buildup inside, which is affecting our water pressure. However, we are SCARED to do that because we are pretty sure that when the faucet comes out, the counter will fall apart. So, we wait. Who needs great water pressure anyway?

My biggest complaint about our kitchen is not how it looks or functions. My complaint is that there isn’t a seating area.
To that end, we added a table next to the refrigerator. It was actually our outdoor dining table that Handy Husband built years ago, and it miraculously fit the space. It adds a much-needed horizontal workspace and now a spot to sit since I made the wood stools with brass leg tips.
Victorian-era kitchens would have had a prep table, so I feel this table fits the era of the home.
One thing I’d like to do this year is build something to hide our garbage and recycling cans. Right now, they are just tucked under the table, and I’m not a fan of how that looks. I’m also mulling over a way to box in our refrigerator to make it look more intentional.
Overall, I’m happy with how well this kitchen mini makeover is holding up one year later. This is the hardest-working room in our house, and while it is not my dream kitchen, I’m so thankful we have it!
Thanks for following along with all the changes we’ve made to this Colonial Farmhouse. If you want to read more about this kitchen mini makeover, check out these blog posts:
Colonial Farmhouse Kitchen Before
Colonial Farmhouse Kitchen Mini Makeover Progress
Colonial Farmhouse Kitchen Mini Makeover Reveal
*affiliate links in this blog post*


You May Also Like

Caulk, Cracks, and Home Maintenance. Oh My!

The Reason Why I Like Old Houses
