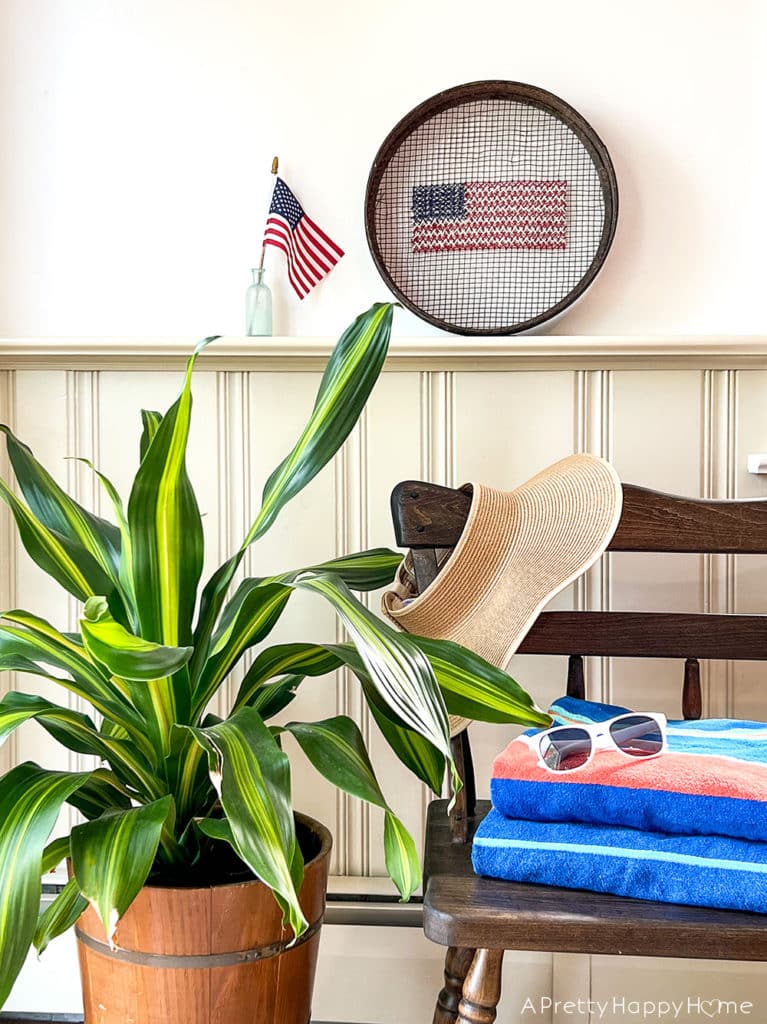
Cross-Stitch American Flag On a Grain Sifter
What happens when you combine cross-stitch, an American flag, and an antique grain sifter?
Pure Americana magic.
Or, in less flowery terms, you get a cross-stitch American flag on a grain sifter.
I’ve always been intrigued by the grid pattern of grain sifters.
It lends itself well to all sorts of crafty endeavors, but particularly cross-stitch.
Cross-stitch in its most rudimentary sense is a series of x-shaped hand stitches.
I won’t even pretend to know much more about cross-stitch beyond that completely lacking description. I do consider it to be an art form and skill that I am continually impressed by when I see what folks have created.
If you want to cross-stitch an American flag on a grain sifter, you’ll need the following:
- red, white, and blue embroidery floss/thread
- embroidery needle
- scissors
- a grain sifter (mine has a 14-inch diameter)
- patience
- a good show to watch while you’re doing this
- patience. Yes, it bears repeating.
After that, just figure out the proportions for your flag and where you want to position it on your grain sifter. For instance, you’ll need 13 red and white stripes. How many rows of the grain sifter will make up each stripe depends on the size of your sifter. I used one row on the sifter for each stripe.
How much embroidery floss or thread you’ll need also depends on how big your flag is and the size of the squares on your grain sifter. I used one skein of each color, but I was cutting it close. I’d have 2 of each color on hand to be safe.
(Quick tip: If you don’t have any white embroidery floss, you can use white twine instead. That’s what ended up happening with this project when I realized I was out of white embroidery floss!)
I found it easiest to start each row by tying the embroidery floss to the starting corner of my row. Then I worked up and down in a V-shaped pattern across one entire row. If you look closely at the above picture, you can see I was securing the thread by wrapping it around the vertical portion of the grid.
It wasn’t until I got to the end of the row and started going back the other way that I finished the X-shape of each square. This was the cleanest way I could come up with to make the X-shape since everything you do with the thread is visible when working with a grain sifter.
For the “stars” on the flag, I ended up only making 30 before I realized I was starting to lose the blue color. My blue square was much too small to handle 50 “stars.”
And by “star” I mean I wrapped the thread around one of the vertical grids and tied it off in the back. It looks more like a white dot.
Keep in mind that white thread against a white wall doesn’t show up well. You really need the red and blue colors to make the flag design pop if you’ll be placing this cross-stitch American flag on a grain sifter up against a white wall or door.
When you’re finished making your cross-stitch American flag, it’s up to you to decide if it’s done or if you want to embellish the grain sifter further. You could always add some flowers or ribbon to make it more wreath-like.
I opted to keep things simple and I’m so happy with how my cross-stitch American flag on a grain sifter turned out.
Happy 4th of July!
If you decide to cross-stitch an American flag or anything else on a grain sifter, I’d love to see your creation! You can always comment on this blog post (I have to approve it first before it appears), email me here, or reach out via Instagram or Facebook.
P.S. I’m not exactly sure my grain sifter is an actual sifter for grain. It might have been used for something else. Lacking more evidence, I’m going with the term grain sifter for now. I pulled it out of a dumpster in Ireland when we lived there.
Thanks for being here today. I appreciate you! Here are some other blog posts you might enjoy.
Junky 4th of July Wreath (Yep, Using the Grain Sifter Again)
Jeans Embellished With Embroider Thread On The Ankles
Sink Skirt Hack If You Don’t Own a Sewing Machine
*affiliate links in this blog post*


