Reconstructing a Fieldstone Wall: Part 2, Demo
Welcome back to our Reconstructing a Fieldstone Wall series. Today, we’re talking about the fieldstone wall demo. Unfortunately, we have to take the wall apart before any reconstruction can happen.
I’m using the word reconstruct instead of rebuild intentionally, as we are not starting this wall from scratch. We are using the existing wall footings, the original stone, and a historically comparable lime mortar to bring this fieldstone wall back to life. It’s a small nuance in terminology, but one that I think is important in the realm of historic restoration and preservation.
That doesn’t mean we won’t make some design tweaks in the service of putting our stamp on this property. There’s also the practical matter of making the fieldstone wall function better in terms of how the entrance gate is installed. This is our one chance to be intentional about the gate design, instead of it being an afterthought.
You can catch up on Part 1 of this series that details the plan here.
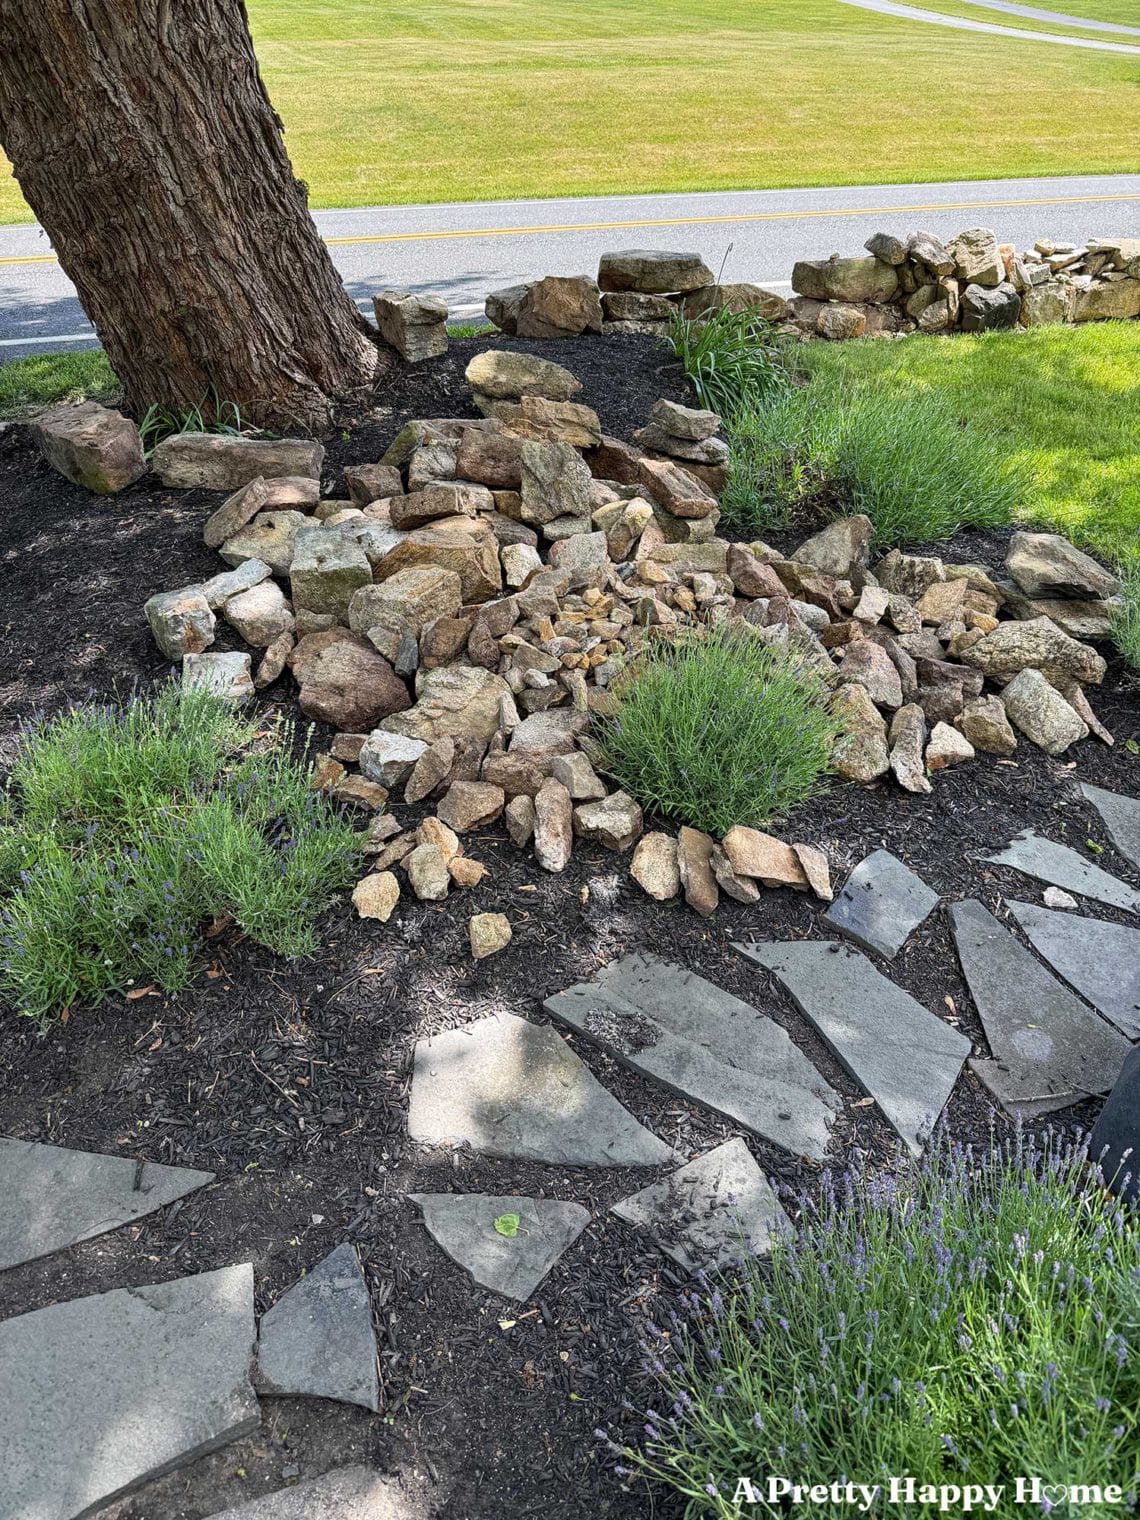
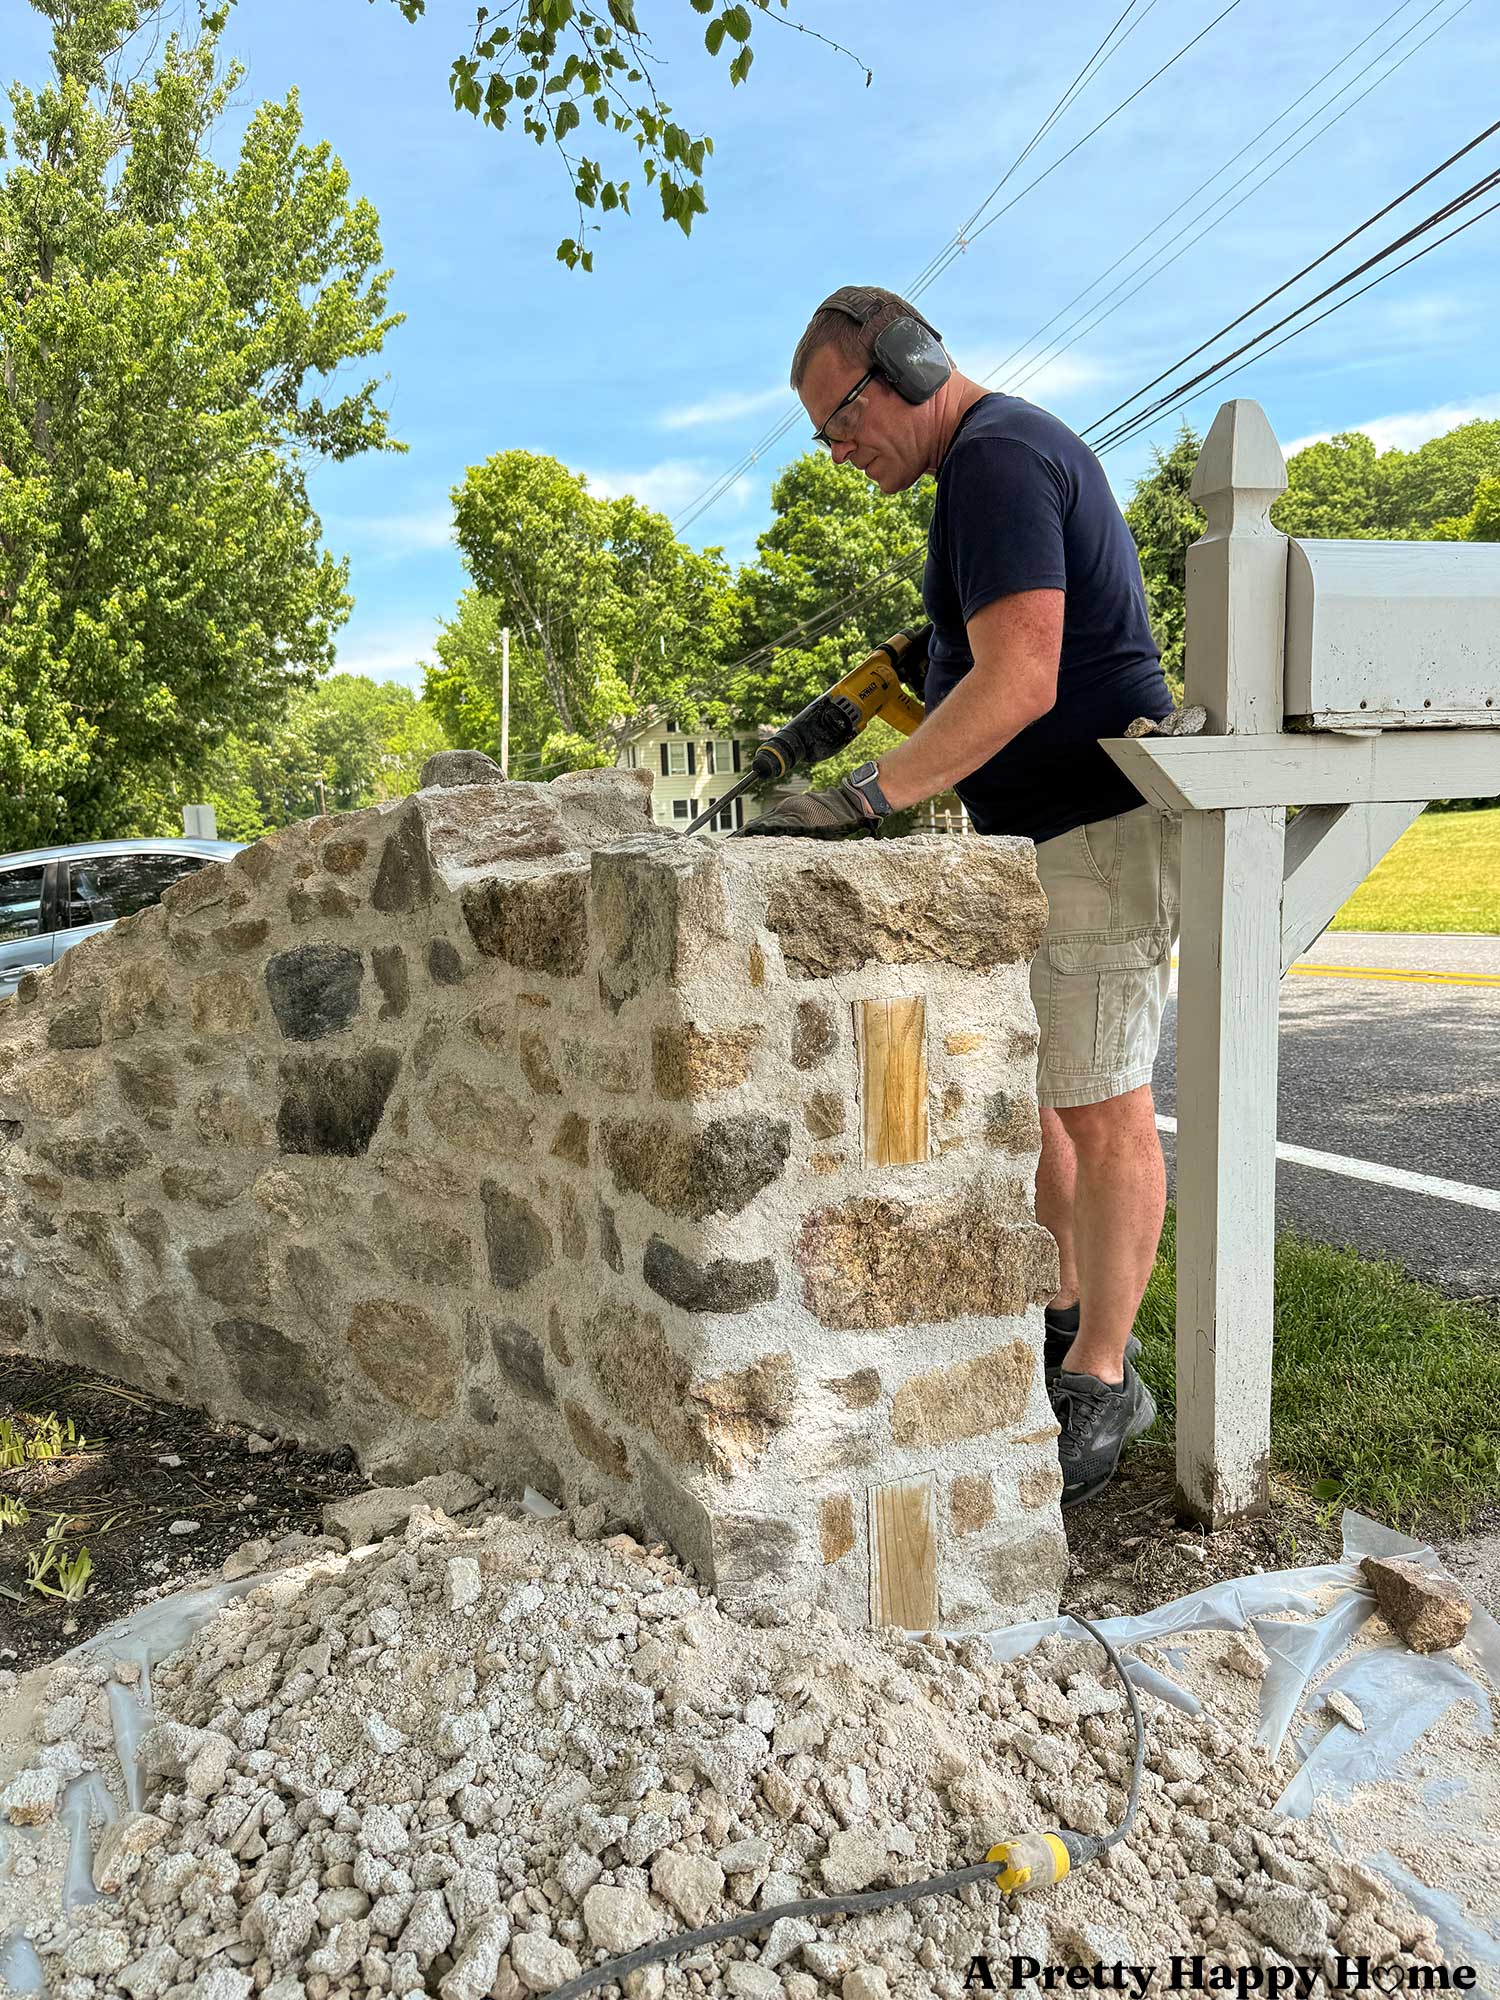
Demo is grunt work.
There is nothing glamorous about demolishing a stone wall. You need a pneumatic chisel, masonry hammer, protective gear, a place for debris, patience, a ‘let’s get this done’ attitude, and did I mention patience?
I would be willing to bet that most low stone walls in these modern times have been repaired with cement. Cement-based mortar is a pain in the chisel to chip apart. It’s much harder to remove than old lime mortar.
Thankfully, our wall was in such a sorry state that there wasn’t even much cement holding it together. It’s funny the things that make you thankful while DIYing your way through life.
And since we have been DIYing our way through life for a while now, we’re not often surprised anymore. We have SEEN some things we can’t unsee in this old house.
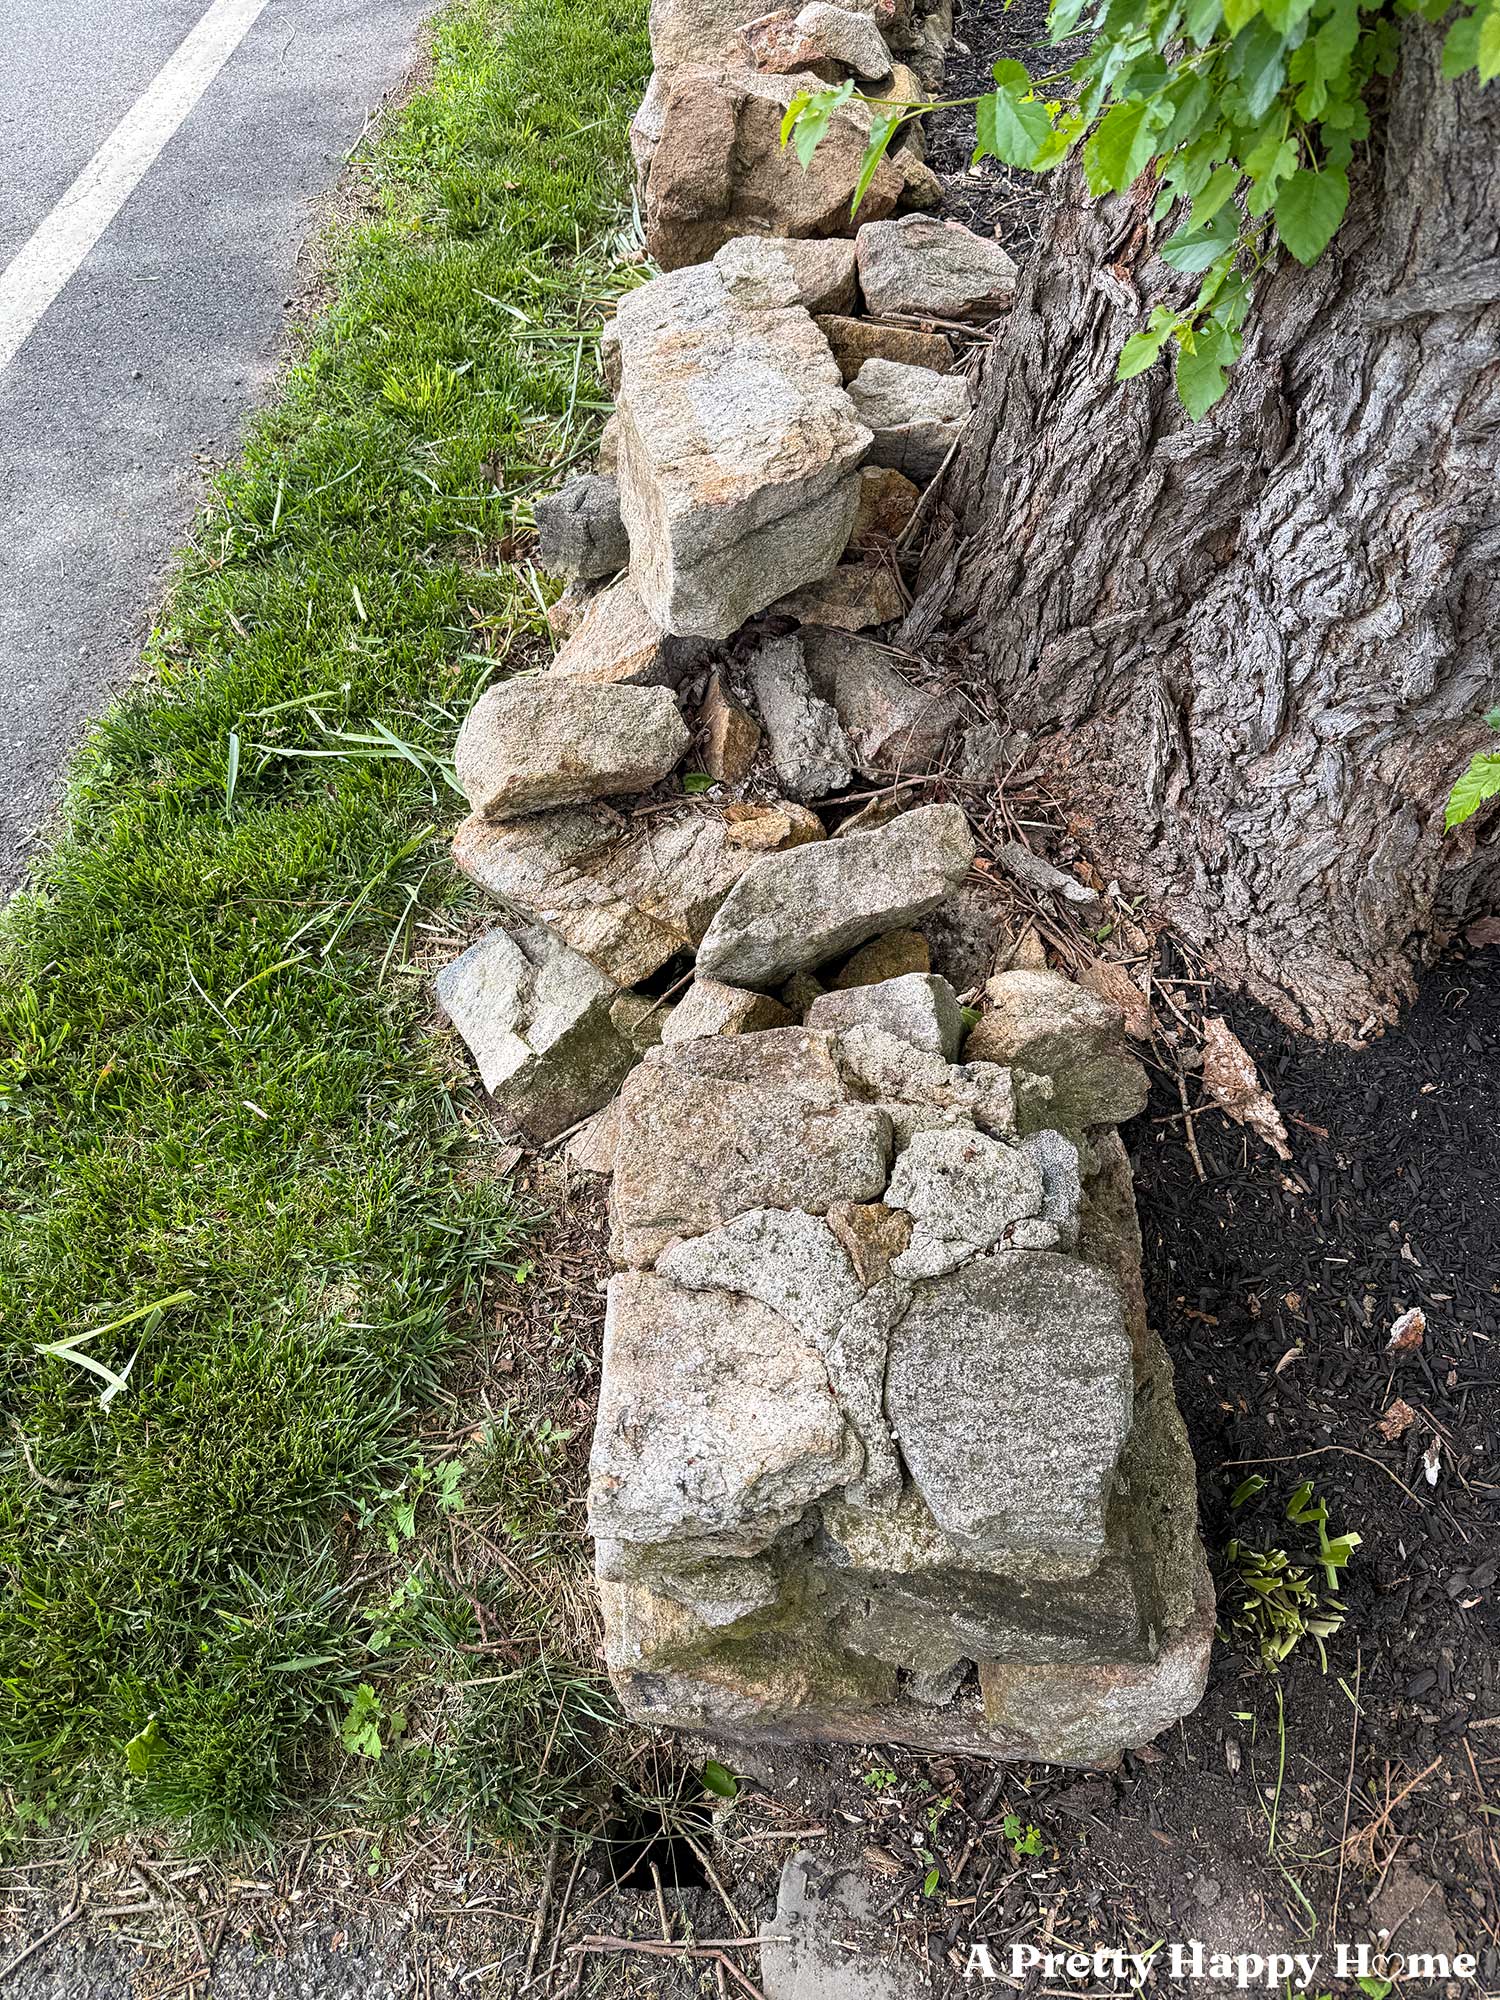
However, demo day did catch us off guard, pleasantly so, as this stone wall was hiding a secret underneath its jumbled heap of rocks.
What was the secret? Lime mortar.
This was THE BEST surprise. We had hoped the wall was originally mortared together with lime mortar instead of being dry stacked, as these low stone walls often were when homeowners, back in the day, were clearing fields to plant crops. If you think your job is hard, just be glad you don’t have to haul giant rocks out of a field to survive.
Why finding lime mortar helps us out.
Not only did we find lime mortar, but it was in good shape at the base of the wall near ground level.
We define good shape as rock solid when we hit it with a shovel.
While we don’t know if the wall is as old as the house (circa 1780s), it is clear that the lime mortar has been either protected from the elements or tended to as late as the early 1900s by previous homeowners.
The rocks and mortar laid at ground level can be considered a footing. Since we found a stable footing that extends underground, we feel comfortable using this as our base for building off of.
It saves us considerable time and effort in having to dig below the frost line to reconstruct the fieldstone wall.
Next, we demoed a newly constructed stone wall.
That sentence was not an eight-word typo.
If you followed along with phase 1 of this series from 2025, you know this new wall project is phase 2 in our quest to restore the stone walls on our property.
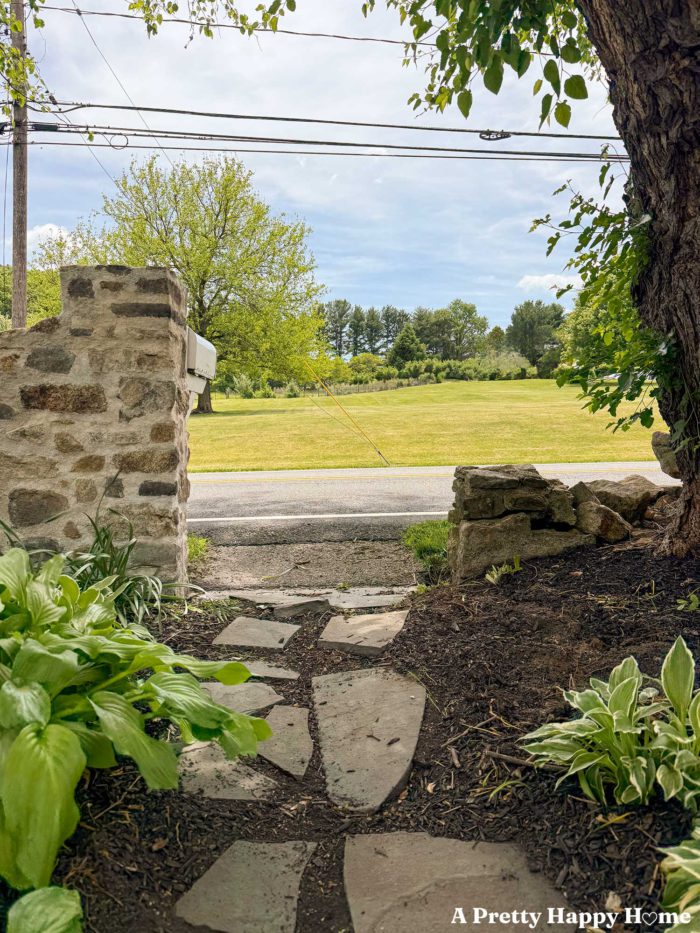
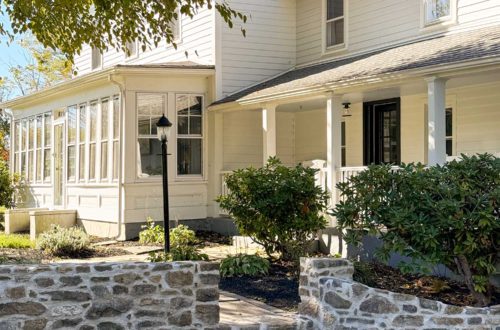
In phase 1, we completed the curved section of the fieldstone wall that ends at a garden path, where a gate previously existed that connected the sections of the wall. The gate will be rebuilt. Phase 2 picks up where we left off.
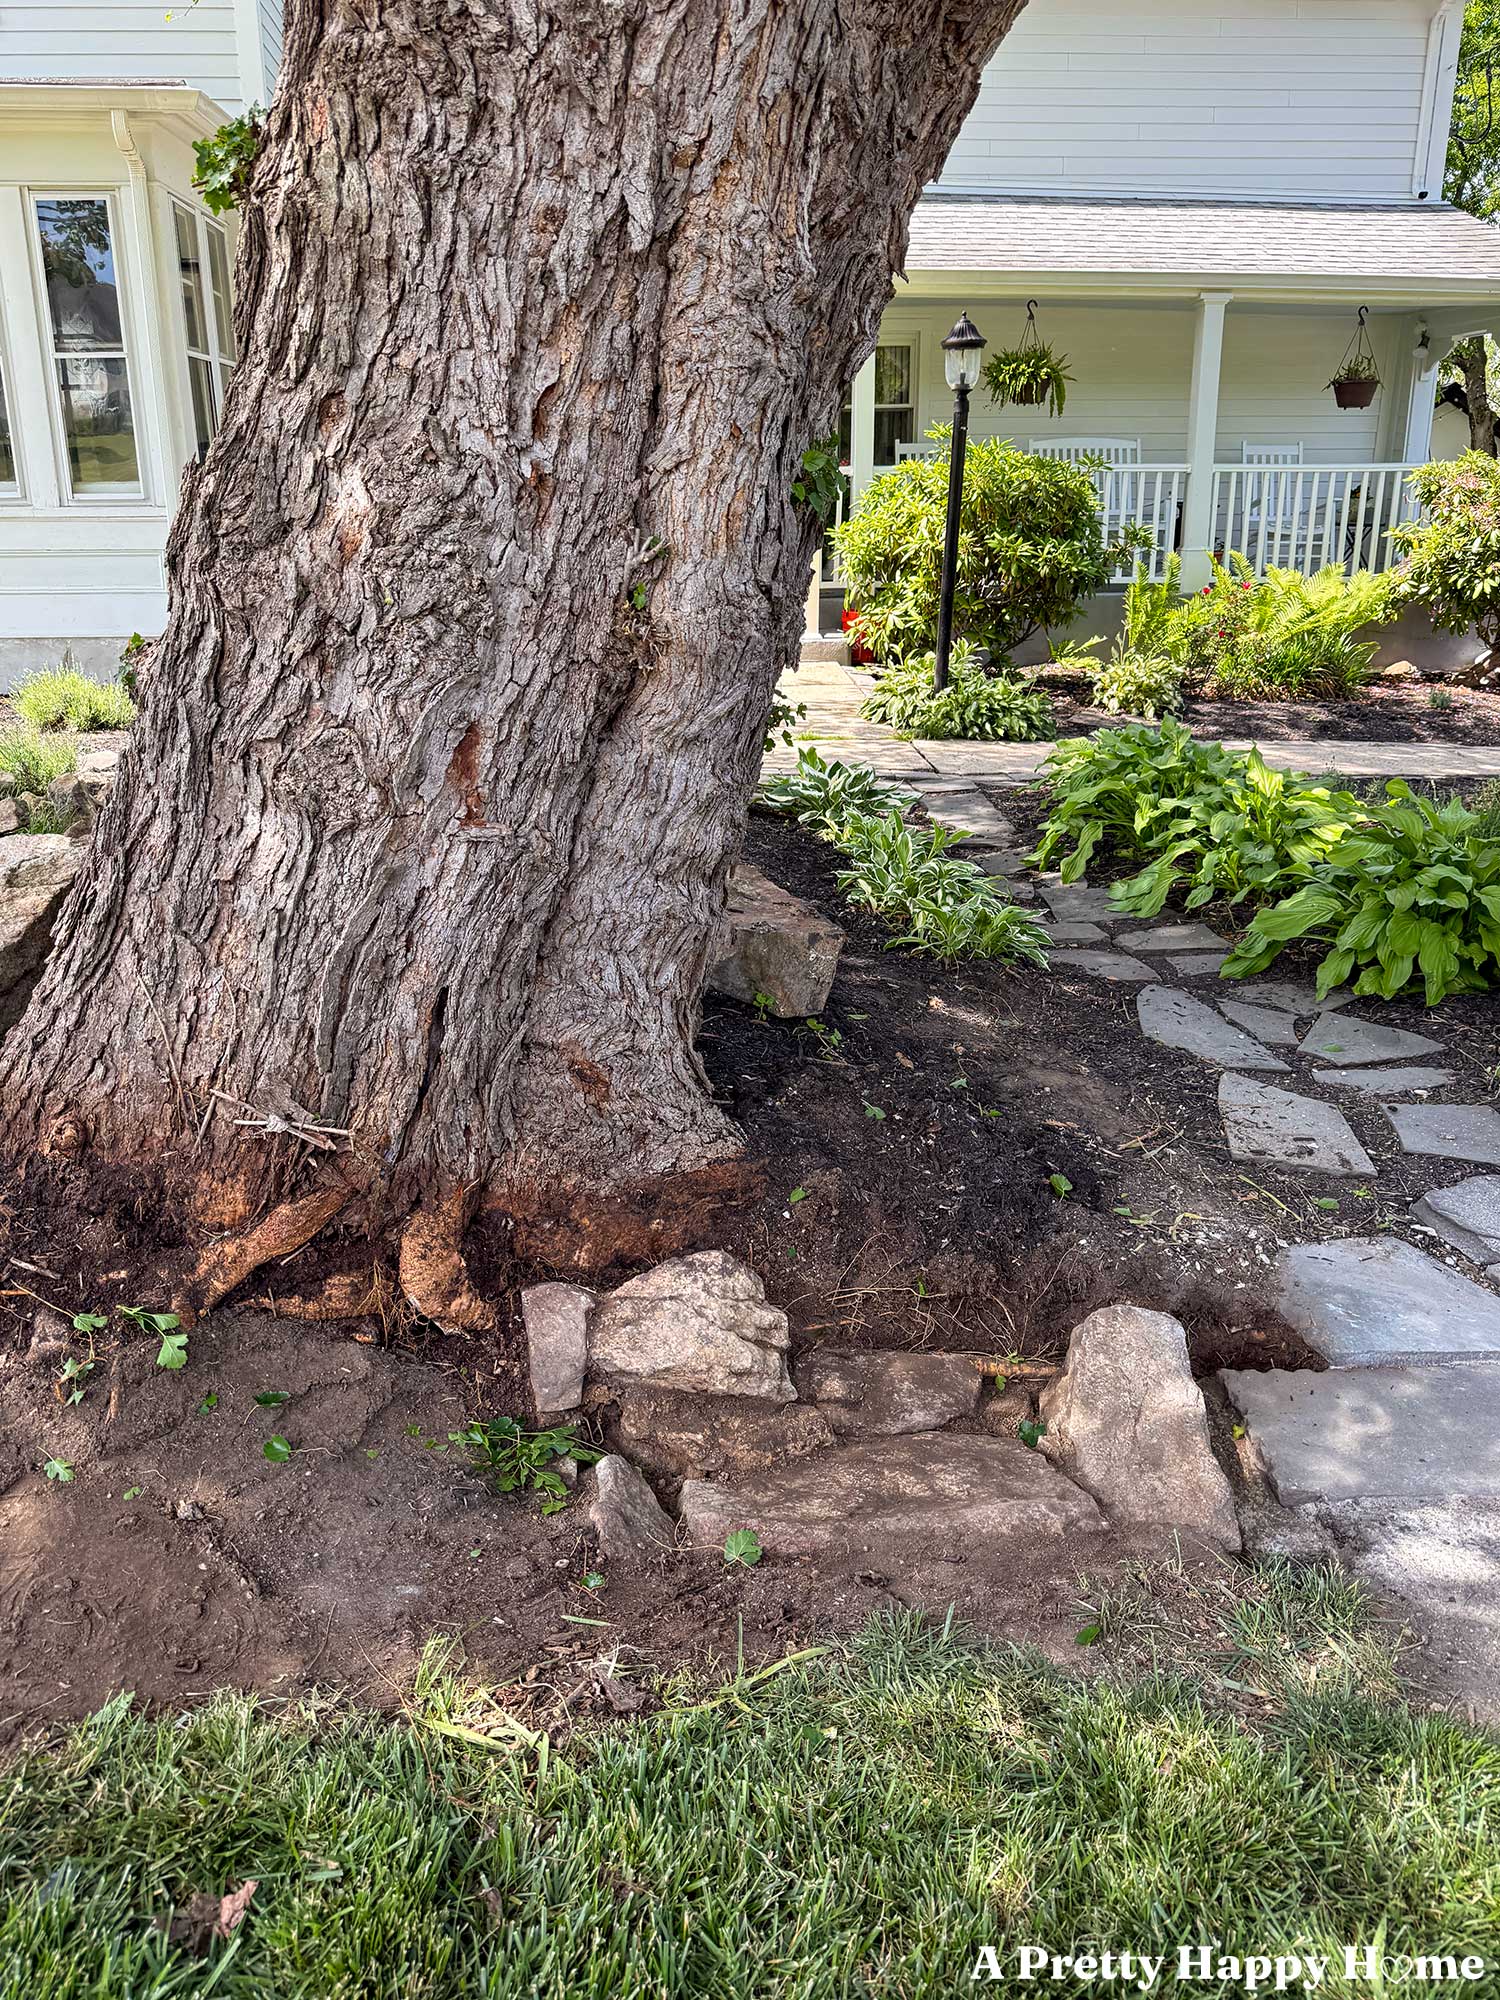
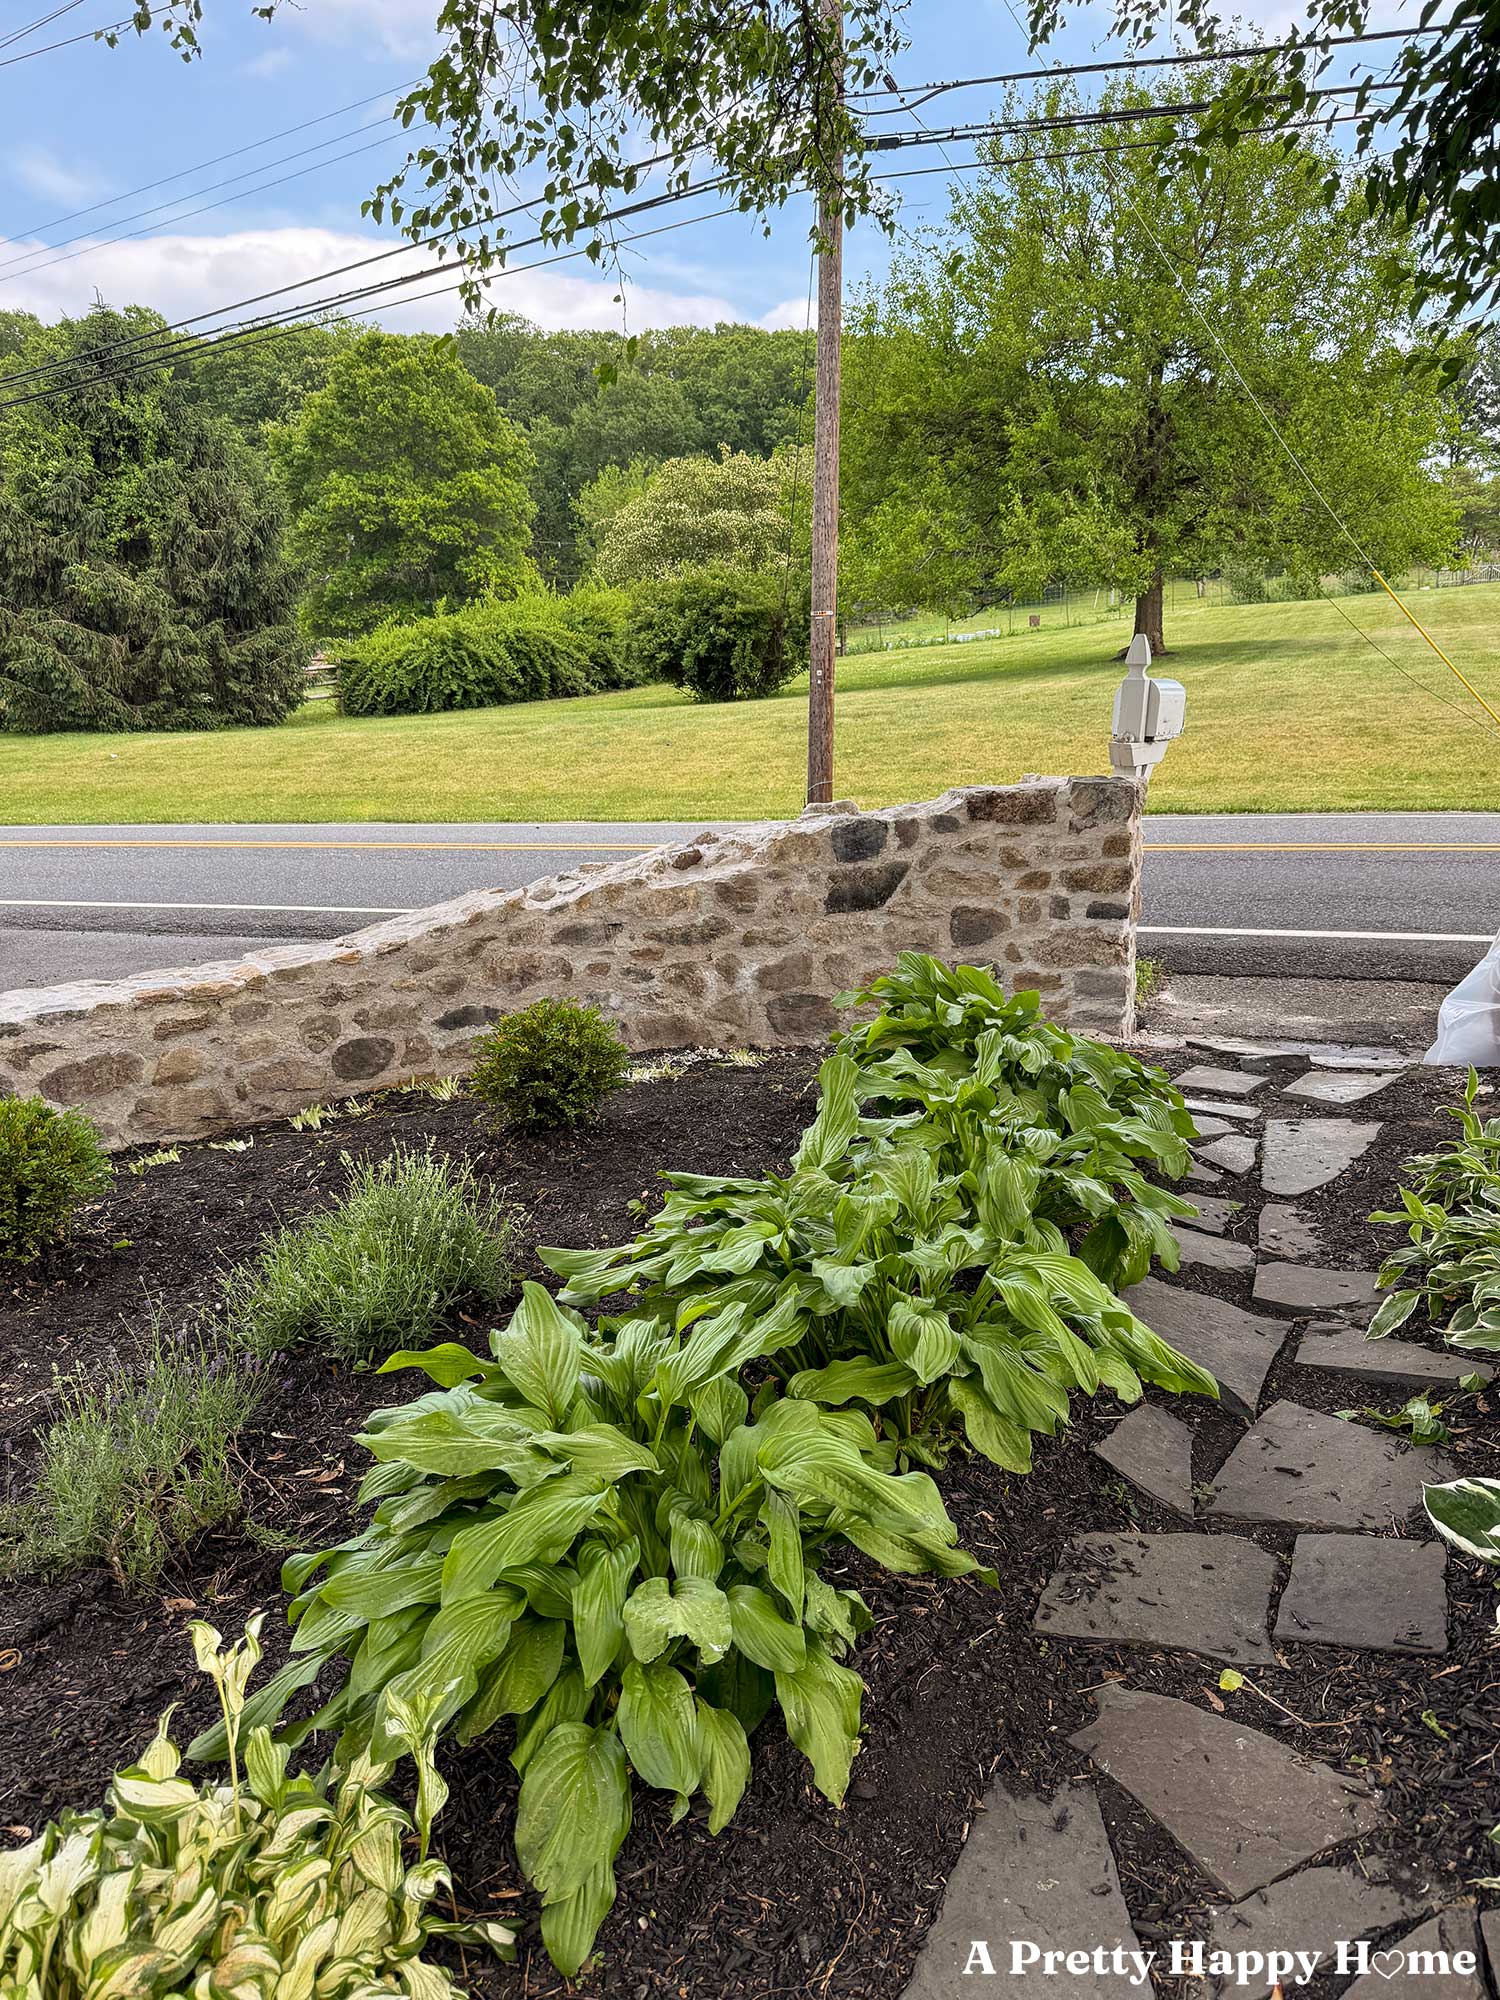
We recently decided to modify the wall design plan in phase 2 because of the tree. We did not have reasonable confidence that we could match the shape of the wall we had just built on the other side of the future gate because the tree would interrupt the swooped-shape of the wall where it would be at its highest. The interruption at this highest point could create some potential instability long-term.
Modifying the design plan meant we needed to lower the height of the newly constructed wall a little. Modify is a nice way of saying undo the work we just completed. In addition, if you think of this wall like Humpty Dumpty, it’s really hard to put it back together again, but we will try our best to make it passable.
Always be ready to pivot.
We are not so married to any one idea that we can’t pivot when we discover a better idea, gain new information, learn a different technique, or realize something isn’t serving us well. And I’m not just talking about DIY projects. “Always be ready to pivot” is a bit of a life philosophy.
It does mean we have to set aside ego and even get comfortable being wrong. There’s not a lot of grace in our current world for either of these things, but there should be.
I’ve heard, “But you just spent time and money on this.”
Yes, we did. It’s a sunk cost. But, for this project, modifying the newly constructed wall will create a much better result for our curb appeal. Not to mention, it should make it easier to maintain this wall going forward because the new plan works with the tree, not against it.
Should we have figured this all out before we started? In an ideal world, yes.
This time, at least, I can’t even regret our choices because I learned so much, gained skills and confidence, and learned what things I want to do differently going forward. So, I don’t think of it as time or money wasted.
Speaking of going forward, we have demoed enough of the fieldstone wall that I can start reconstructing the right side and modifying the left side.
Once this part is done, it should be easy building after that, or as easy as it gets for a tedious, time-consuming, physically demanding project. Famous last words, right?
Were you surprised by the number of rocks we’ve already pulled out of the old wall? Are you surprised we caught a lucky break with that footing? I’d love to know. You can comment here on this blog post, email me here, or reach out via direct message on Instagram or Facebook.
Happy DIYing.
Thank you for following along with our DIY adventures. I appreciate you! If you missed any of the posts in our fieldstone wall series, you can catch up here, and I have saved our work to story highlights on Instagram.
Reconstructing a Fieldstone Wall: Part 1, The Plan
Curved Fieldstone Wall: Part 1, The Plan
Curved Fieldstone Wall: Part 2, Demo Section 1
Curved Fieldstone Wall: Part 3: Progress Section 1
Curved Fieldstone Wall: Part 4: Reveal Section 1
Curved Fieldstone Wall: Part 5: Porch Wall
Curved Fieldstone Wall: Part 6, Demo Section 2
Curved Fieldstone Wall: Part 7, The Stairs
Curved Fieldstone Wall: Part 8, Progress Section 2
Curved Fieldstone Wall: Part 9, The Salt Problem
Curved Fieldstone Wall: Part 10, Mailbox and Gate Plan
Curved Fieldstone Wall: Part 11, The Swoop Section 2
Curved Fieldstone Wall: Part 12, Reveal Section 2
*affiliate links in this blog post*


You May Also Like
Curved Fieldstone Wall: Part 12, Reveal 2nd Wall Section

5 Places Rechargeable Light Bulbs Won’t Disappoint You
