DIY
Under-A-Table Trash Cabinet – One Year Later
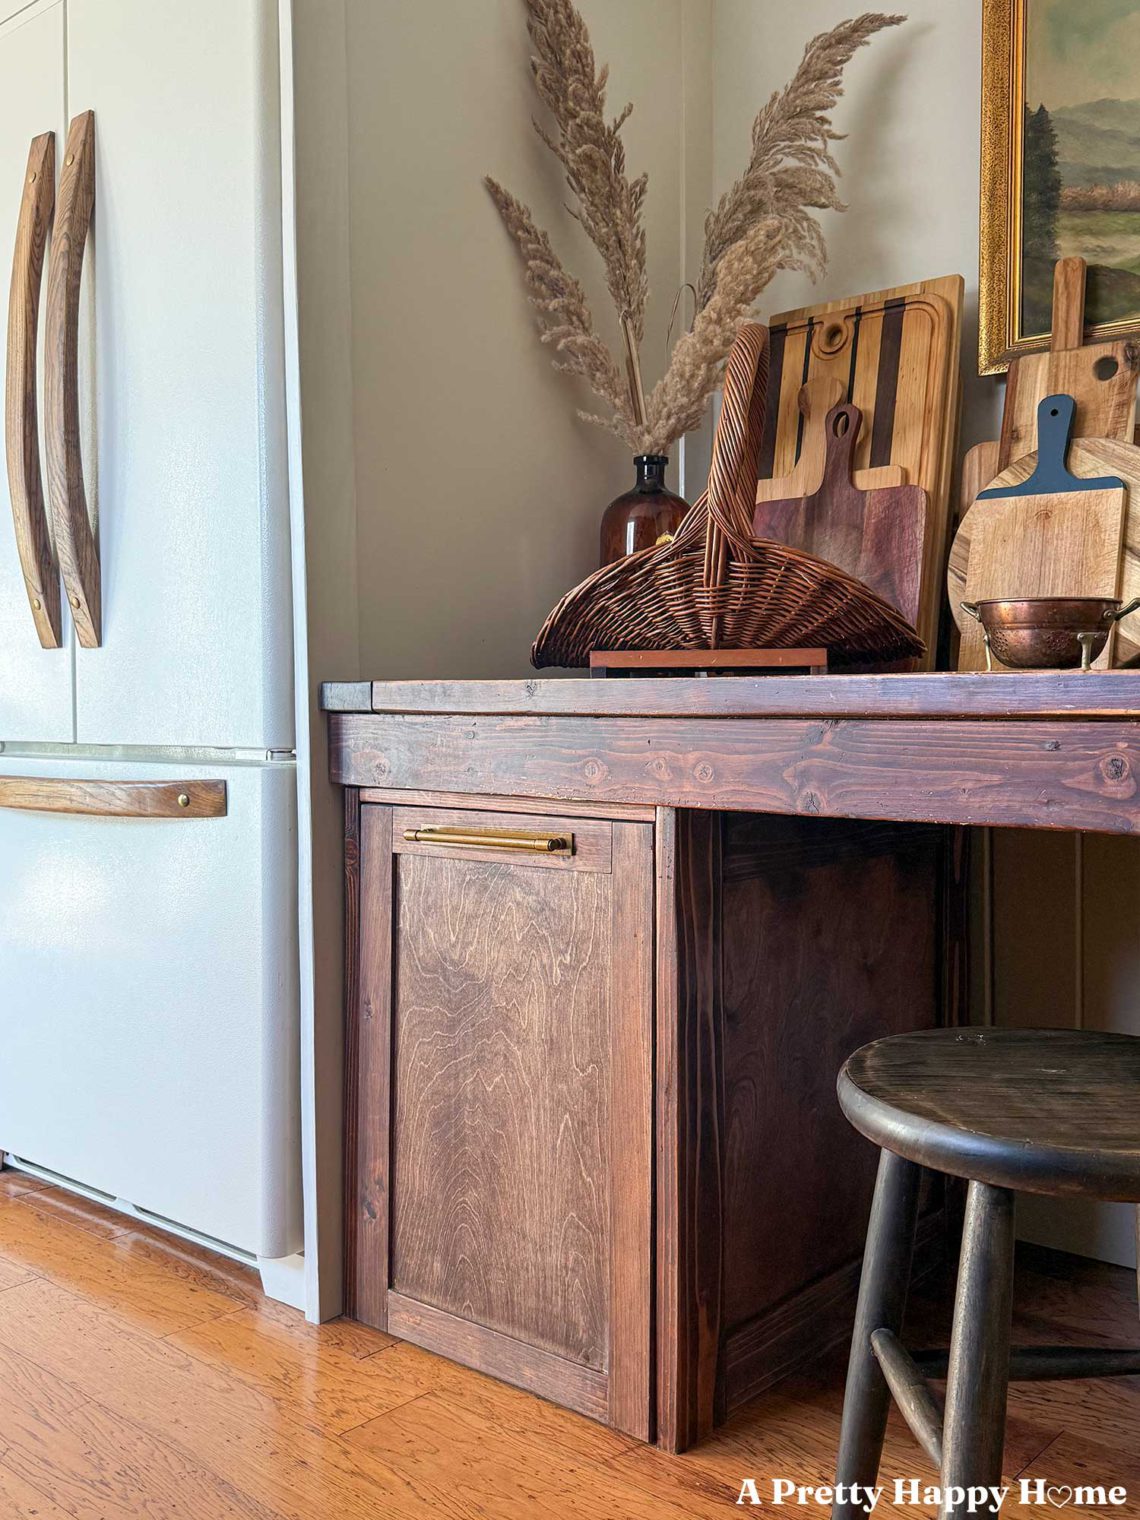
I love pretty pictures as much as the next person, but one of my favorite things about DIY and makeovers is learning how they hold up over time. A little more than a year ago, we built an under-a-table trash cabinet. Today, I’m updating you on how this area of our home has held up to heavy, daily use. Would that be considered literal trash talk? We needed a place to hide our trash and recycling. That’s how this project started. We have a galley-style kitchen and, storage-wise, it’s small. Only one wall has any cabinets or countertops, and that’s where the sink, dishwasher, and range are located. The opposite…
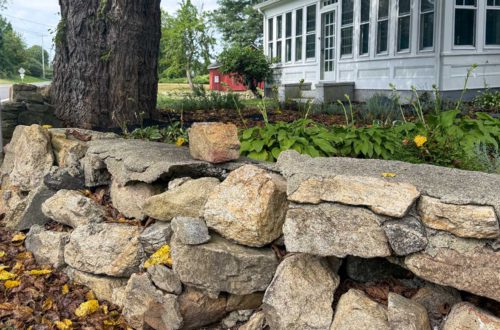
Reconstructing a Fieldstone Wall: Part 3, Sloped Section
It’s time for part 3 of our rockin’ Reconstructing a Fieldstone Wall series. Today, we’re talking about the part of the fieldstone wall that is now sloped. It’s a small section, only about 3 feet long, but it caused us more headaches than that time we accidentally purchased decaf coffee and didn’t realize it. This sloped wall was like the tiny pebble in your shoe. How something so small can cause so much grief is beyond me. Good thing I have a blog to tell you all about it! So, let’s get into it with a quick recap to get you up to speed. The plan for the sloped section…
Reconstructing a Fieldstone Wall: Part 2, Demo
Welcome back to our Reconstructing a Fieldstone Wall series. Today, we’re talking about the fieldstone wall demo. Unfortunately, we have to take the wall apart before any reconstruction can happen. I’m using the word reconstruct instead of rebuild intentionally, as we are not starting this wall from scratch. We are using the existing wall footings, the original stone, and a historically comparable lime mortar to bring this fieldstone wall back to life. It’s a small nuance in terminology, but one that I think is important in the realm of historic restoration and preservation. That doesn’t mean we won’t make some design tweaks in the service of putting our stamp on…
Where to Buy Natural Hydraulic Lime (NHL) in the U.S. to Mix Lime Mortar
The most common question I receive from fellow owners of old homes is where to buy lime to mix lime mortar to repoint a historic stone foundation. They know it’s bad to use Portland cement on a stone foundation, and the appropriate lime is hard to find! So, I compiled a directory of where to buy natural hydraulic lime (NHL) in the United States. It’s a short directory because we get what we get, but it is separated by U.S. region. Don’t completely discount a supplier or brand of NHL if they aren’t in your region; they may have distributors closer to you. I’ve also included which NHL suppliers offer…
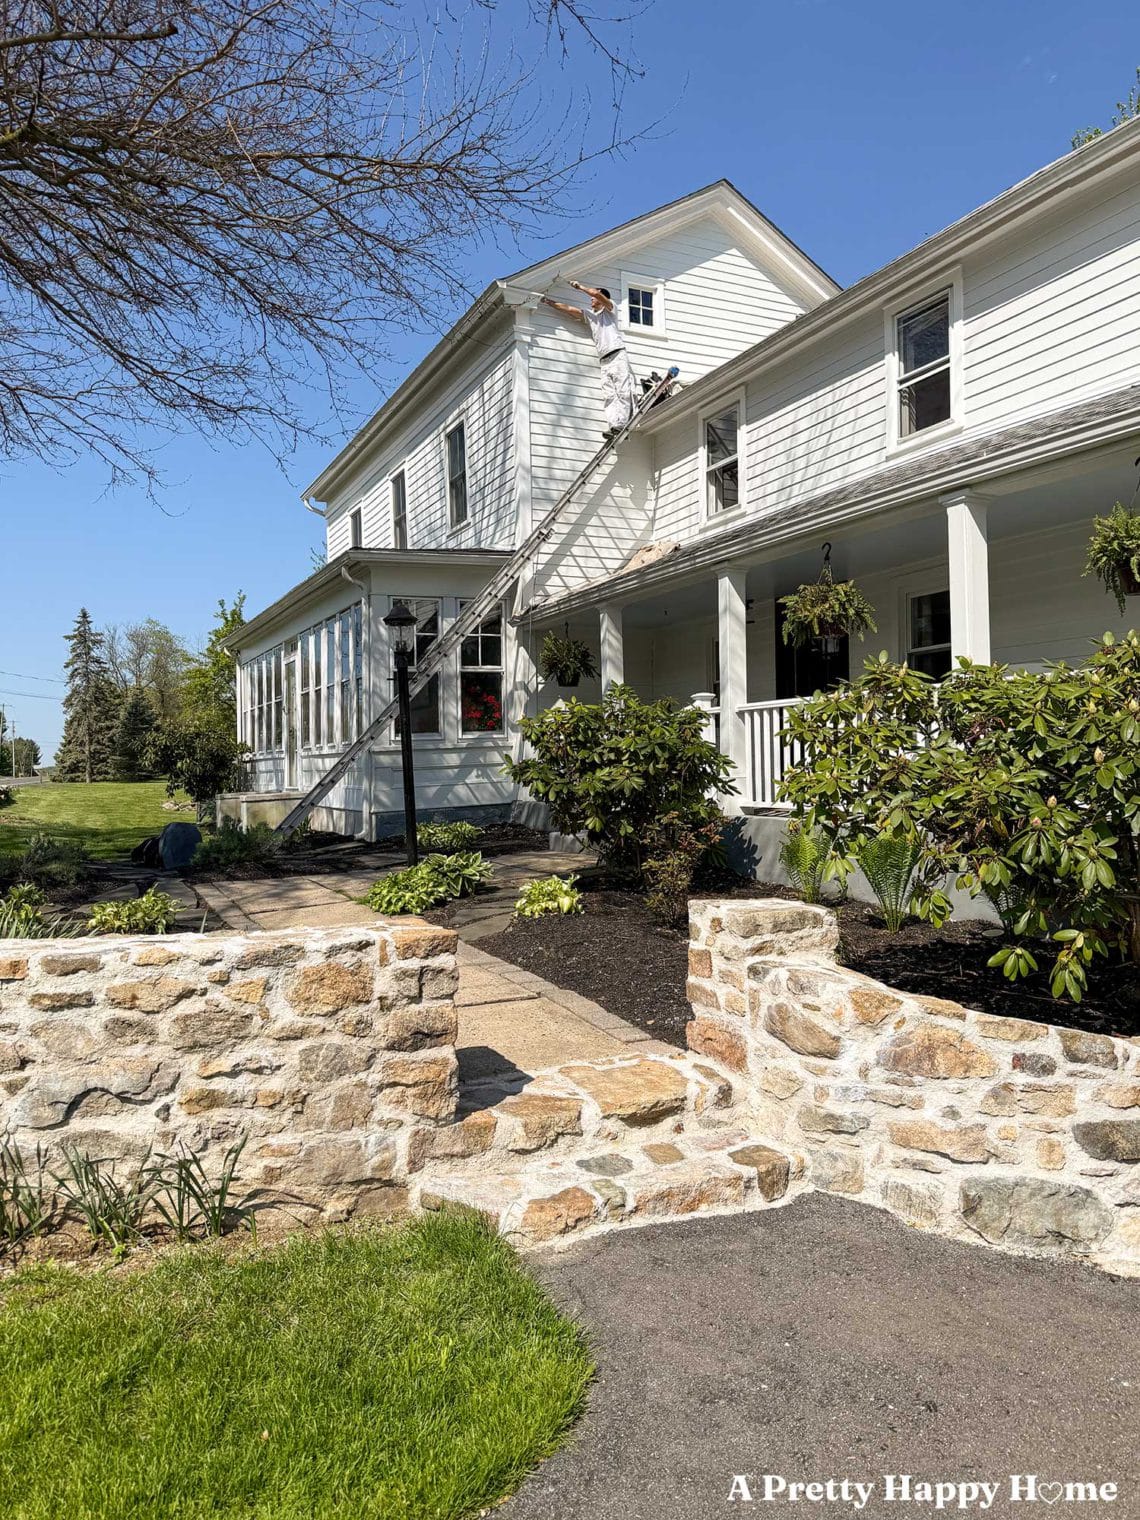
How I Used AI to Successfully Hire a Contractor
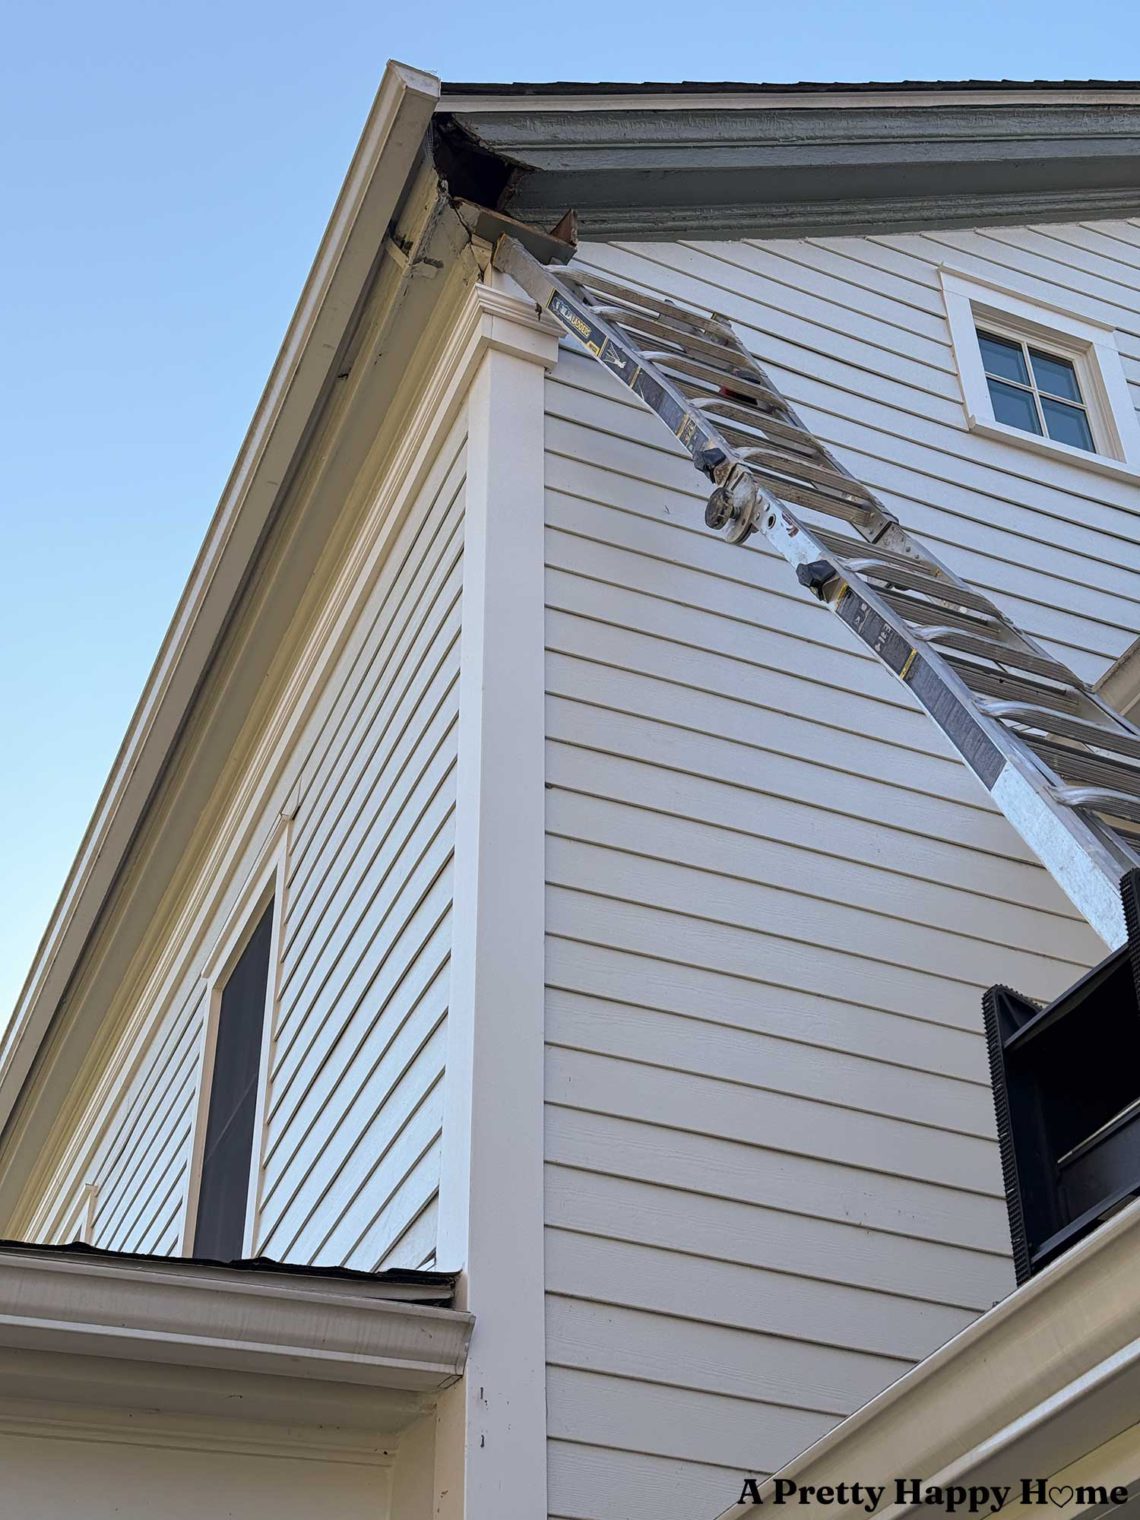
I recently used AI to hire a contractor, or rather, help me hire a contractor, and that’s the kind of assistance I could used to. Finding a good contractor – any contractor, really – is so hard. One unfortunate universal human experience seems to be that homeowners have a hard time finding and hiring good contractors. We all have stories. Ugh. So. Many. Stories. I needed to hire a painter to paint the trim along our roofline. It was a small job square footage-wise and it was all 30-feet in the air. Plus, there might be some rot to deal with. “Super fun,” said no one. I had been ghosted…
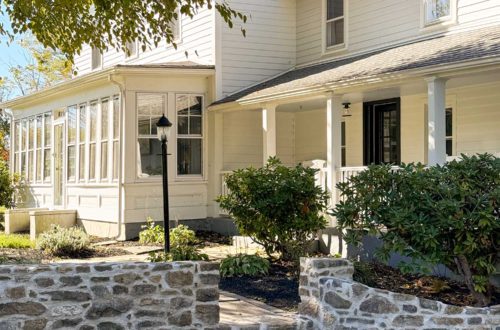
Repaired Gable Return on a Greek Revival
Did you know gable returns are a defining feature of Greek Revival-style architecture in the United States? We recently repaired a gable return on our Greek Revival, which ended up being a doozy of a project, so we’ve gotten an up close and personal look at this stylistic architectural feature. While not universal, gable returns are commonly found on Greek Revival-style homes built in the United States between 1830 and 1860. Gable returns or eave returns, as they are sometimes called, are an extension of the roof trim or cornice that turn the corner at the bottom of the gable. They are purely decorative for homes built in the U.S.,…
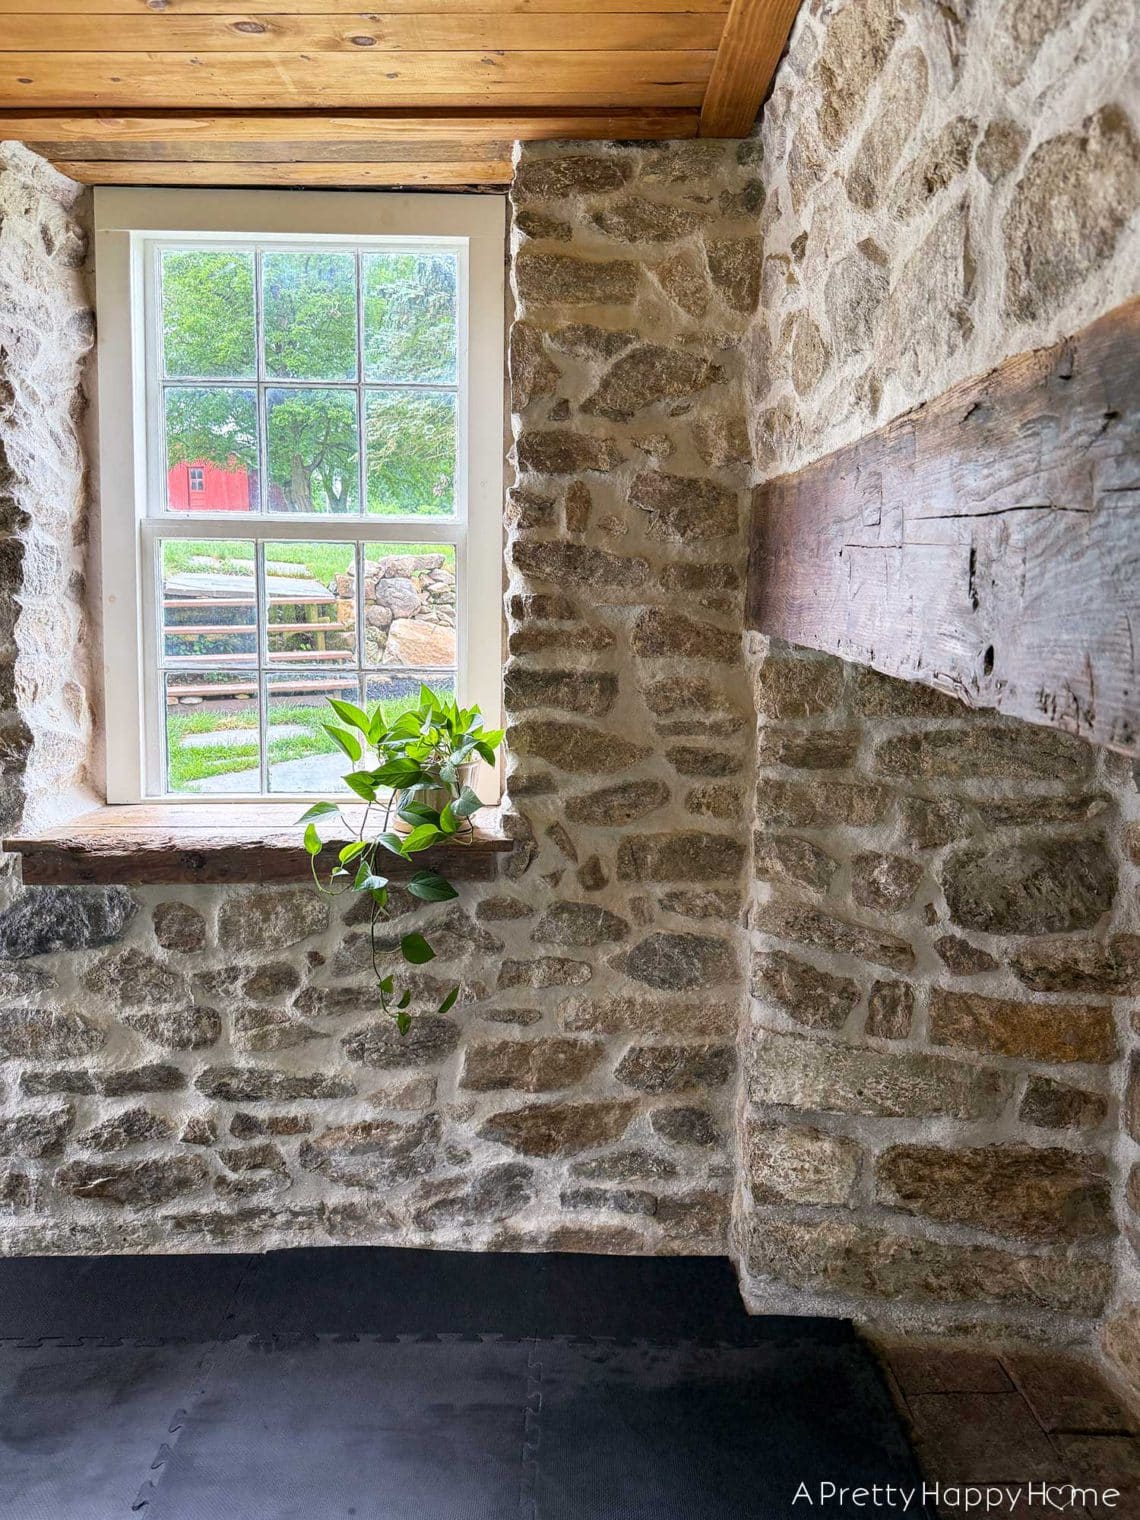
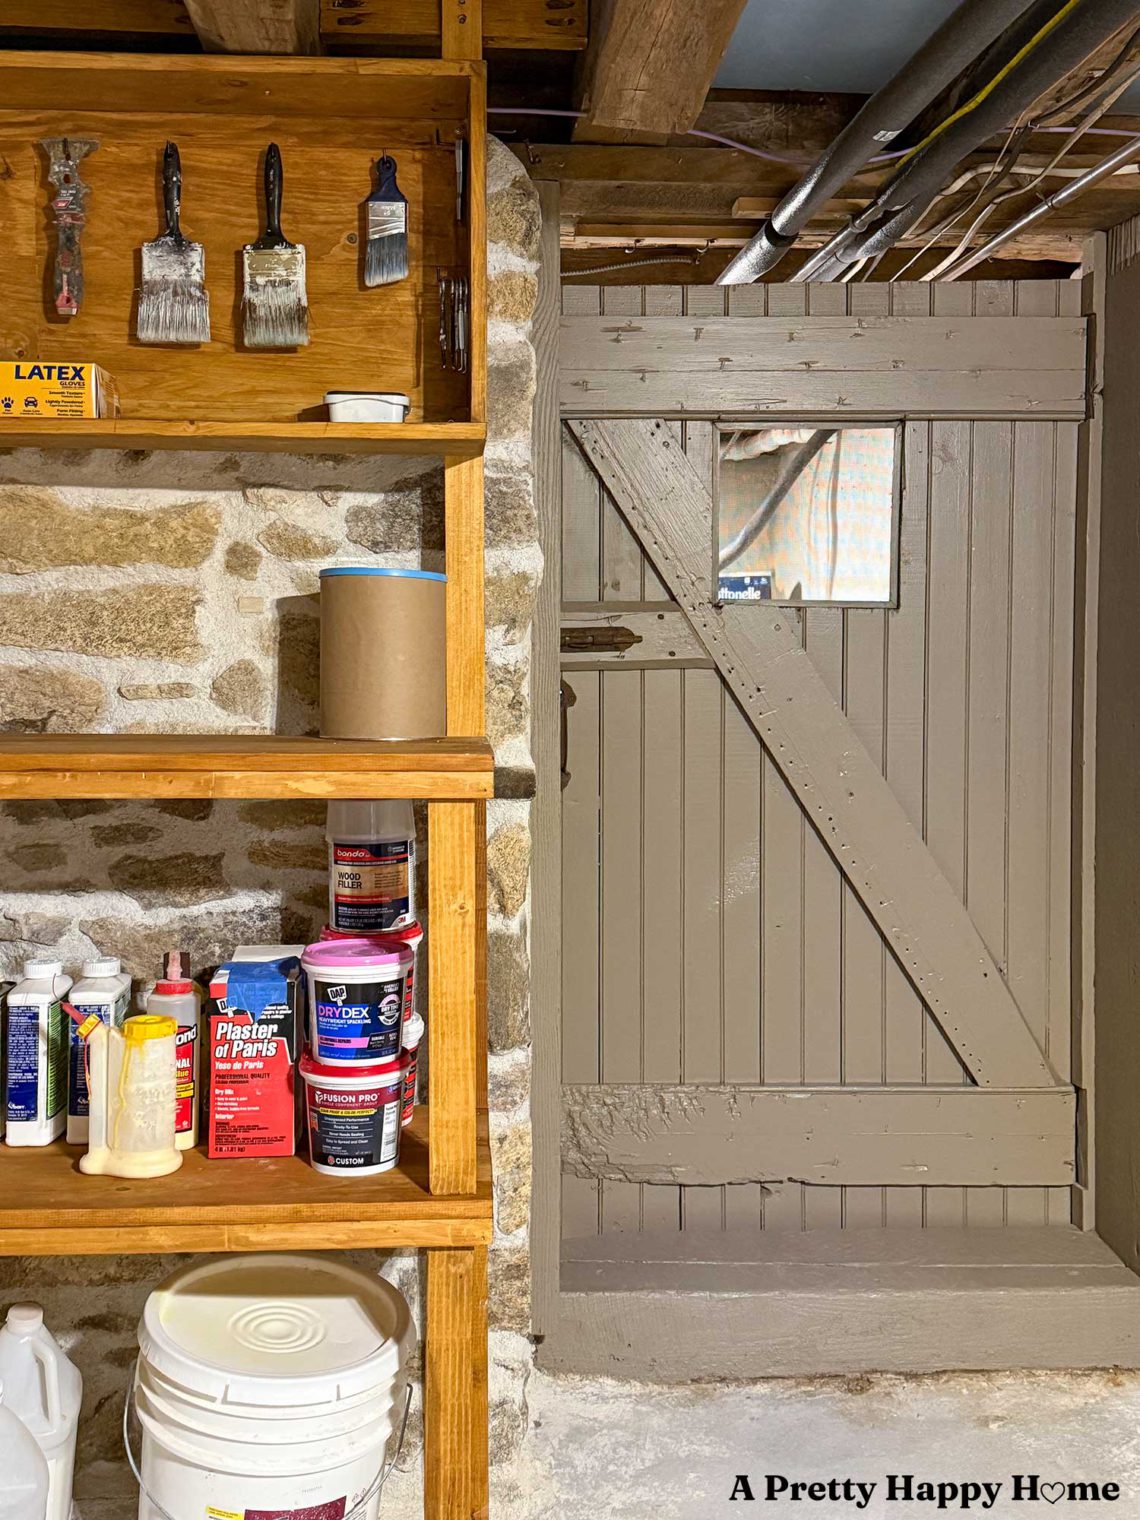
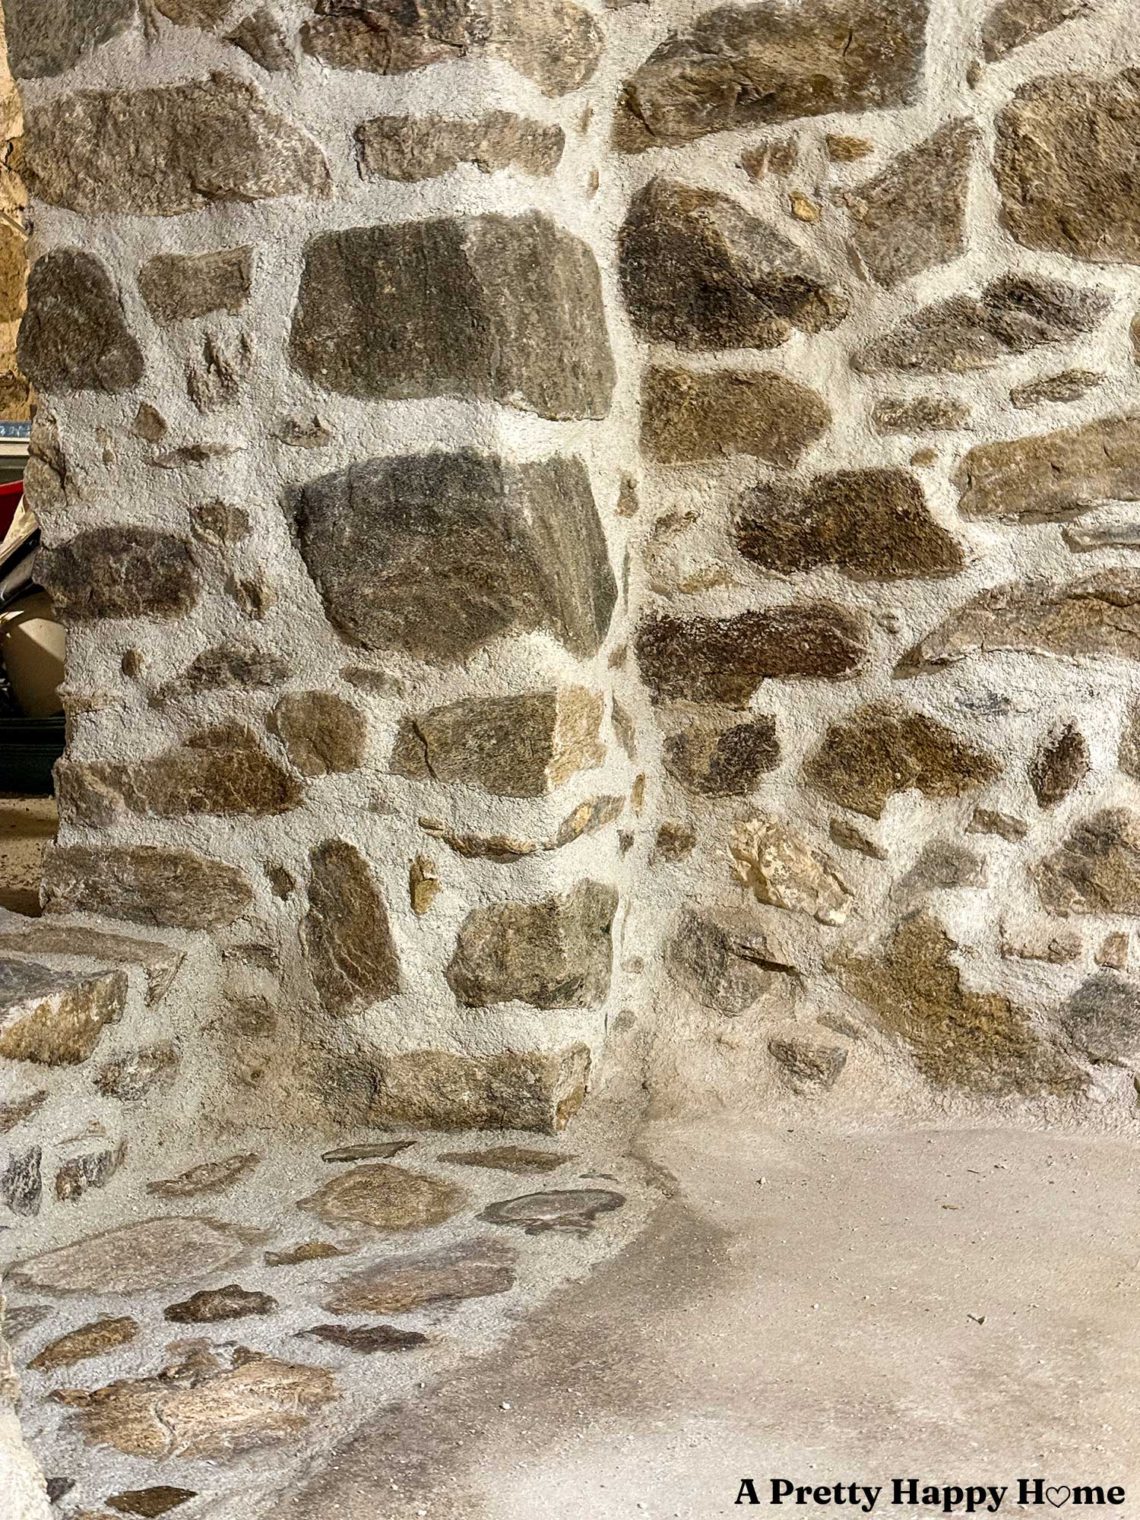
Basement Workshop Repointing: Part 9, The Reveal
Today is the big TADA! This is the finale of our Basement Workshop Repointing Project series and the grand reveal of how the finished space turned out! I’m using a lot of exclamation points because I’m very happy that we’ve checked another project off the list. Sure, I added ten more projects to the list in the time it took us to finish this one, but that’s the “perk” of homeownership! Why We Were Repointing Our Stone Foundation If you’re new here (welcome!), we’ve been repointing the stone foundation in our basement workshop, which is the oldest section of our house dating back to the 1780s. If you’re keeping track,…
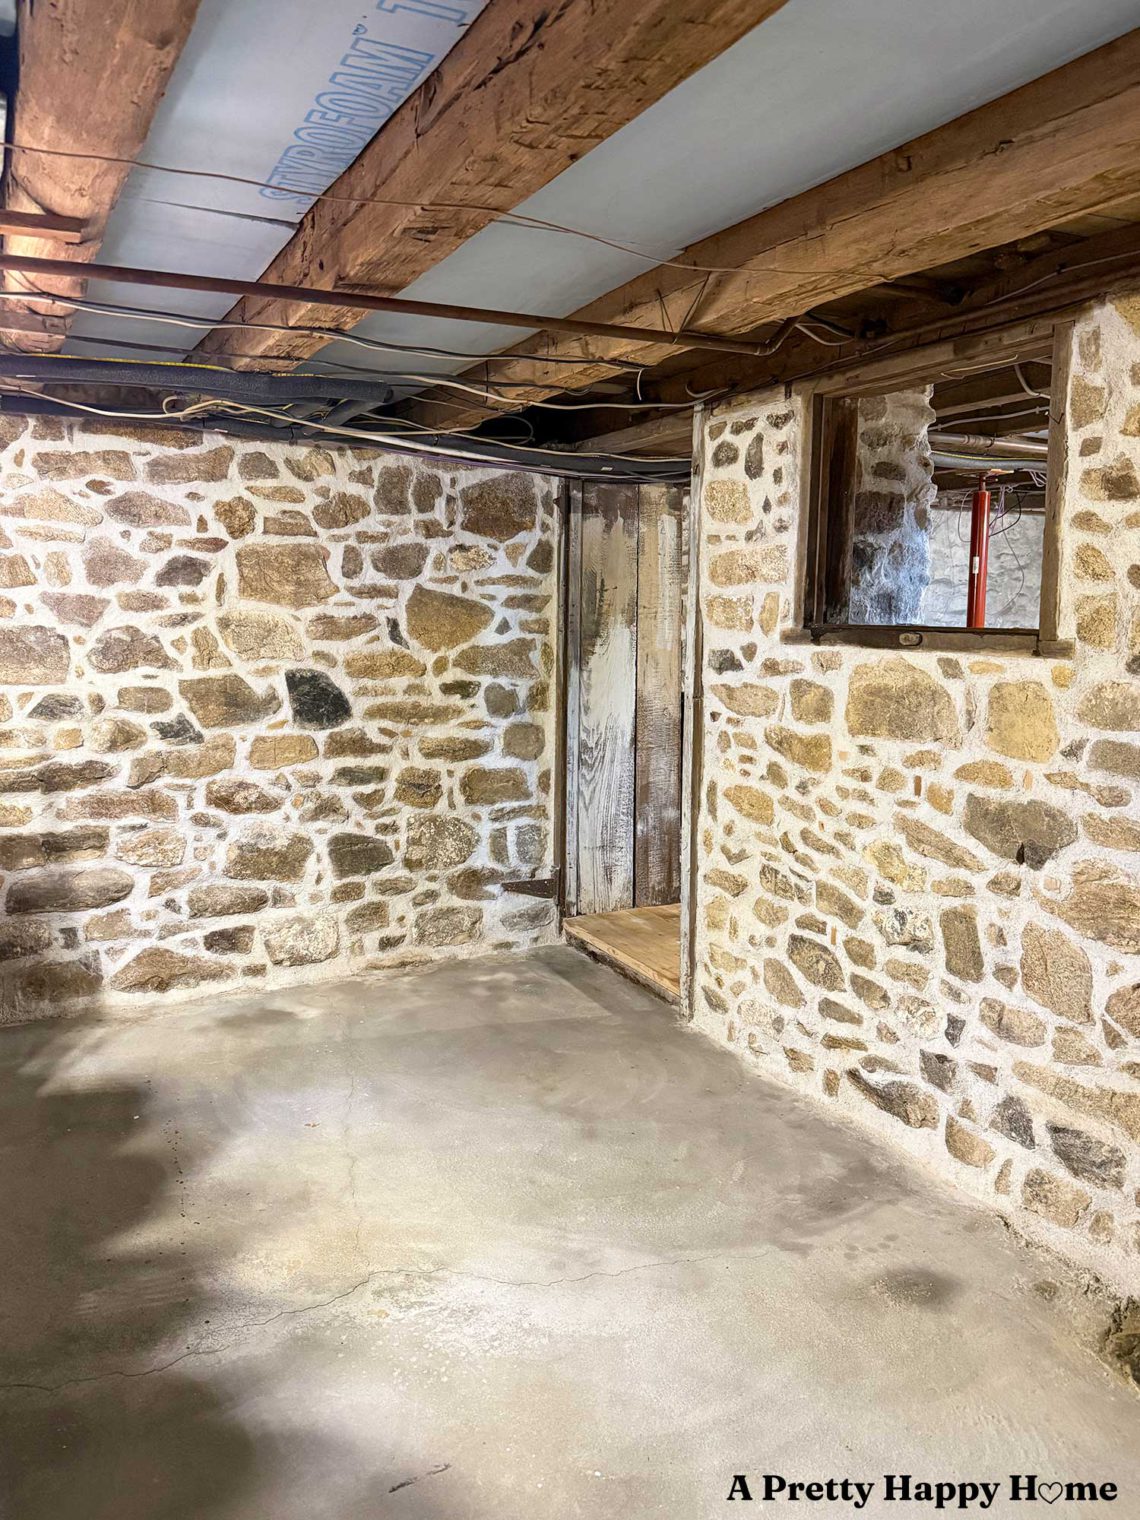
Basement Workshop Repointing: Part 8, Walls Are Done
Welcome back to the second-to-last post of our Basement Workshop Repointing series. Ready the confetti cannon! Today, I am happy to share that all four walls in this room are done being repointed and repaired. I repeat, the walls are done!! Finally. Repointing the walls on this 16×16-foot space took way longer than we anticipated. This is partly because there ended up being more rebuilding than we anticipated, and partly because these sorts of tasks just take time if it’s mainly one person chipping away at it (sometimes literally), a few hours at a time. Hauling rocks, mortar debris, and bags of sand is a good workout, but the muscle…
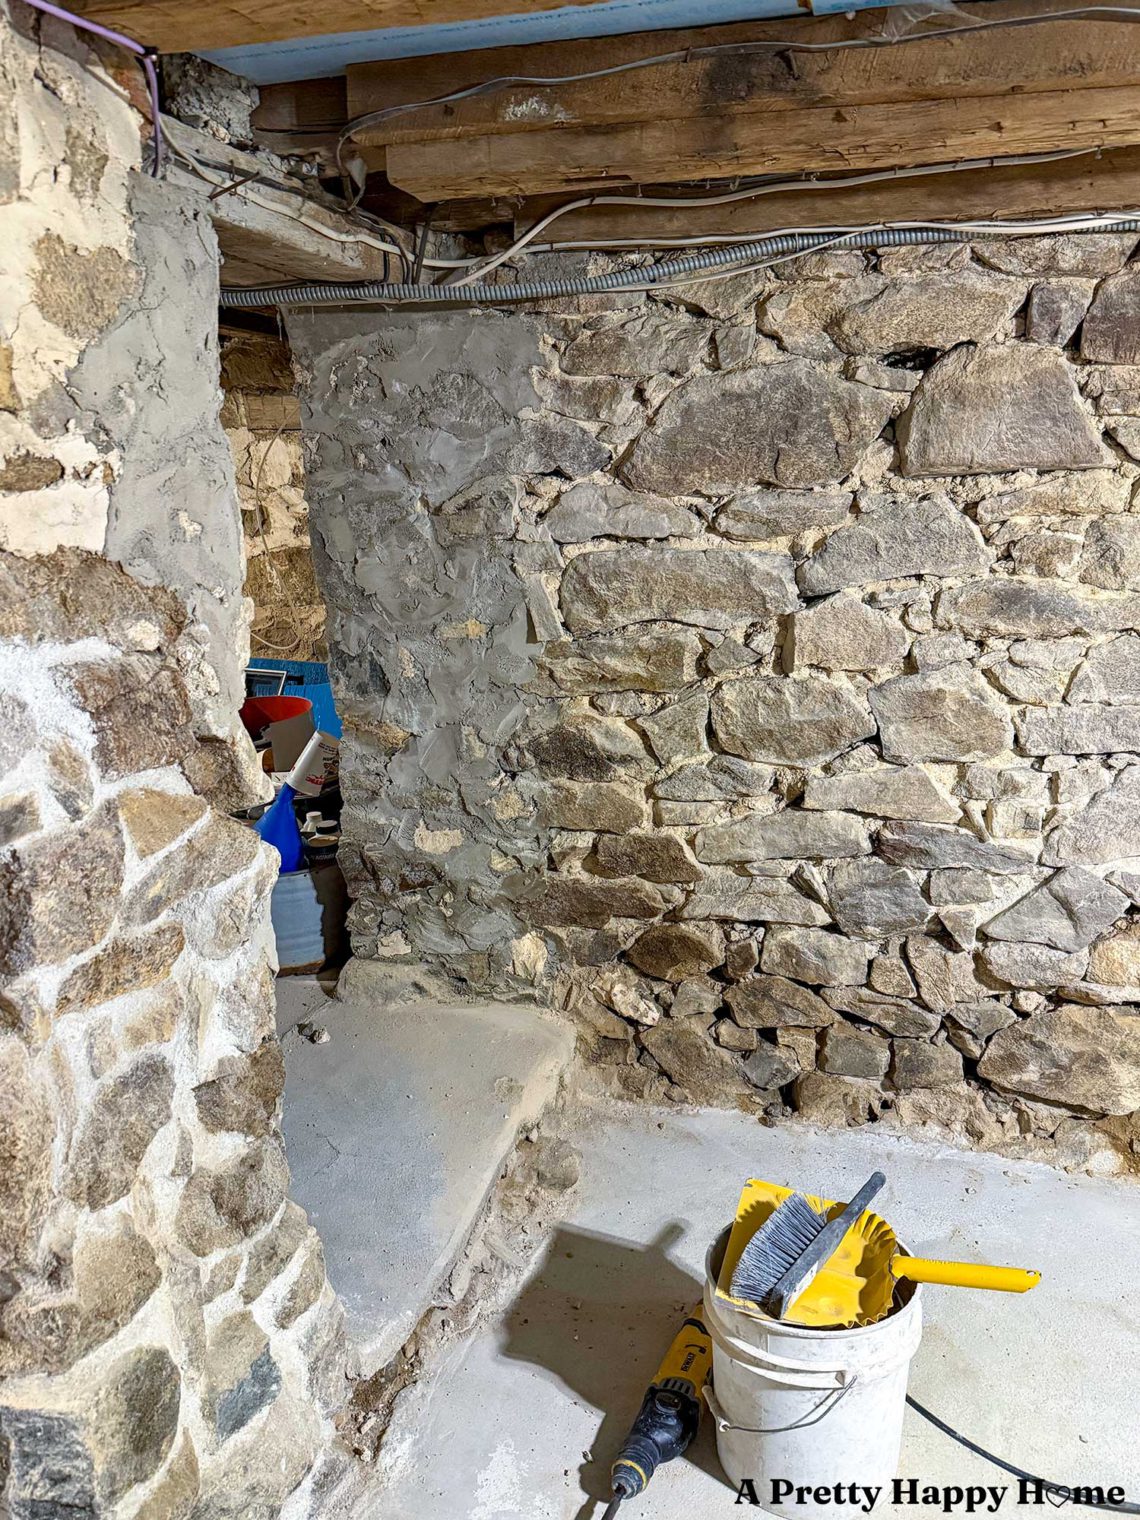
Basement Workshop Repointing: Part 7, Stone Doorway
Our Basement Workshop Repointing Series continues today with a drastic before and after. We took a poorly constructed doorway that had been heavily patched with concrete and turned it into a stone doorway that steals the show. Here’s how the doorway looked before we got our hands on it, and before we realized just how bad a shape it was in. That’s not so bad, you say. You’re right. It was worse. And not just because it looked like a toddler had fingerpainted mortar on the wall. That concrete, which was used to secure the opening in the wall when a new addition was added, was hiding missing rocks and…
Basement Workshop Repointing: Part 6, A New Wall
Welcome to another installment in our riveting Basement Workshop Repointing series. This is part 6, where we leave repointing in the mortar tub and move straight into building a new foundation wall. It’s technically the extension of an existing wall, but we are building it from scratch. Coming up with blog post titles, especially ones that appease the search engine gods, is harder than repointing a stone foundation. But I digress. Why Do We Need to Extend the Foundation Wall? At some point in the past, an opening was created in this foundation wall to access the foundation under our kitchen addition. It’s a rather large opening, approximately 4 feet across.…