Carriage House Interior Makeover Madness
Today we are getting to the good stuff – our Carriage House interior makeover madness! And madness it was. Phew!
To recap if you’re coming in new (welcome!), our Carriage House is a separate building on our property that was originally built a couple of hundred years ago to house horse-drawn carriages and horse tack. When we bought this property, the upstairs had been converted into a living space and was a time capsule from the 1980s with a side dose of plumbing fixtures from the 1940s and 1950s.
Sweet, right?
Well…not so much sweet, but full of potential. Trust me, it’s there. You just have to squint and plug your nose a bit.
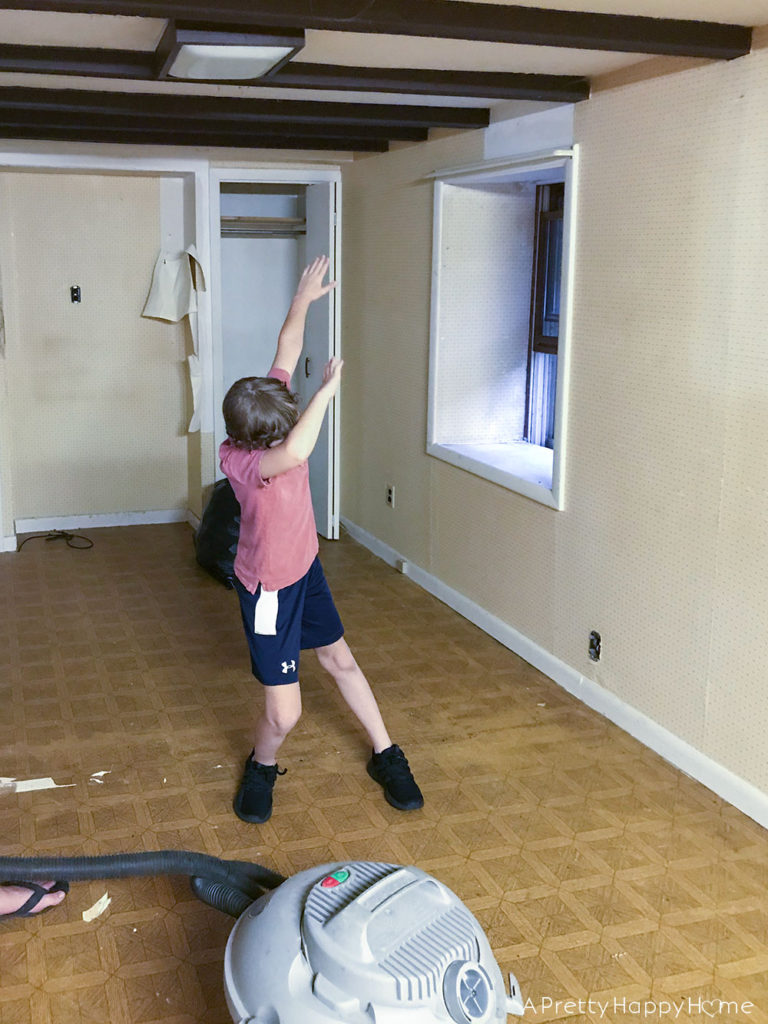
The task list for this Carriage House interior makeover included removing the smelly carpet, dated wallpaper, and fluorescent lights.
To make this Carriage House interior makeover extra interesting we needed to do the bulk of this makeover FAST and in a budget-friendly way. We had guests coming to stay with us less than a month after we closed on this property.
The main house didn’t have proper bedrooms with doors at the time. That’s another long story. Therefore, the Carriage House was the most logical spot for visitors to sleep.
Except not in the condition it was in.
There wasn’t time or money to replace plumbing fixtures, but we could freshen up the walls and floors.
So we got to work.
The first thing we tore out was the smelly carpet.
Surprise, surprise. Under the carpet, we found linoleum.
Is it actually an old house if you don’t find multiple layers of flooring?
The next task was taking down the wallpaper that covered every single wall in the Carriage House. For such a small space there was SO. MUCH. WALLPAPER.
Every wallpaper removal project is different. Some wallpaper comes off easily. Other wallpaper will fight you to the death.
This was that wallpaper. It did not want to leave the wall.
In the end, the wallpaper left the wall, but it took part of the wall with it. There ended up being significant drywall damage, which meant we had to do significant drywall repair in certain areas. Drywall dust is the worst.
*sigh*
We also removed the upper cabinets in the kitchenette area to give the space more breathing room.
The ceilings are short (approx. 7.5-ft) in the Carriage House, so upper cabinets felt very overwhelming in the space particularly since we didn’t need them for storage. If you were living here full time, that might be a different story.
Removing the upper cabinets meant that more drywall repairs had to be made, but once you have the tools out you might as well get it all done at one time.
We also replaced the bulky fluorescent lights with more discreet LED lights. That change alone modernized the space and made it more energy efficient.
We also painted the base cabinets in the kitchenette and installed a new faucet.
We kept that yellow sink. I don’t know if I should admit this, but the yellow sink is growing on me.
The bathroom vanity also received a fresh coat of paint.
You can’t tell in this picture, but we added new bathroom flooring as well.
The blue tub and yellow tile? Those had to stay for this budget makeover.
Fortunately or unfortunately, depending on your outlook, the shower was in good condition. There wasn’t even mold in the grout!
Unlike the yellow sink in the kitchenette, the blue tub and yellow tile have not grown on me, but a lot of design sins can be hidden by a shower curtain.
The biggest visual impact of the Carriage House interior makeover was adding new flooring and giving the walls and ceiling a fresh coat of white paint.
Hello, potential! You sure are looking good now!
Now, what’s a good makeover story without a little adversity?
After we got the Carriage House interior to this point of clean and functional, we called it good. This was in the summer of 2019. Friends and family came and stayed with us and we had the best time showing them our fixer-upper.
Then the Covid-19 pandemic hit and the Carriage House became the most logical place for Handy Husband to work from home. We tried 2 parents working and 2 kids remote schooling all in one house for a while and we were not living our best lives.
Since we had the space and Handy Husband has a lot of conference calls, it made sense for him to move his office out to the Carriage House.
It didn’t take long to realize that the way we had the Carriage House set up did not make sense for a long-term, work-from-home situation.
Almost 3 years after we first started the Carriage House interior makeover, we were back at it with another project. Our task? Create a logical spot for the standing desk provided by Handy Husband’s company.
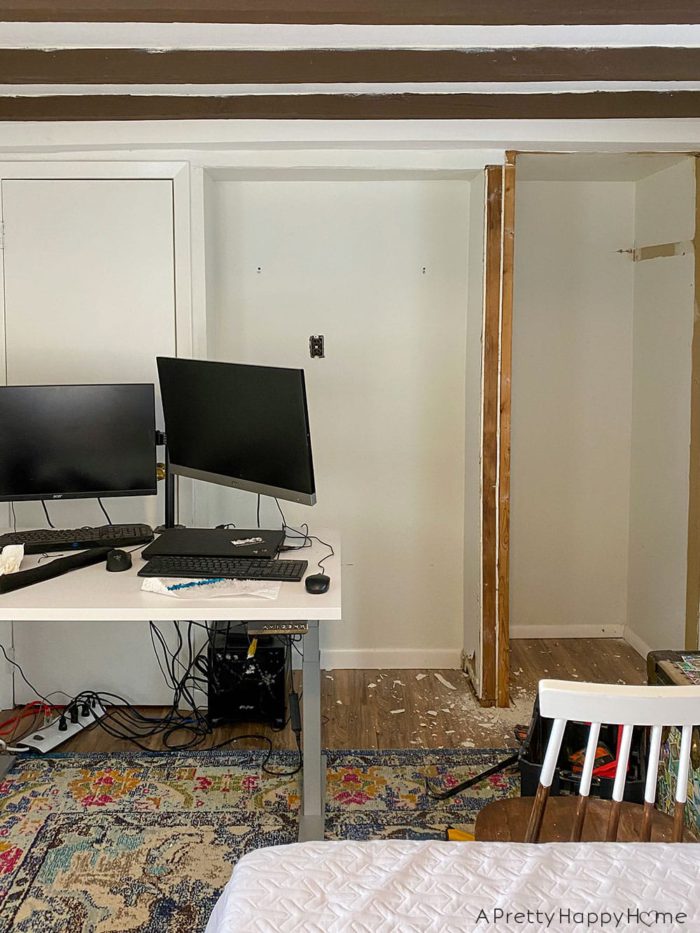
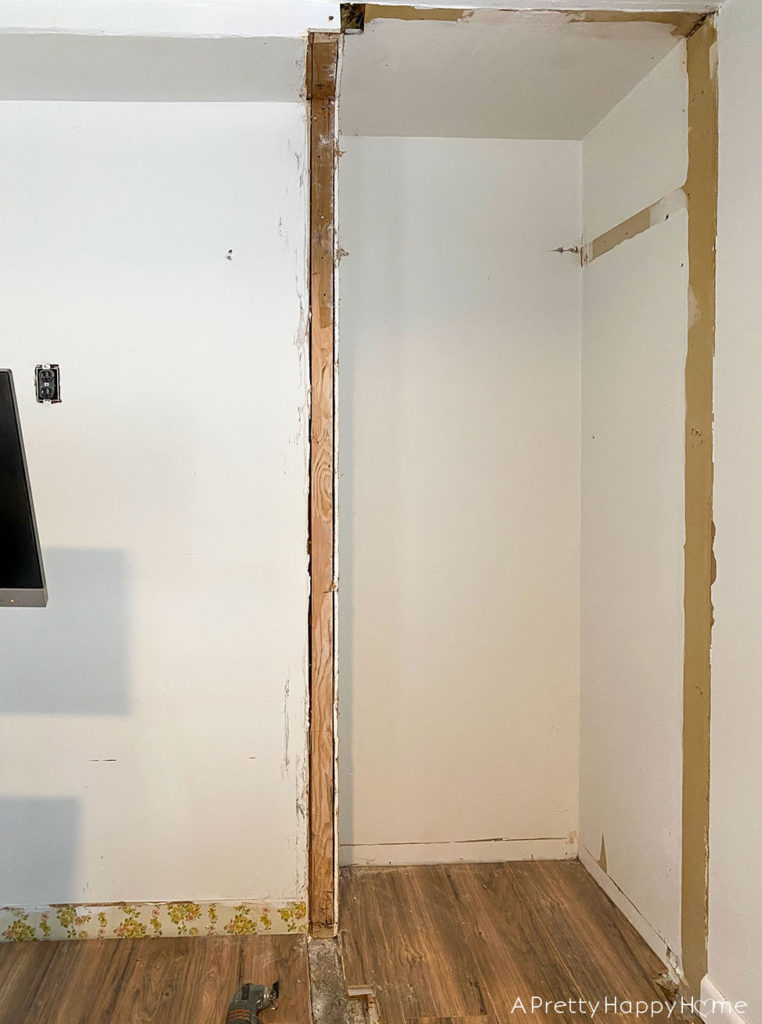
The best spot for the desk was on the back wall of the Carriage House. That meant a closet needed to be removed. Normally, I wouldn’t advocate for removing storage, but in this case, we weren’t using the closet. Plus, I had a plan to add some storage back.
The two closets in the Carriage House were tucked on either side of a chimney. That’s why there was room to recess the closets into the wall in the first place.
We couldn’t do anything about the chimney wall itself, but we could extend the wall to the right to make a wide enough spot for the desk to sit.
We chose to clad that wall in tongue and groove planks to give some texture and interest to the room. It was either that or add wallpaper and 3 years later I still hadn’t recovered from the wallpaper removal debacle in this space!
Even though we weren’t using the closet we removed, we didn’t want to give up all of the storage on this side of the room. We might skew a little on the minimalistic side, but not THAT minimalistic. Ha!
We extended the tongue and groove wall far enough to accommodate a 48-inch wide desk and that left enough room on the right to add open shelving.
What will we put on these shelves?
I don’t know yet. The shelves are our oyster! Full of possibility.
I have some pool towels sitting in the below photo, but I imagine the shelves could be used for books, clothes, pictures, plants, etc.
Our needs for this space will change over time, I presume, and the shelves are flexible enough to adapt to our changing use of the Carriage House.
That about brings you up to date with the Carriage House interior makeover.
Are we done yet? Hahahahahahahaha.
No.
There is still trim and doors to replace, as we’d like it all to match the style in the main house. We still have a blue tub, a pink sink, and a yellow sink. We’d like to build a new kitchenette cabinet so there’s room to tuck away a mini-fridge. The windows could use replacing. Oh, and last but not least, we need an efficient heating and cooling system installed.
Are we happy with how far we’ve come on this Carriage House interior makeover in the last 3 years?
Yes! The space functions much better for a work-from-home office and can still double as a spot for guests to stay when they visit. Win, win.
Up next in this series I’ll do a reveal of sorts and show you how we created a work zone, a sleeping zone, and an eating zone in this tight space!
Do you take a long time to makeover spaces too? I’d love to know. You can always comment on this blog post (I have to approve it first before it appears), email me here, or reach out via Instagram or Facebook.
Thanks for being here today! I’m a big fan of your blog reading choice. If you want something else to read, I can help you out.
Carriage House Interior Before Photos
Carriage House Exterior Makeover
How to Calculate the Value of a Tree


