DIY Wood Acorn and Bead Garland
I am mildly obsessed with wood acorns this year. There are so many ways to use them! Today, let me show you how to make a Wood Acorn and Bead Garland.
This is going to be so much fun!
Supplies Needed to Make A Wood Acorn and Bead Garland:
wood acorns
wood beads
heavy-duty string or twine (I used embroidery floss)
drill and drill bit (to drill a hole in the acorns)
needle (not necessary, but it makes stringing the beads easier)
scissors
measuring tape
Step 1: Prep the wood acorns for the garland.
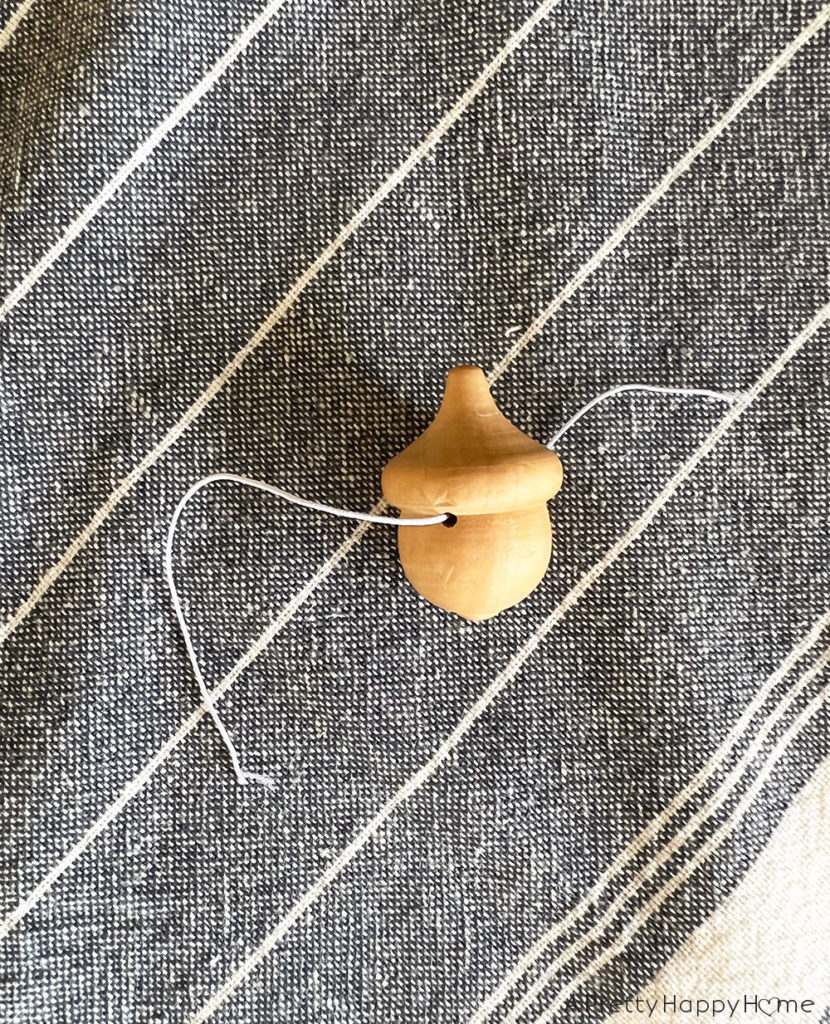
The wood acorns come without a hole, so you need to create one if you want to string them on a garland.
I used a 1/16-inch drill bit to drill a hole in the acorns in the crease under the acorn cap. The hole just needs to be larger than the string or twine you are planning on using for your garland.
If you plan on staining or painting your wood acorns or wood beads, now would be the time to do it before stringing them.
Step 2: Determine how long your garland will be.
I planned on hanging my Wood Acorn and Bead Garland on a fireplace mantel that was 60 inches wide.
I used a flexible measuring tape to determine how long my garland should be and settled on 80 inches.
I don’t know if there’s a hard and fast rule for how long a garland needs to be. You just need enough slack in the garland in order to be able to create some swoops when you hang it. I wouldn’t go more than 1.5 times larger than the area where you are attaching the garland.
If you are concerned about the weight of one garland for the string you are using, you could create two smaller garlands.
Step 3: Plan your garland pattern.
If you care about pattern and spacing, then it is helpful to lay out your beads and wood acorns before you start stringing them. This will insure that you have enough beads, the acorns are spaced how you want, and that you like the pattern.
The acorns come in a pack of 20, by the way. I actually have 23 acorns on my garland because I ordered more than one pack and have been using them for multiple crafts!
I ordered a wood bead pack with different-sized beads, so it was important that I made sure I had enough beads in the right sizes for all 80 inches of my pattern. How many beads you will end up using depends on the size of your garland and how big the beads are.
Do you like how I’m using the gaps and knots in my hardwood floors to hold my beads in place? That’s an old house perk if there ever was one! Ha!
Step 4: String and hang your garland.
I used embroidery floss in a neutral color for the string part of my garland. It was small enough to fit through the hole in the acorns but strong enough to hold my garland together.
It’s easiest to get the string through the acorns and beads if you thread them onto a needle. If you’re using twine, you can always tape the end to make it easier to slide through all the holes in the beads.
Also, to tie off the garland, you can either knot it heavily at one end, or you can loop and knot it around the final wood bead on each end of the garland. Or maybe there’s a better way? This is my first time making a garland, so I was just winging it.
I swear, the hardest part about any garland situation is figuring out how to hang it. I decided to hang my garland from tiny nails on the mantel. The garland is attached on each end of the mantel and then 16 inches in on both sides.
You could use Command Hooks to attach your garland too.
Doesn’t the finished Wood Acorn and Bead Garland look great?
I’m typically not a garland person. I love them in other people’s homes, but find it hard to make them look good in my own home.
This Wood Acorn and Bead Garland is changing my mind on that stance! This garland is fun, and festive, but also subtle.
It’s the decorating trifecta and that makes me happy!
How do you feel about garlands? Love them? Not your thing? You can always comment on this blog post (I have to approve it first before it appears), email me here, or reach out via Instagram or Facebook.
Thanks for being here today! I love sharing ideas and crafty projects with you. Here are some other blog posts you might enjoy.
*affiliate links in this blog post*


