
Wrapped String Art Using a Frame, String and Glue
What do you do when your child comes home with ANOTHER special piece of artwork and wants that artwork framed?
You could punt the request until they forget and then mysteriously lose that artwork on garbage day. Ahem.
Not that I would know anything about that.
Or, you could IMPROVISE.
Improvise is my middle name means to make something out of whatever is available.
That certainly is a recurring theme around this slice of the internet and what brings us to today’s project.
The art in question is bright, happy and not at all symmetrically cut. It had definitely experienced a rough ride home in a backpack.
My daughter loved the art because it looked like springtime. I loved it because she created it and because it DID look like springtime. I mean that compliment with the utmost sincerity. (Sometimes I need to clarify these things due to my heavy use of sarcasm, which is another recurring theme around this slice of the internet.)
Between my two children, and I’m not exaggerating, 4,327,612 special pieces of art have come home from school. Some of them have been displayed prominently for a time on the refrigerator or on our magnetic chalkboard. I’ve saved several of the pieces in their childhood memento boxes so that they can look back and see what brilliant artists they were at age 4.
But framing them? I’ve only done that a handful of times because I simply can’t buy new frames and mats for all of them.
Sometimes the planets align and their art will fit nicely in one of the extra frames I have on hand. That was not the case this time.
That left me with a creative conundrum of how to frame her art and I really didn’t want to buy something new for this project.
I don’t know what helps you fall asleep at night, but I like to brainstorm how to solve creative conundrums. There’s that period between wakefulness and sleep that is really good for problem solving. If I’m lucky I’ll come up with a good idea AND I’ll be able to remember that idea the next morning.
Shall we take a moment to mourn all the good ideas I’ve forgotten when I fell asleep? *sigh*
I’m not sure if this wrapped string art project qualifies as a good idea (ha!), but I was inspired by those pin boards with crisscrossed ribbon that you can tuck a photo into. Do you know which ones I’m talking about?

I took an over-sized white frame that I had on hand and painted the frame’s cardboard backing (the part that holds your artwork in) a light blue color. It happened to be paint from our kitchen and it works well with the colors in my daughter’s room. I also touched up some wall dings in the kitchen while I was at it. Talk about multi-tasking!
Then I used a multi-colored yarn from my craft stash and wrapped it around and around the cardboard backing securing the ends with hot glue. If you flipped this artwork over it wouldn’t be quite as pretty.
After that I tucked my daughter’s art into a few pieces of the string and called this project finished!
It didn’t take long and I used materials I had on hand, so the wrapped string art didn’t cost me anything either!

I’ll show you where we ended up hanging this new piece of art just as soon as I finish (or mostly finish up) another project in my daughter’s room. One things leads to another…it’s never-ending!
What I do like about this Wrapped String Art idea is that its playful nature works well for a tween girl’s room. It will also look like art even if her painting isn’t tucked into the string. I didn’t preplan that versatility, but it does make me happy when unintended consequences work in my favor!
My daughter loves how it turned out and that’s really the most important thing here.
I definitely get a kick out of trying to create something or solve a problem using unexpected resources. Sometimes improvising works, sometimes it doesn’t. Either way, there’s always another creative challenge in the wings.
Here are some other crafty projects that came about from a little improvisation!
Geometric Mirror Using Wood Children’s Blocks


You May Also Like
Matchbox Car Magnet
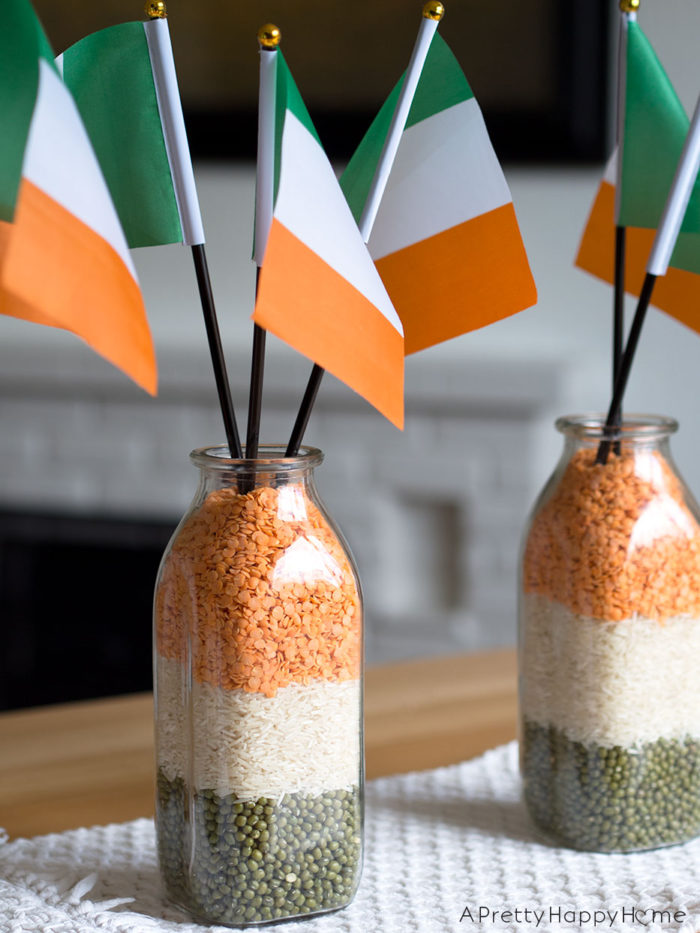
Irish Flag Centerpiece
