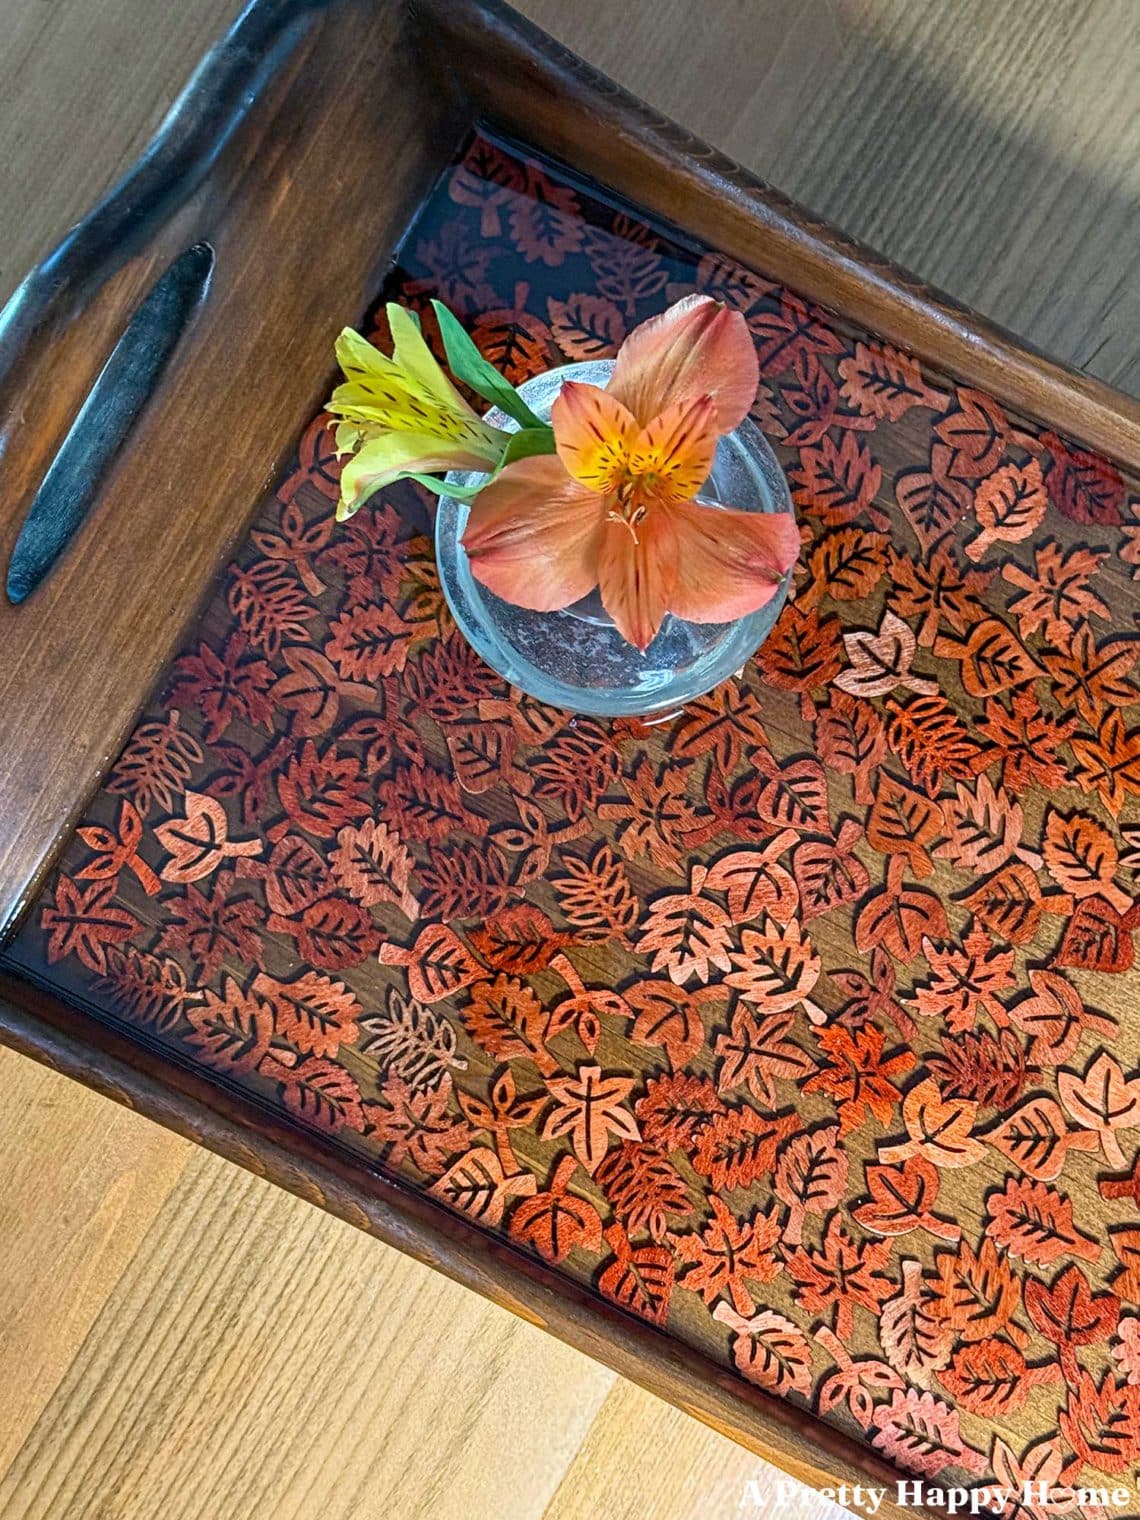
How To: Fall-Themed Resin Tray With Wood Leaf Cutouts
If you have a tray you’d like to fall-ify to make it festive for the autumn season, you’ve come to the right place. Today, I’m going to show you how to make a fall-themed resin tray using wood leaf cutouts.
It sounds way harder than it is to make. This was my first time using resin, so if I can branch out into new craft mediums, you can too!
Let’s get fall into it.
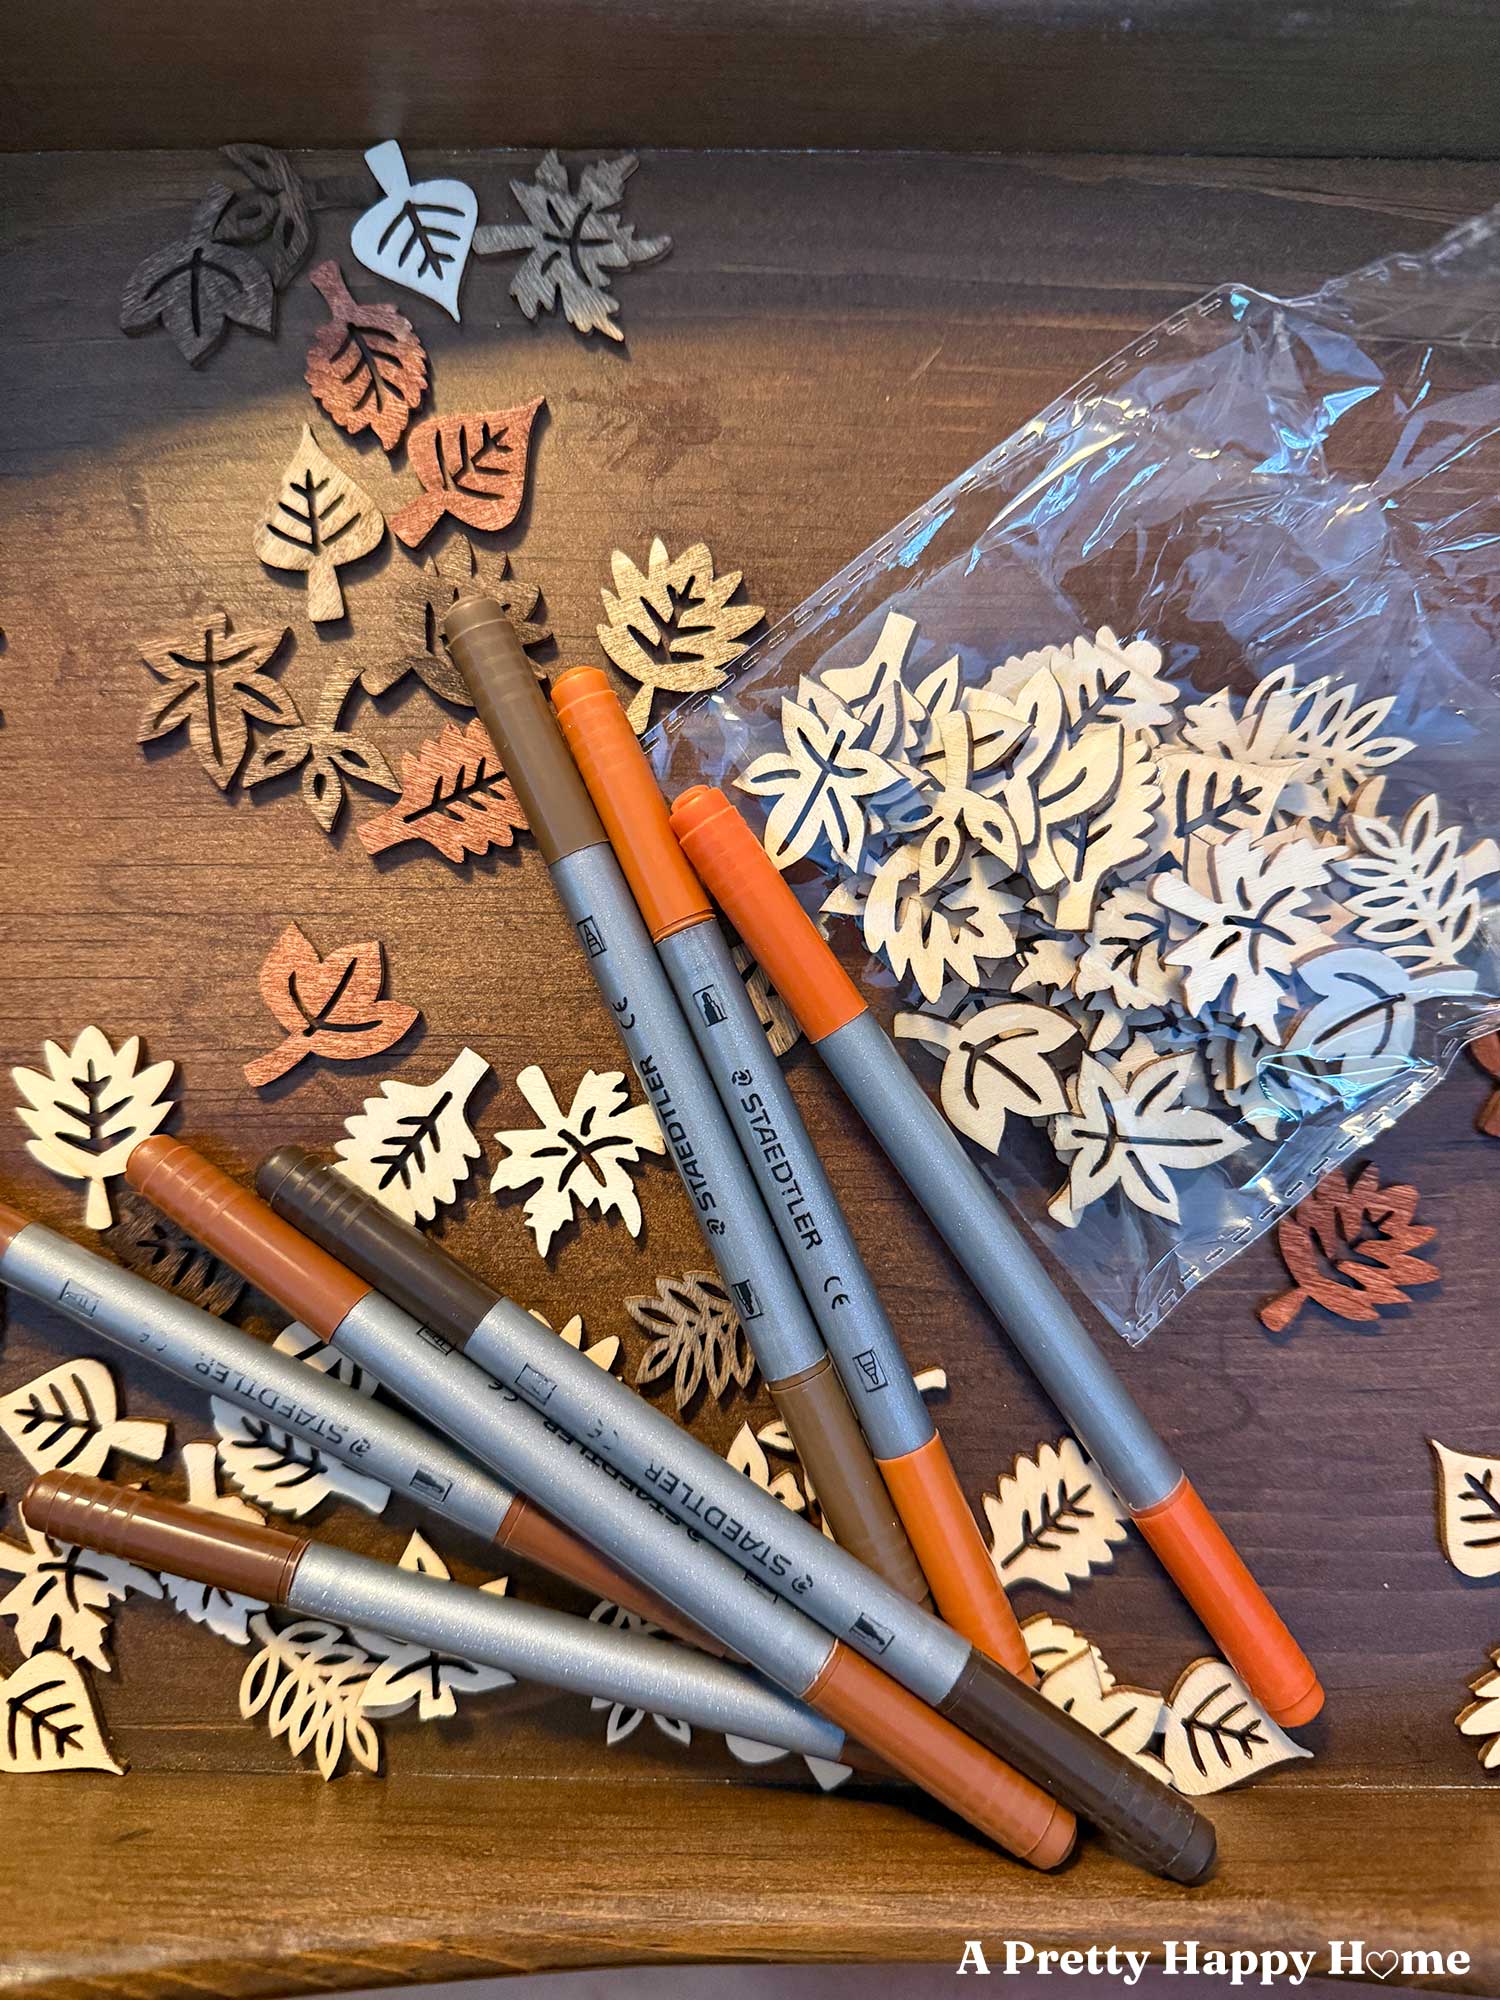
Items You’ll Need:
resin epoxy kit for crafts
tray with a lip or sides
mini wood leaf cutouts
permanent markers in colors of your choice
glue stick
mixing container for the resin
Directions:
Assemble your supplies and decide what color, if any, you want the wood cutouts to be. They come in a light, natural wood color with darker edges.
You can stain or paint the wood leaf cutouts, but I found it to be easier to color them with a permanent marker. (Not a washable marker.) Yes, it’s a bit tedious if you’re doing 200 of them, but you’re coloring, and that’s always a little therapeutic. Please note: I did not have a problem with the colors bleeding when the resin was applied, but it is always smart to test the theory first with however you decide to color your leaf cutouts. I don’t want you to be sad or mad later. Only glad.
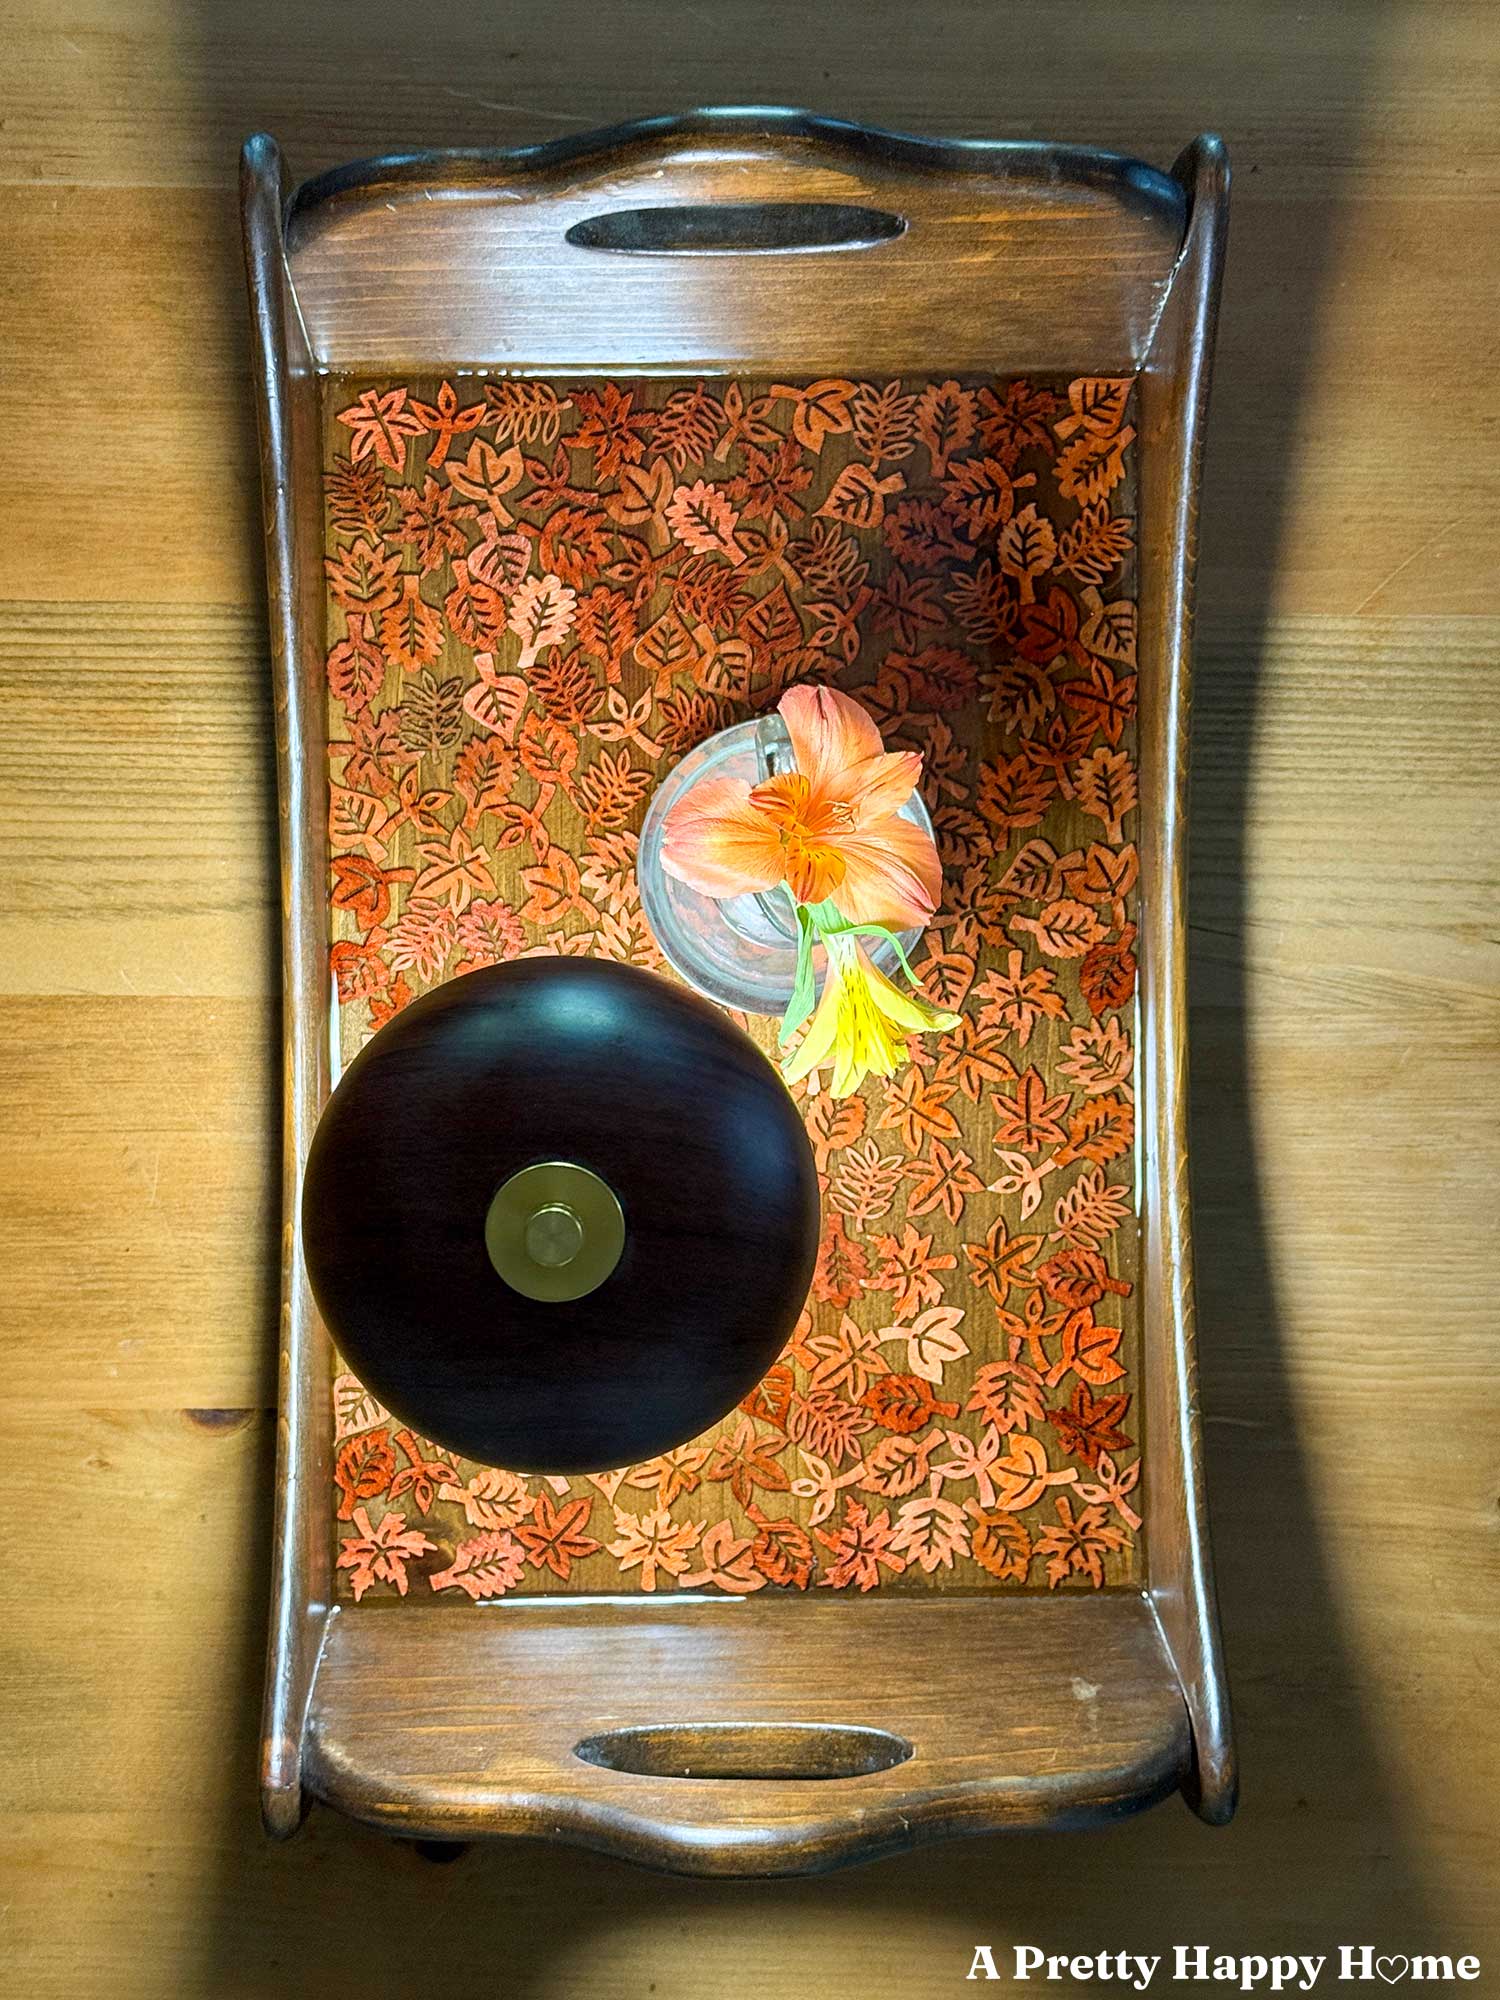
Arrange the wood leaf cutouts at the bottom of your tray. The dimensions of my tray are 10 inches x 15 inches, and I used almost all of the 200 wood leaf cutouts that came in the package.
Secure the leaf cutouts as best you can with a glue stick or some other adhesive. If you use a crusty, half-dried-out glue stick that you found at the bottom of your kid’s backpack, as I did, you’re going to have problems. If the cutouts aren’t firmly attached to the bottom of the tray, they will float up when you pour the resin over them. Then you’ll panic as I did, and chaos will ensue and undo all the good vibes that the coloring portion of this craft gave you.
Once your leaf cutouts are arranged and secured to the bottom of your tray, mix the resin per the package directions. I mixed mine in a red Solo cup because I’m classy like that. Continue to follow the resin package directions for pouring and dry time. I did have to do mine in two pours, and I sanded in between the pours as per the resin package directions. I still have resin leftover, so there should be plenty if the dimensions of your tray are similar to mine.
When the resin has cured, it’s time to light your pumpkin spice candle, step back, and admire your gorgeous fall-themed resin tray. You did an unbe-leaf-ably good job!
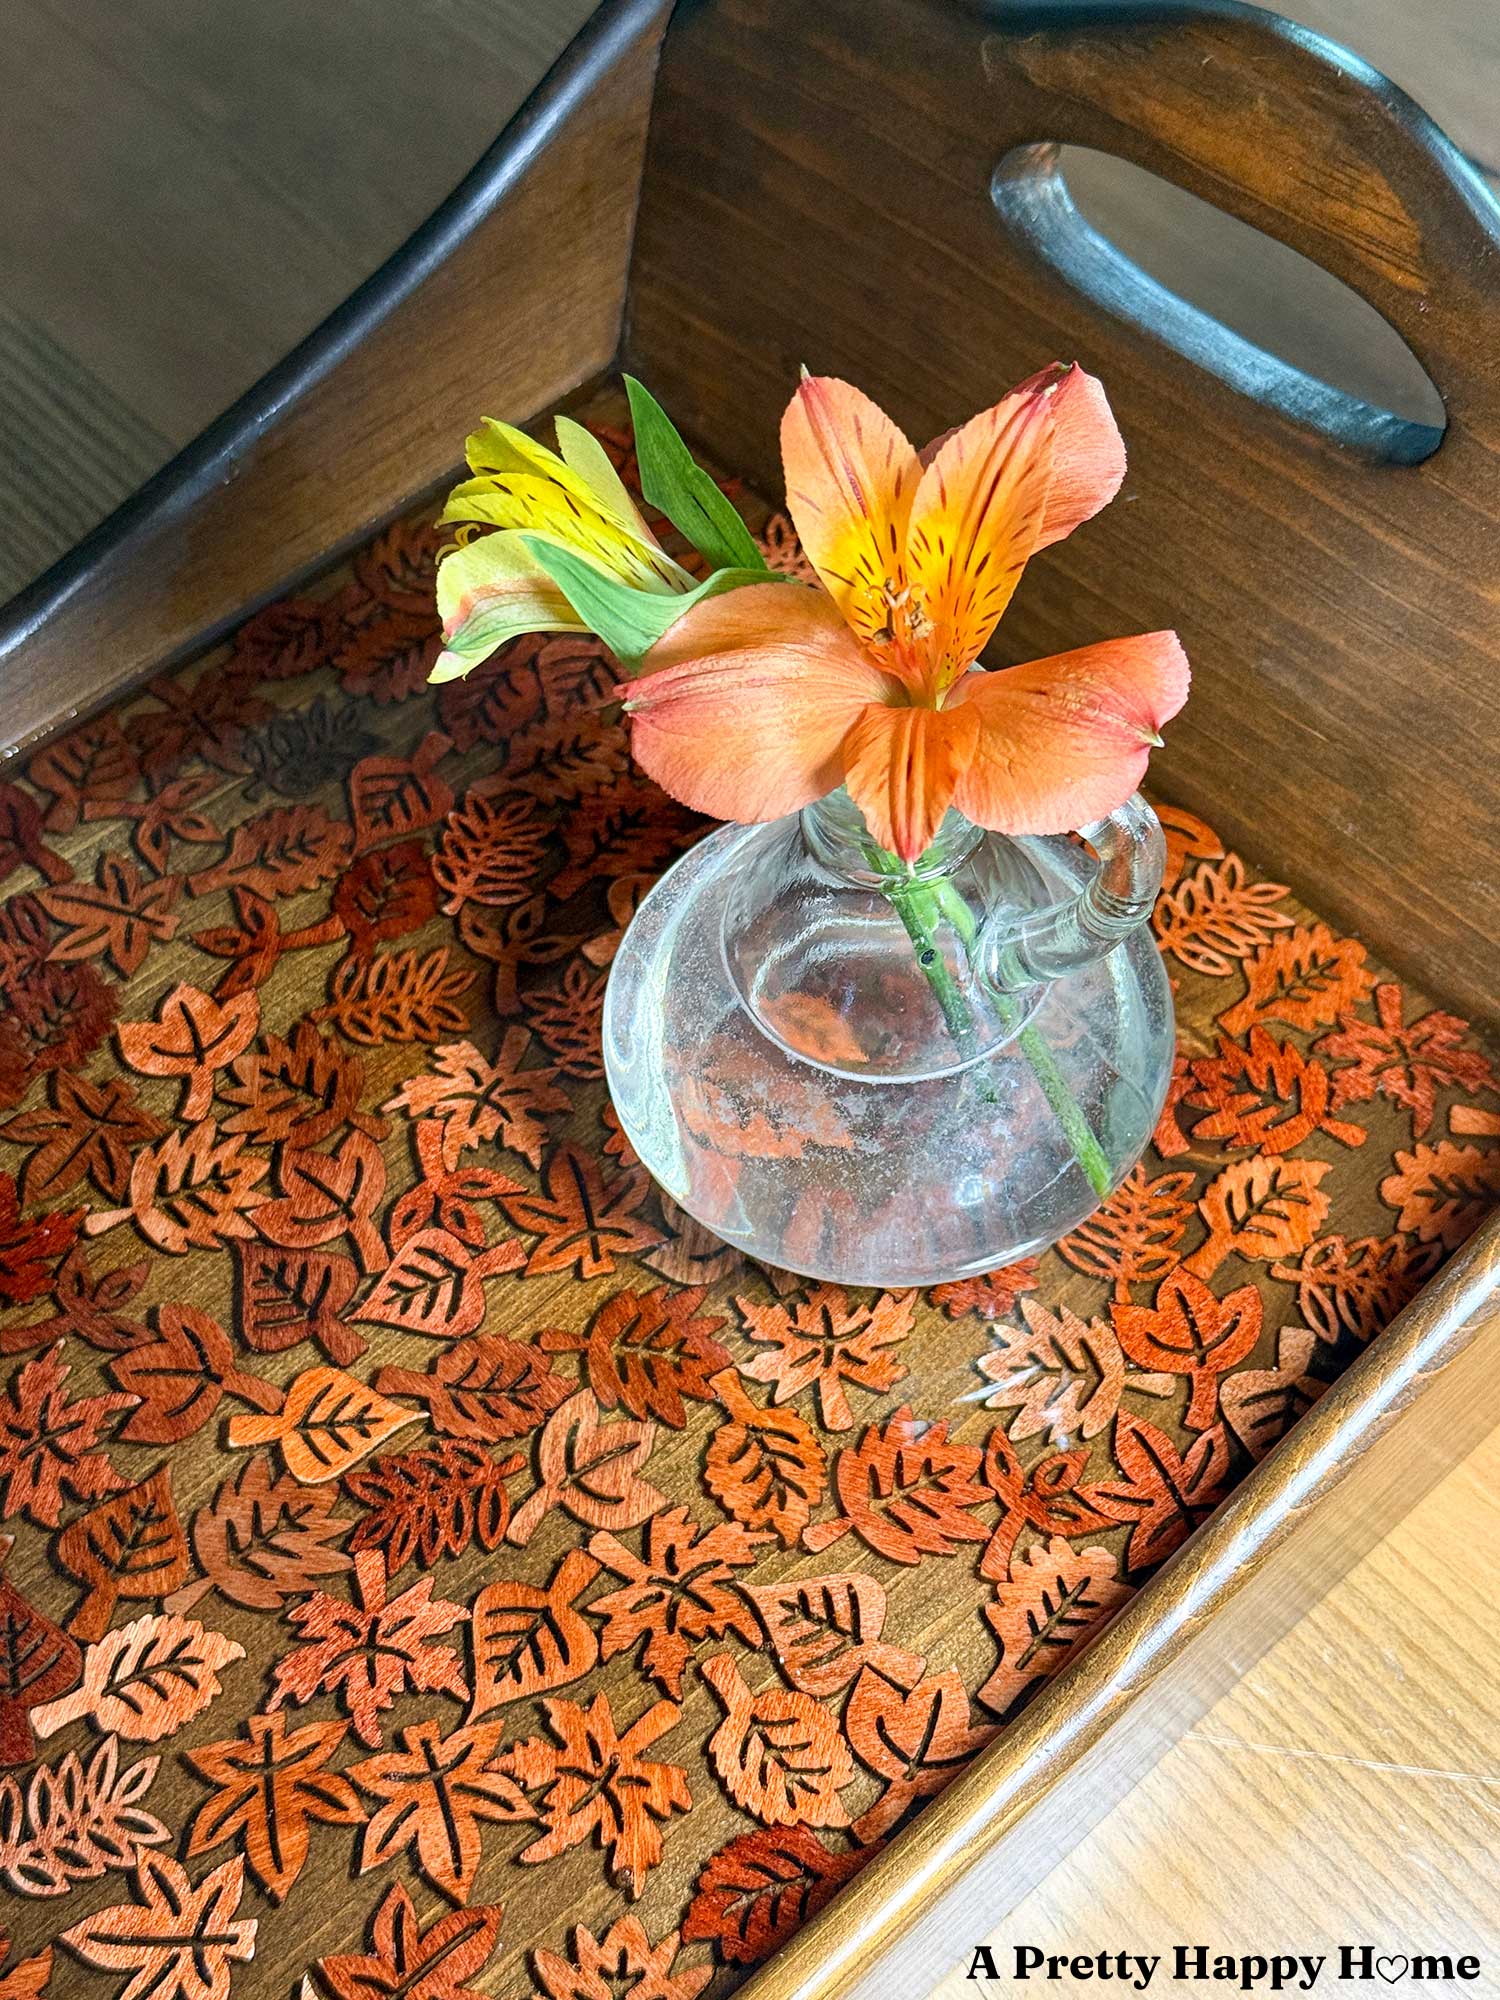
I will admit to being a little bummed when I had my leaf crisis in the middle of this craft because my perfectly arranged wood leaf cutouts were no longer perfectly arranged.
Wood that be a mid-leaf crisis?
Of course, it was a silly oversight, but it wasn’t the end of the world. It wasn’t even the end of the craft. I managed to salvage the situation, and the tray still looked so cool!
The pictures don’t do the tray justice because it’s so hard to capture how it appears like the leaves are floating in the resin. Handy Husband keeps touching the tray because the resin is so smooth, and it looks like glass. It also took me forever just to figure out how to photograph the tray so that it wasn’t reflecting everything around it as a mirror does. Ha!
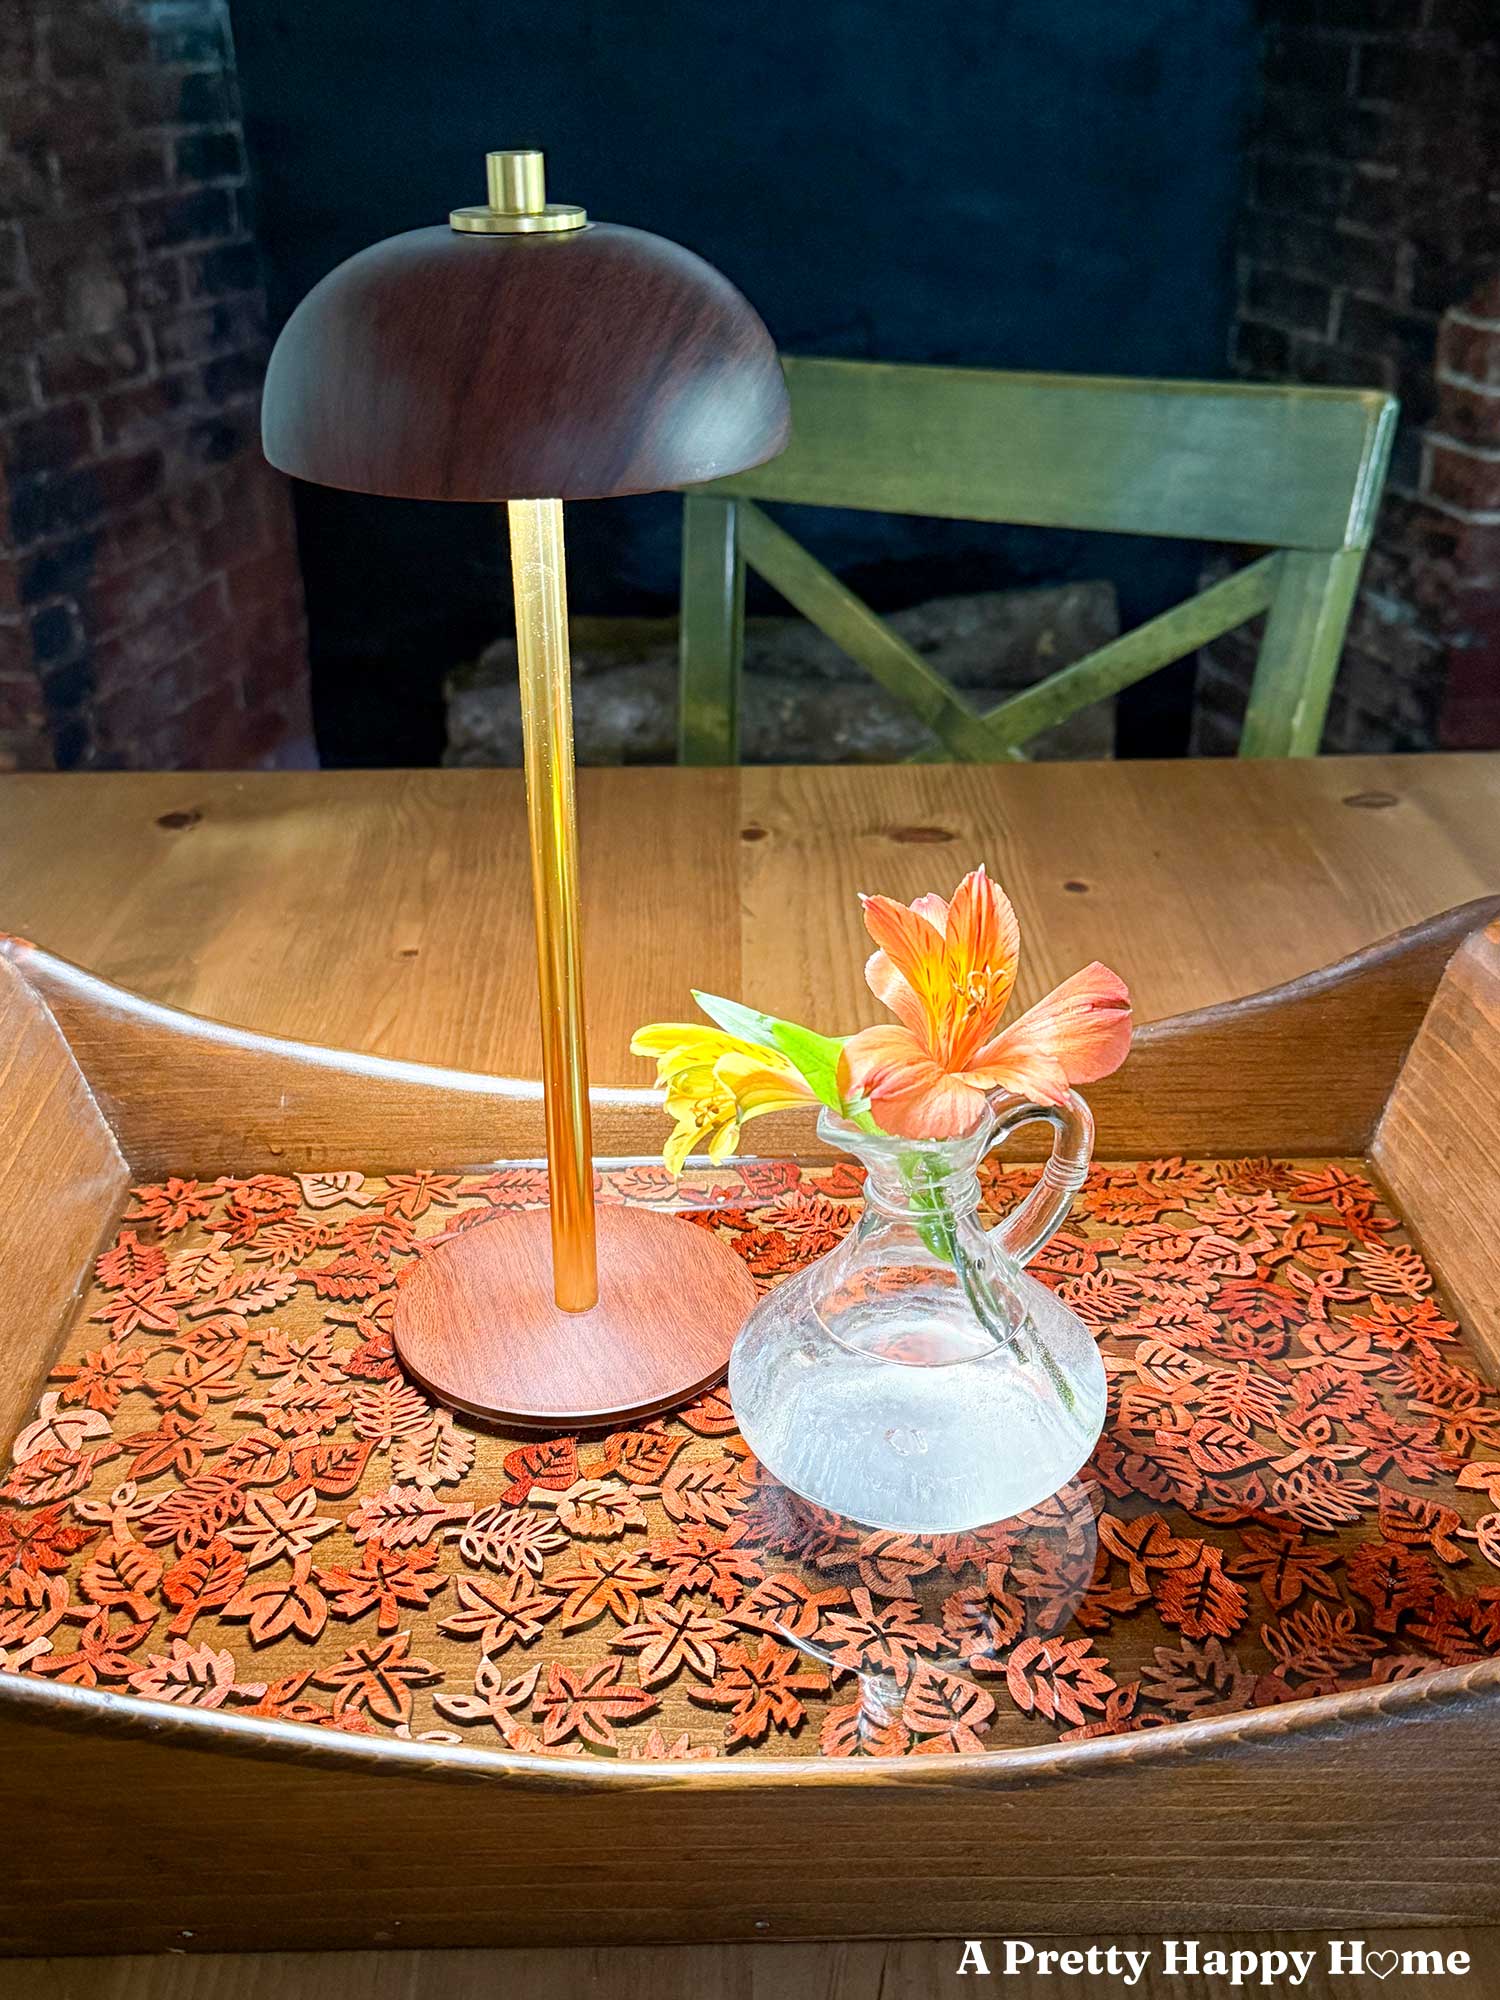
The more I thought about it, the more I decided that my glue stick incident was a happy accident. The leaf cutouts on my tray now resemble how leaves fall in real life. It’s a little haphazard and chaotic, but absolutely beautiful.
Have you worked with resin before? How’d it go? What do you think of my fall-themed tray? You can comment here on this blog post, email me here, or reach out via direct message on Instagram or Facebook. Comments are like happy mail from a friend. They totally make my day!
Happy Crafting!
P.S. If fall-themed crafts aren’t your thing, there is also a winter version of those wood cutouts!
Thanks for dropping by today! If you’d like another craft idea, I’ve got you covered!
DIY Wood Leaf Wreath Using Large Leaf Cutouts
How to Leaf Stamp On Wood Rounds
*affiliate links in this blog post*


You May Also Like

Let Freedom Ring
Halloween Countdown Lunchbox Notes – Free Printable
