Basement Workshop Stone Repointing: Part 2, Concrete Problem
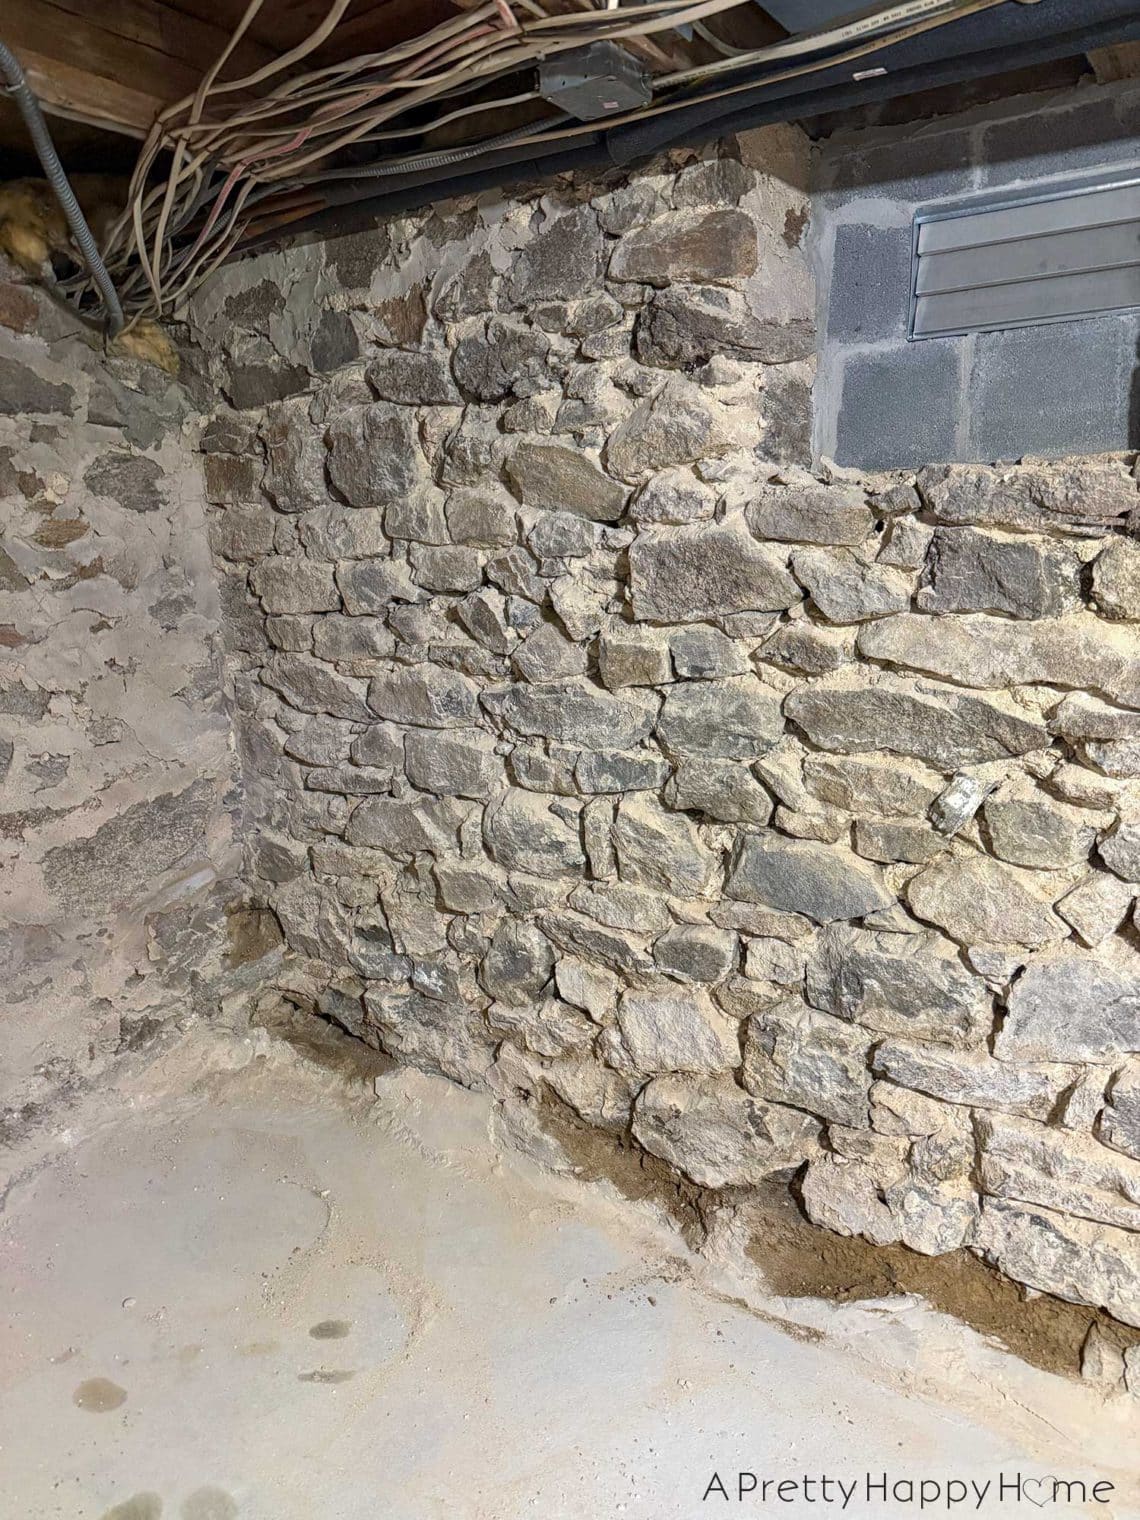
Welcome back to our Basement Workshop Stone Repointing Series. It’s a rocky romp through restoring the creepy part of our house – the basement. You can catch up on Part 1 here. Today we’re talking about the concrete problem. Most people in the U.S. probably take for granted that their basement, if they have one, has a concrete floor. So did I, until we bought this house. Part of our basement has a rubble floor. Aside from the perk that the floor is one big drain, it’s about as awesome for modern living as you imagine. However, the part of our basement that we are currently repointing DOES have a…
Basement Workshop Stone Repointing: Part 1, Why Now
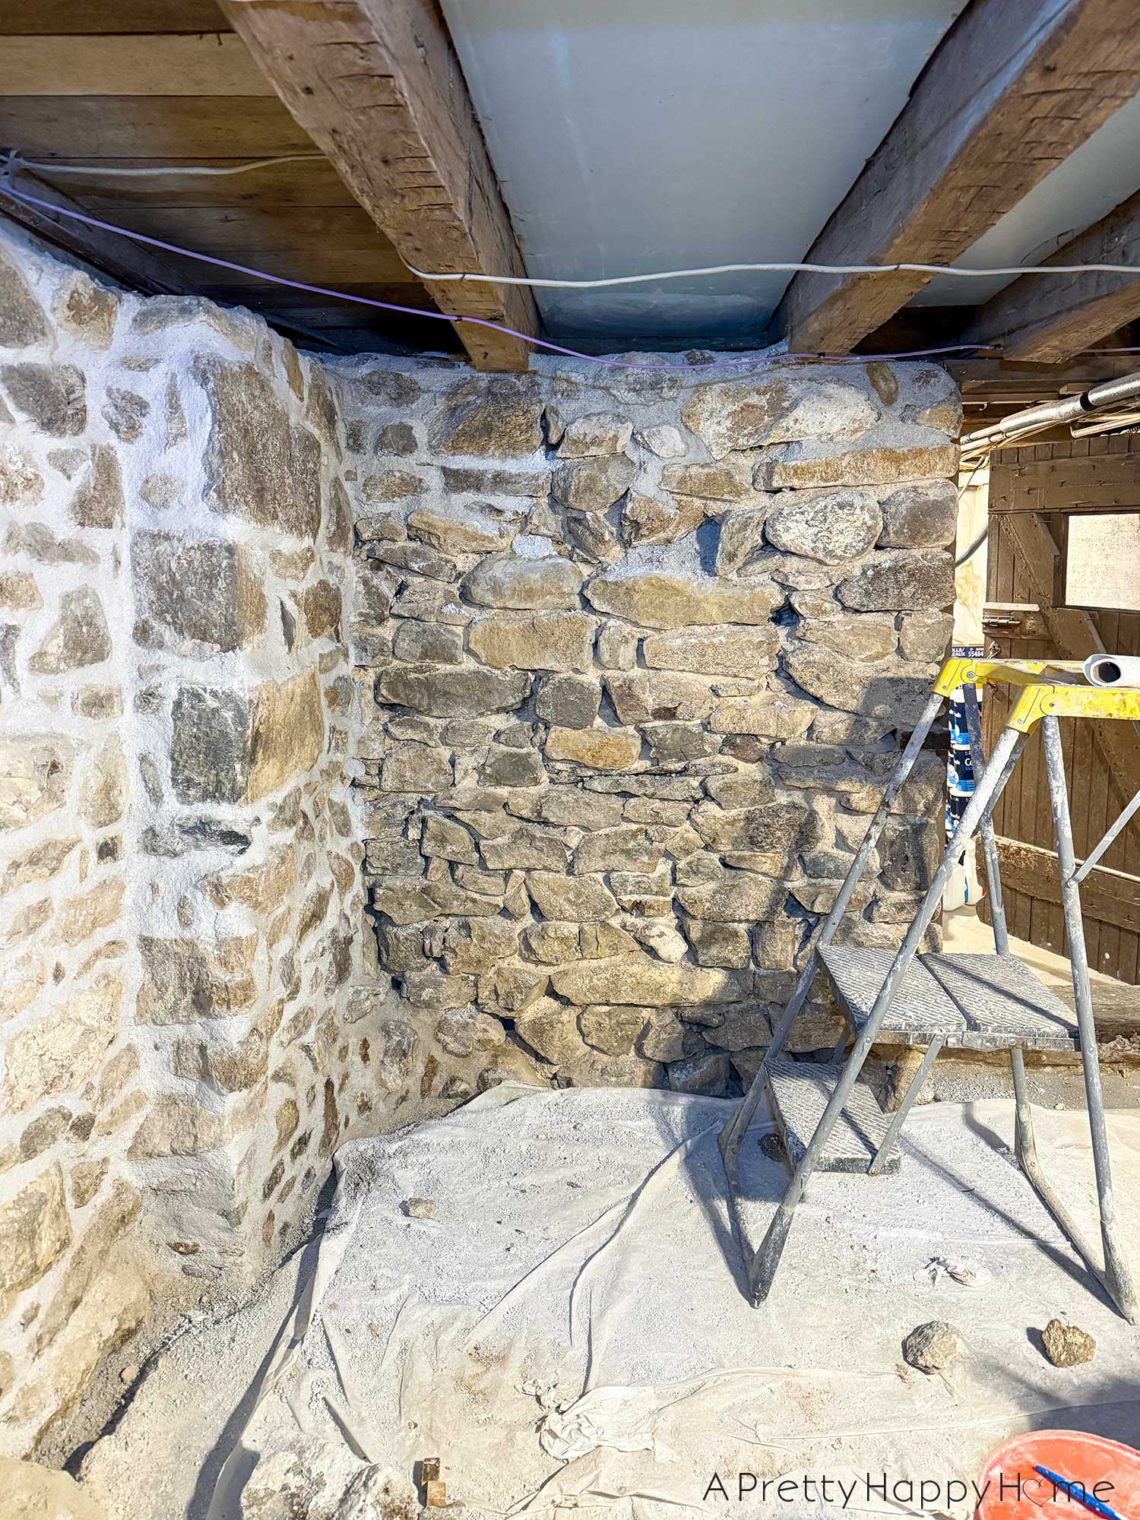
A new series chronicling our basement workshop stone repointing project (say that three times fast) starts today! Get your popcorn ready. I’m about to overshare the nitty-gritty details and drama. Project Background: Our house was originally built in the 1780s and has a stone foundation. It pains me to tell you that most of the exterior of that foundation has been skimmed with modern mortar, but that’s a project for a different blog post. Historic stone foundations are made with fieldstone, which is stone used in its natural form as it came out of the ground. There was no grinding or chipping to make the stones uniform in any way,…
Yes, You Can Hang a Mirror on a Peg Rail
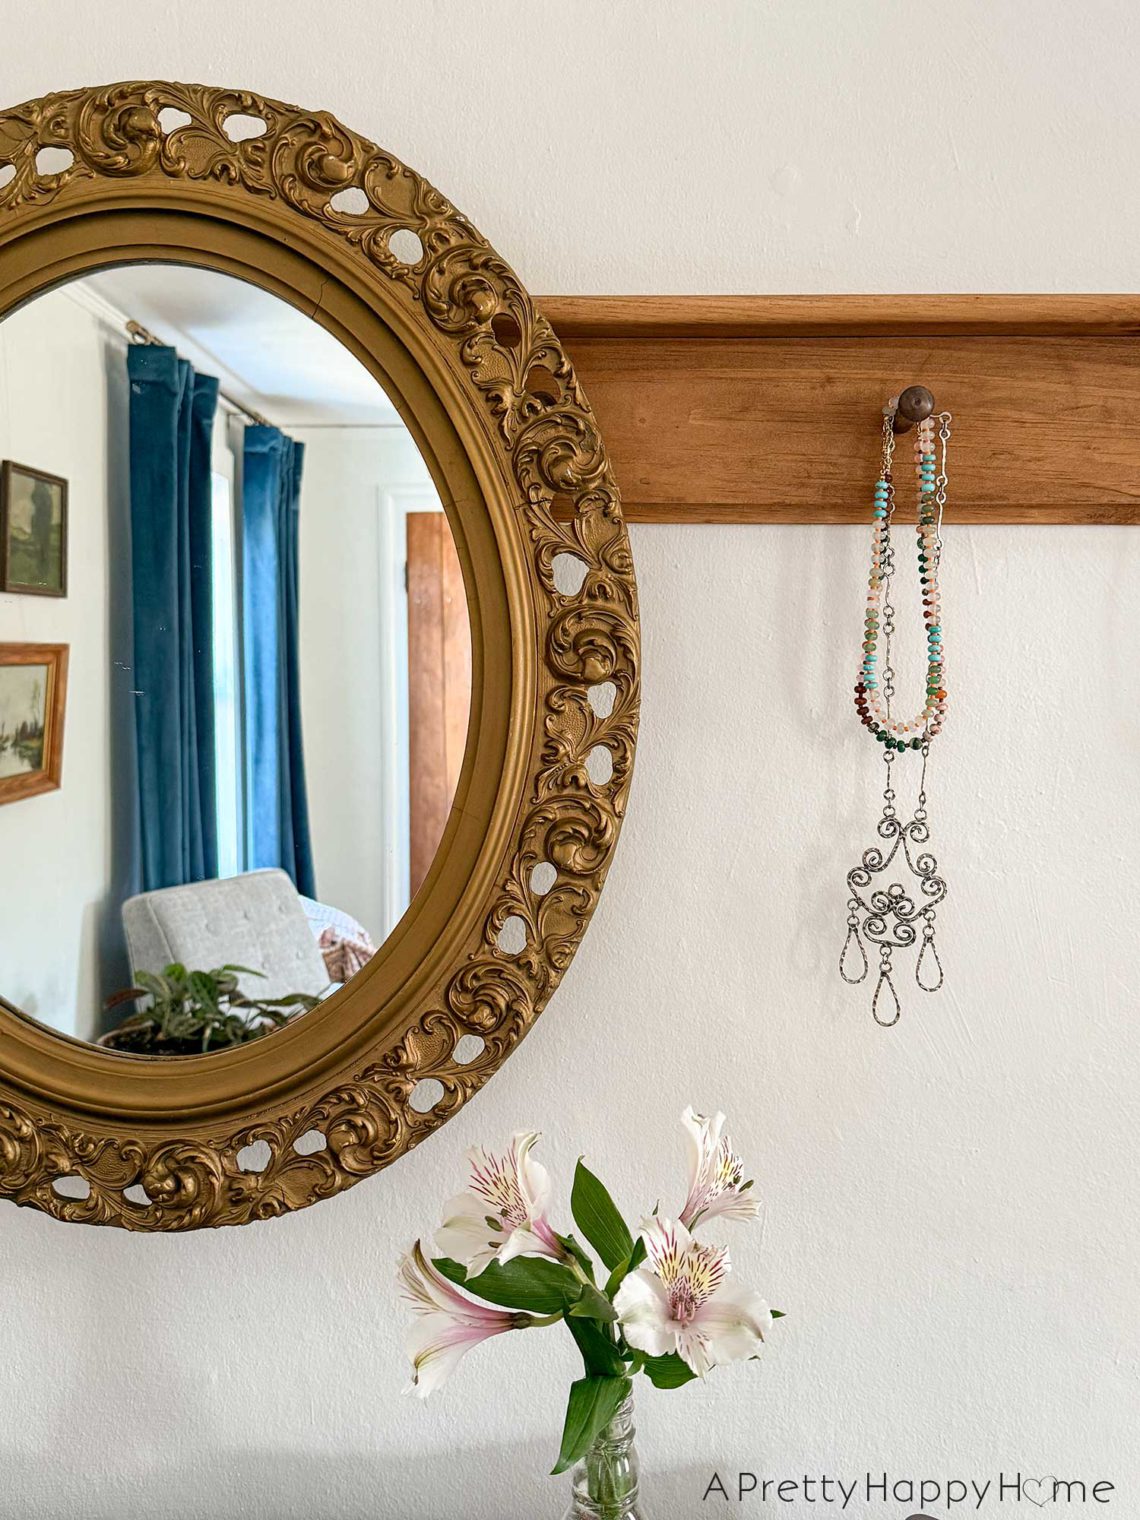
Yes, you can hang a mirror on a peg rail. I’m here to show you how and share the unexpected item I used to make it happen. I have a peg rail on the wall above a bedroom dresser. I mainly use this particular peg rail for hanging my everyday necklaces. What I did not have was a mirror above the dresser. I realize this is a less common bedroom dresser feature in these modern times, but it sure is helpful when you’re trying to pick a necklace to wear. There are two ways (at least) to hang a mirror on a peg rail: First, you can hang it directly…
Lime Mortar Pointing on Brick Stairs
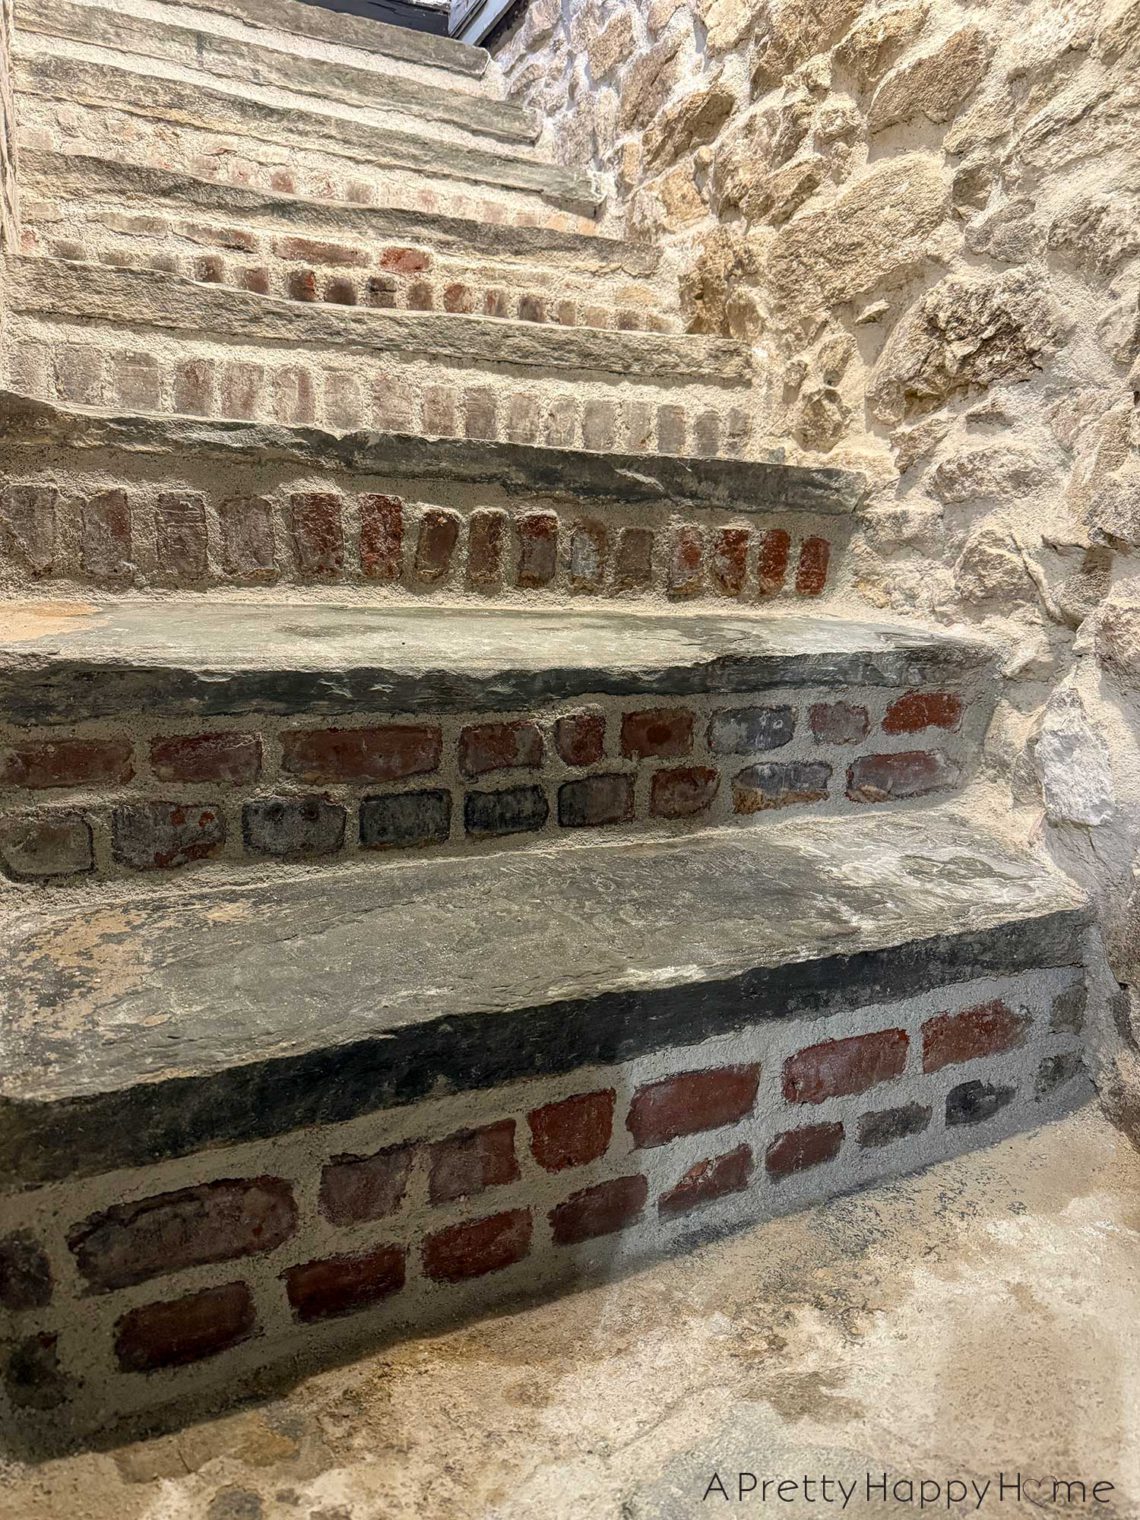
It took two years, but I finally finished the lime mortar pointing on our brick stair risers in the basement. *takes a bow in an empty room* The stair treads are flagstone, but the risers are brick. Someone had a “one and done” approach to building these basement stairs, and I wish I could throw them a ticker tape parade for their decision because they will never rot or need to be rebuilt. Repointing is another issue. That needs to be done every one hundred years or so. I’m just the lucky homeowner whose game piece landed on the “must repoint” square on this board game called “Money Pit.” We…
DIY Giant Plywood Christmas Trees
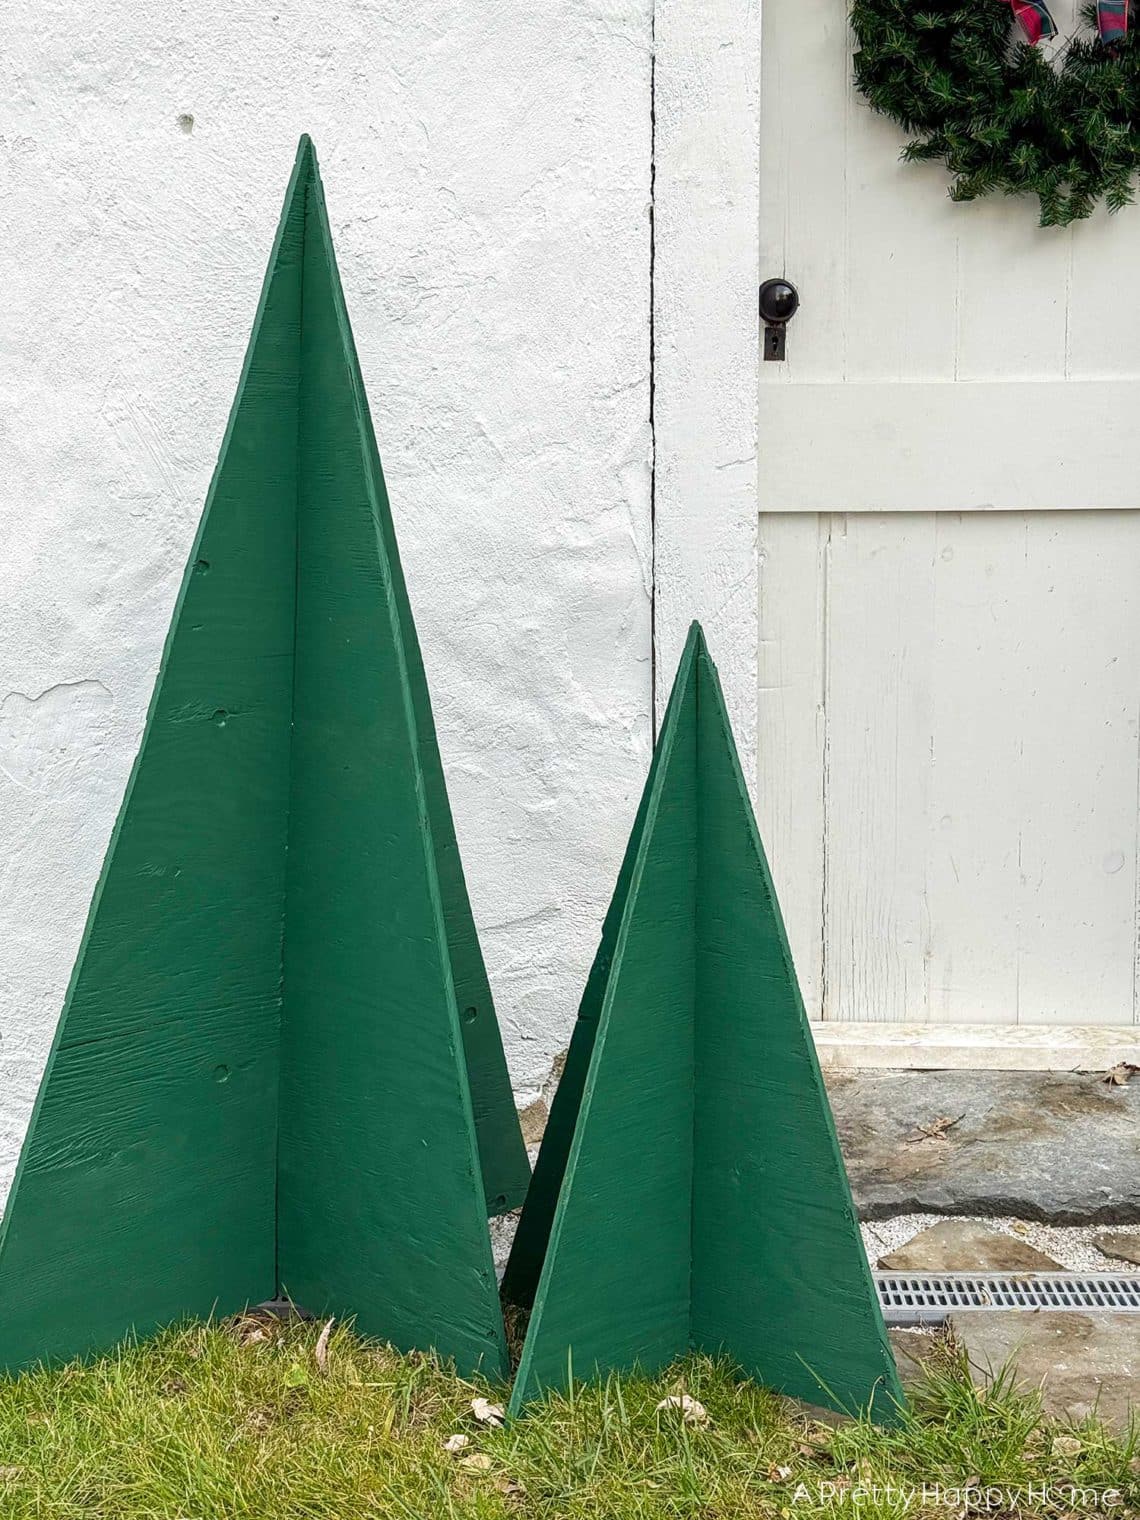
Decorating for the holidays? The thing your front porch is missing is giant plywood Christmas trees. They can be painted any color, made in most any size, and can fold flat for storage. That’s it. That’s my pitch. Blog post complete. Kidding! You know I’m chattier than that. To make giant plywood Christmas trees, you need to cut two isosceles triangles out of plywood. I might have had to Google how to spell isosceles, but I do know from high school that it’s a triangle with two equal sides and two equal angles. We used rough plywood, not finish-grade plywood, because no one is examining these trees up close. I…
Upcycled Plant Stand From a Lamp Base
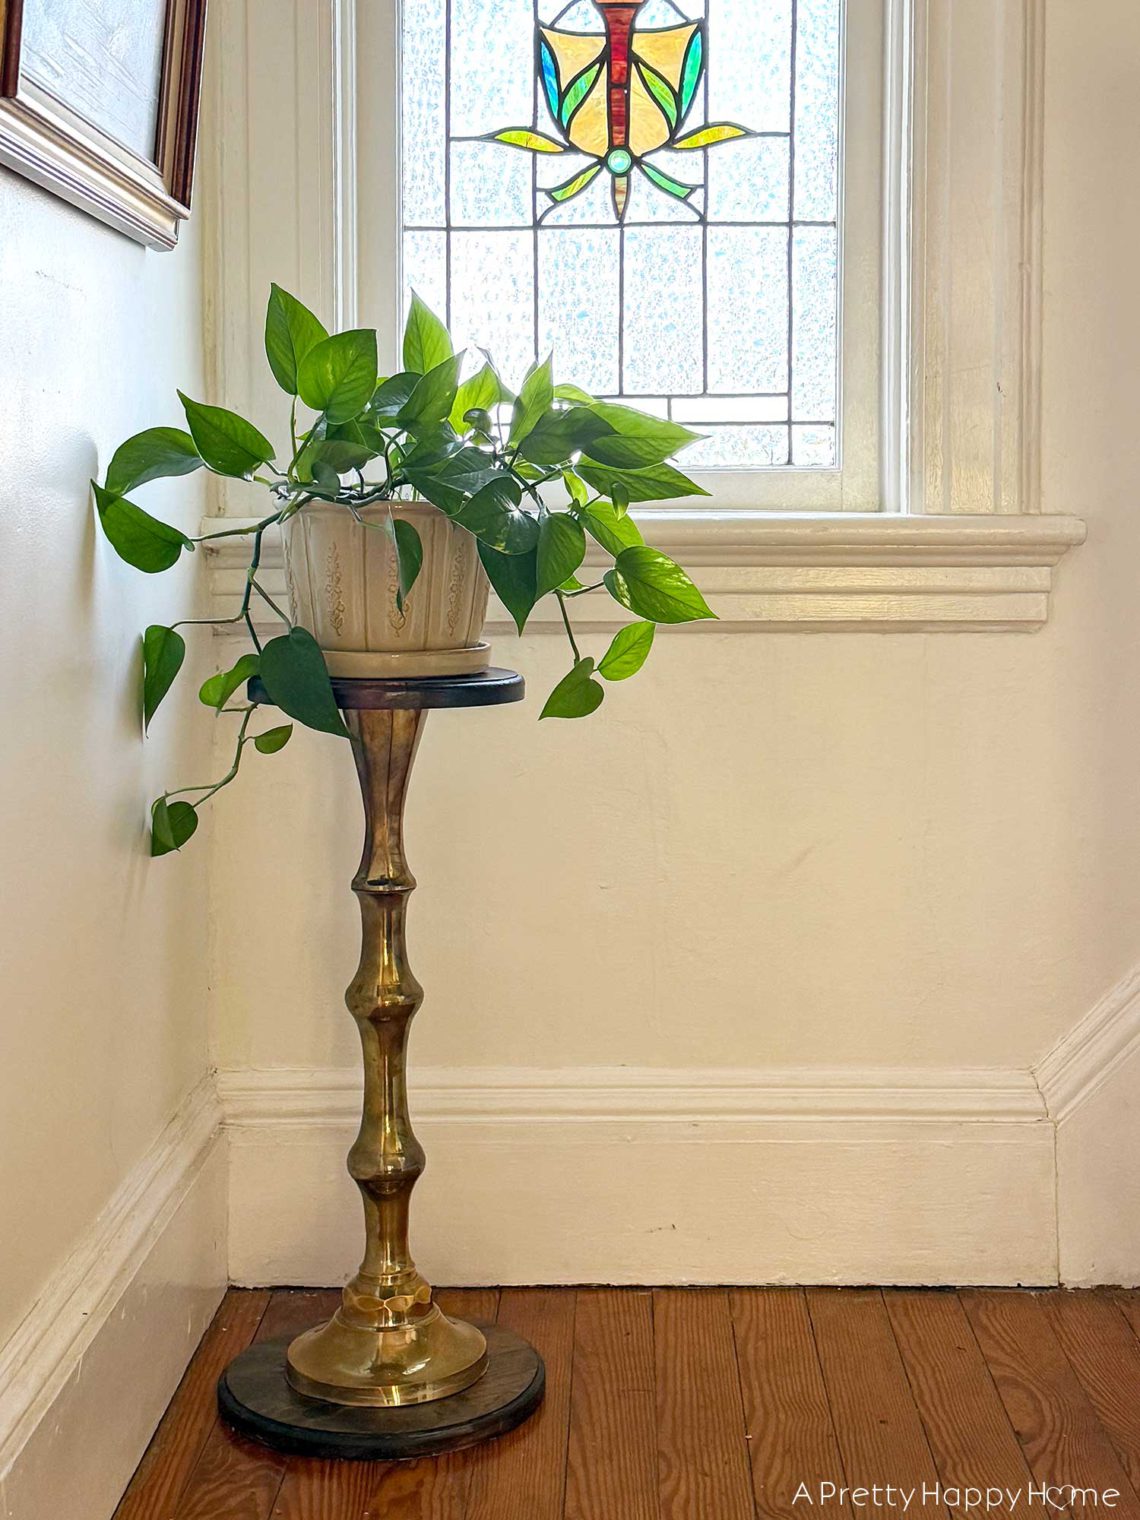
The thrift store gods smiled down on me favorably the day I spotted a $9 brass thingy-ma-bob on an overpacked, dusty thrift store shelf. It looked a bit like a giant brass candlestick. Maybe a lamp base. Probably was a lamp base. Although it could have been part of a table, for all I know. What I did know was that I was not going to waste this precious gift. Without a moment’s hesitation, I grabbed that brass thingy-ma-bob off the shelf and walked nonchalantly away. We all know you have to act quickly before someone else notices what you’ve noticed and swipes it out from under you. All’s fair…
Mini Kitchen Makeover After 5 Years – How Has It Held Up?
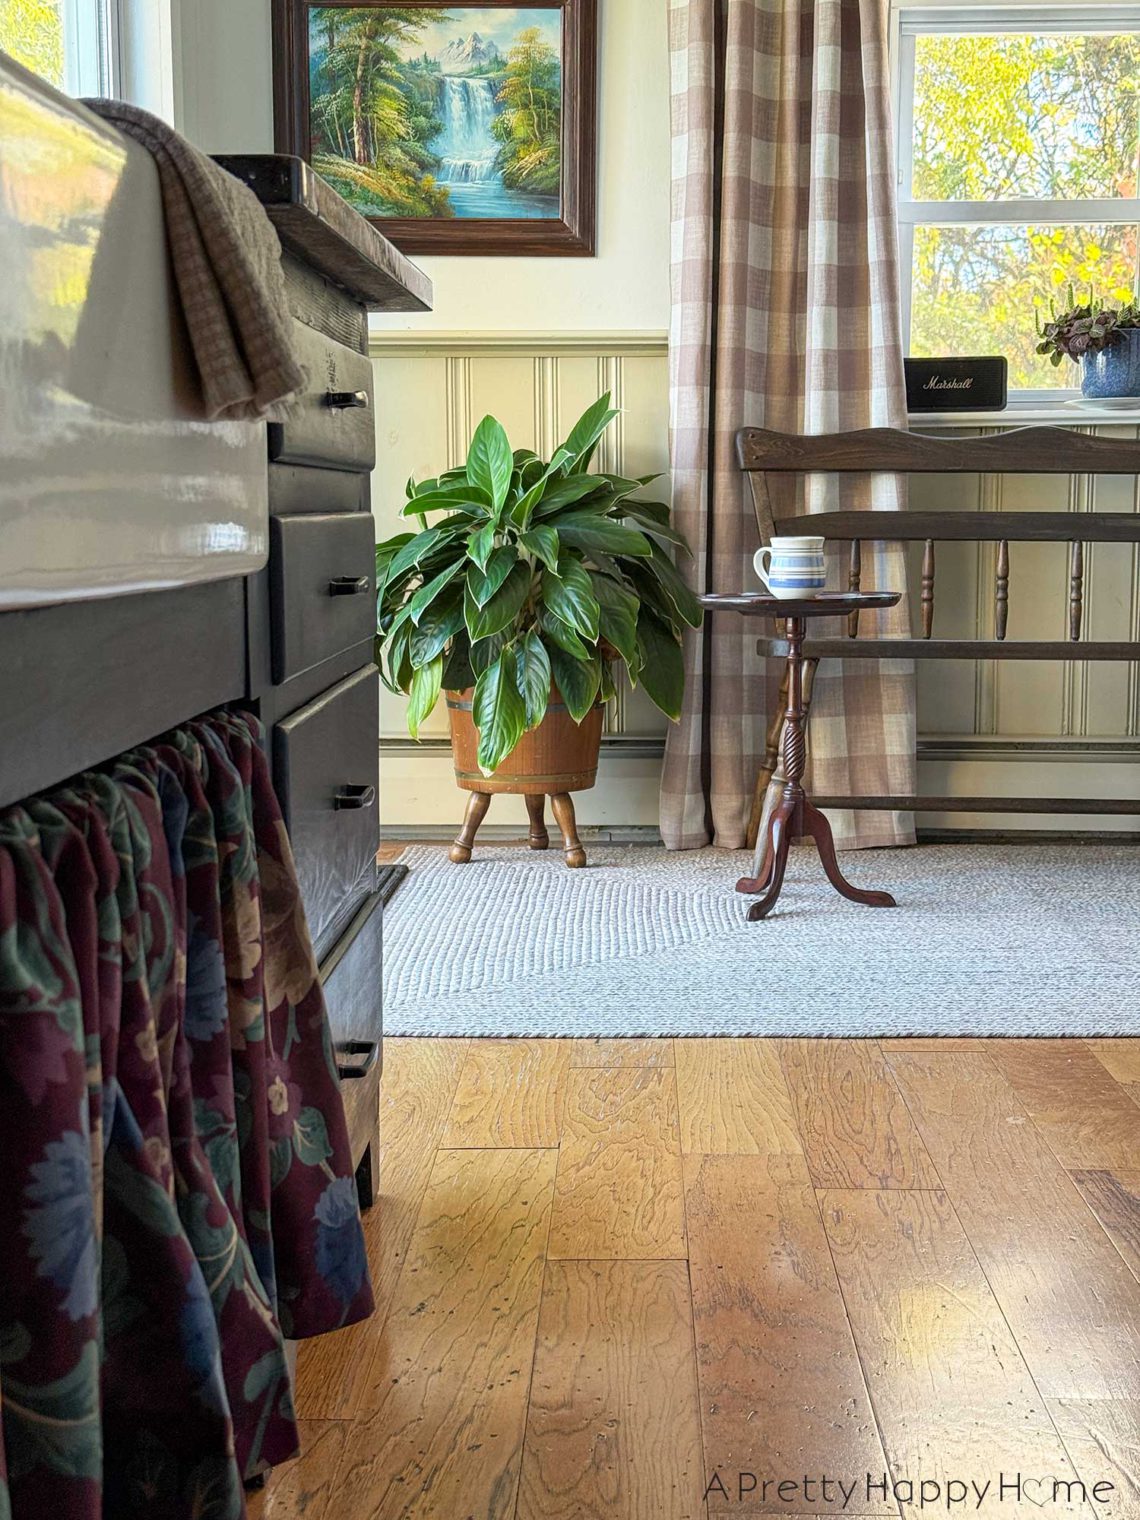
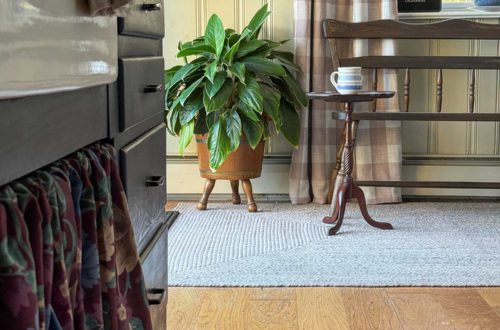
Home makeovers are fun, but what I really want to know is how your makeover has held up over the years. That’s why I’m sharing how our mini kitchen makeover is holding up after 5 years of extreme use. It’s five and a half years, technically speaking, but that’s not as catchy. When I say extreme use, I mean this kitchen is put through the wringer. We rarely eat out. We work from home. We were holed up in this house during a pandemic. We’re still holed up in this house because we like it here. We do a lot of DIY projects, so we’re always tracking dirt in and…
Converting a Door Into a Window In a Stone Building, Part 2
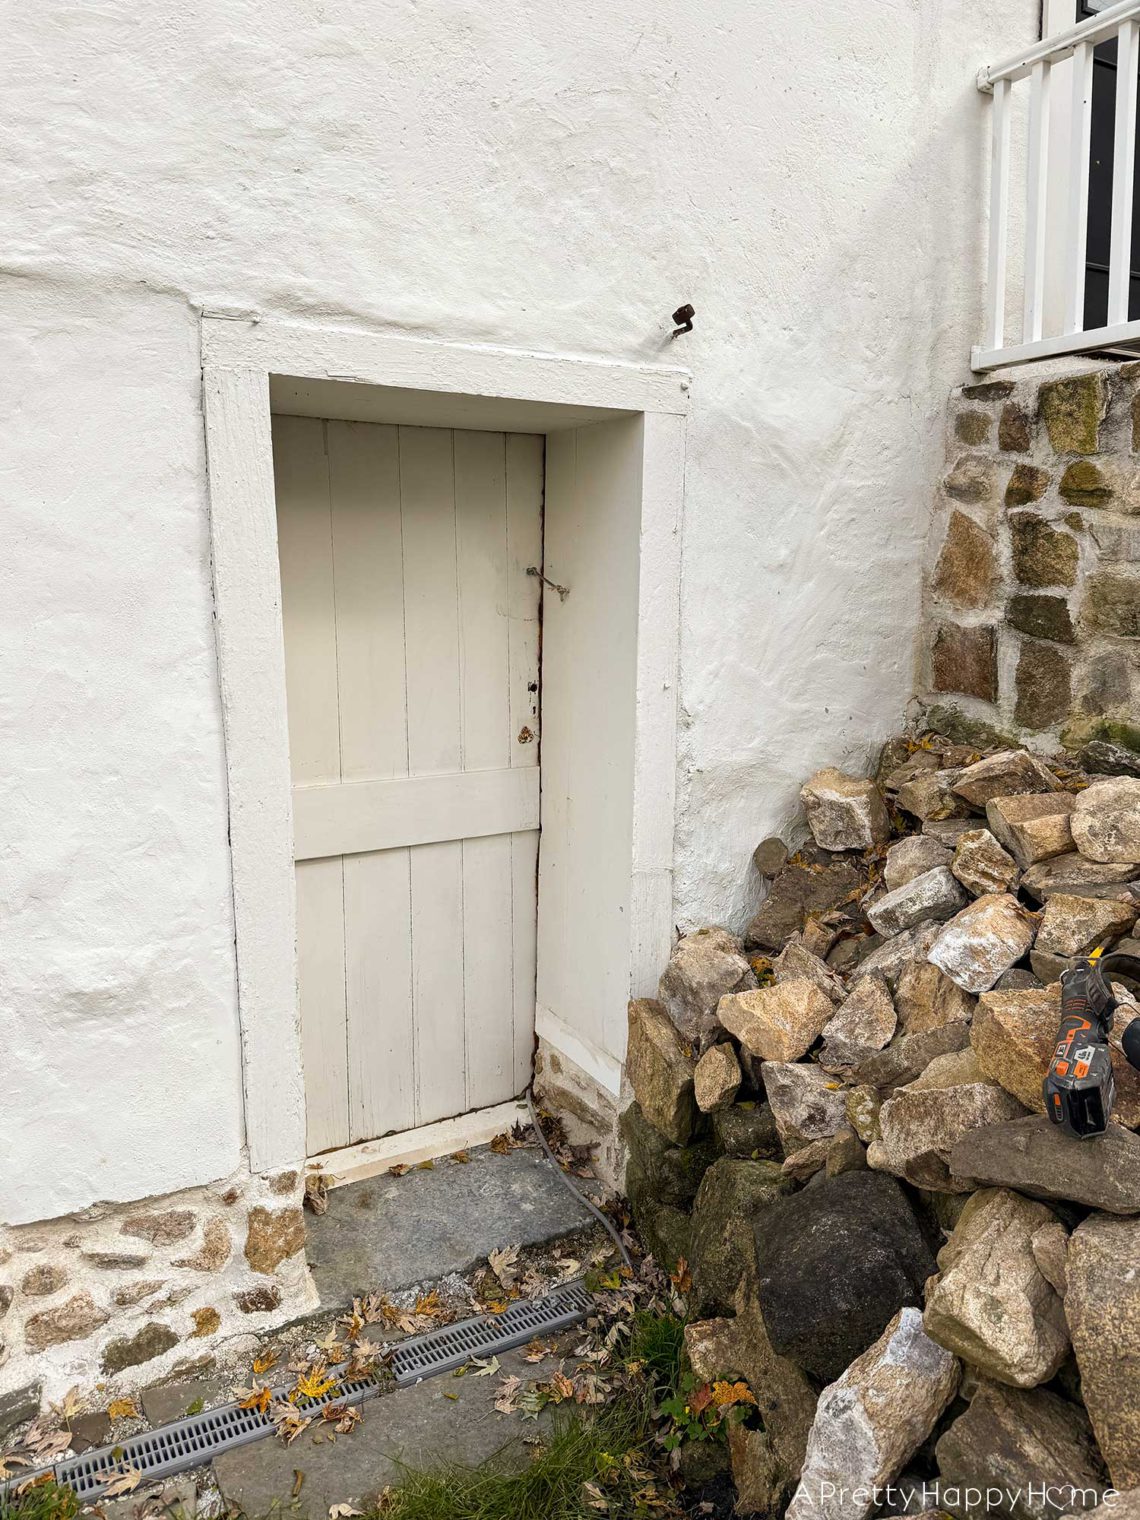
Today, I’m continuing the story of how we’re converting a door into a window in a stone building, our Carriage House. You can catch up on part one, which includes why we are doing this, here. When we last left off, we had removed the lower half of the Dutch door in this space, removed the bottom part of the door jamb, and added a window sill. It might seem like a backwards way of doing things, adding a window sill before we have window framing or even the window, and it is for sure. However, this order of operations was selected for a reason. We need to fill in…
Converting a Door Into a Window In a Stone Building, Part 1
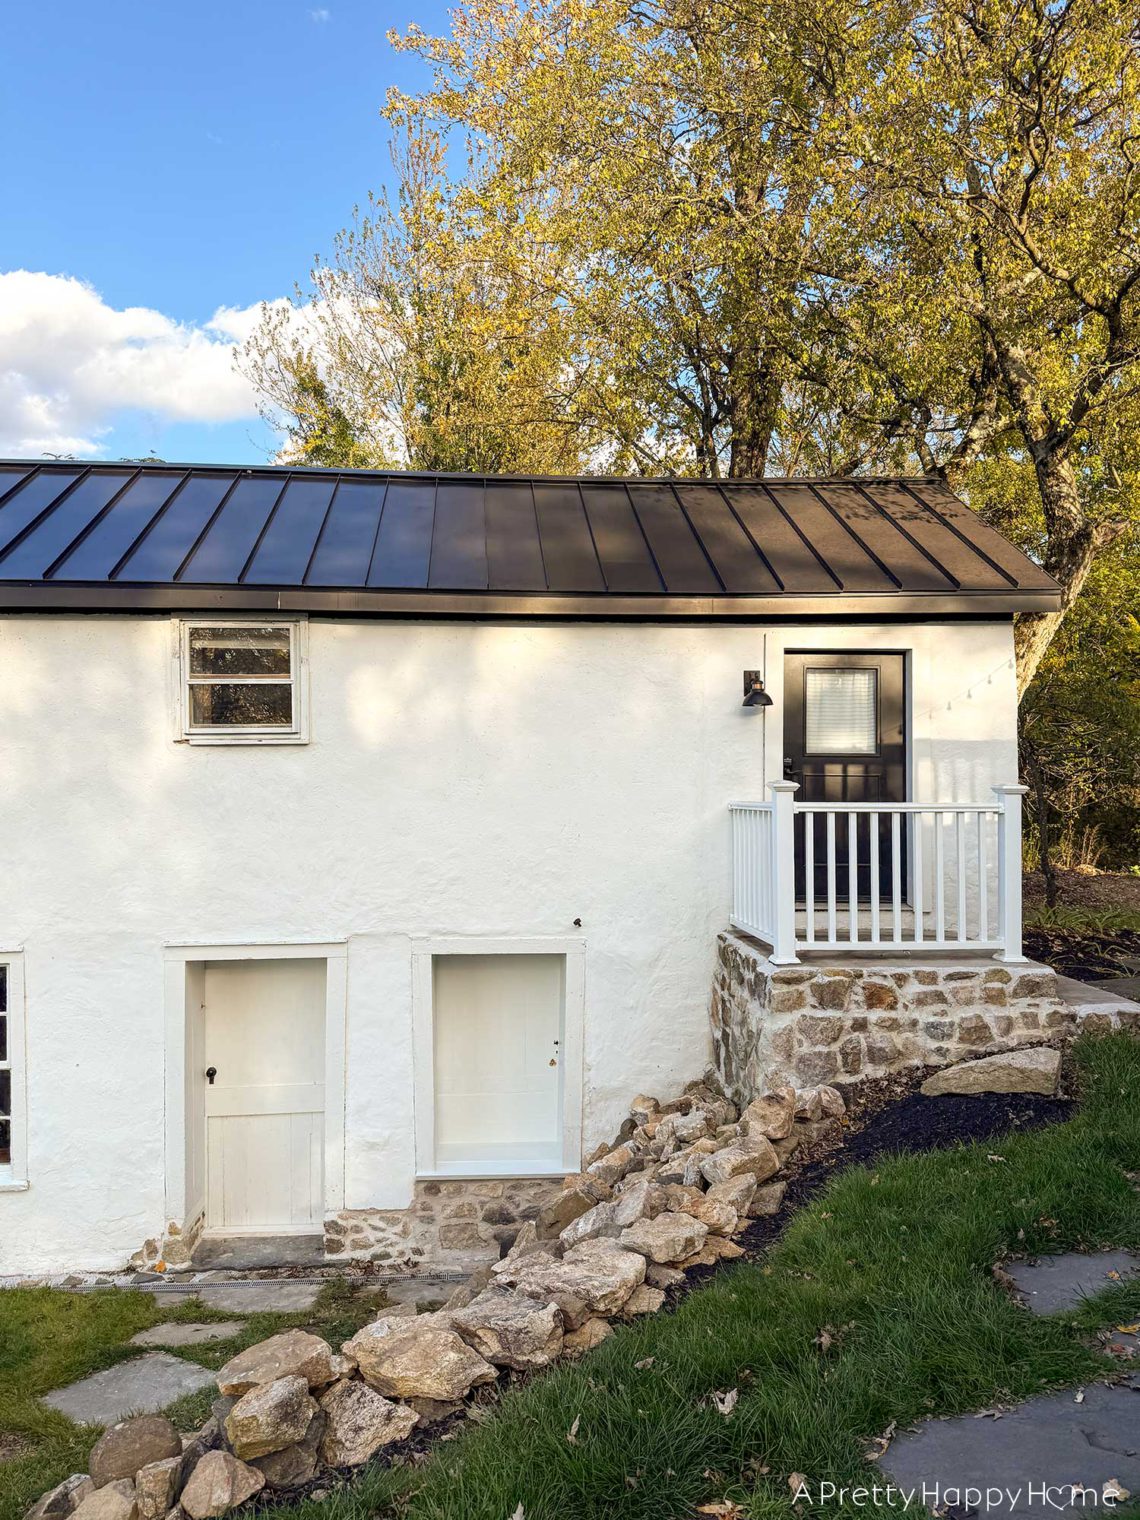
We are converting a door into a window in a stone building, our Carriage House. Want to see how that’s going to work? If so, you came to the right place. If you want to know why we’re doing this conversion, you also came to the right place. All signs are pointing to you being exactly where you need to be at this moment. Lucky you! Multiple entrances to a building are usually a good thing. Multiple entrances to a building are unnecessary if they are 18 inches apart and open into the same room. It would be like having two front doors, and that’s exactly what is happening with…
Curved Fieldstone Wall: Part 12, Reveal 2nd Wall Section
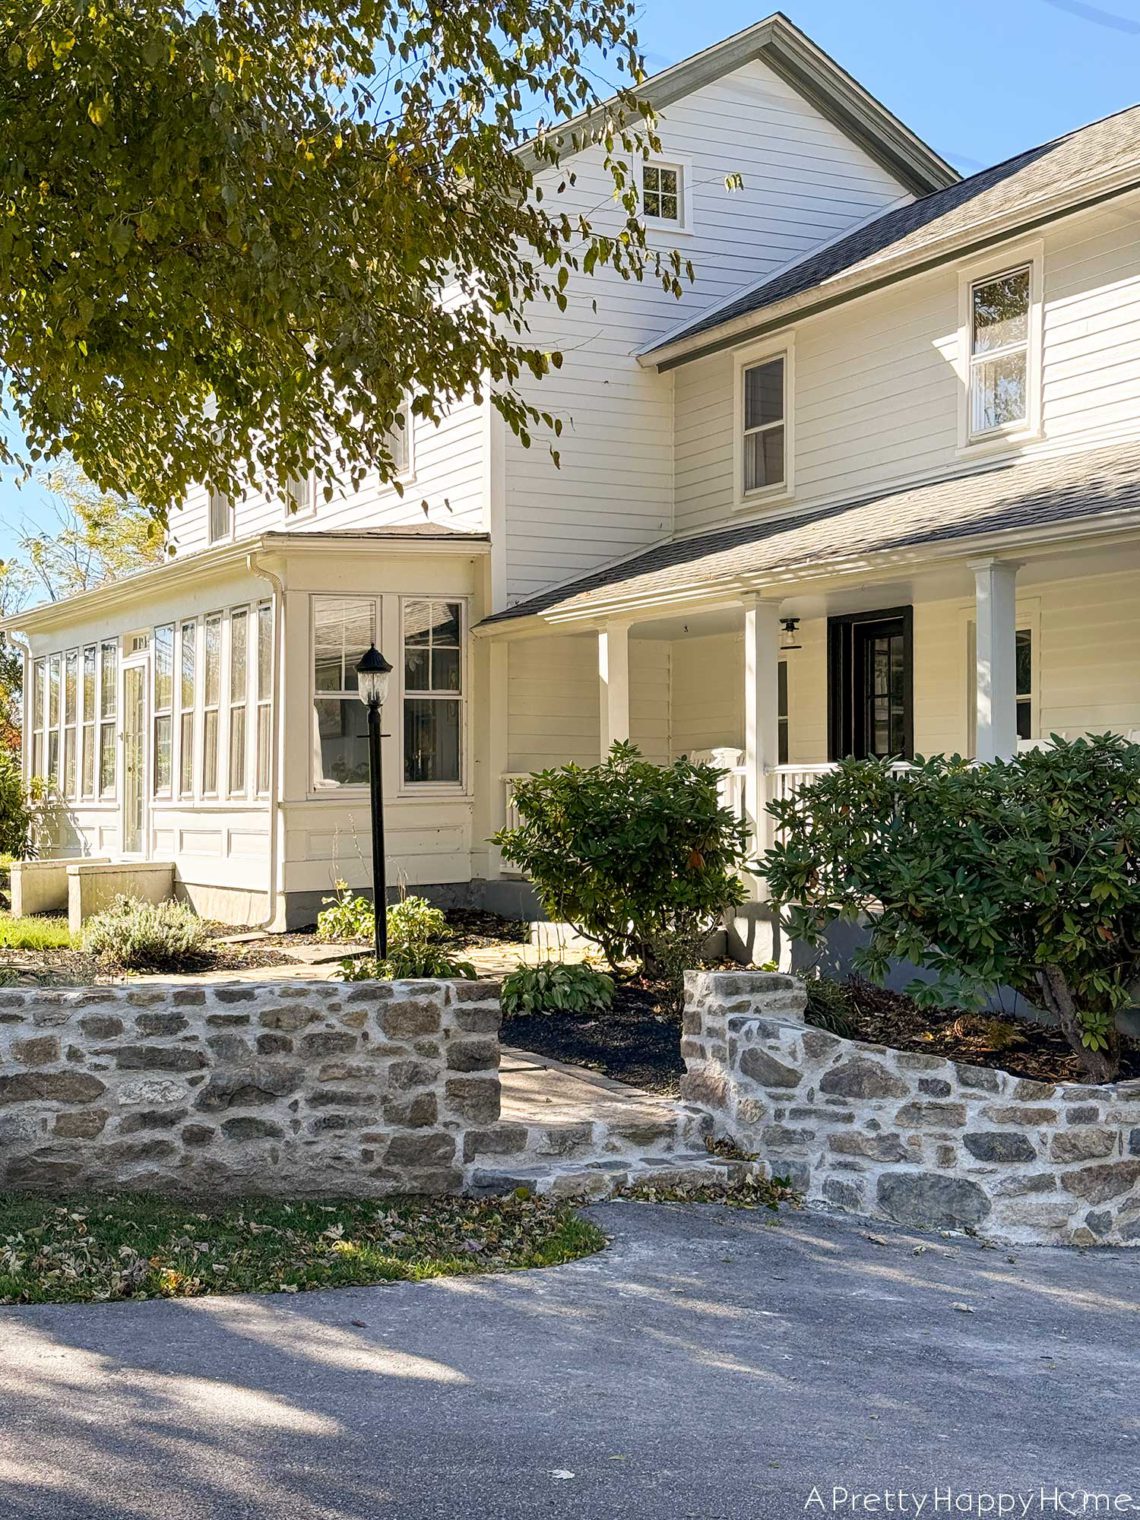
It’s Reveal Day! Welcome back to our Curved Fieldstone Wall series. I’m so glad you’re here. In August, we decided to reconstruct the crumbling fieldstone walls in front of our house. We reused the original stone to build the new wall. We used lime mortar to keep it historically accurate. We added a little flair to the wall design to call it our own. After 75 days of solid work, we can finally call this fieldstone wall complete. Thank. Goodness. Here’s how it started. The wall definitely exuded a certain old house charm if you didn’t look too closely to see that it was barely hanging on. This wall was…
