Matchbox Car Magnet
Guys! I did some crafting! First time since we moved to Ireland.
It felt good. So good.
Plus, it was a 2-minute project, which is my favorite kind of craft project.
Do you remember the sheet metal United States map I made for my son? It’s still one of my favorite projects.
At the time, I thought it would be cool to make tiny magnets that my son could put on the map to show all the states he had visited. I just wasn’t sure how I was going to execute on that idea.
Then we moved to Ireland.
I should have made a world map.
Ah, hindsight. It’s always there when you need a chuckle.
Anyway, as I was hanging decor in my son’s teeny, tiny room last week, I realized he has a transportation theme going on in there. It’s a loose theme, but I’ve run with less!
That’s when I decided to scrap my original idea and make just-for-the-fun-of-it magnets for his map.
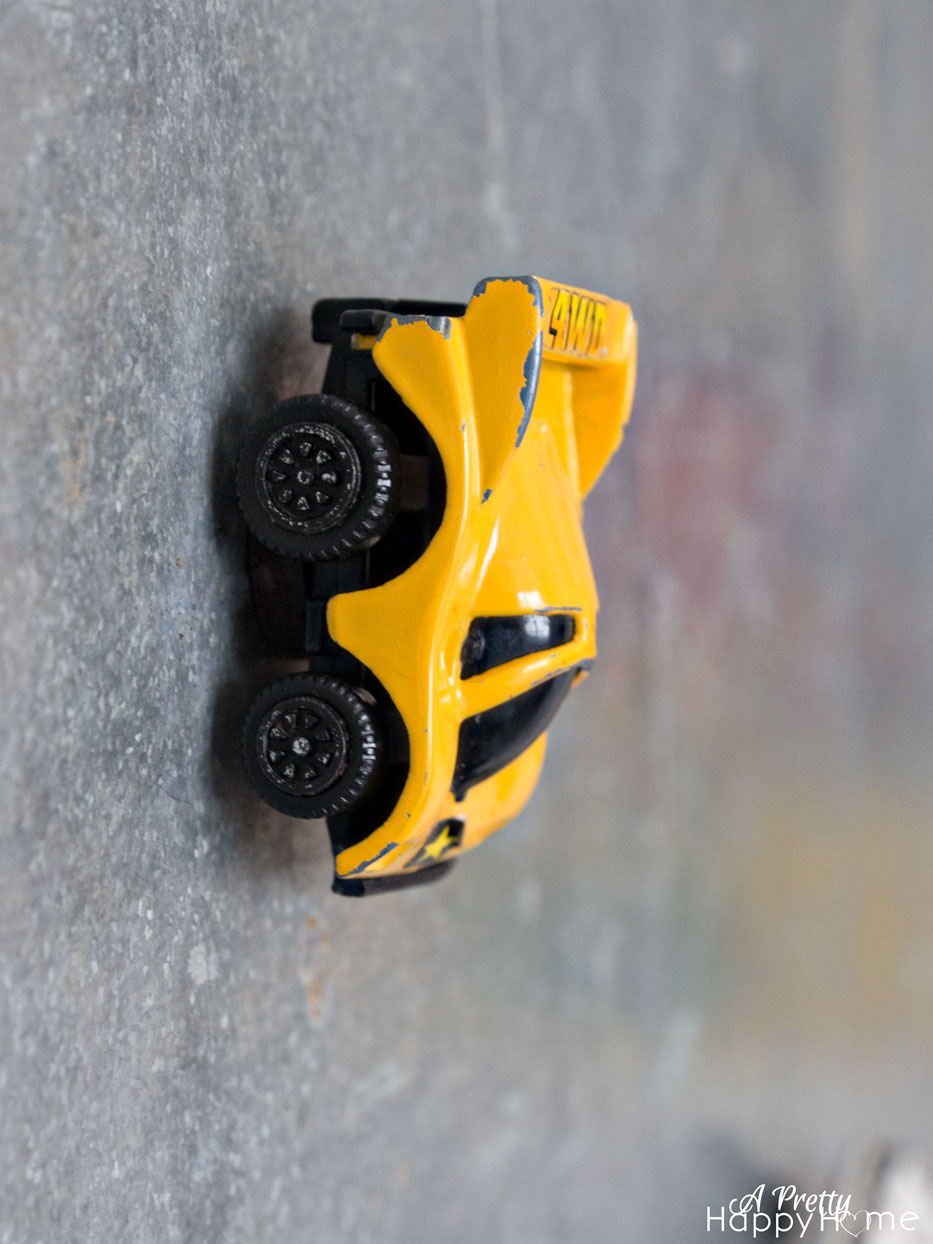
These were my supplies. Glue, magnets and old Matchbox cars. As you can see, I packed all the essentials when we moved overseas.
Honestly, the longest part of this process (besides dry time) was waiting for my son to inspect every. single. car. to determine if we could use it for this project. By the end, pickings were slim.
Basically, he gave me the cars that had broken axles. I sure am glad we moved the broken toys overseas too.
Then he told me not to start without him. He had to put on his “crafting helmet.”
This is my real life.
If Ironman can make his own suit and save the world, he sure as heck can make some Matchbox car magnets.
Now, don’t let Ironman intimidate you.
This project is as easy as putting glue on a magnet and sticking it on the underside of the Matchbox car then waiting for it to dry.
I debated on what type of glue to use for this project. I wanted something that would stand up reasonably well to heavy abuse use by a 6-year-old.
I picked the ProBond Advanced Glue because that’s what I used to glue (and only glue) the sheet metal map to the cork board. It survived the move in perfect condition, so it has my vote. (No, Elmer’s does not know who I am, but I’ll take their call. Yes, I am that shameless.)
The tricky part if you use the ProBond Advanced Glue (and this is where hot glue would have the advantage) is that I had to pick cars with smooth underbellies or very limited ridges so that I had a large enough surface area to adhere my magnet.
I think hot glue would work in this scenario too and you wouldn’t have to worry about the underside surface of the Matchbox cars.
I’m big, fat loving how the magnets turned out.
Fun, but not fussy. Perfect for a boy’s room.
I might make more. If my son can loosen his grip on a few more cars.
I’m so happy I eased back into crafting mode with a quick, fun and useful project! The upside was getting to work with Ironman. He’s so down-to-earth. He did drink all of my chocolate milk though.
2018 Update: I like to keep it real with you guys. The matchbox car magnets lasted about 8 months until there was a sleepover and one of the little boys threw the cars against the wall. Super awesome, right? So, if your kid uses the cars as magnets and not as throwing objects, they should last reasonably well. They were easy enough to fix though!
Thanks for sharing part of your day with me! If you have more time, I have more projects!
Wood Silverware Tray Turned into a Display Shelf
Wine Rack Upcycled into a Display Shelf
Two Children’s Books that Made My Eyes Leak
*affiliate links in this post*


One Comment
Marcelino
Try Toycarmag!!!!